Setting up Your Project on Netlify
This article is a part of a guide to building full-stack apps with Serverless and React.
이제 Netlify에 우리의 React App을 설정하겠습니다. 무료 계정 생성하기로 시작합니다.
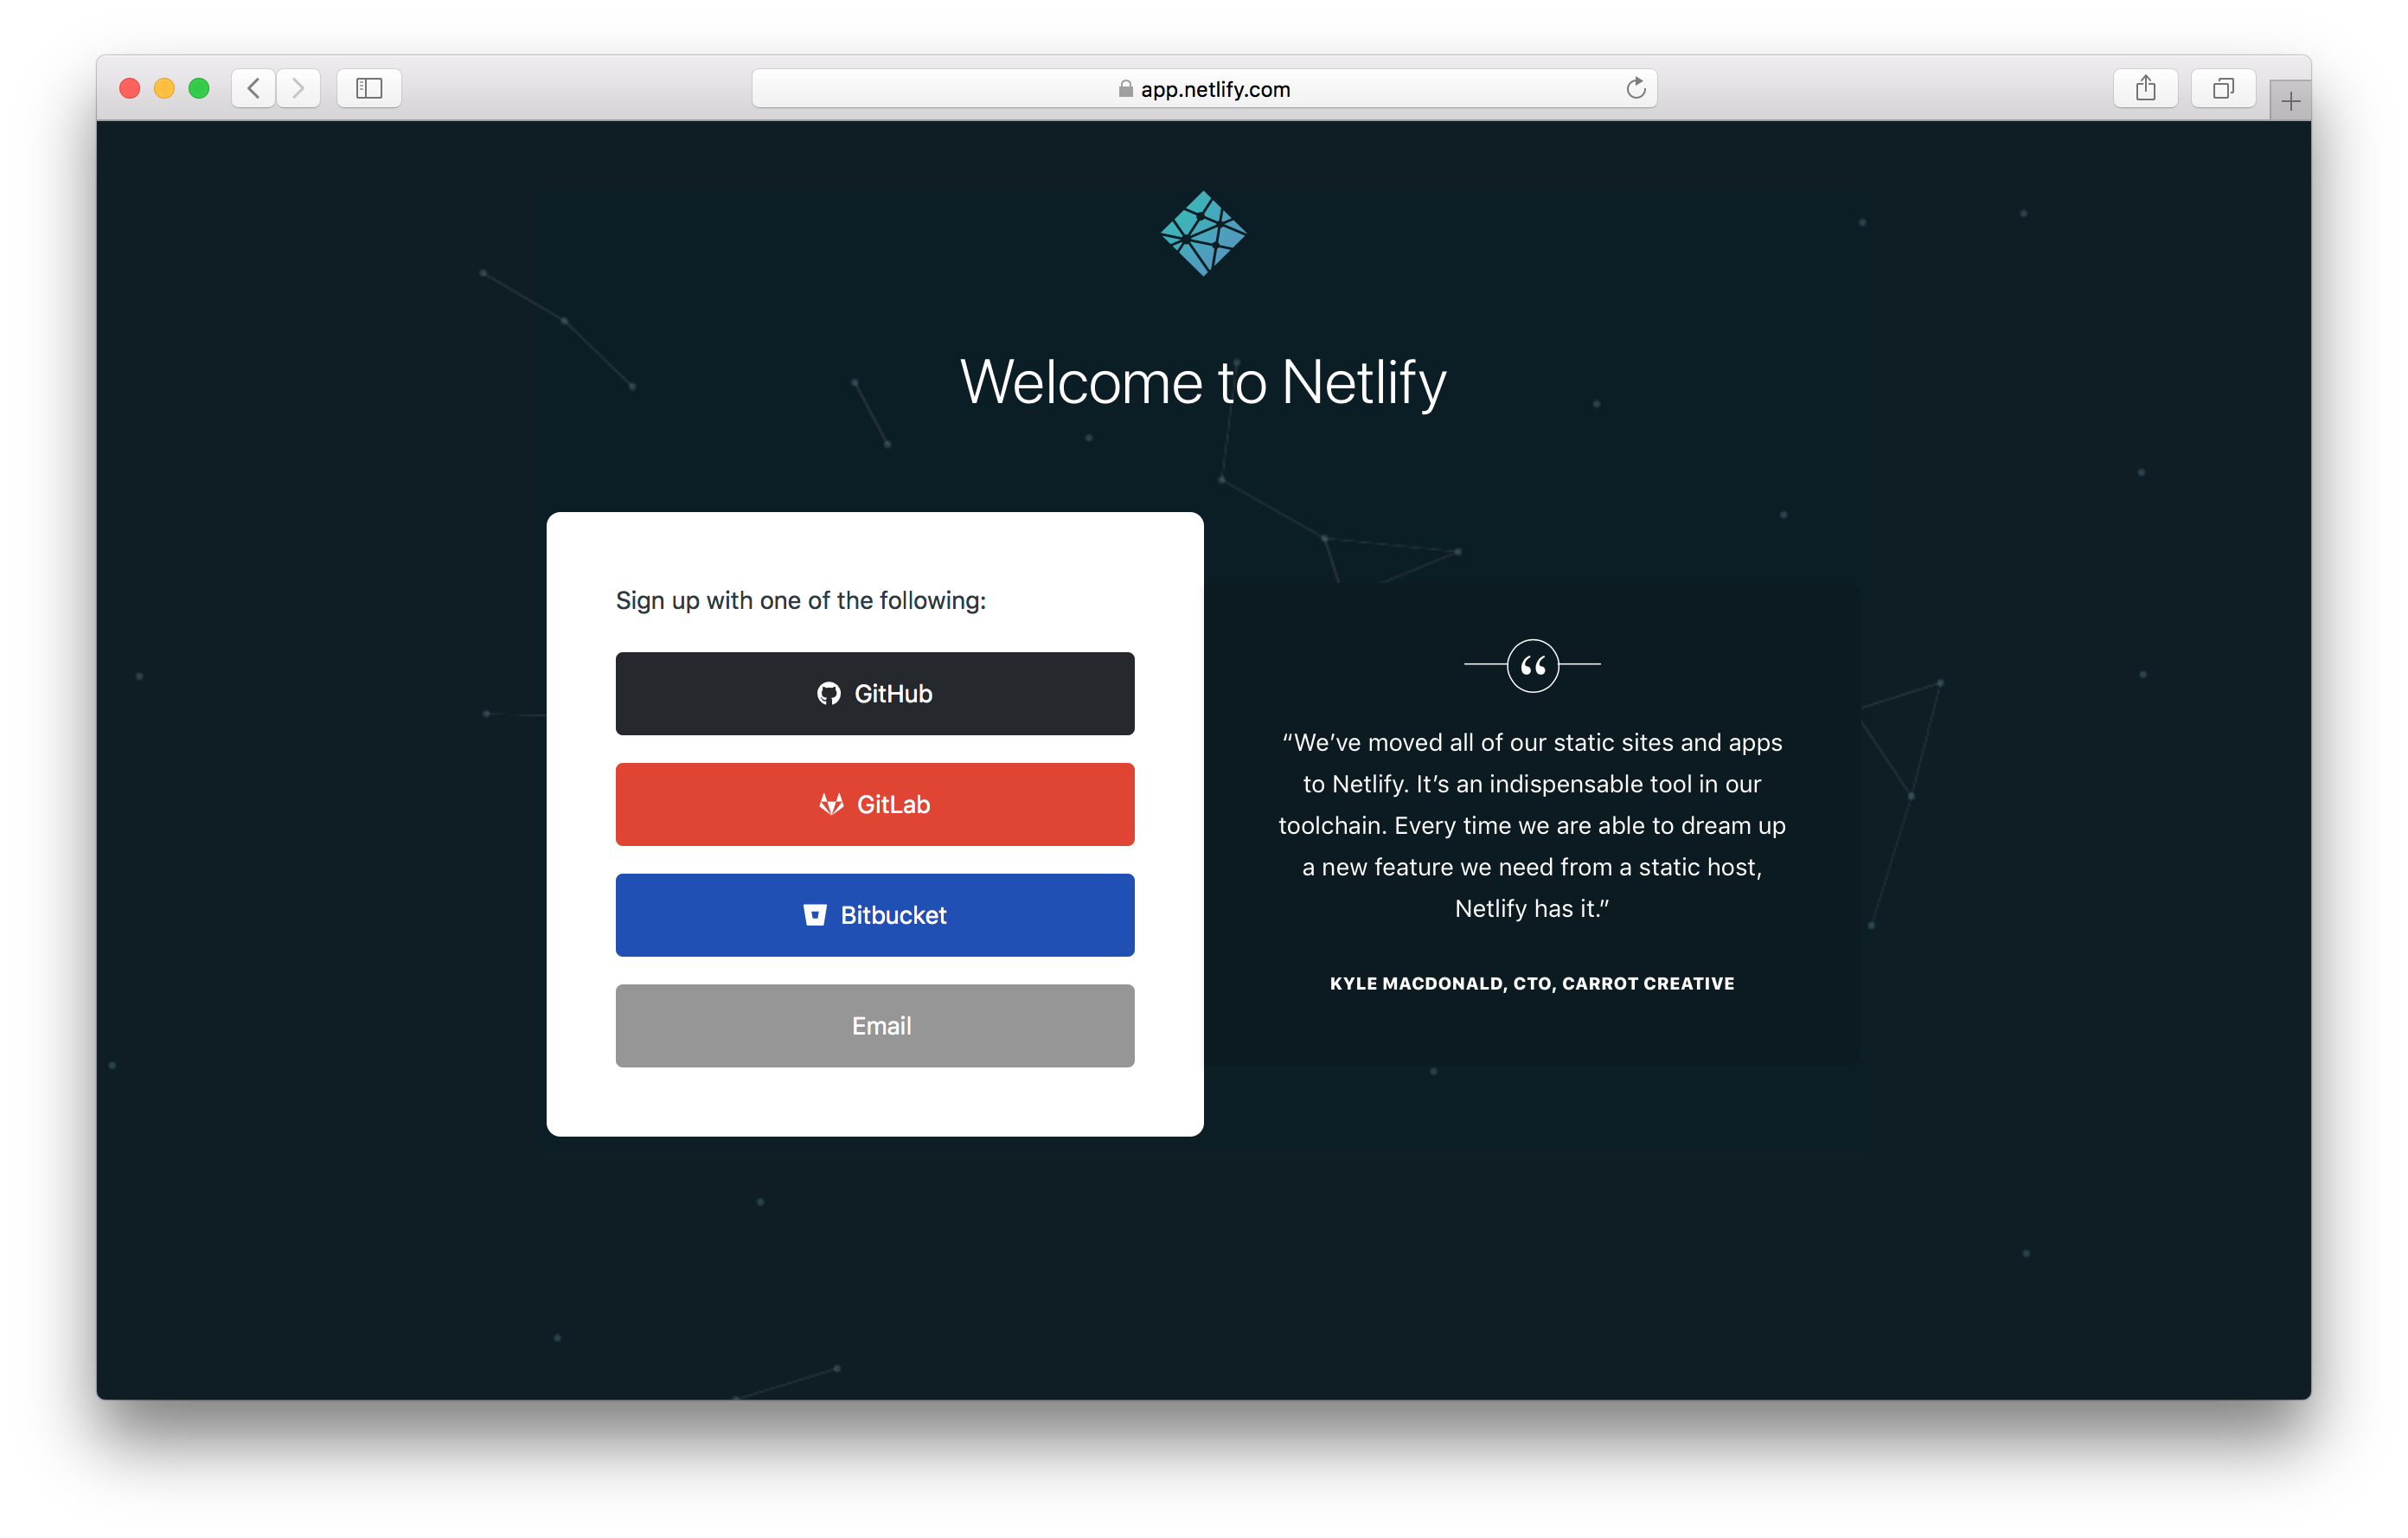
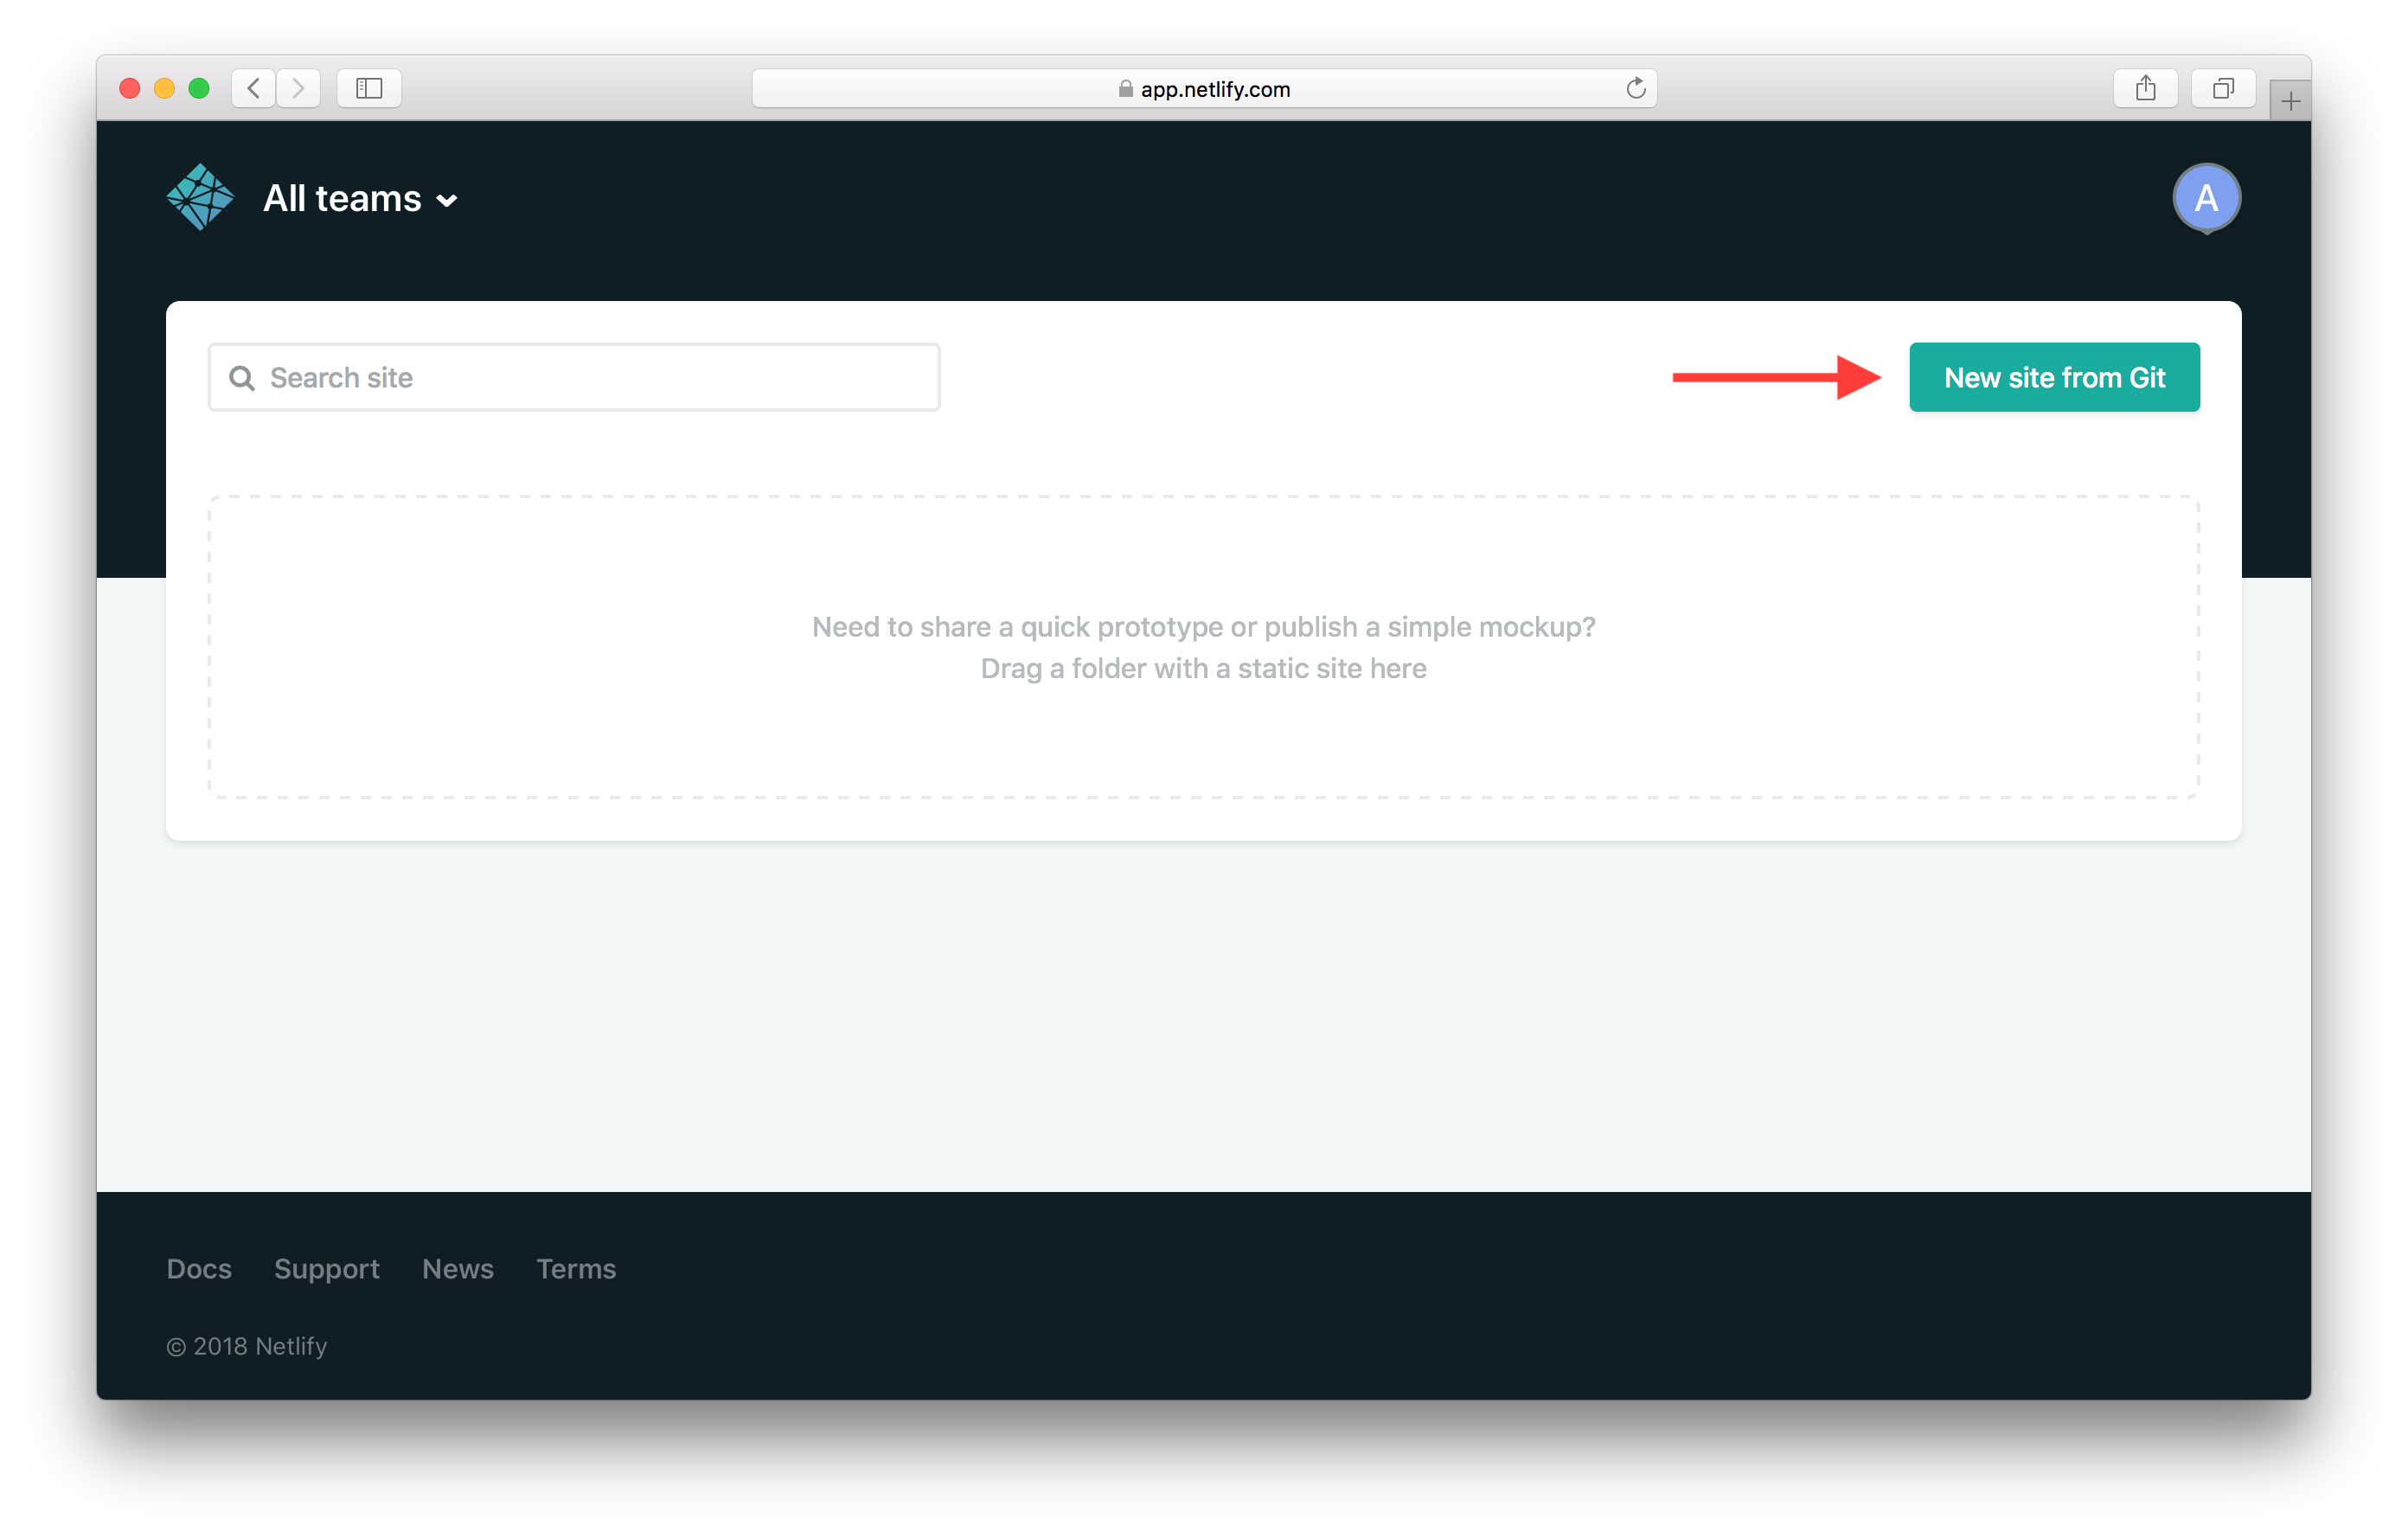
다음으로 New site from Git 버튼을 클릭해 신규 사이트를 생성합니다.
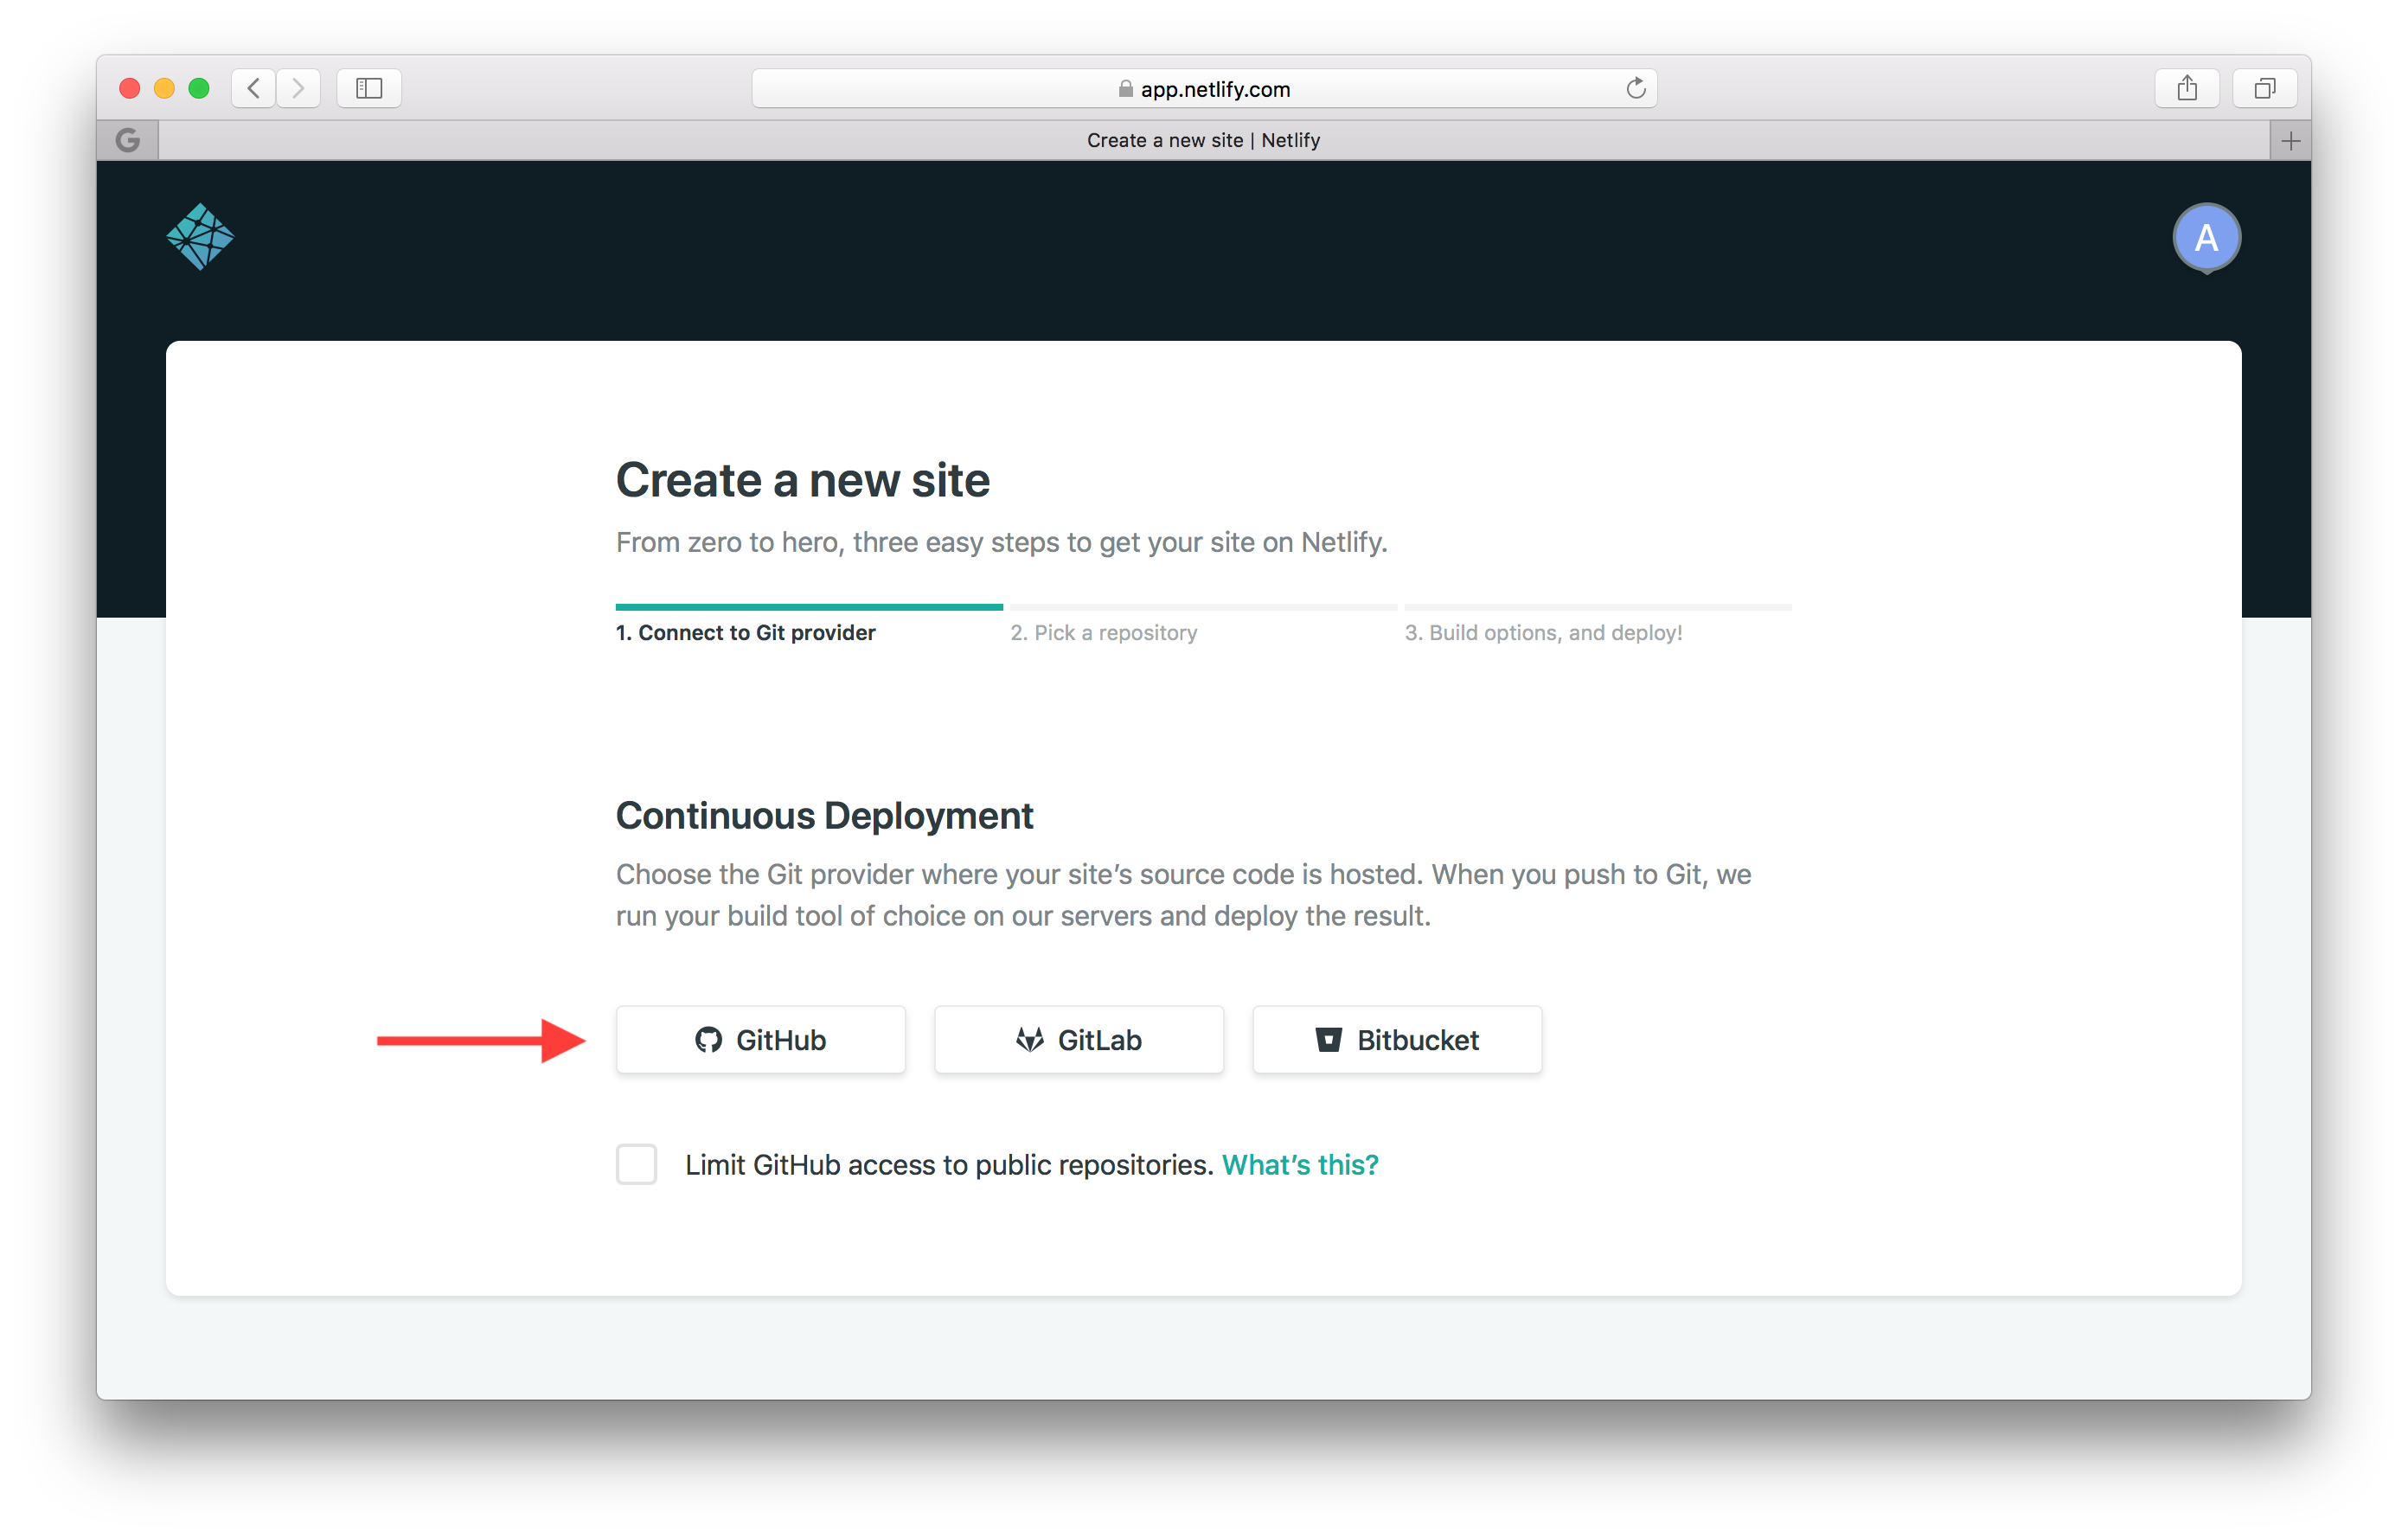
제공업체로 GitHub을 선택합니다.
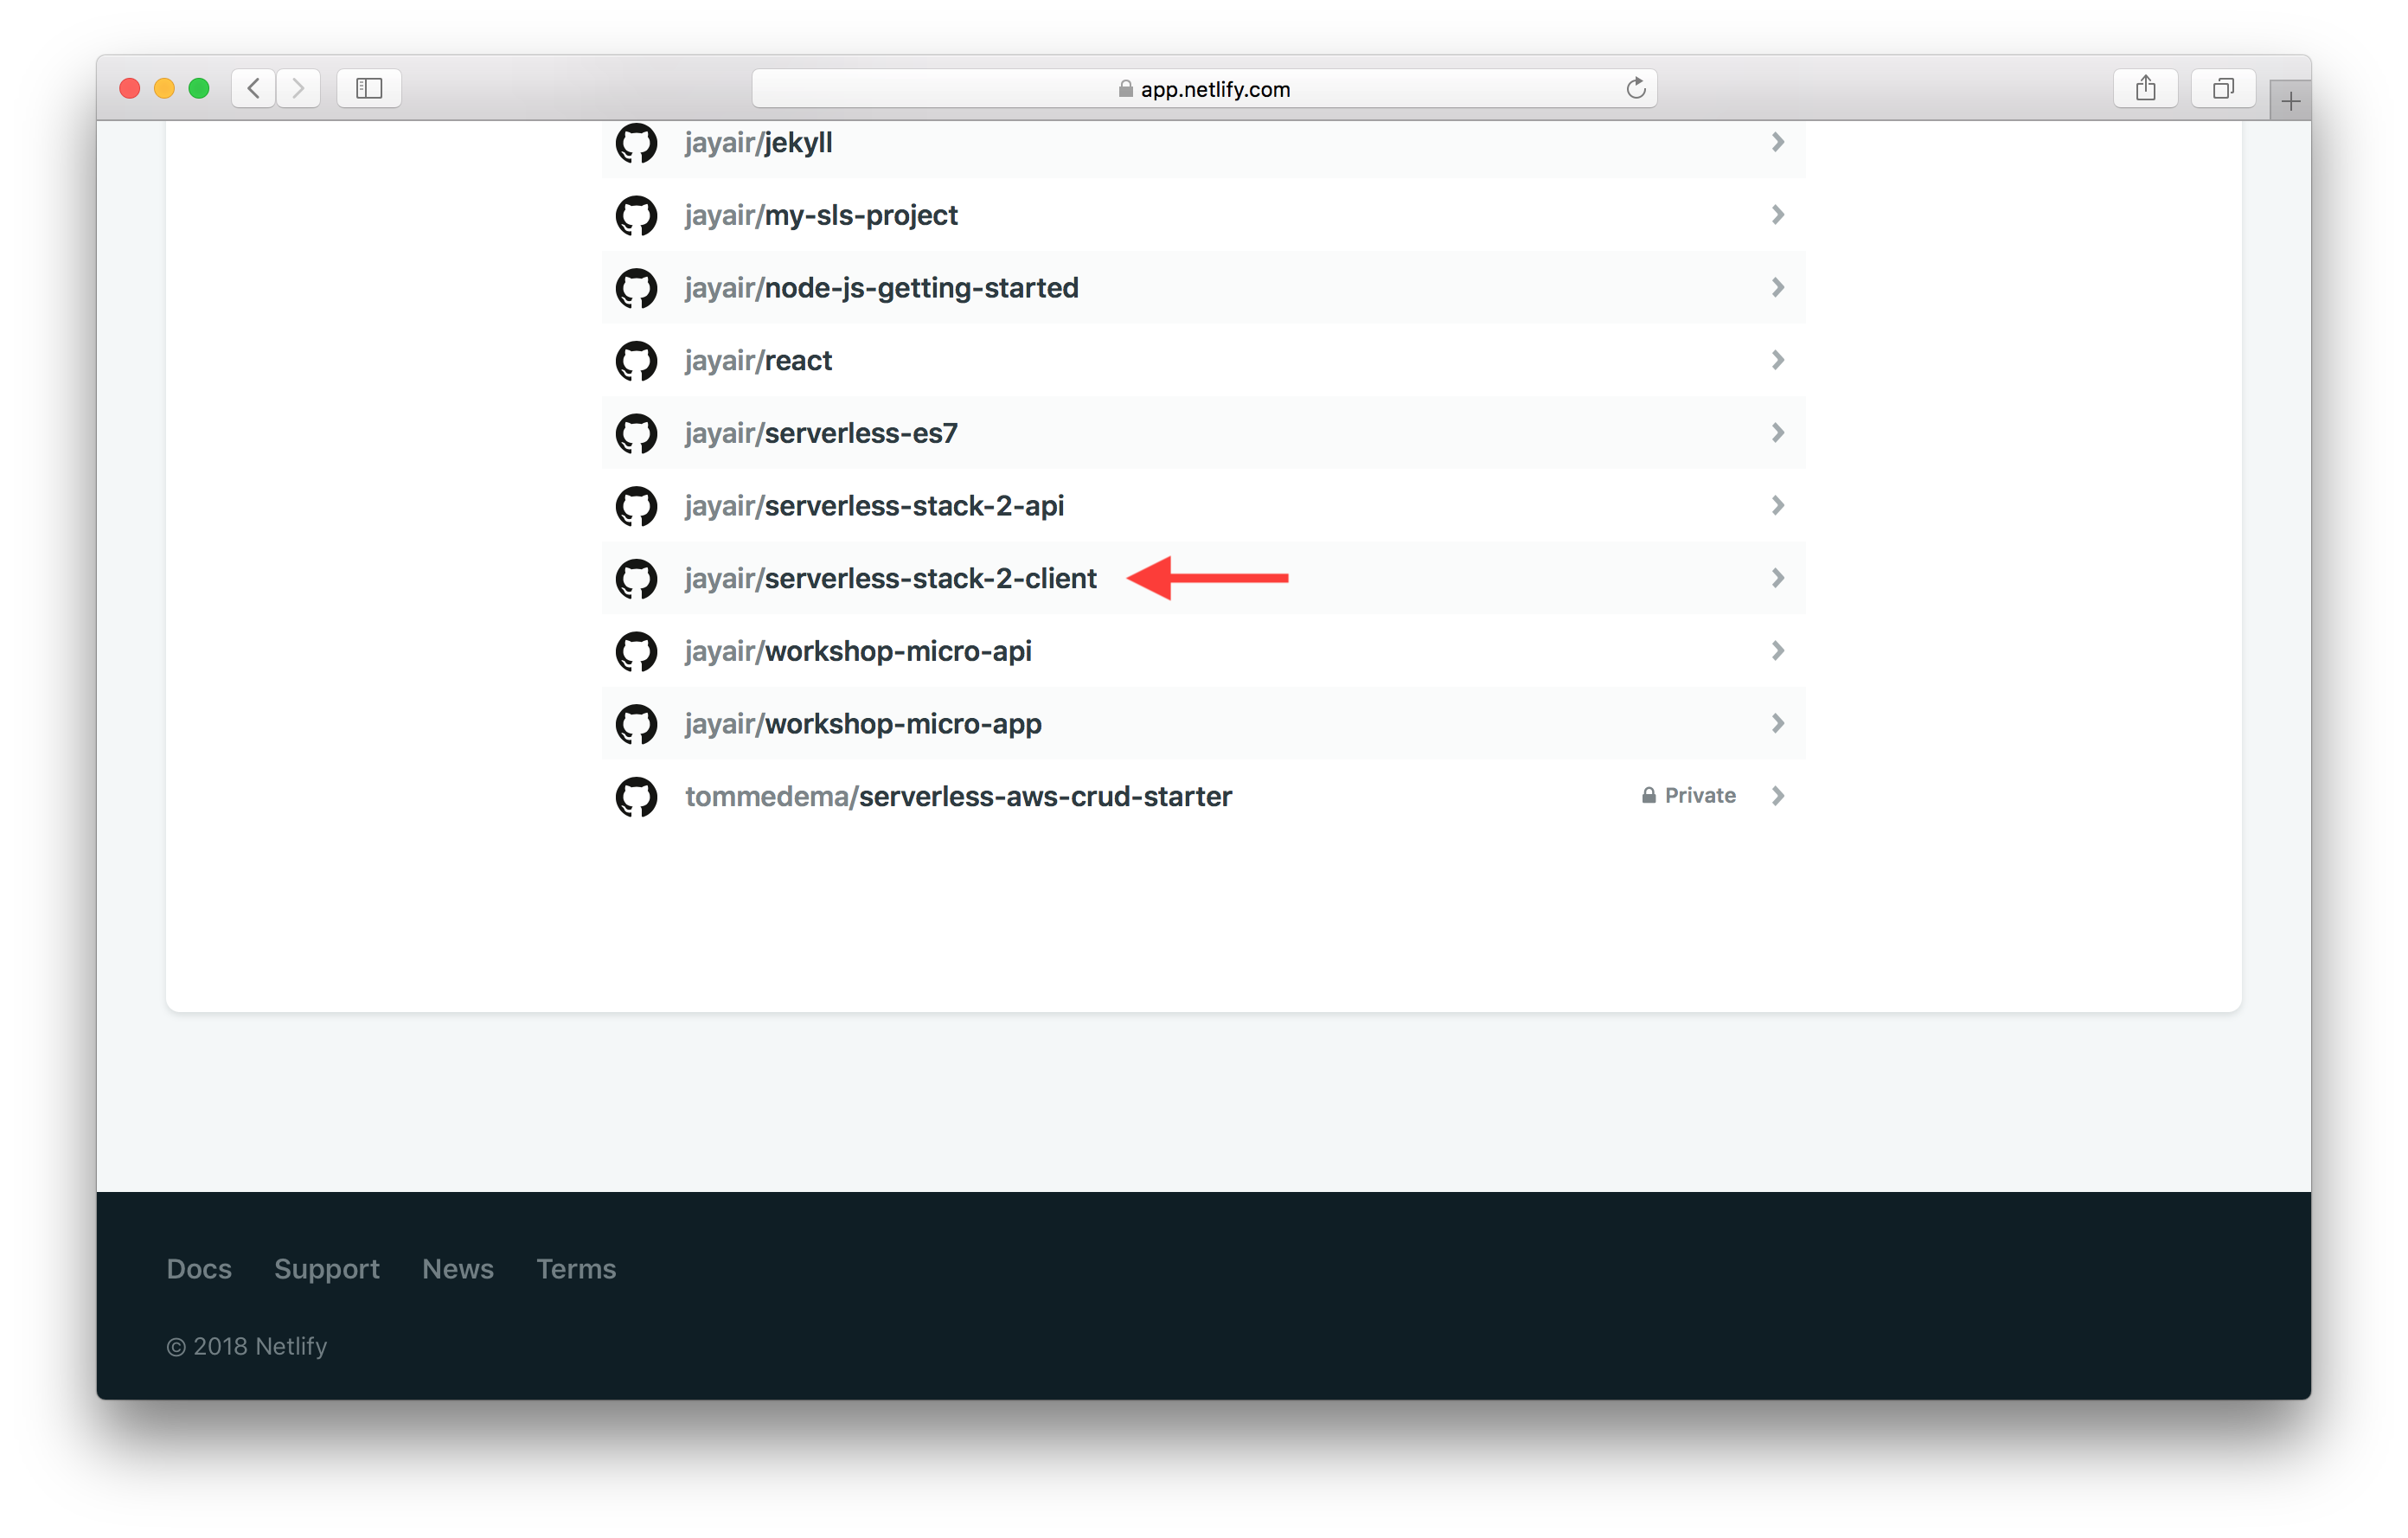
프로젝트 목록에서 여러분의 프로젝트를 선택합니다.
기본 브랜치는 master입니다. 이제 앱을 배포할 수 있습니다. Deploy site을 클릭합니다.
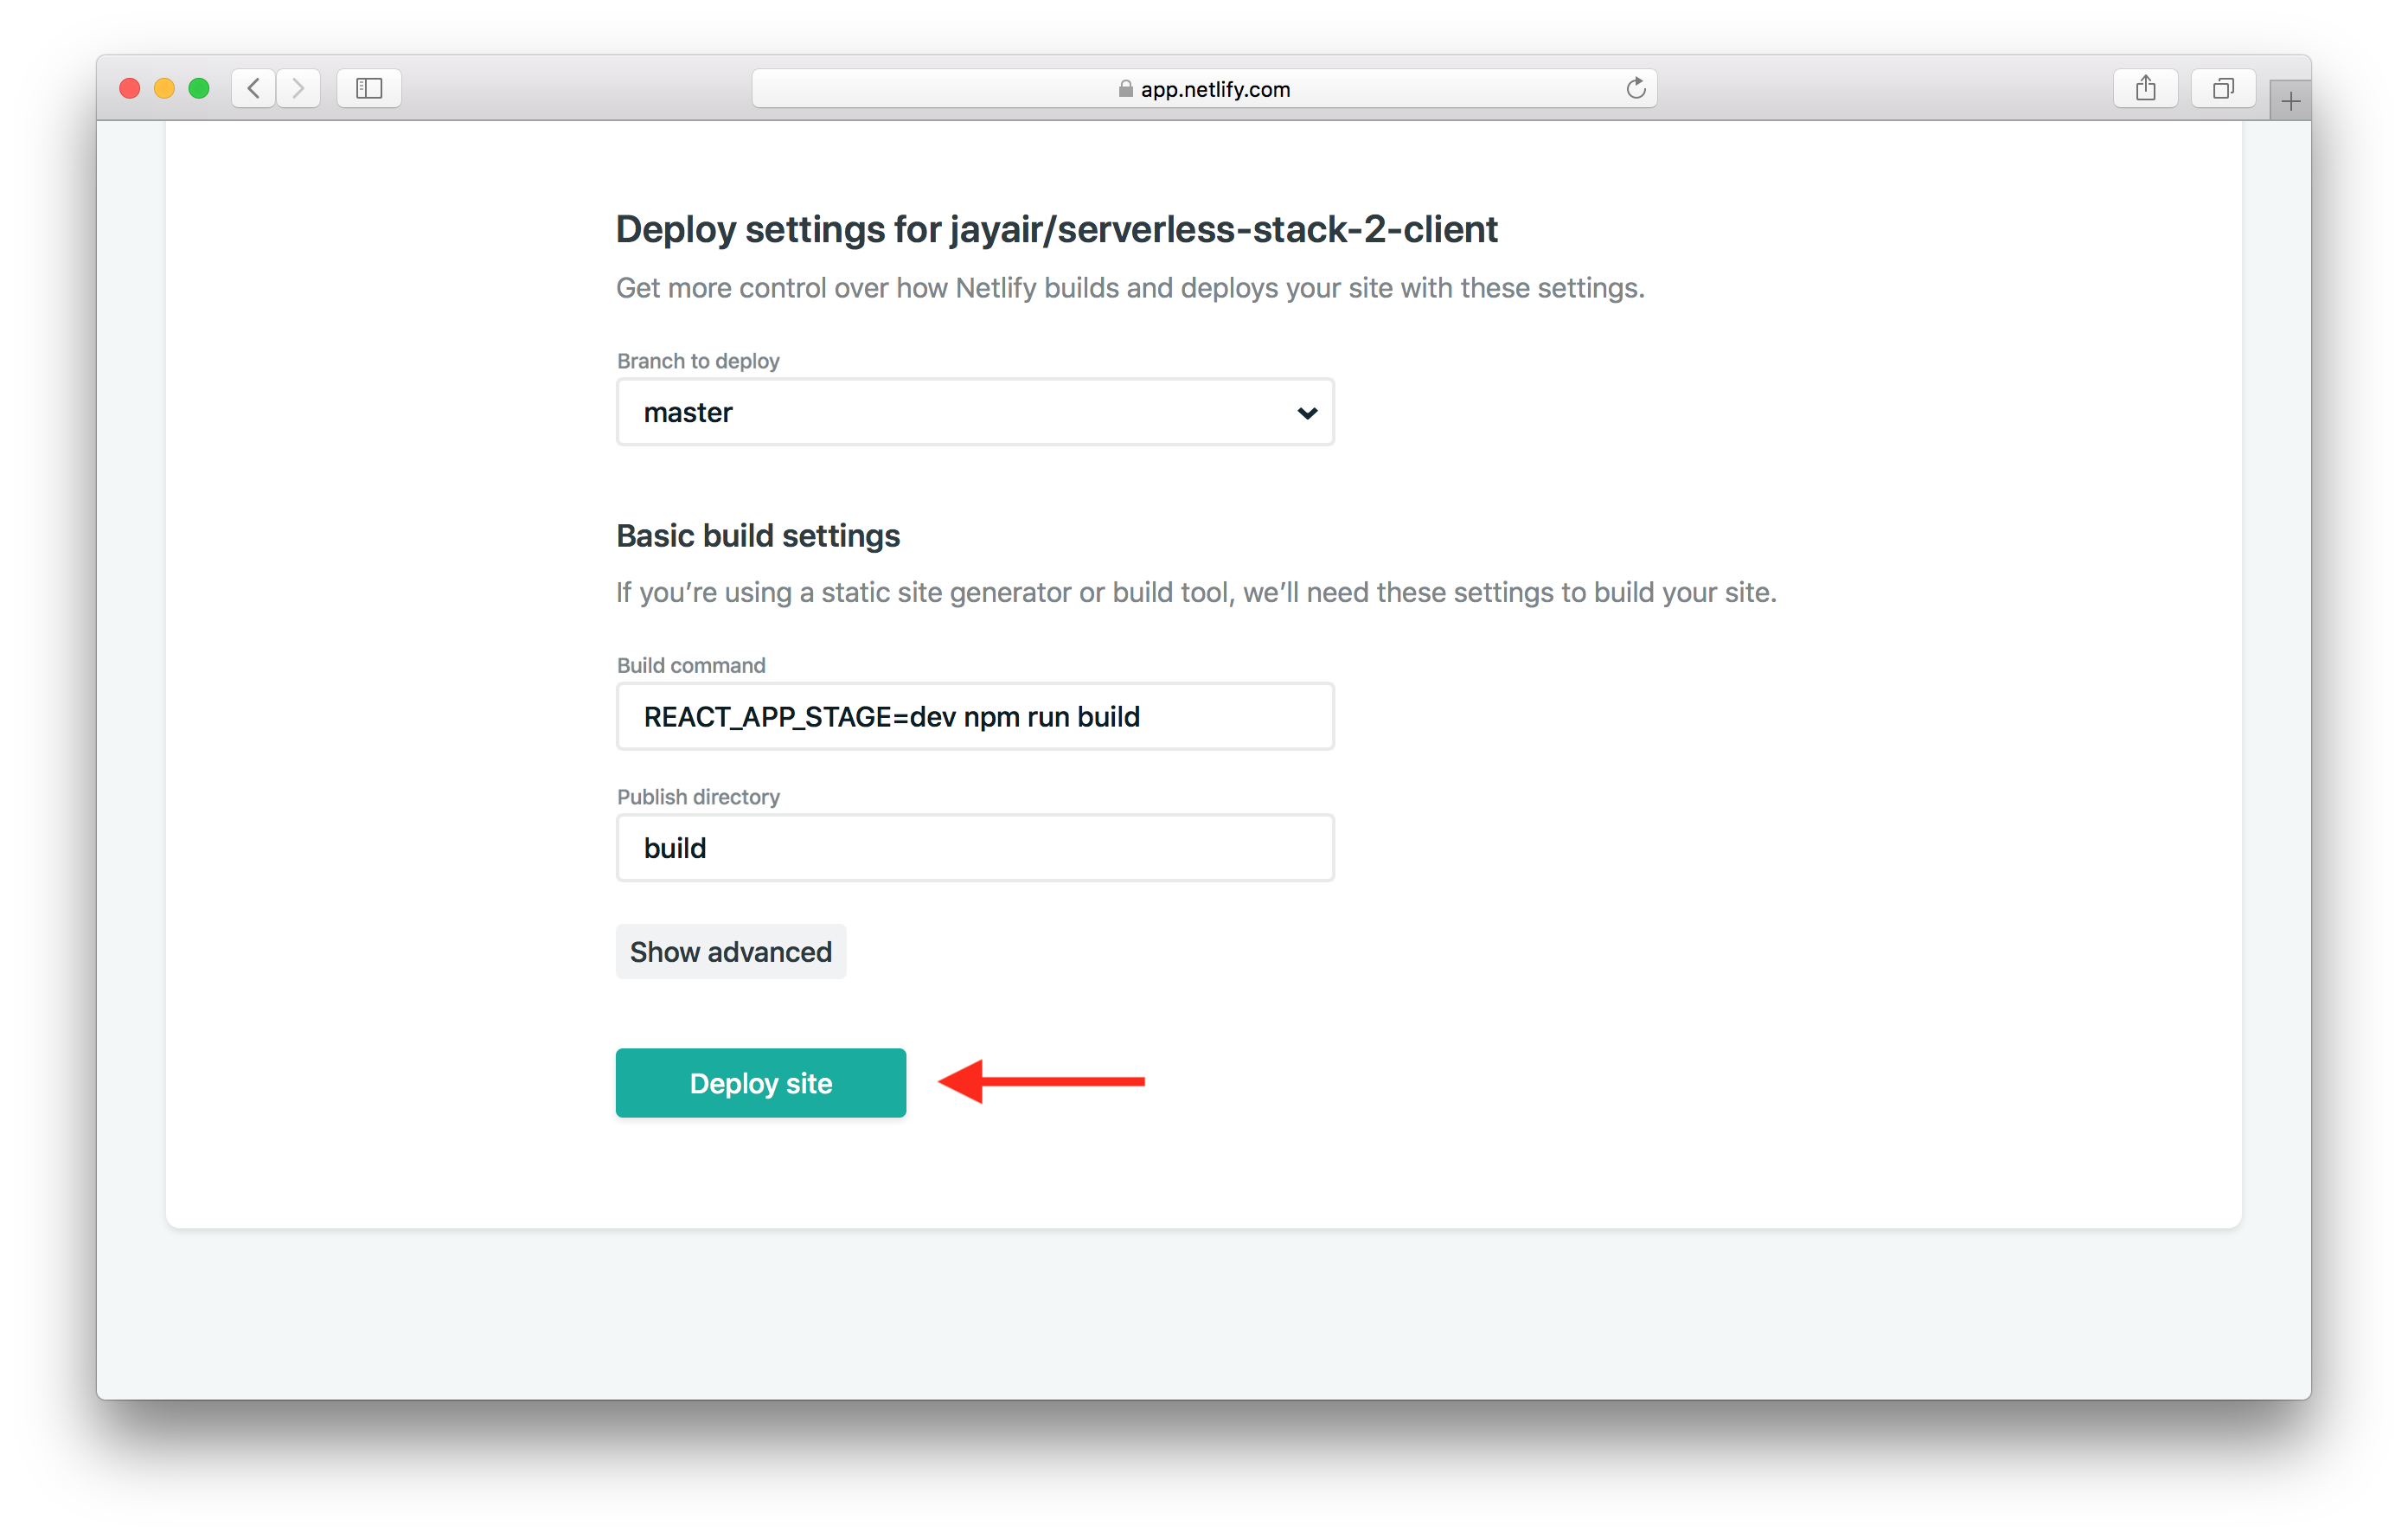
이것으로 앱 배포가 진행되어야합니다. 완료되면 배포를 클릭합니다.
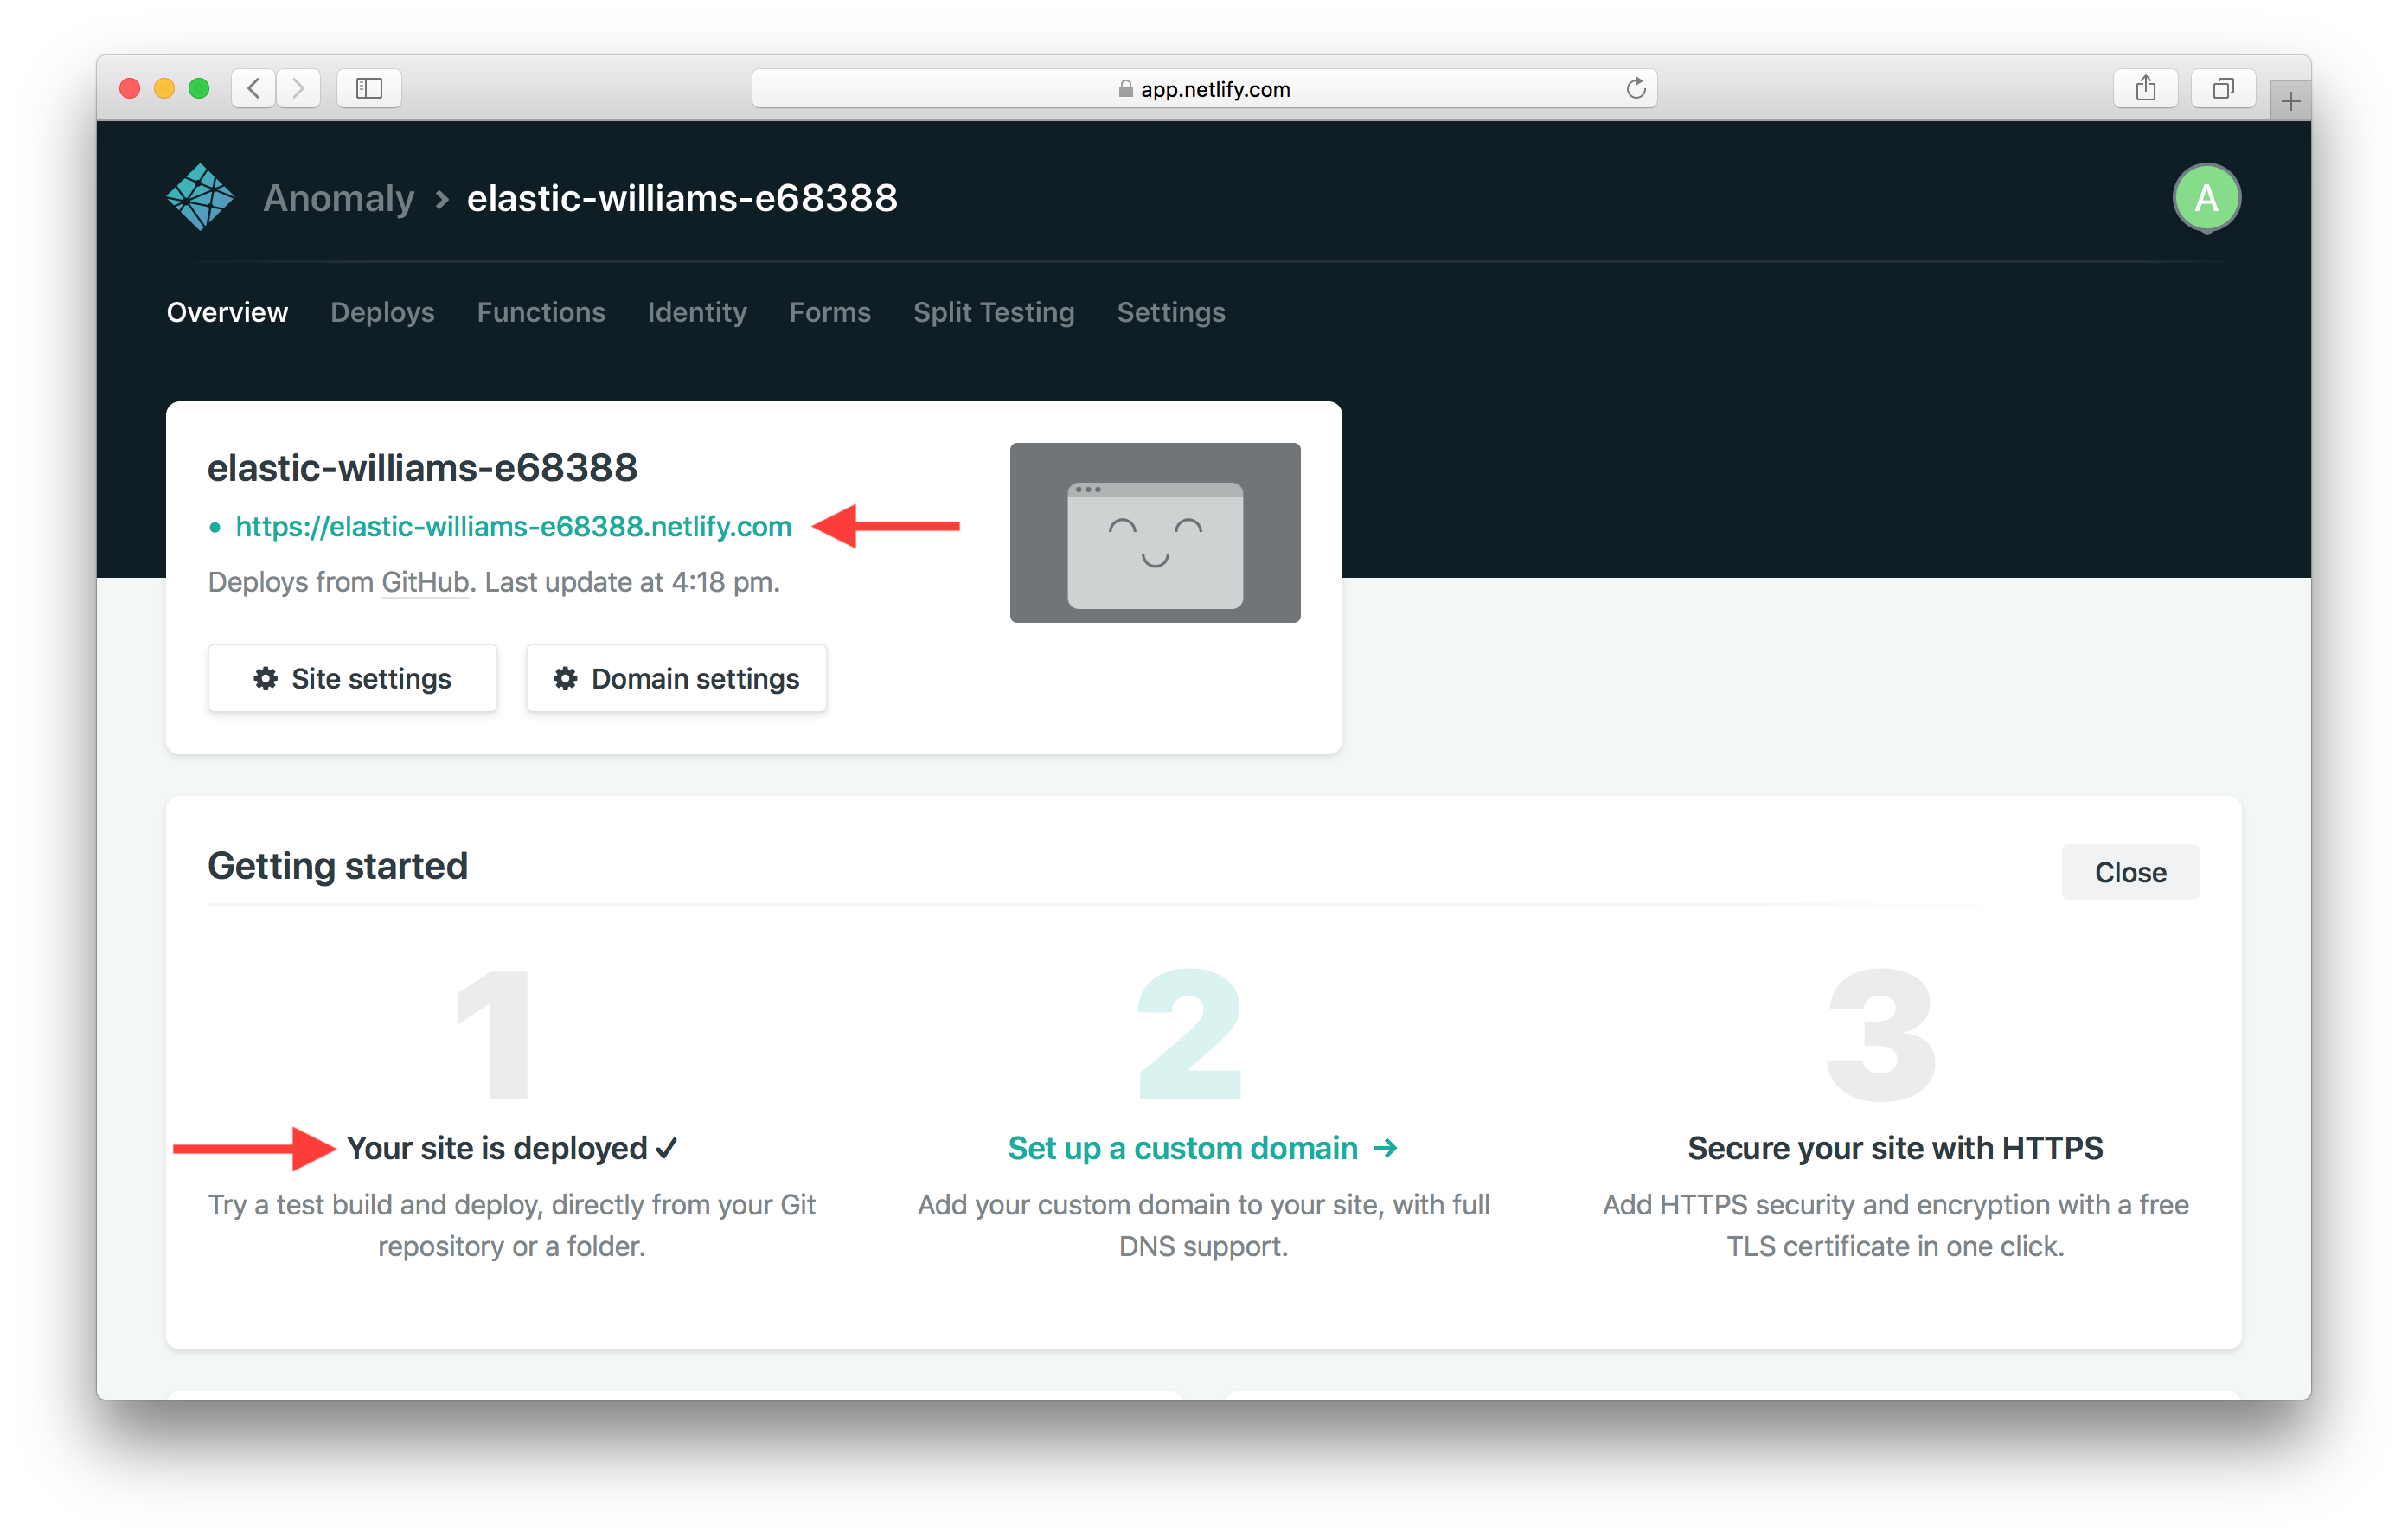
그리고 실제로 앱이 작동되어야 합니다.
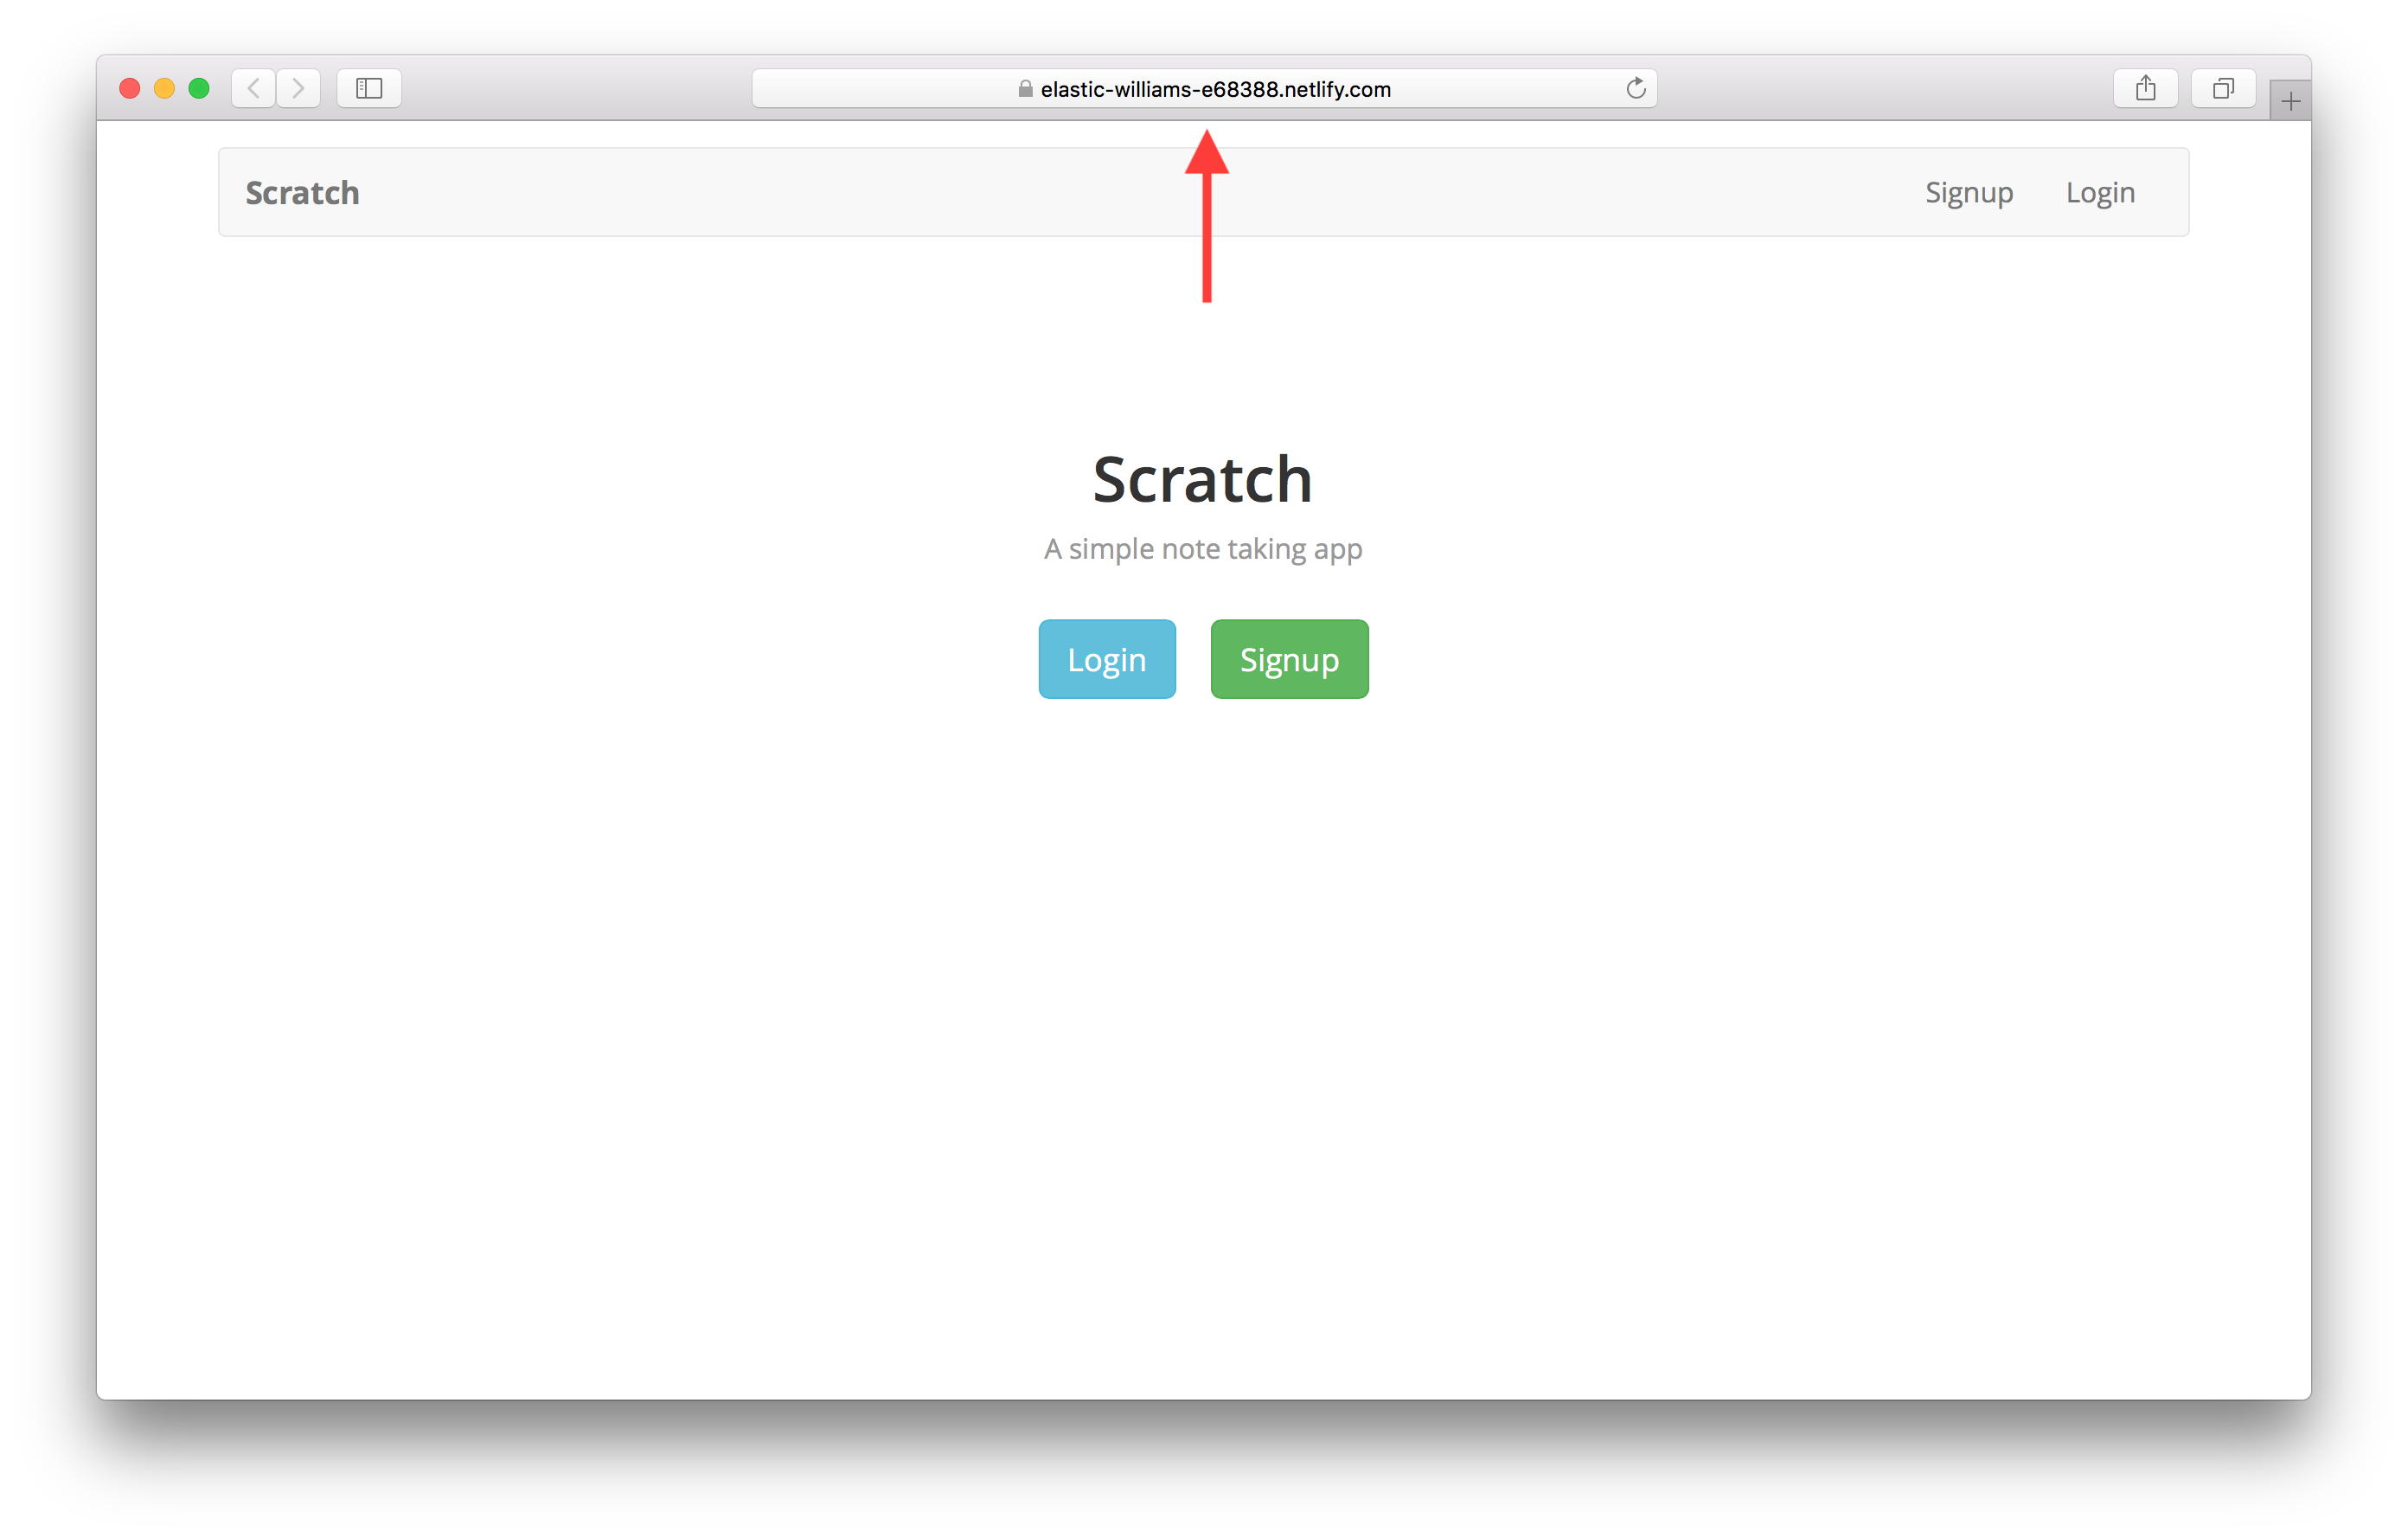
물론 Netlify URL에서 호스팅됩니다. 다음에 사용자 정의 도메인을 구성하여이를 변경합니다.
For help and discussion
Comments on this chapterIf you liked this post, please subscribe to our newsletter, give us a star on GitHub, and follow us on Twitter.
