Deploy the Resources Repo
First, add the resources repo on Seed. If you haven’t yet, you can create a free account here.
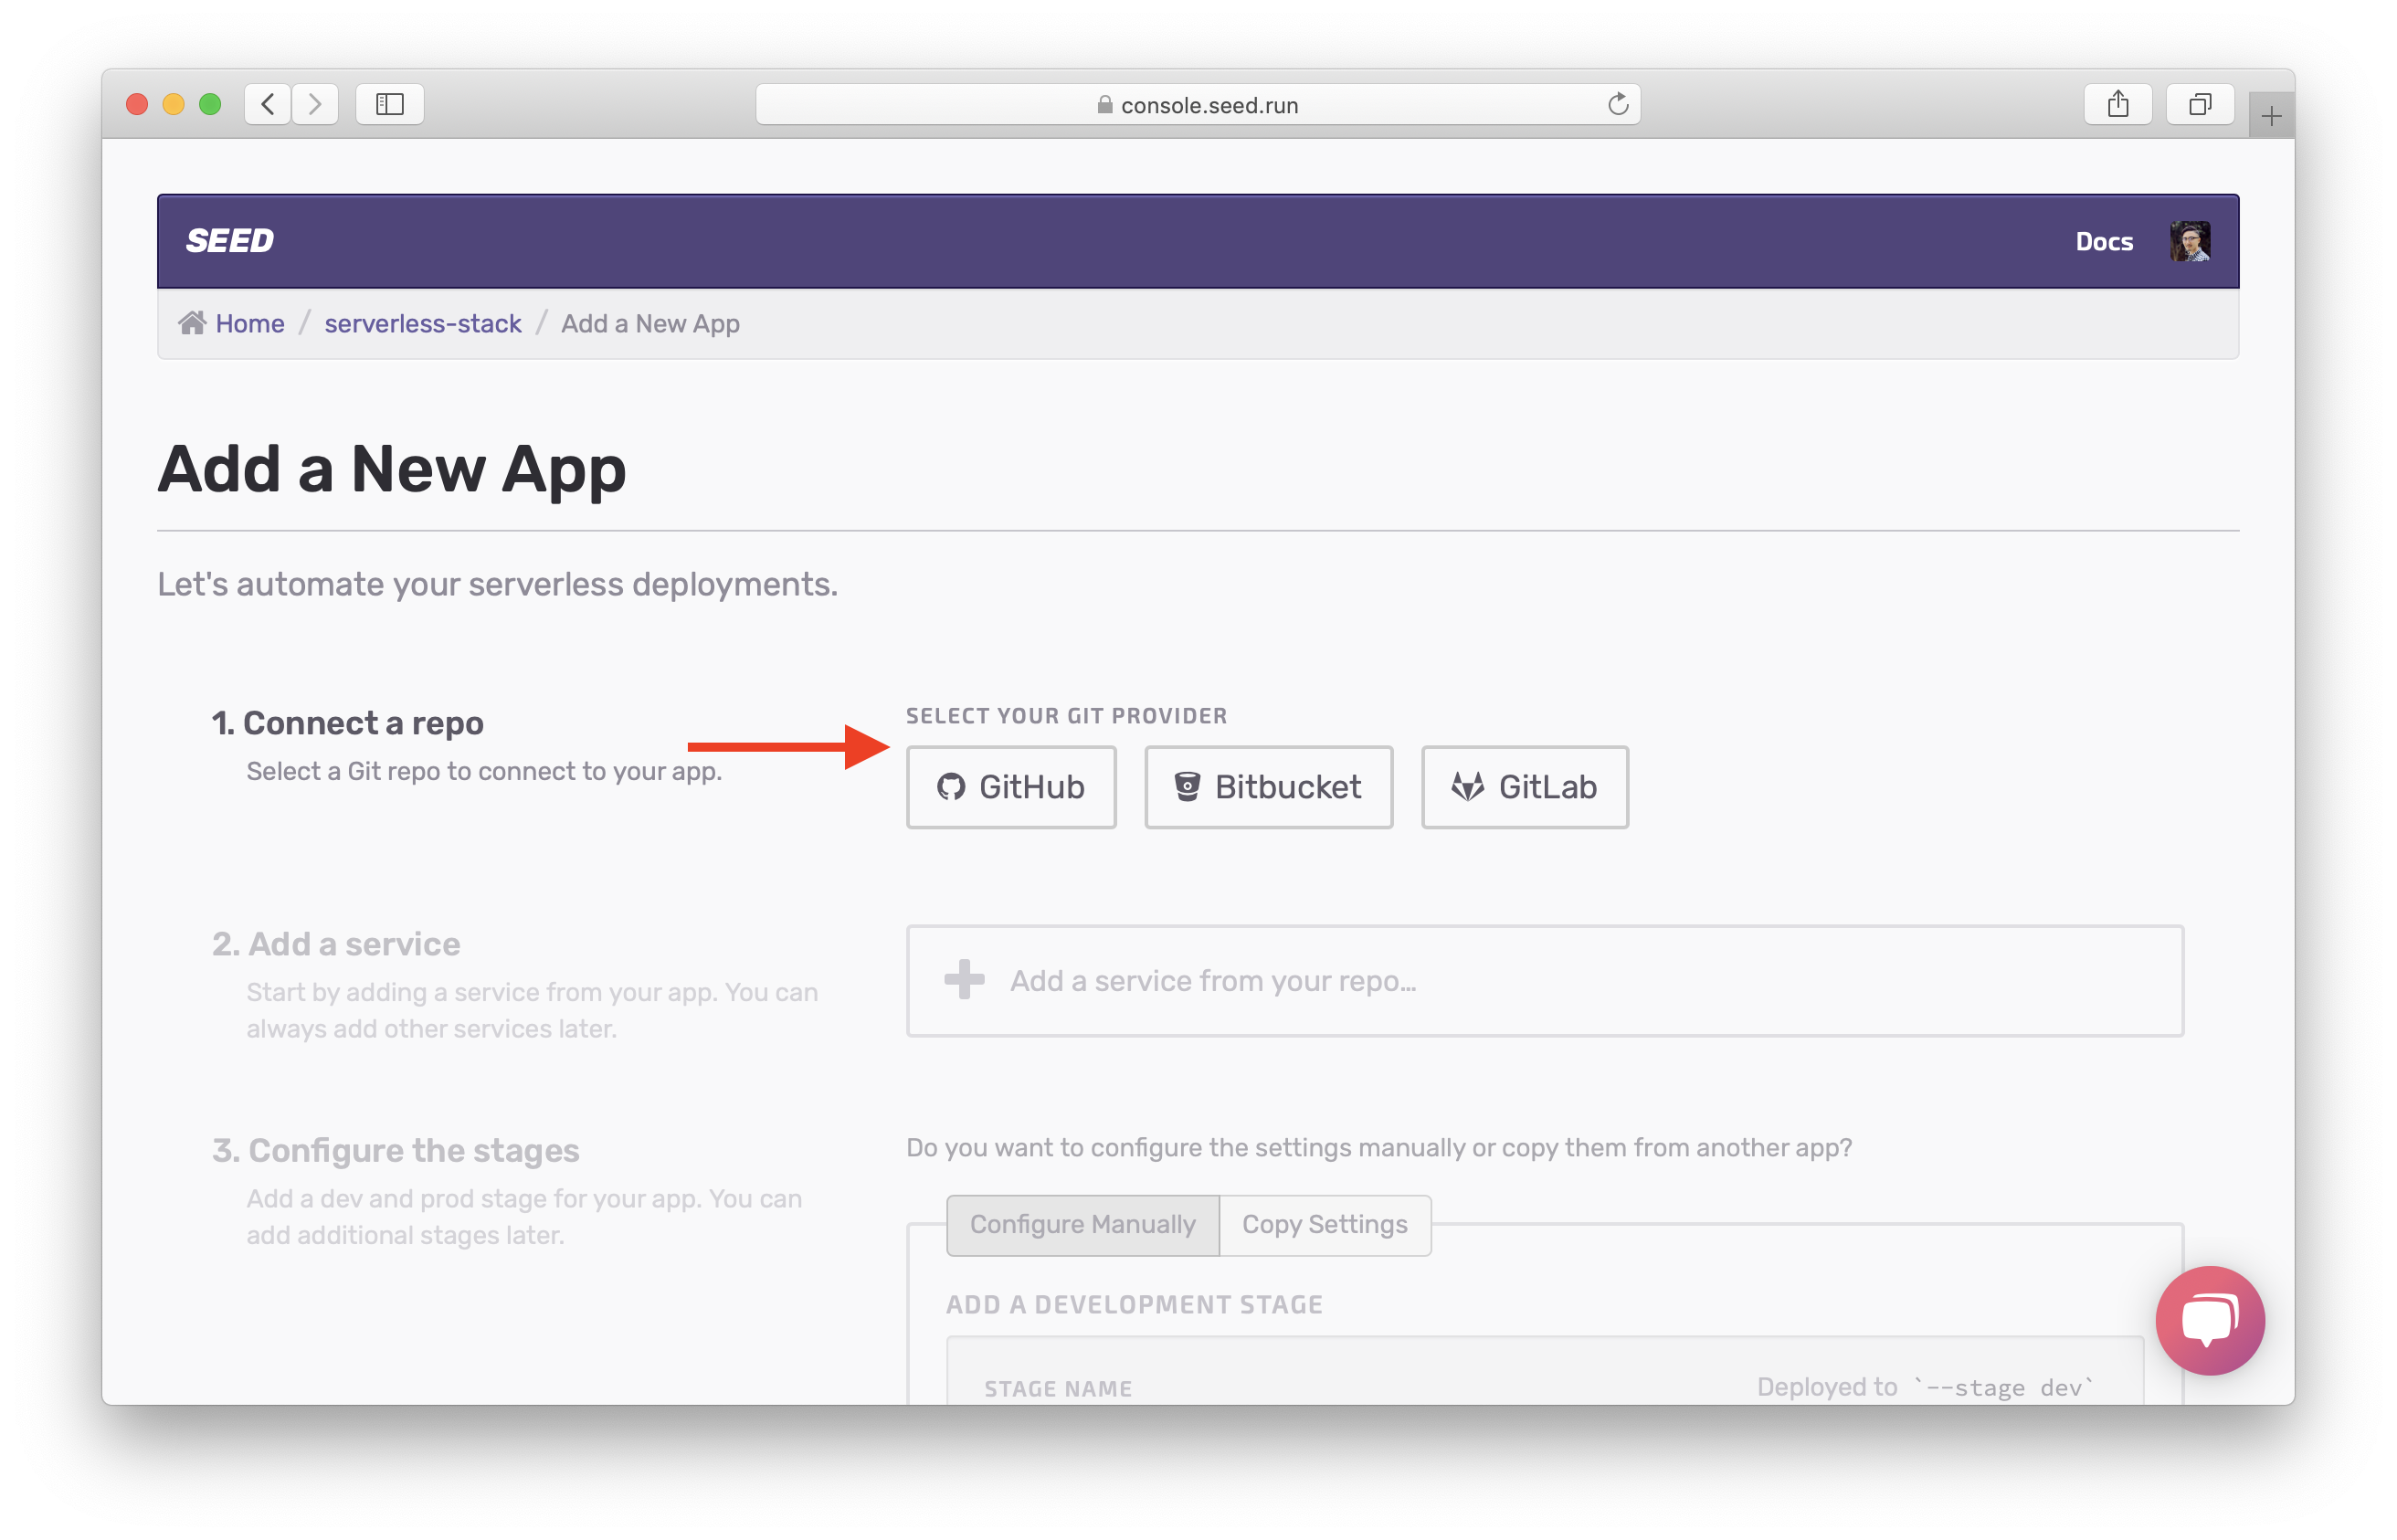
Go in to your Seed account and click Add an App, and select your Git provider.
After authenticating GitHub, search for the resources repo, and select it.
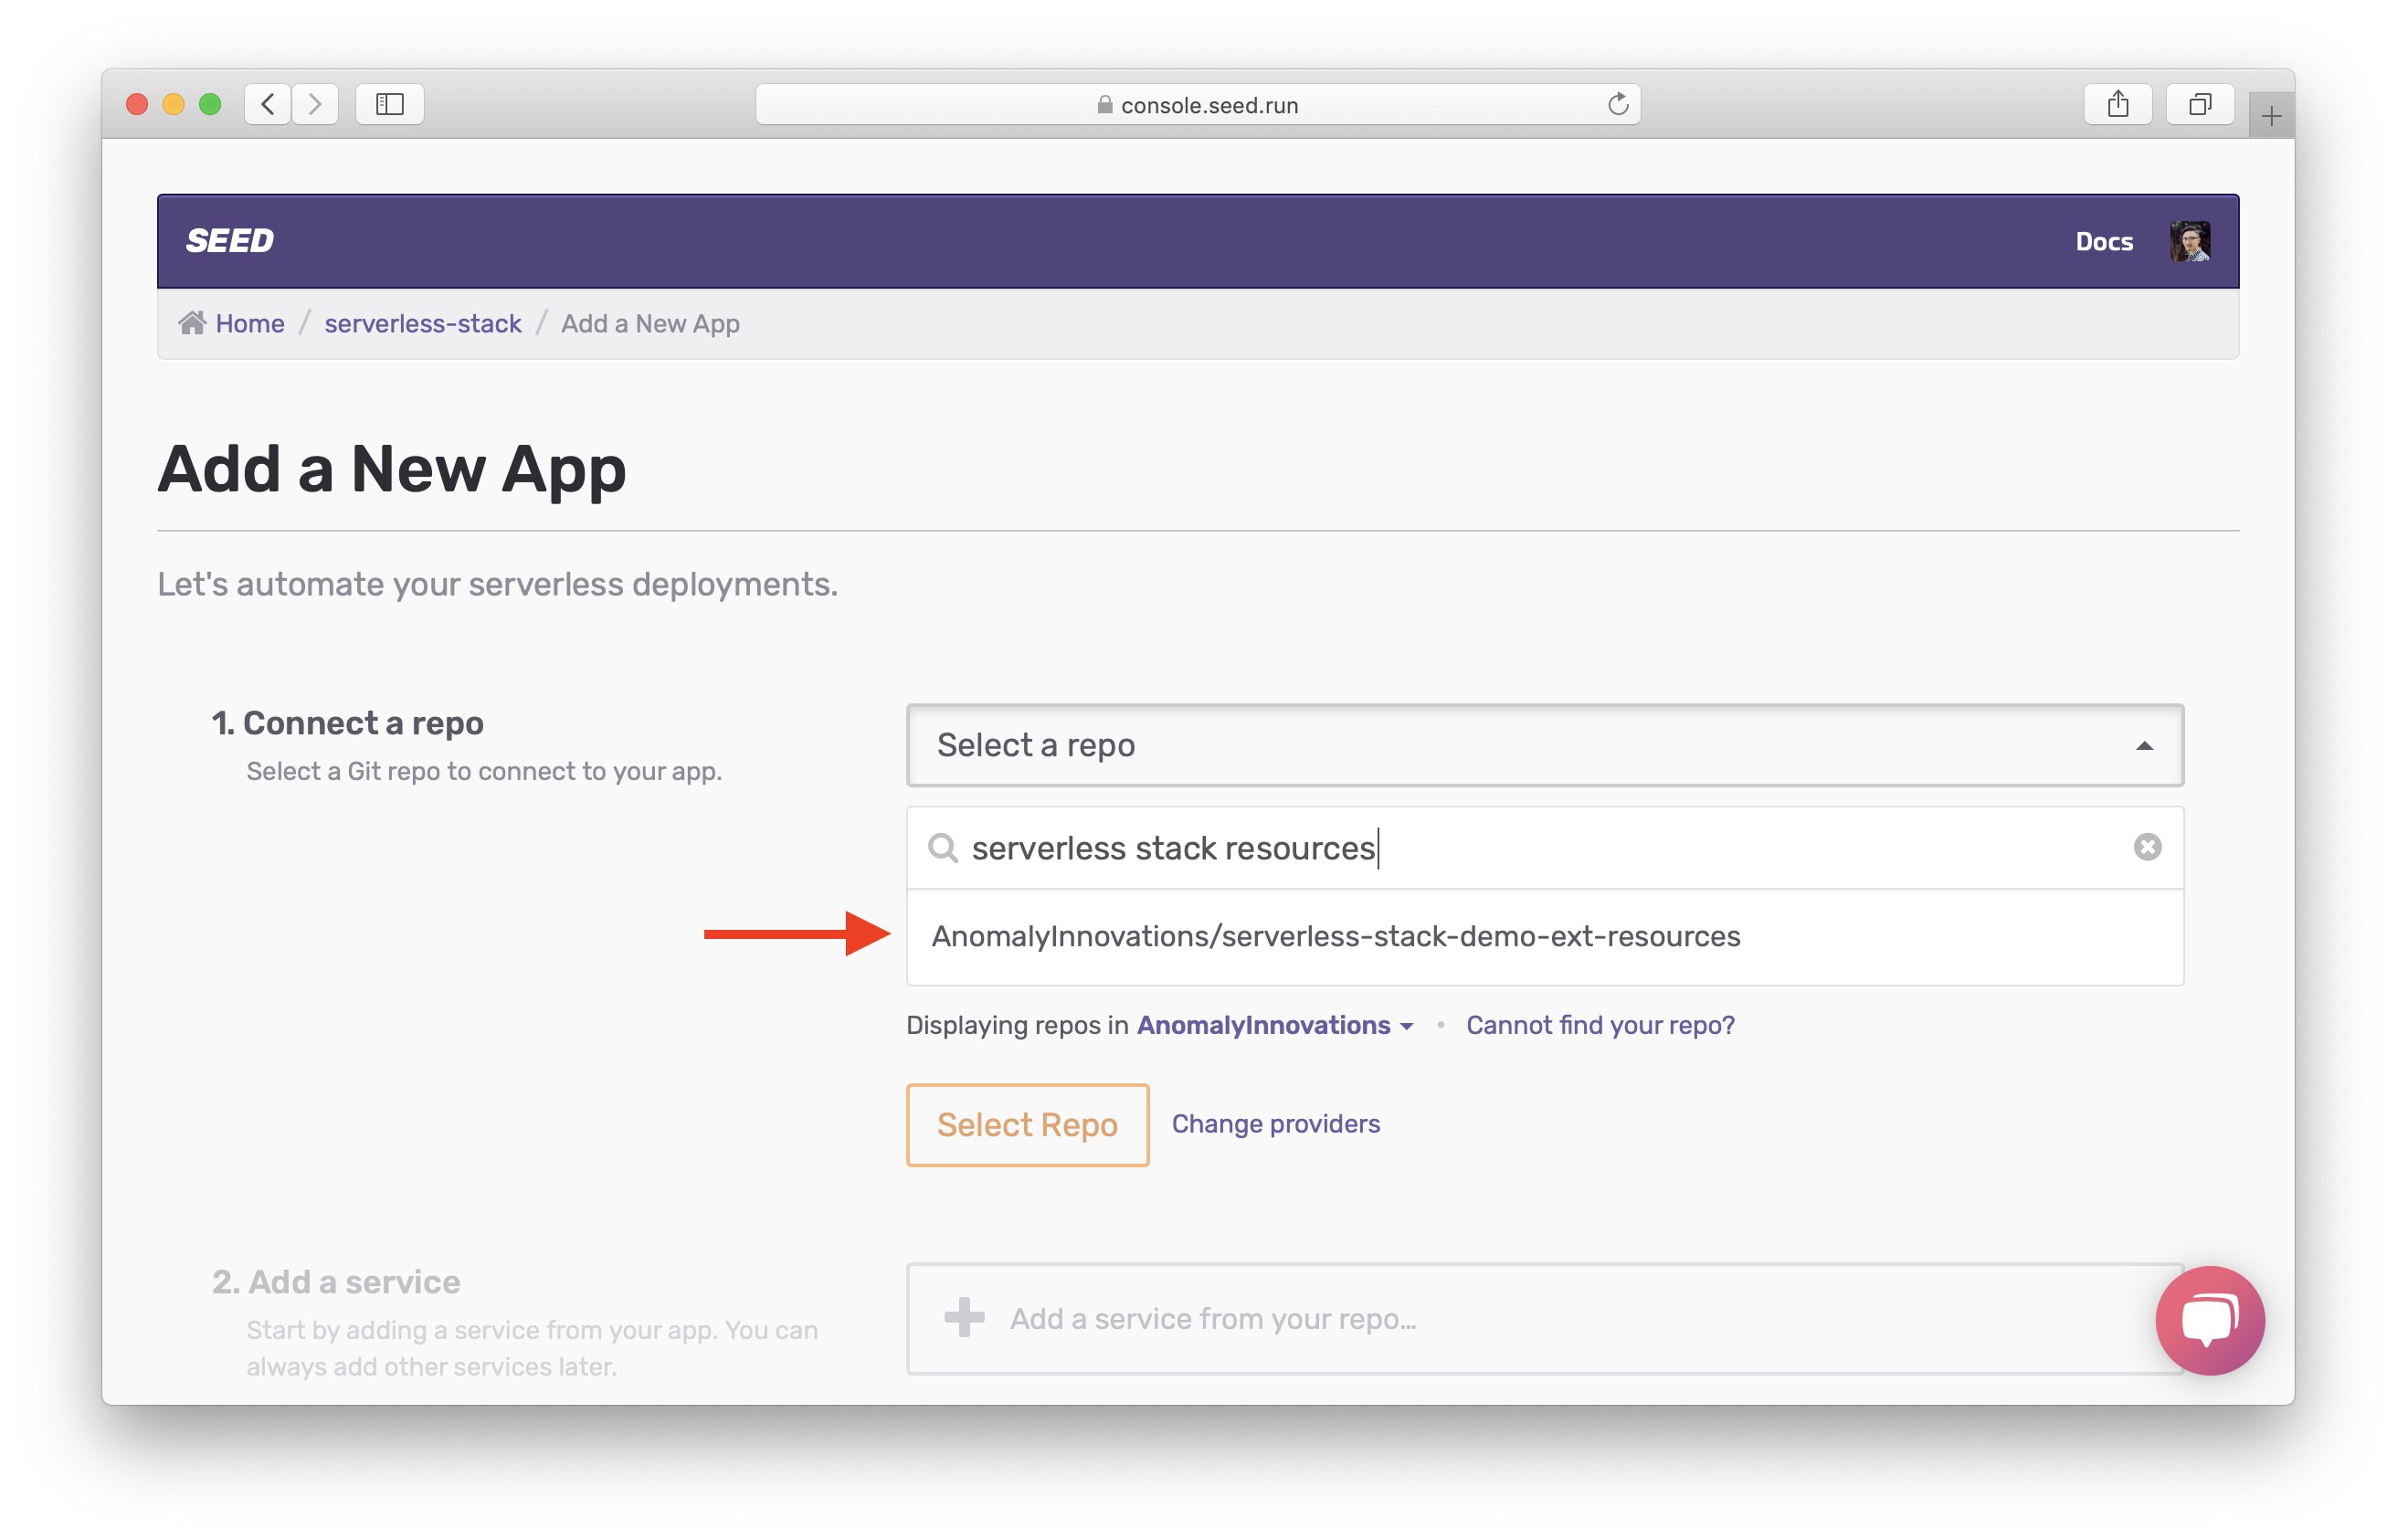
Click Select Repo.
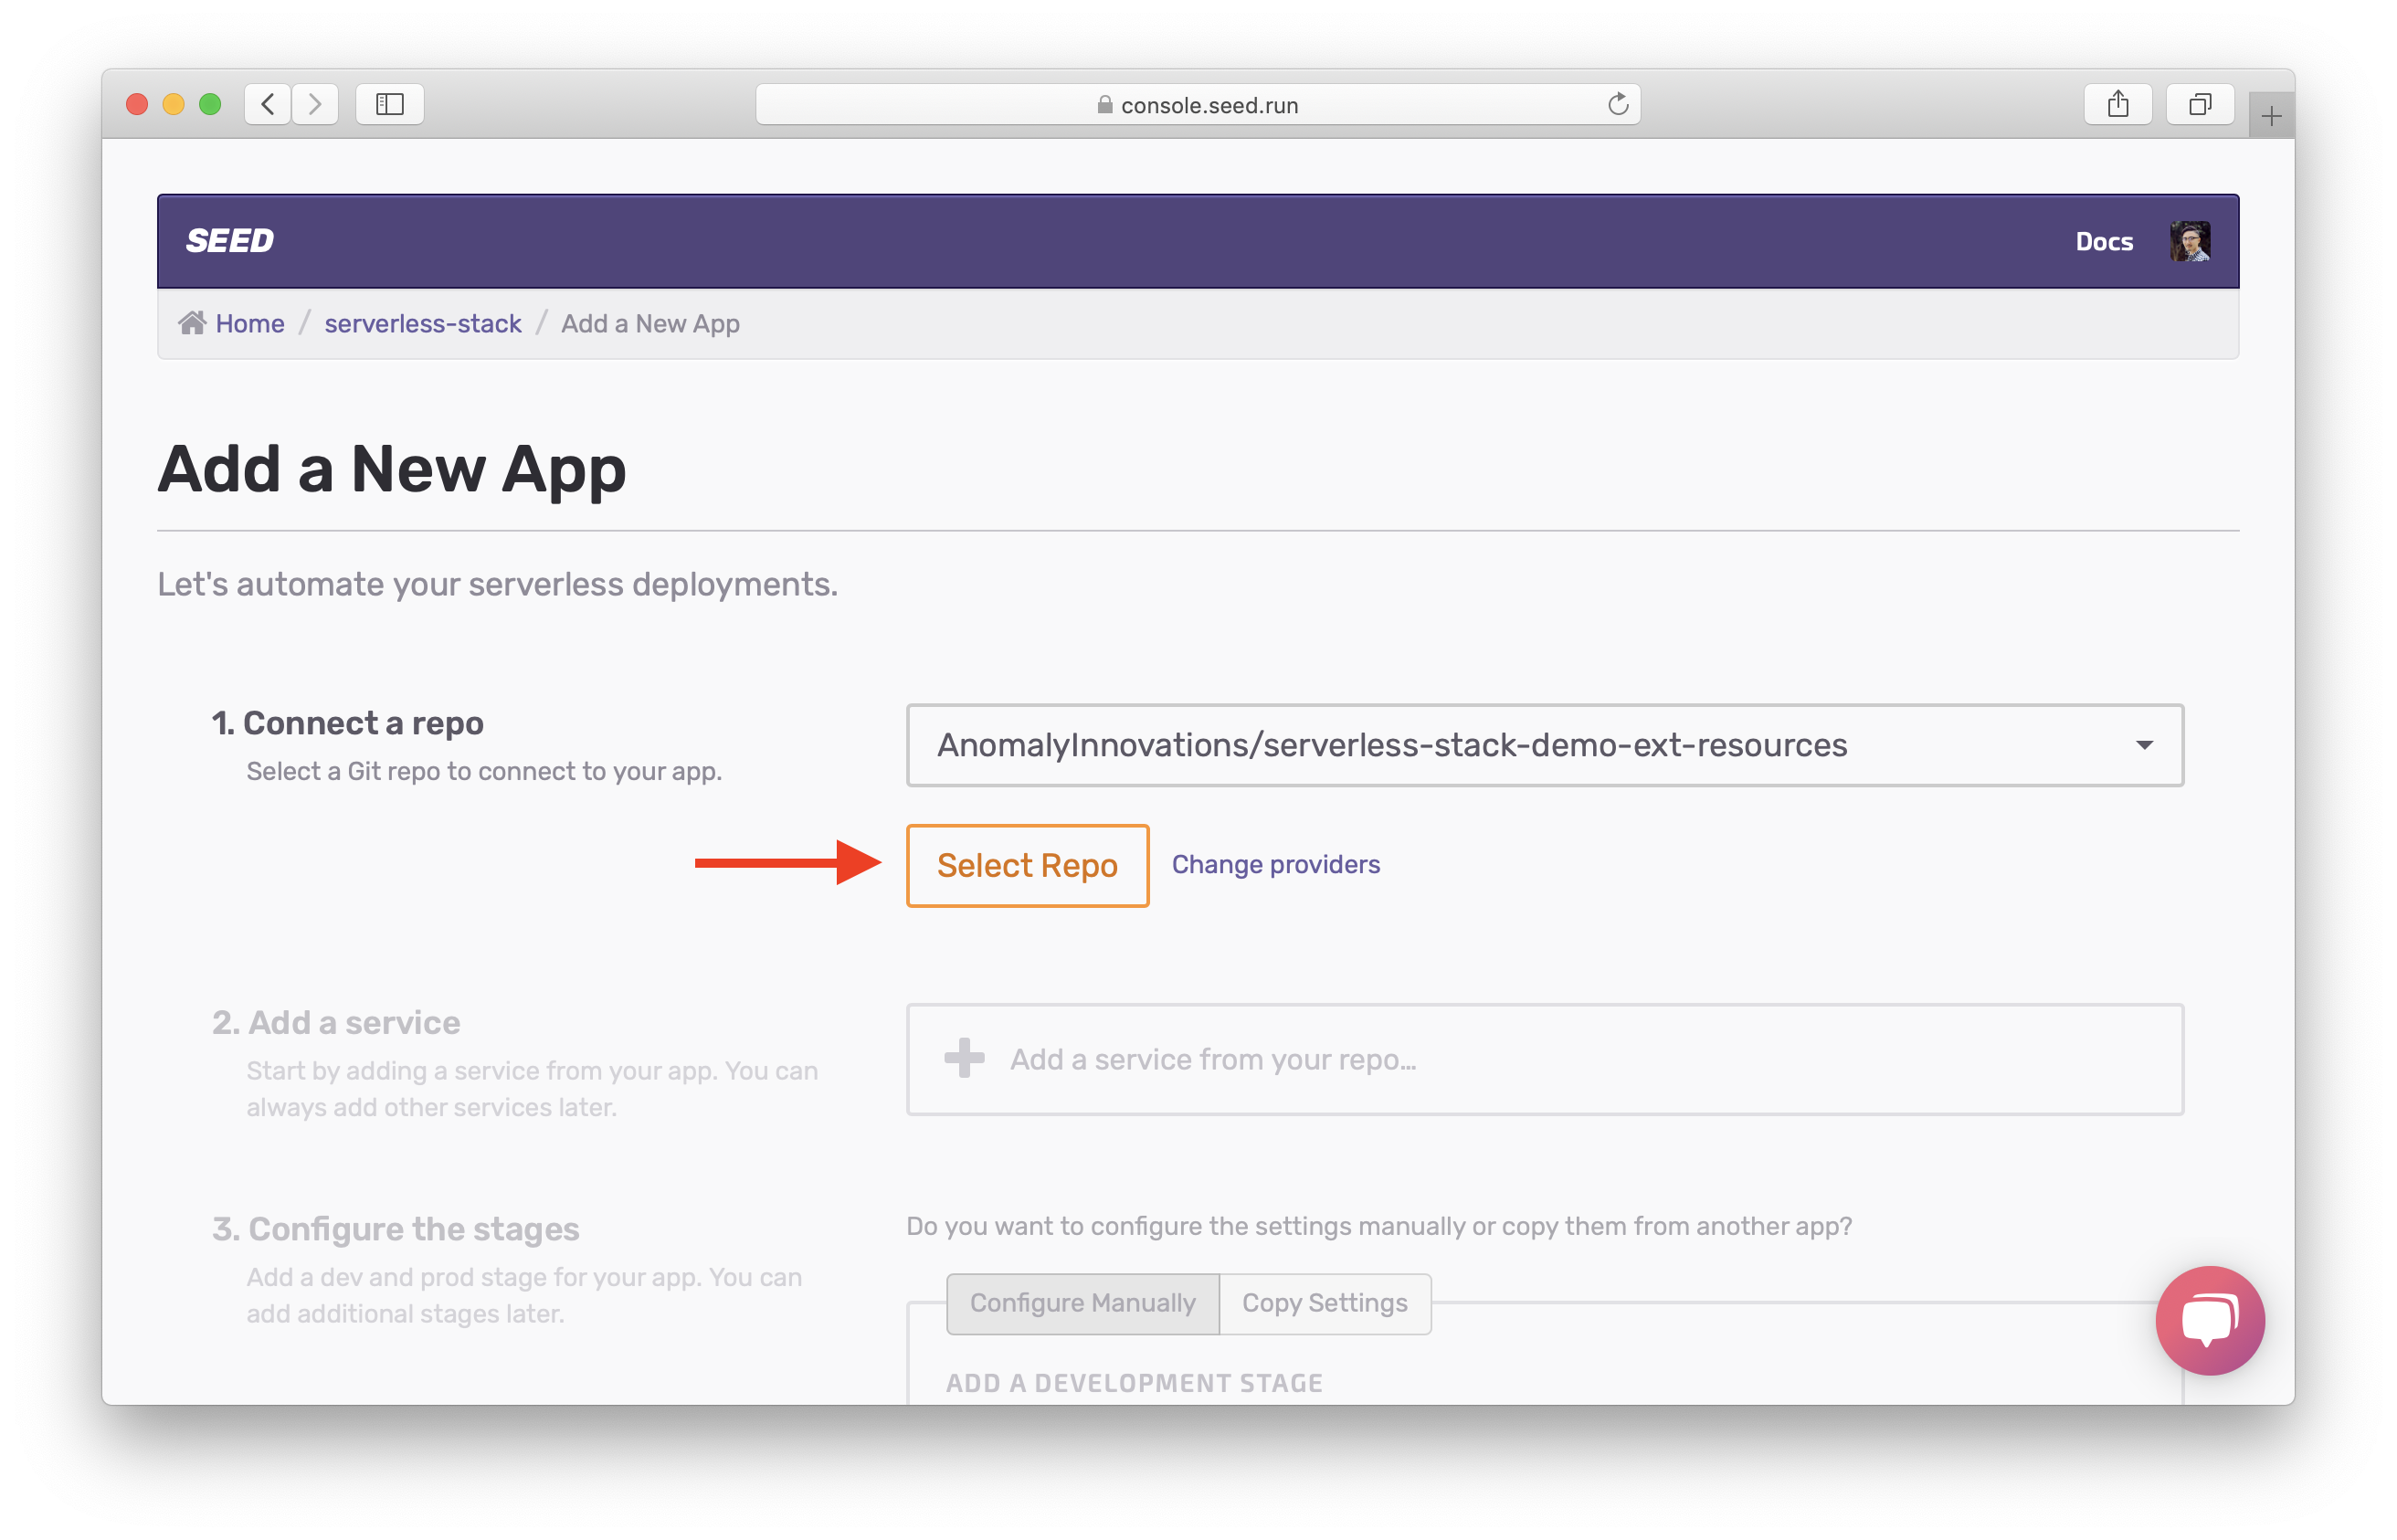
Seed will now automatically detect the Serverless services in the repo. After detection, select a service. Let’s select the auth service. Then click Add Service.

By default, Seed lets you configure two stages out of the box, a Development and a Production stage. Serverless Framework has a concept of stages. They are synonymous with environments. Recall that in the previous chapter we used this stage name to parameterize our resource names.
Let’s first configure the Development stage. Enter:
- Stage Name: dev
- AWS IAM Access Key and AWS IAM Secret Key: the IAM credentials of the IAM user you created in your Development AWS account above.
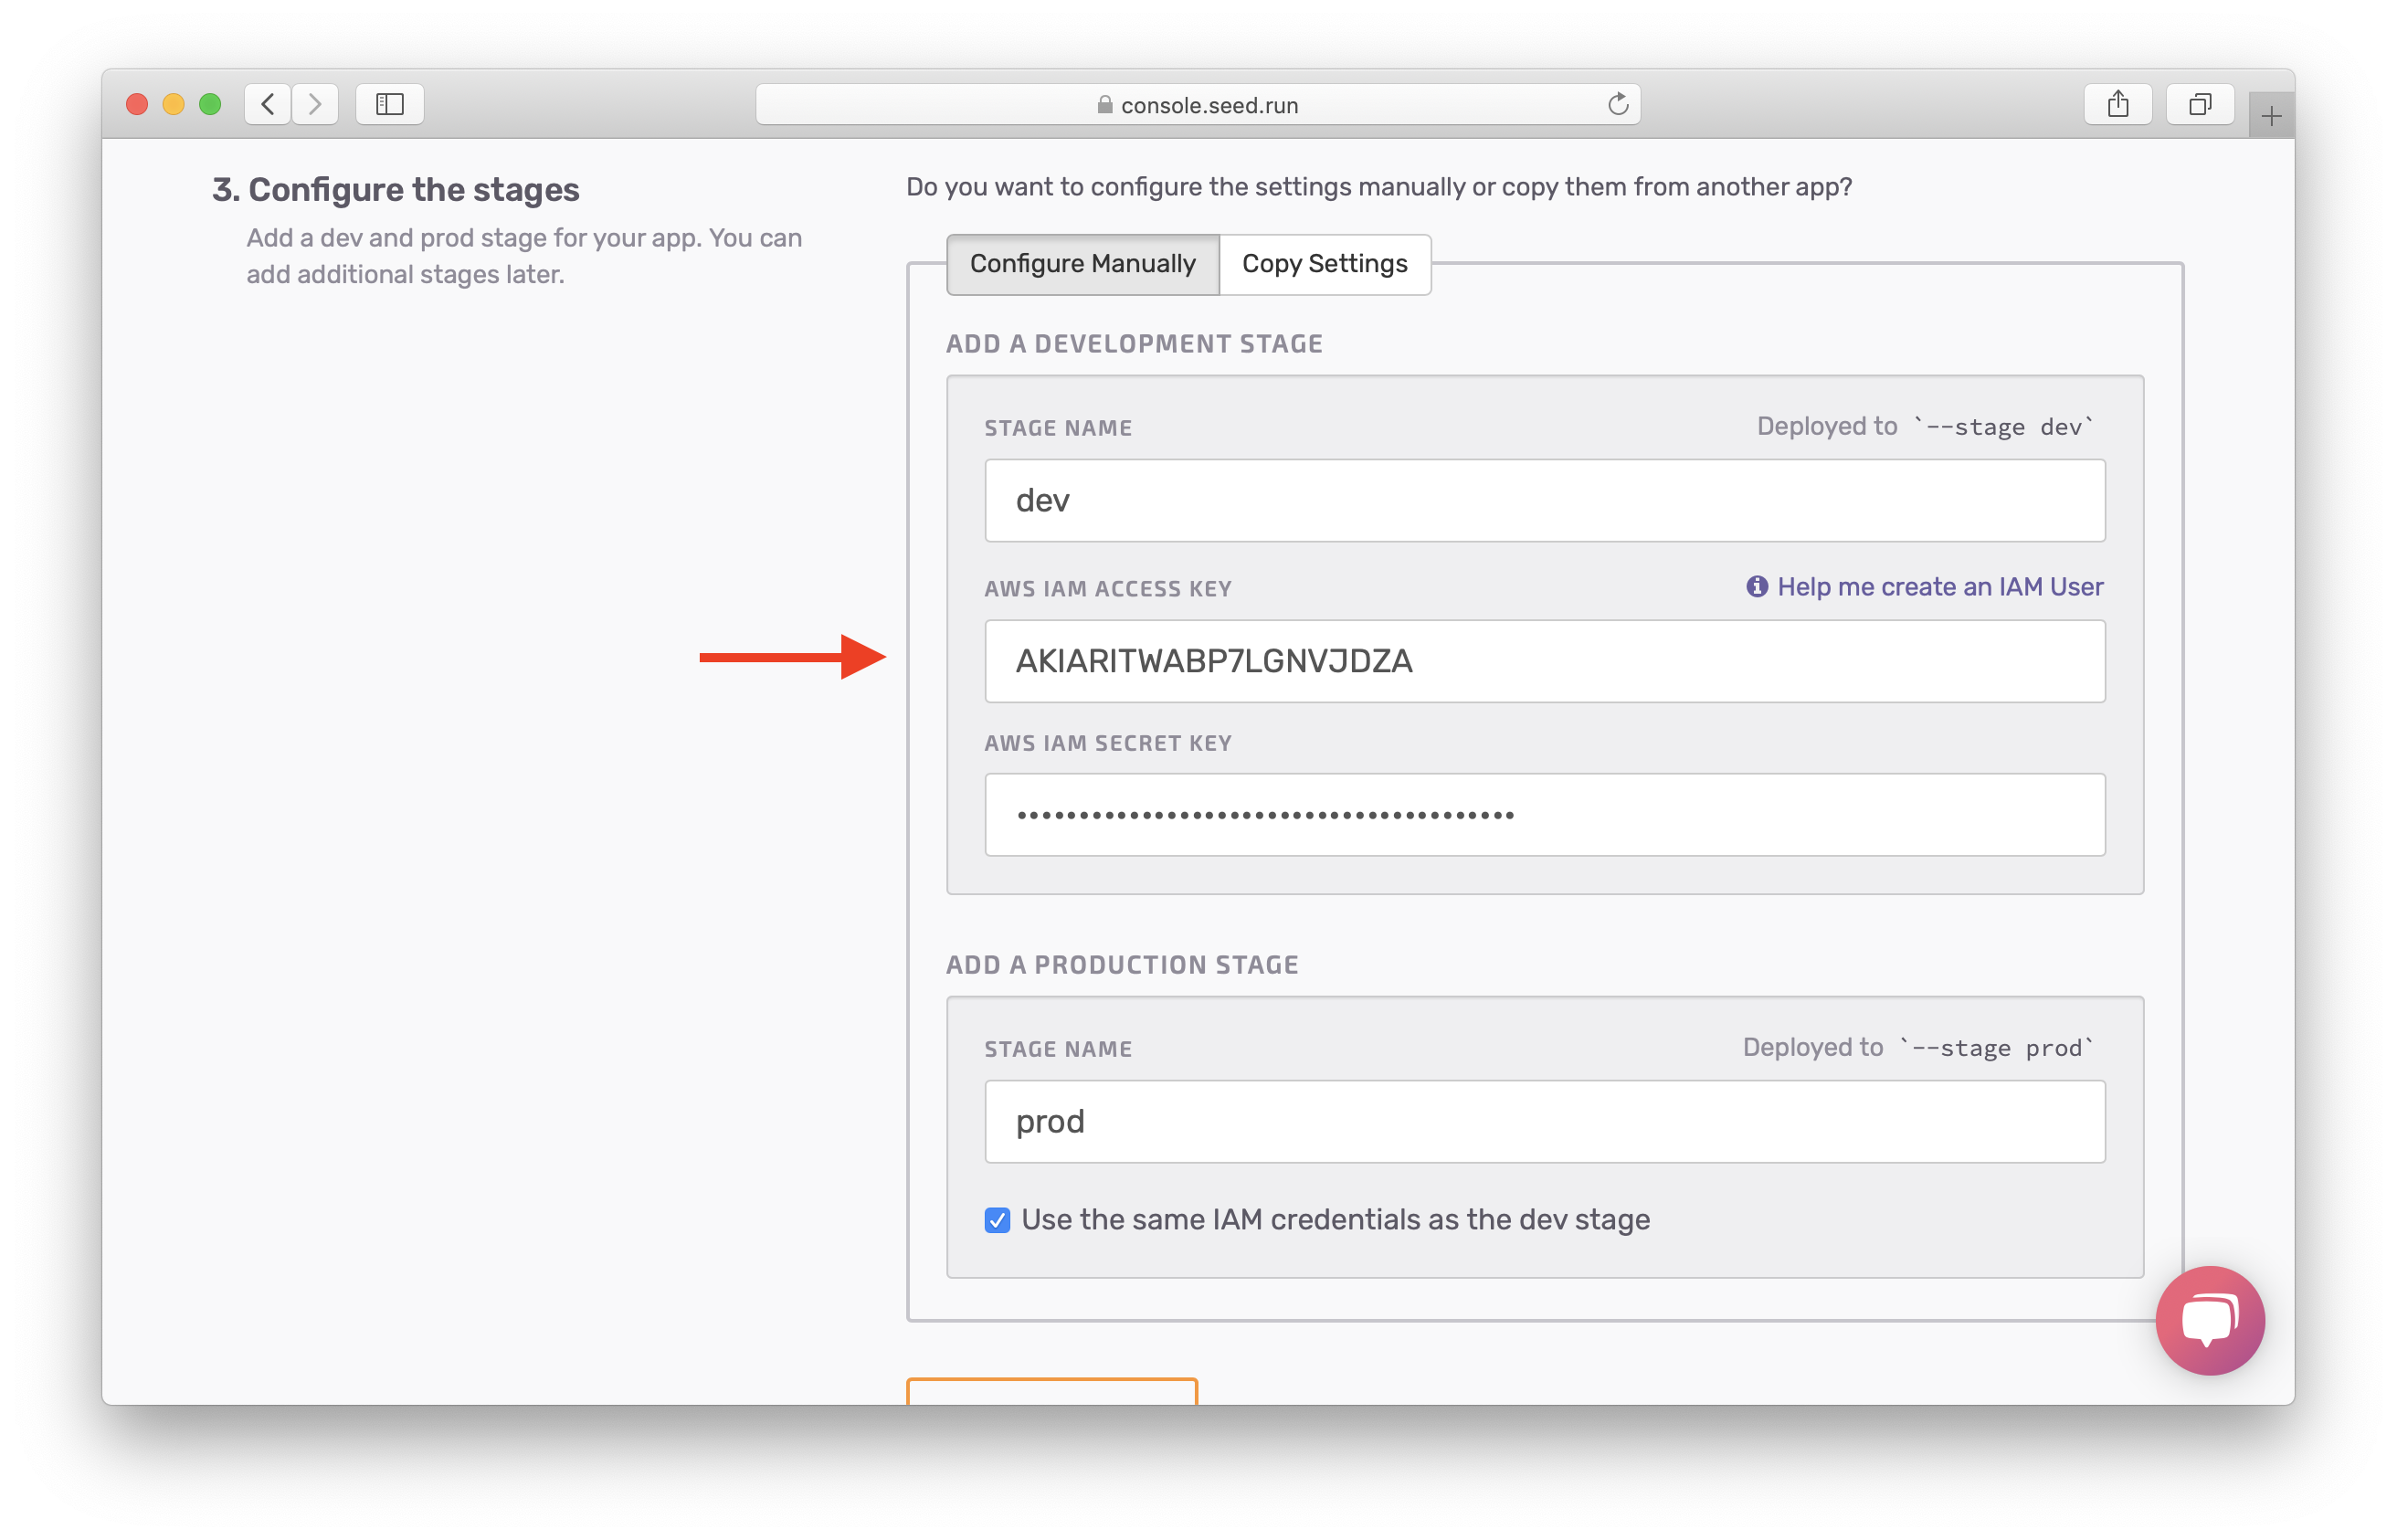
Next, let’s configure the Production stage. Uncheck Use the same IAM credentials as the dev stage checkbox since we want to use a different AWS account for Production. Then enter:
- Stage Name: prod
- AWS IAM Access Key and AWS IAM Secret Key: the IAM credentials of the IAM user you created in your Production AWS account above.
Finally hit Add a New App.

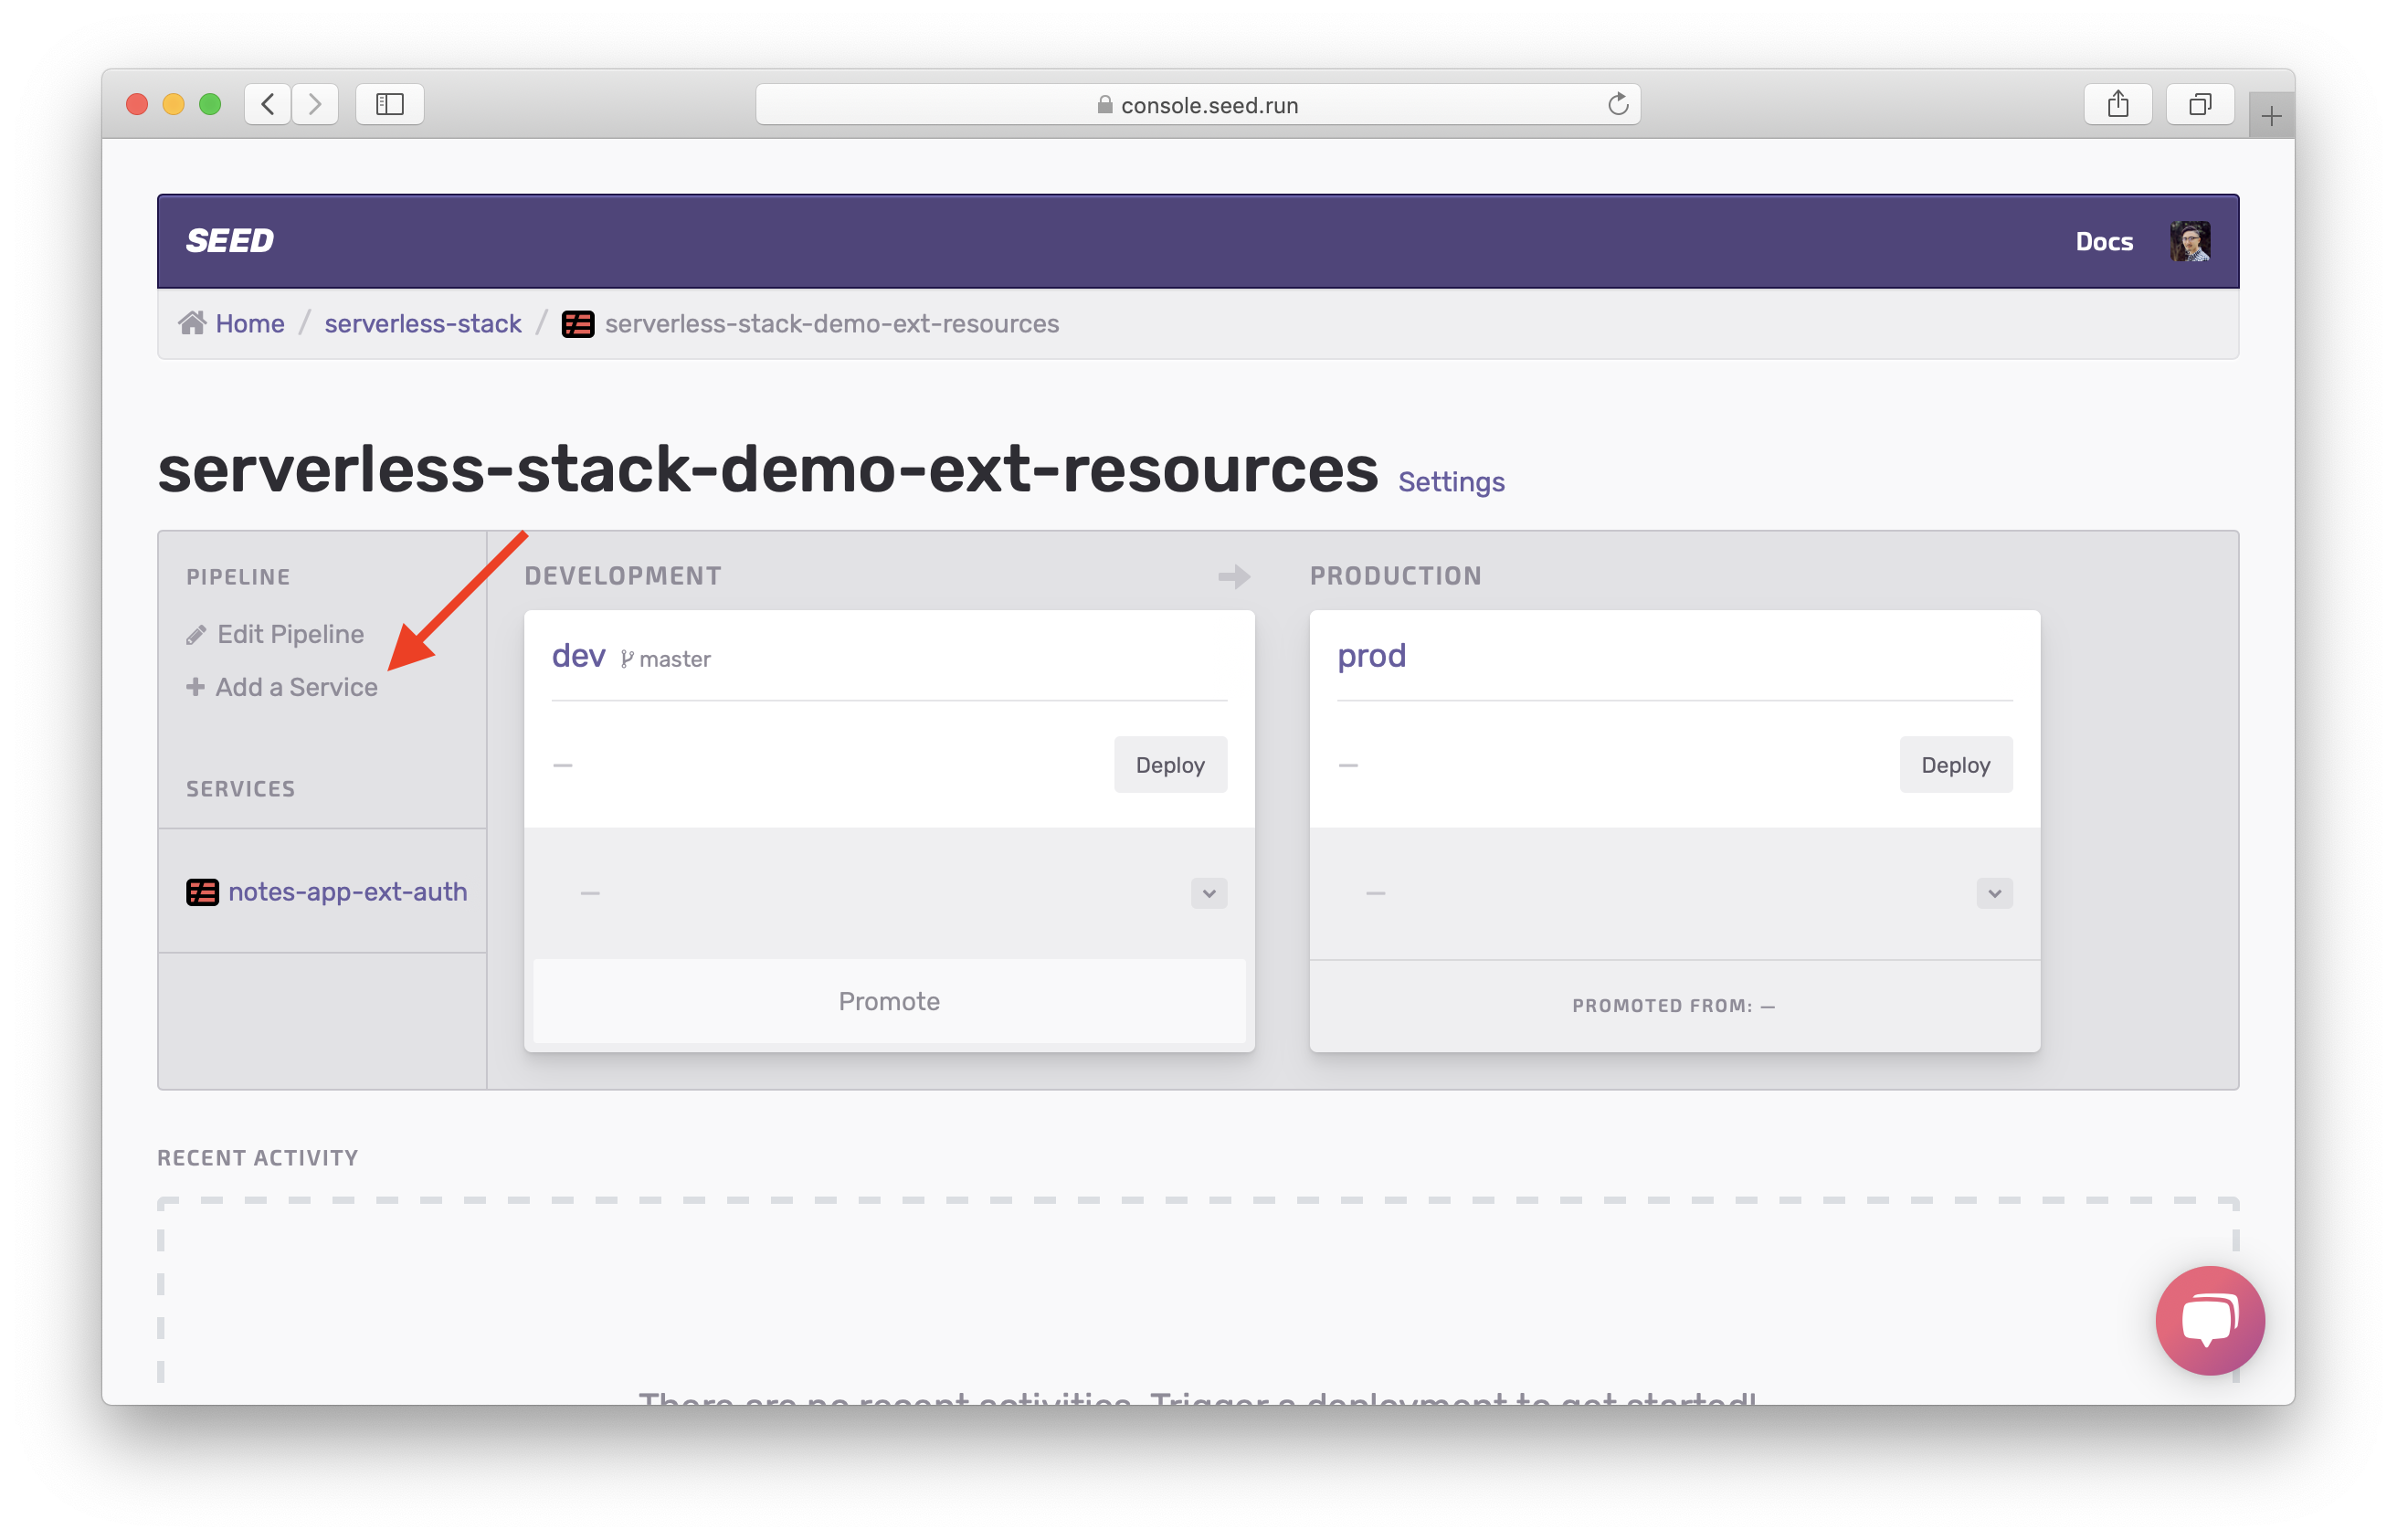
Now, let’s add the other services in the resources repo. Click Add a Service.
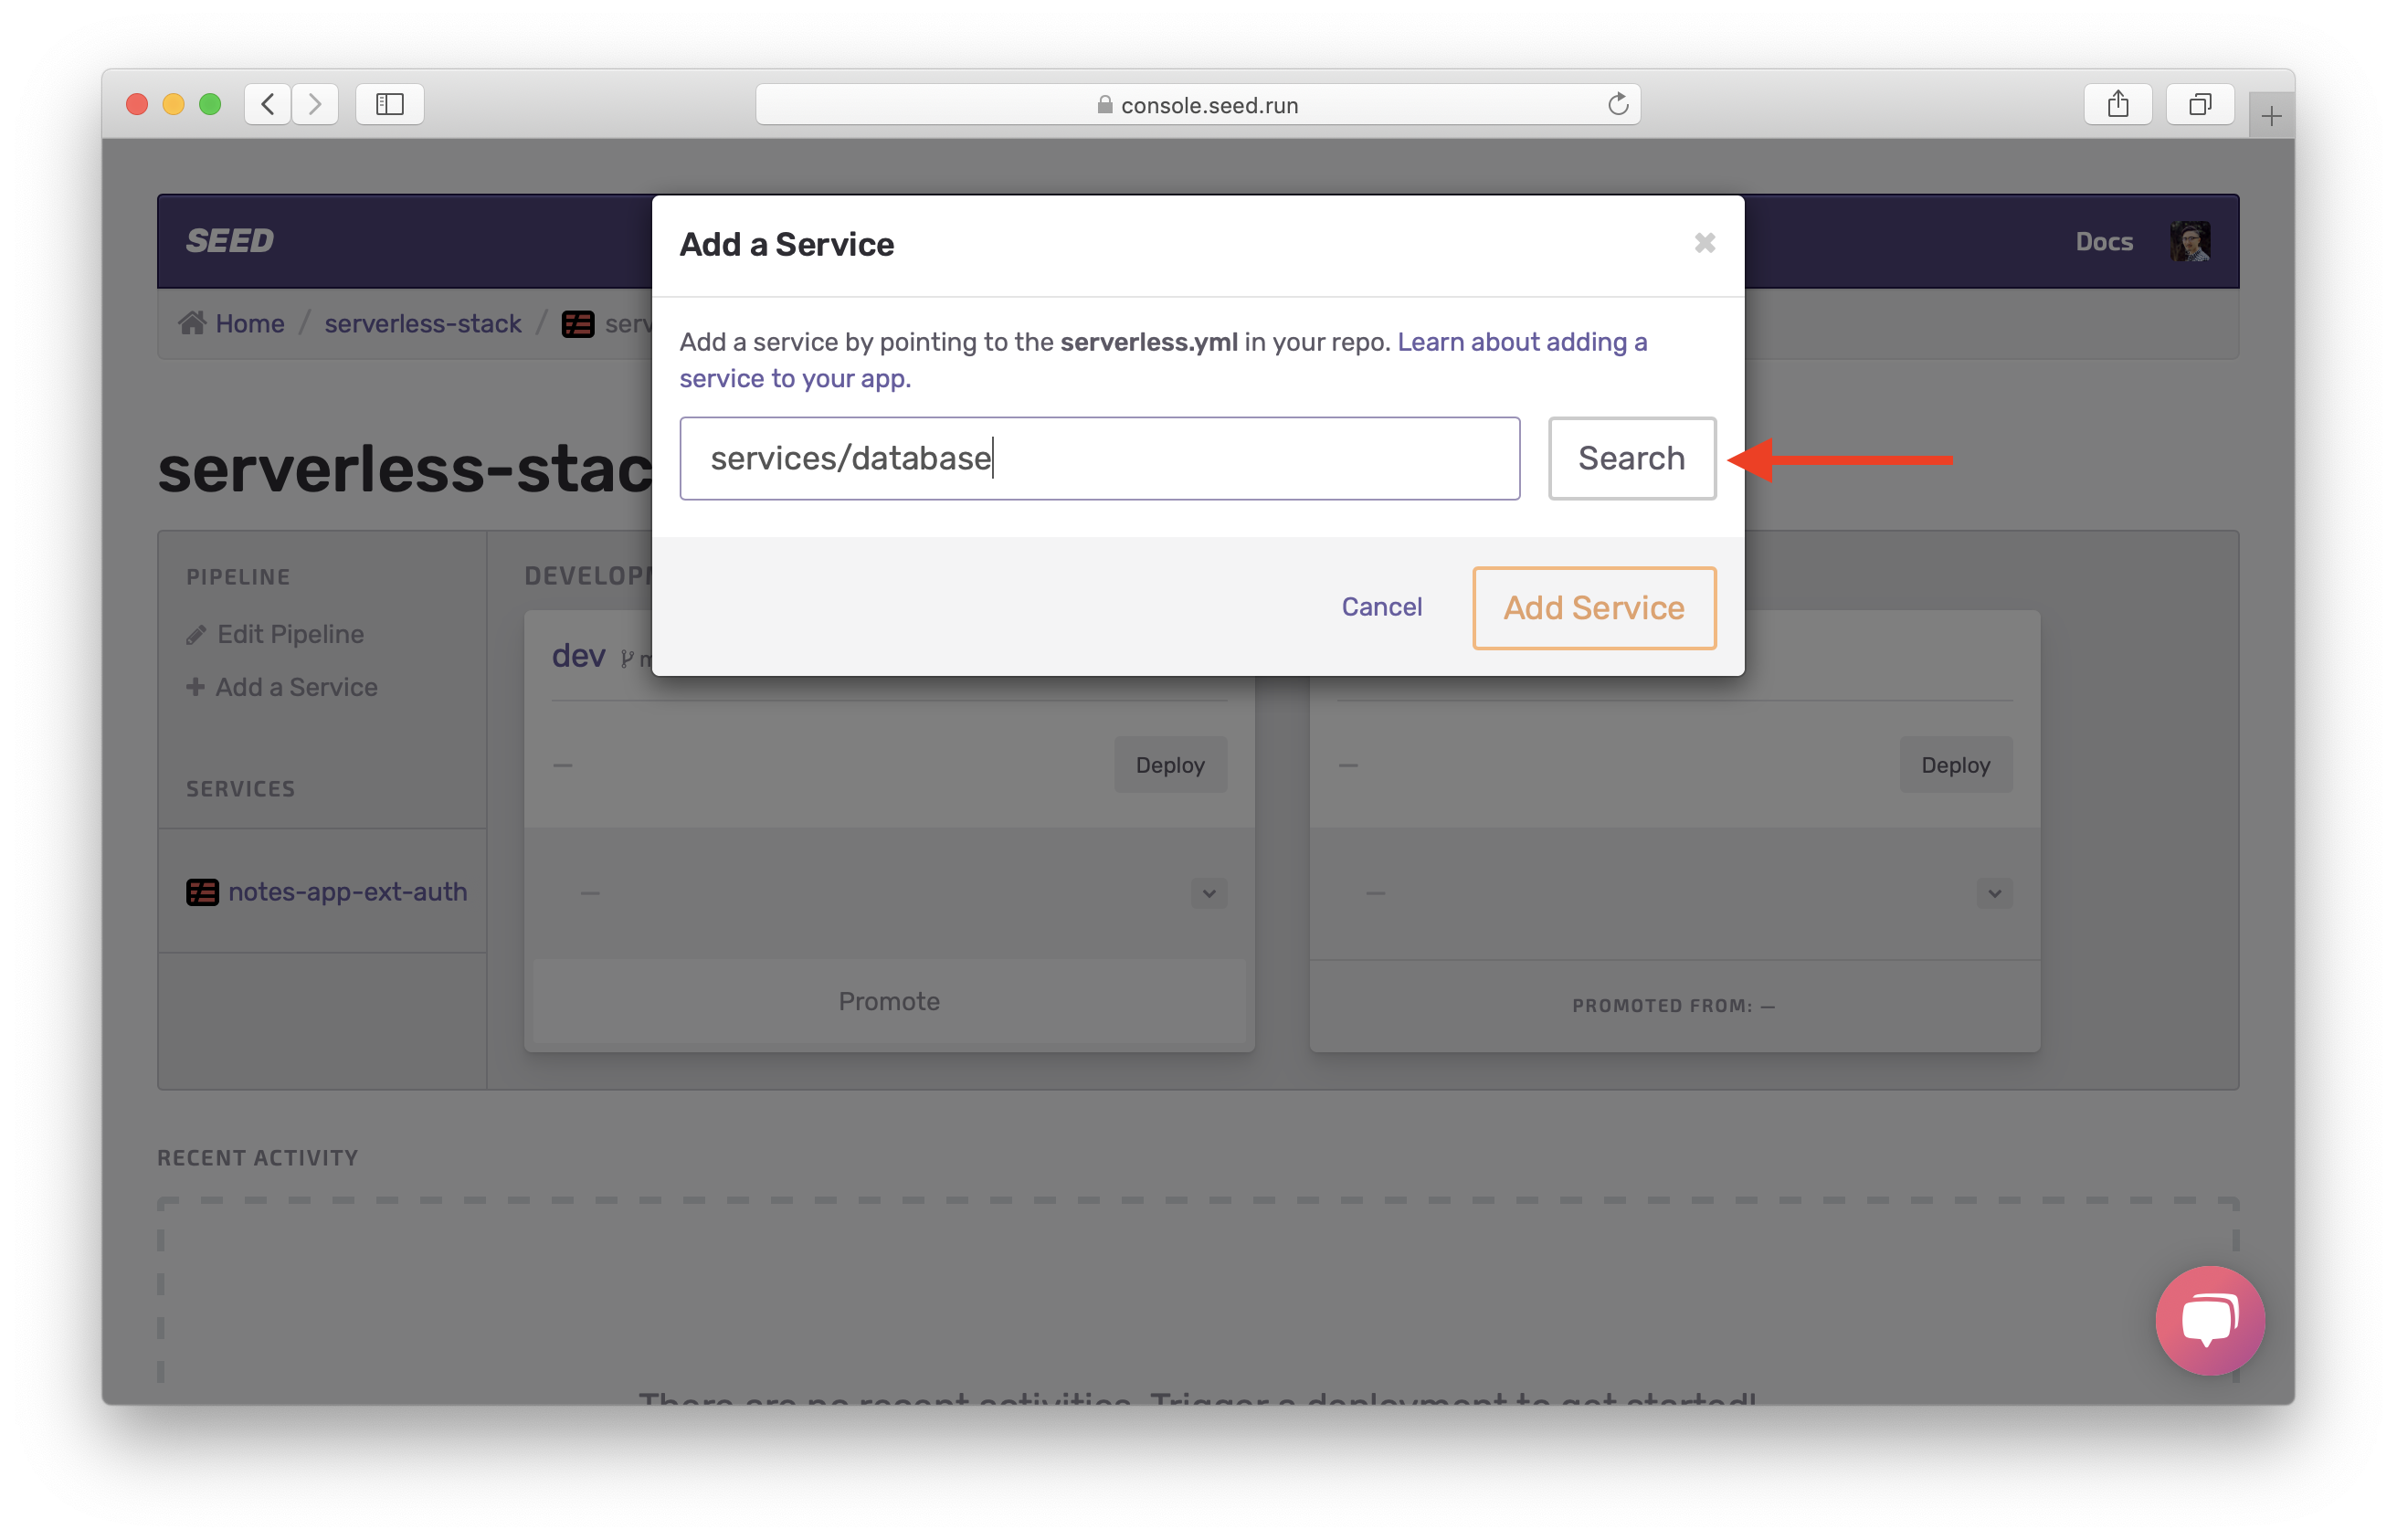
Enter the path to the database service services/database. Then hit Search.
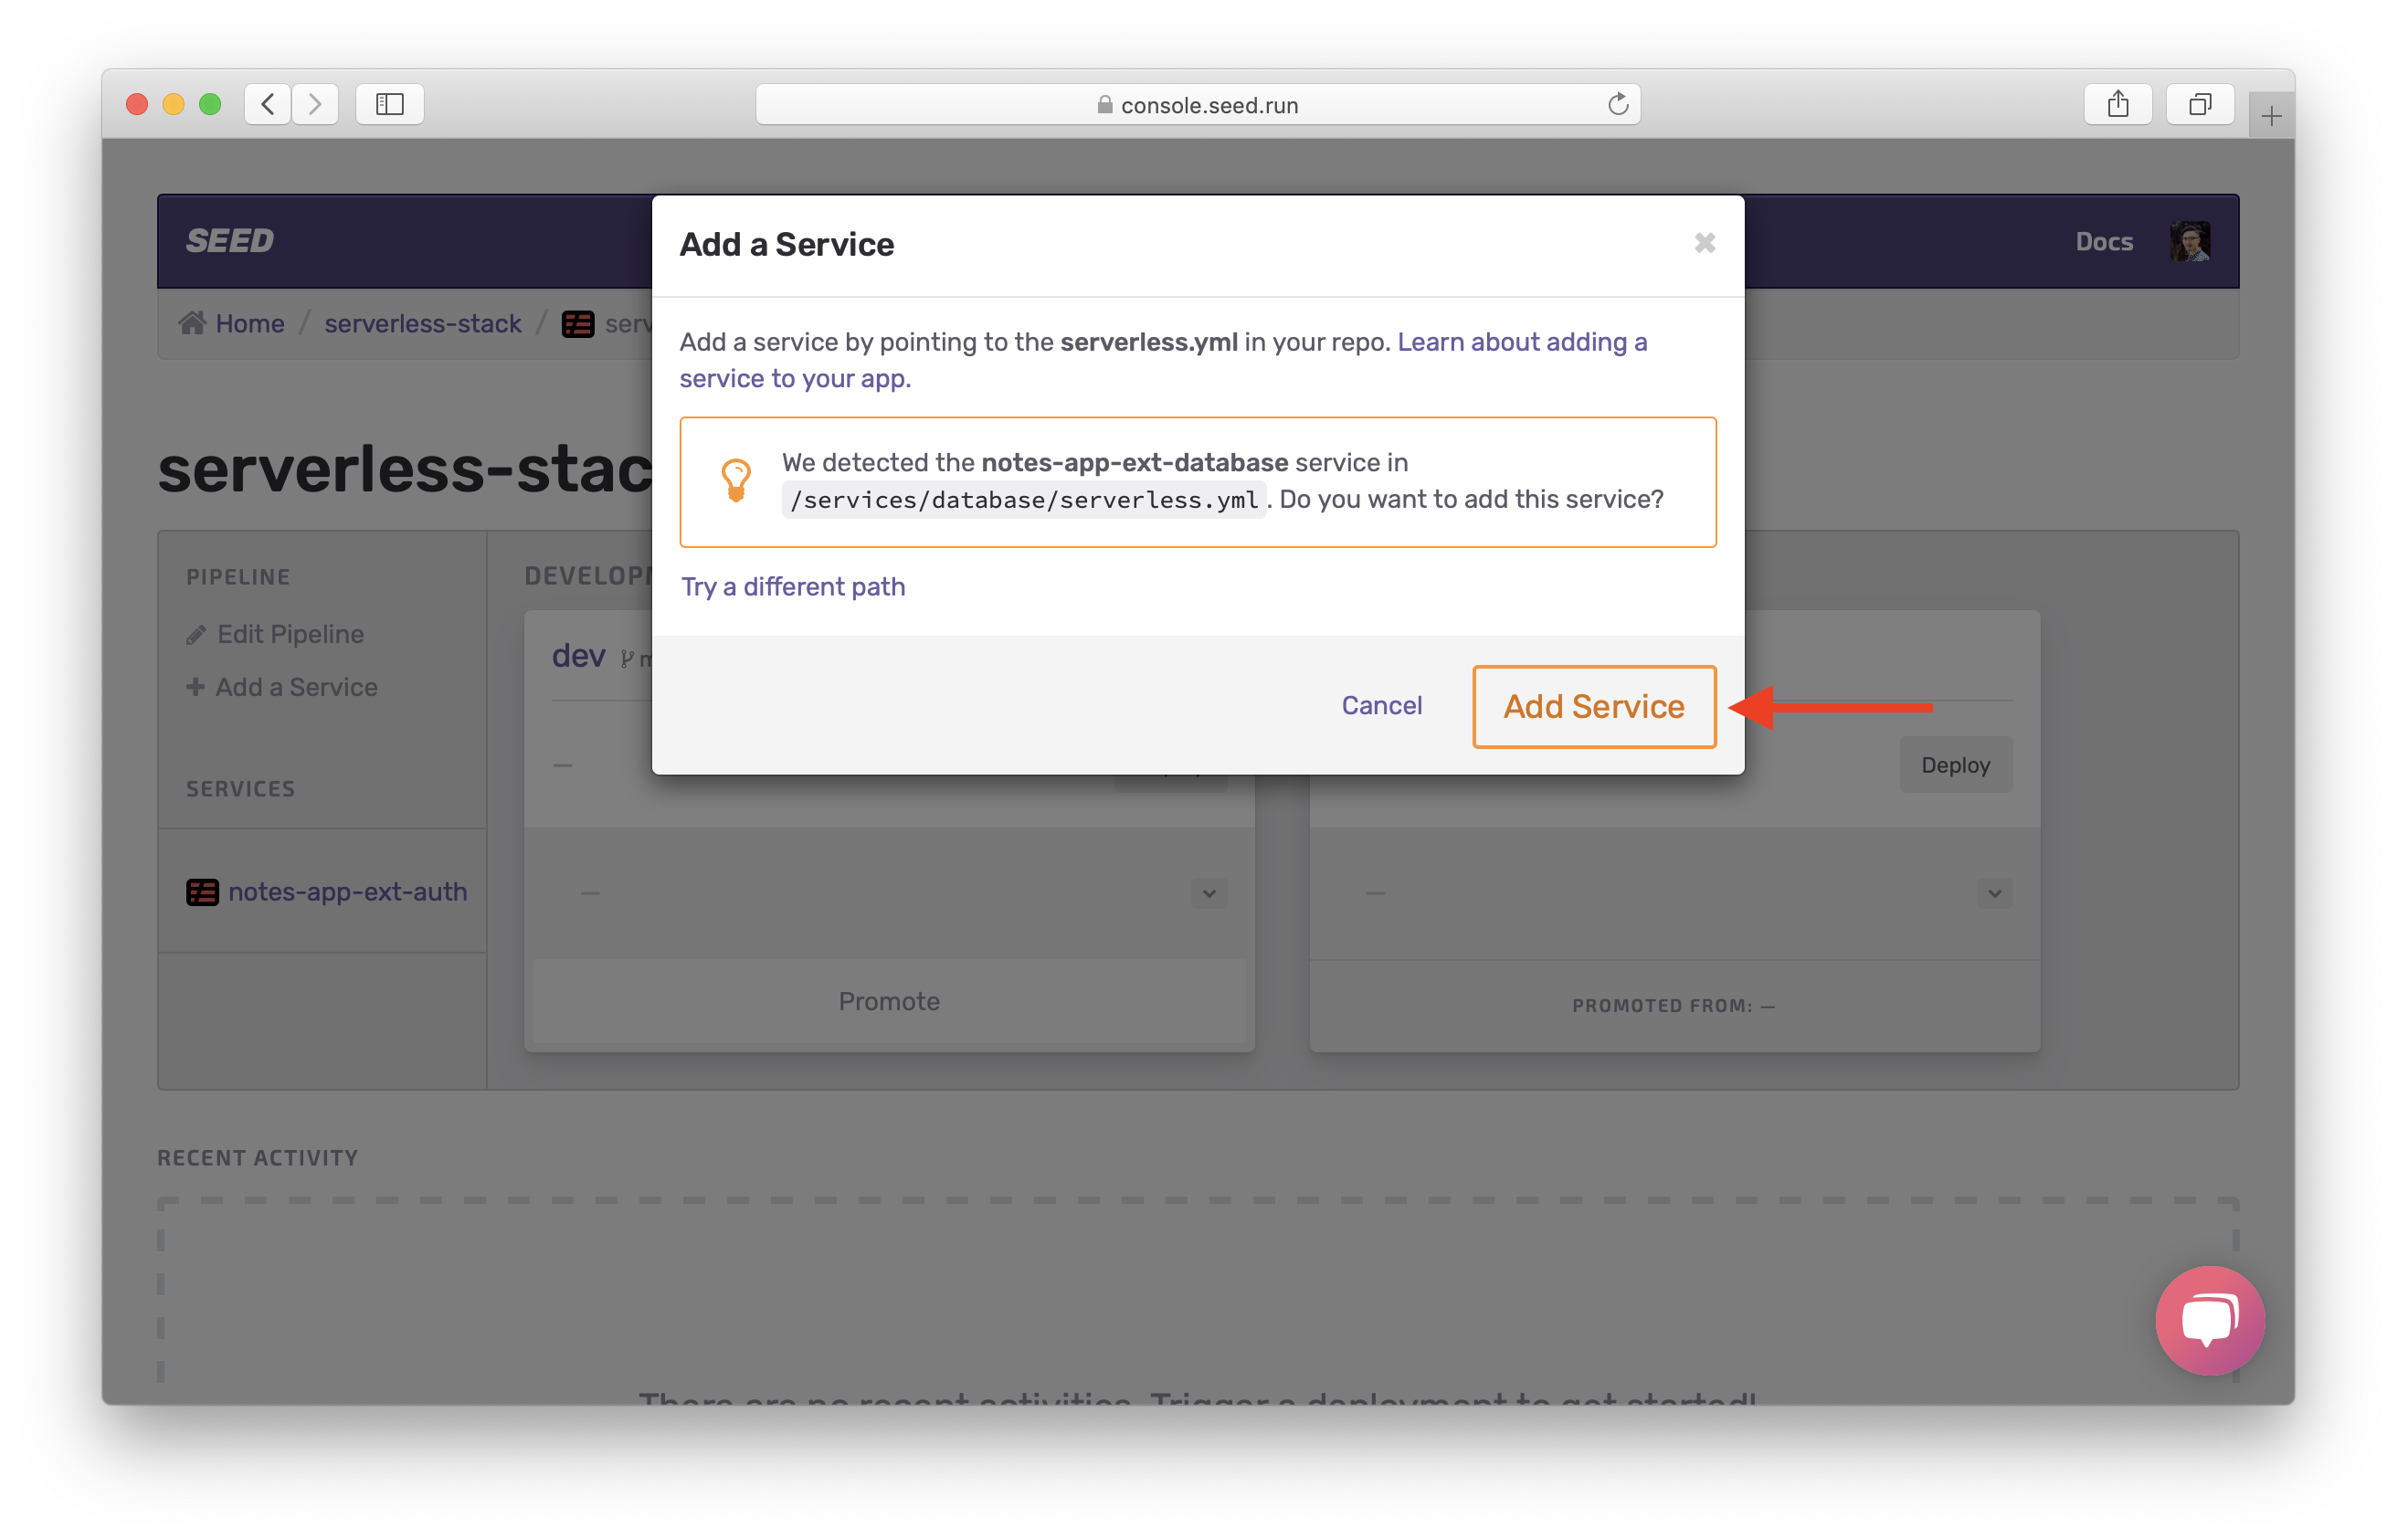
Seed will search for the serverless.yml file in the path, to ensure you entered the right path. Hit Add Service.
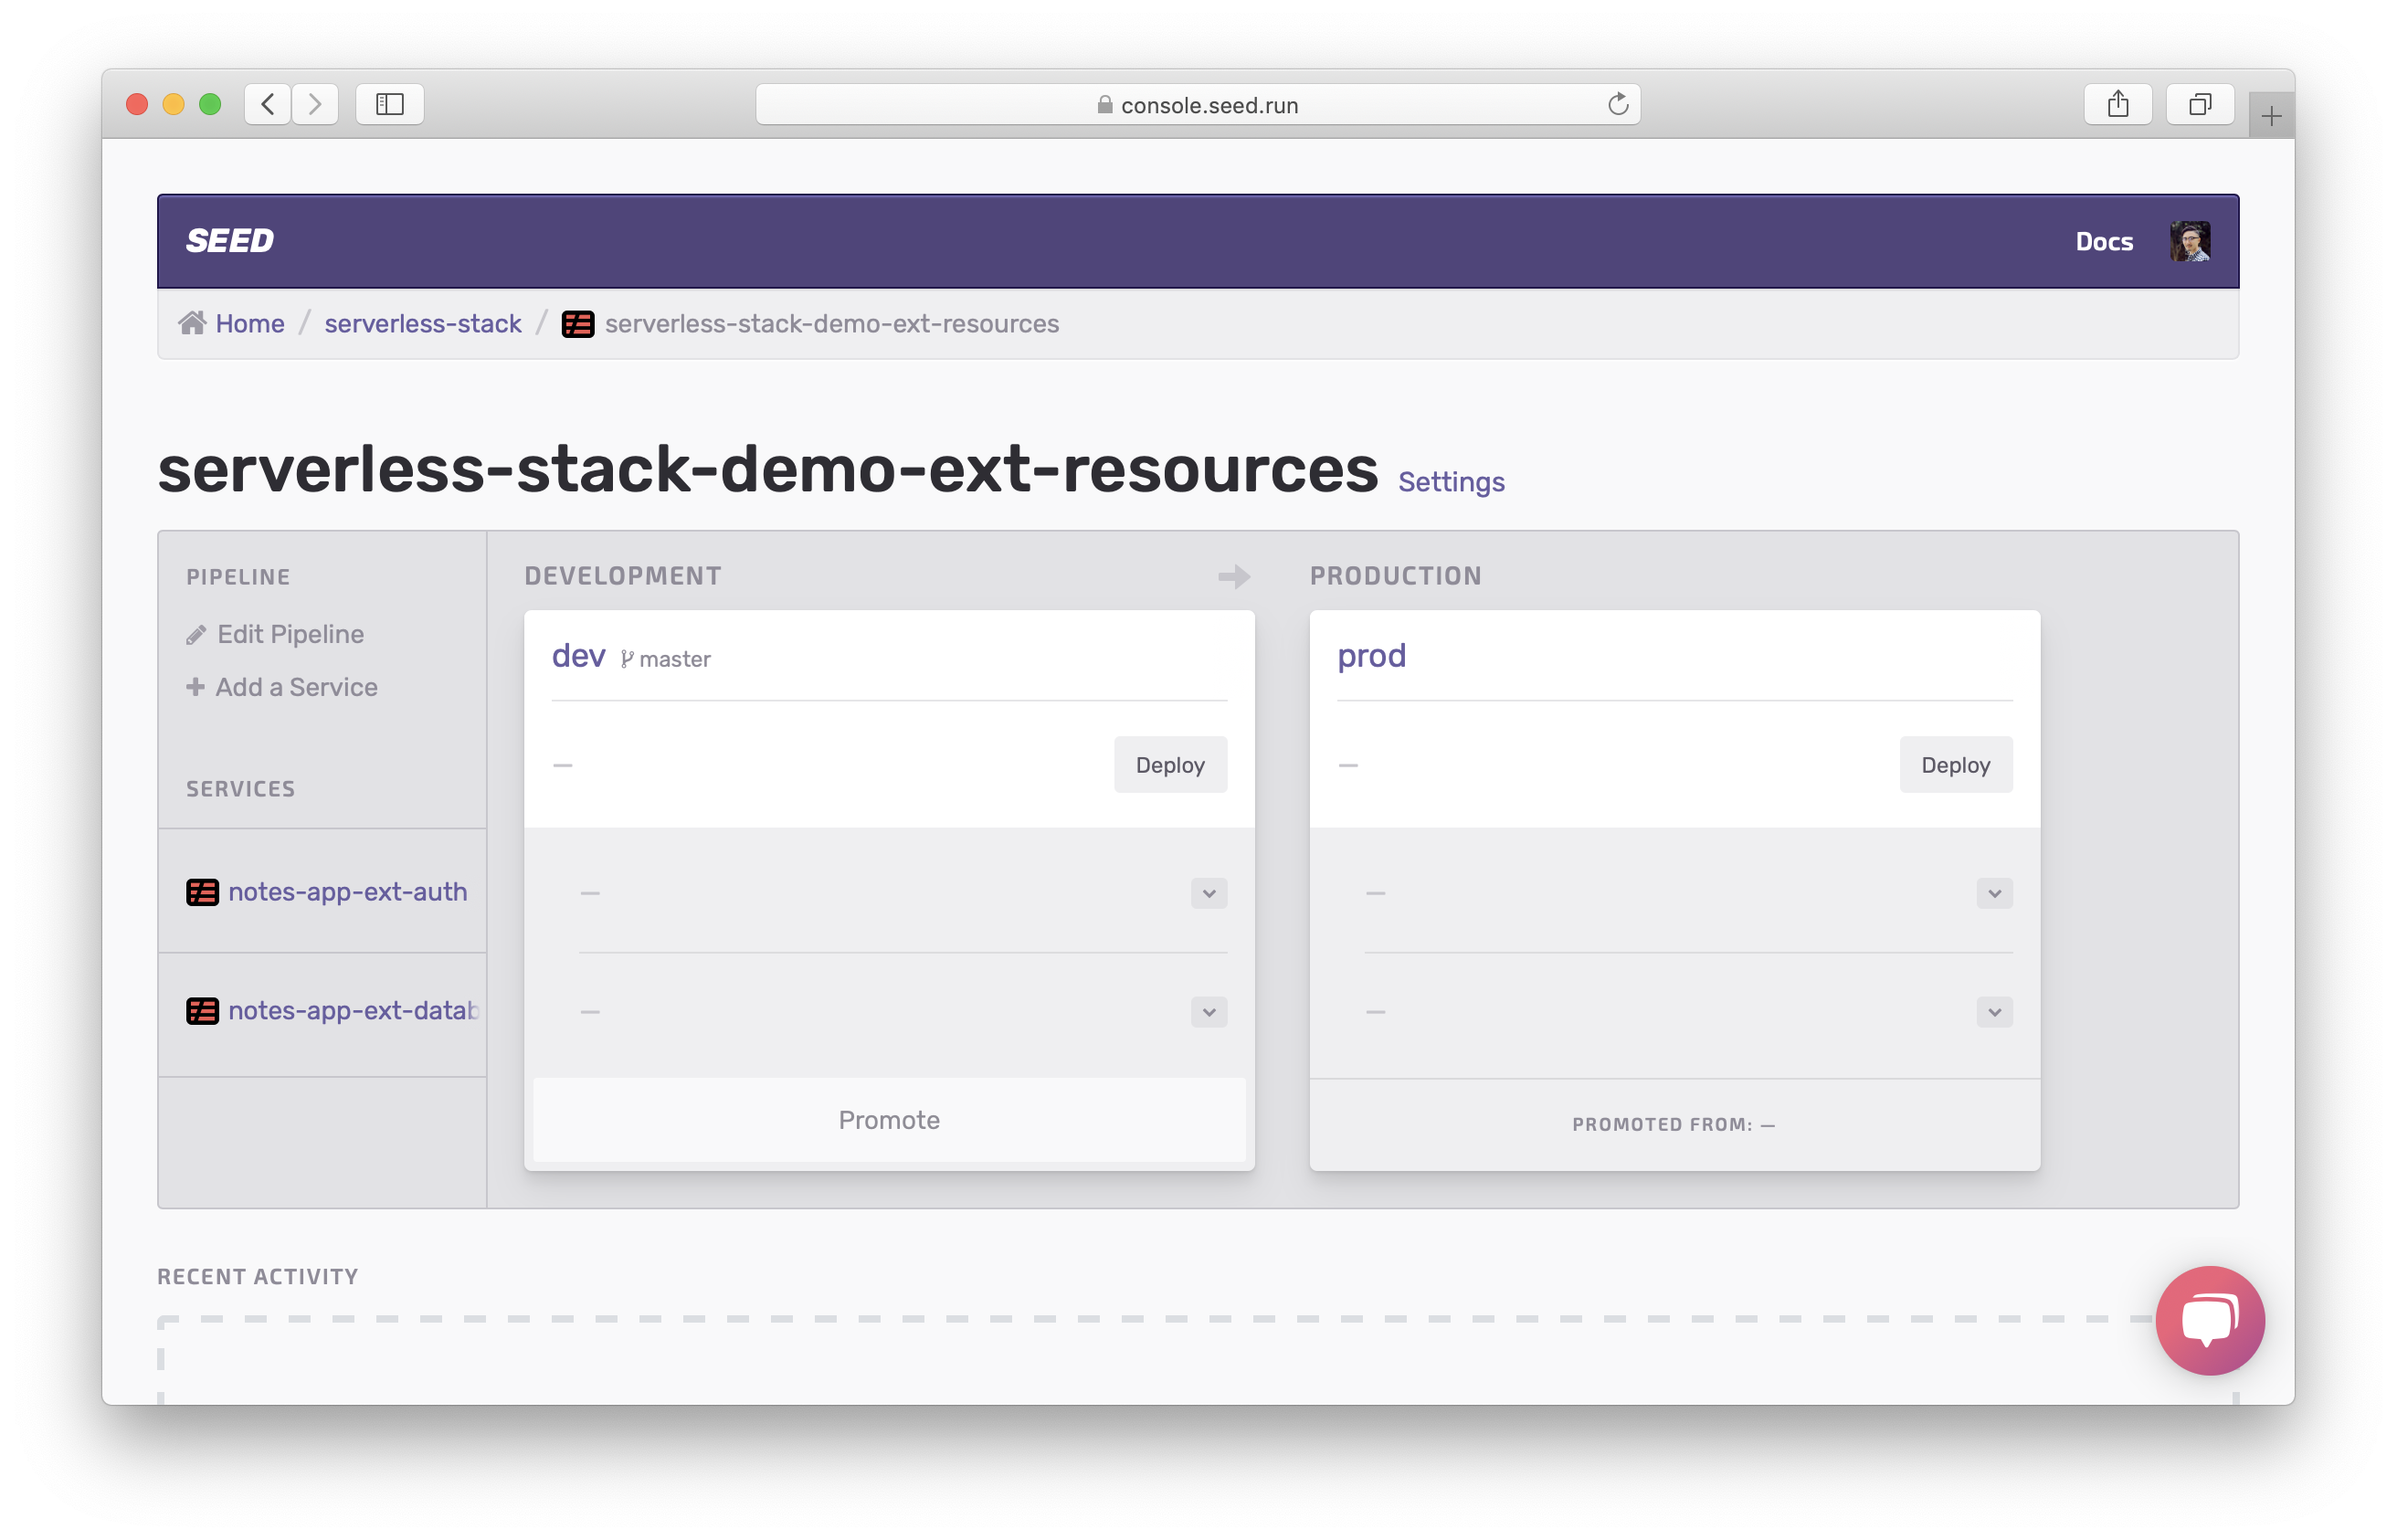
Now you have 2 services.
Repeat the process and add the uploads service in services/uploads.
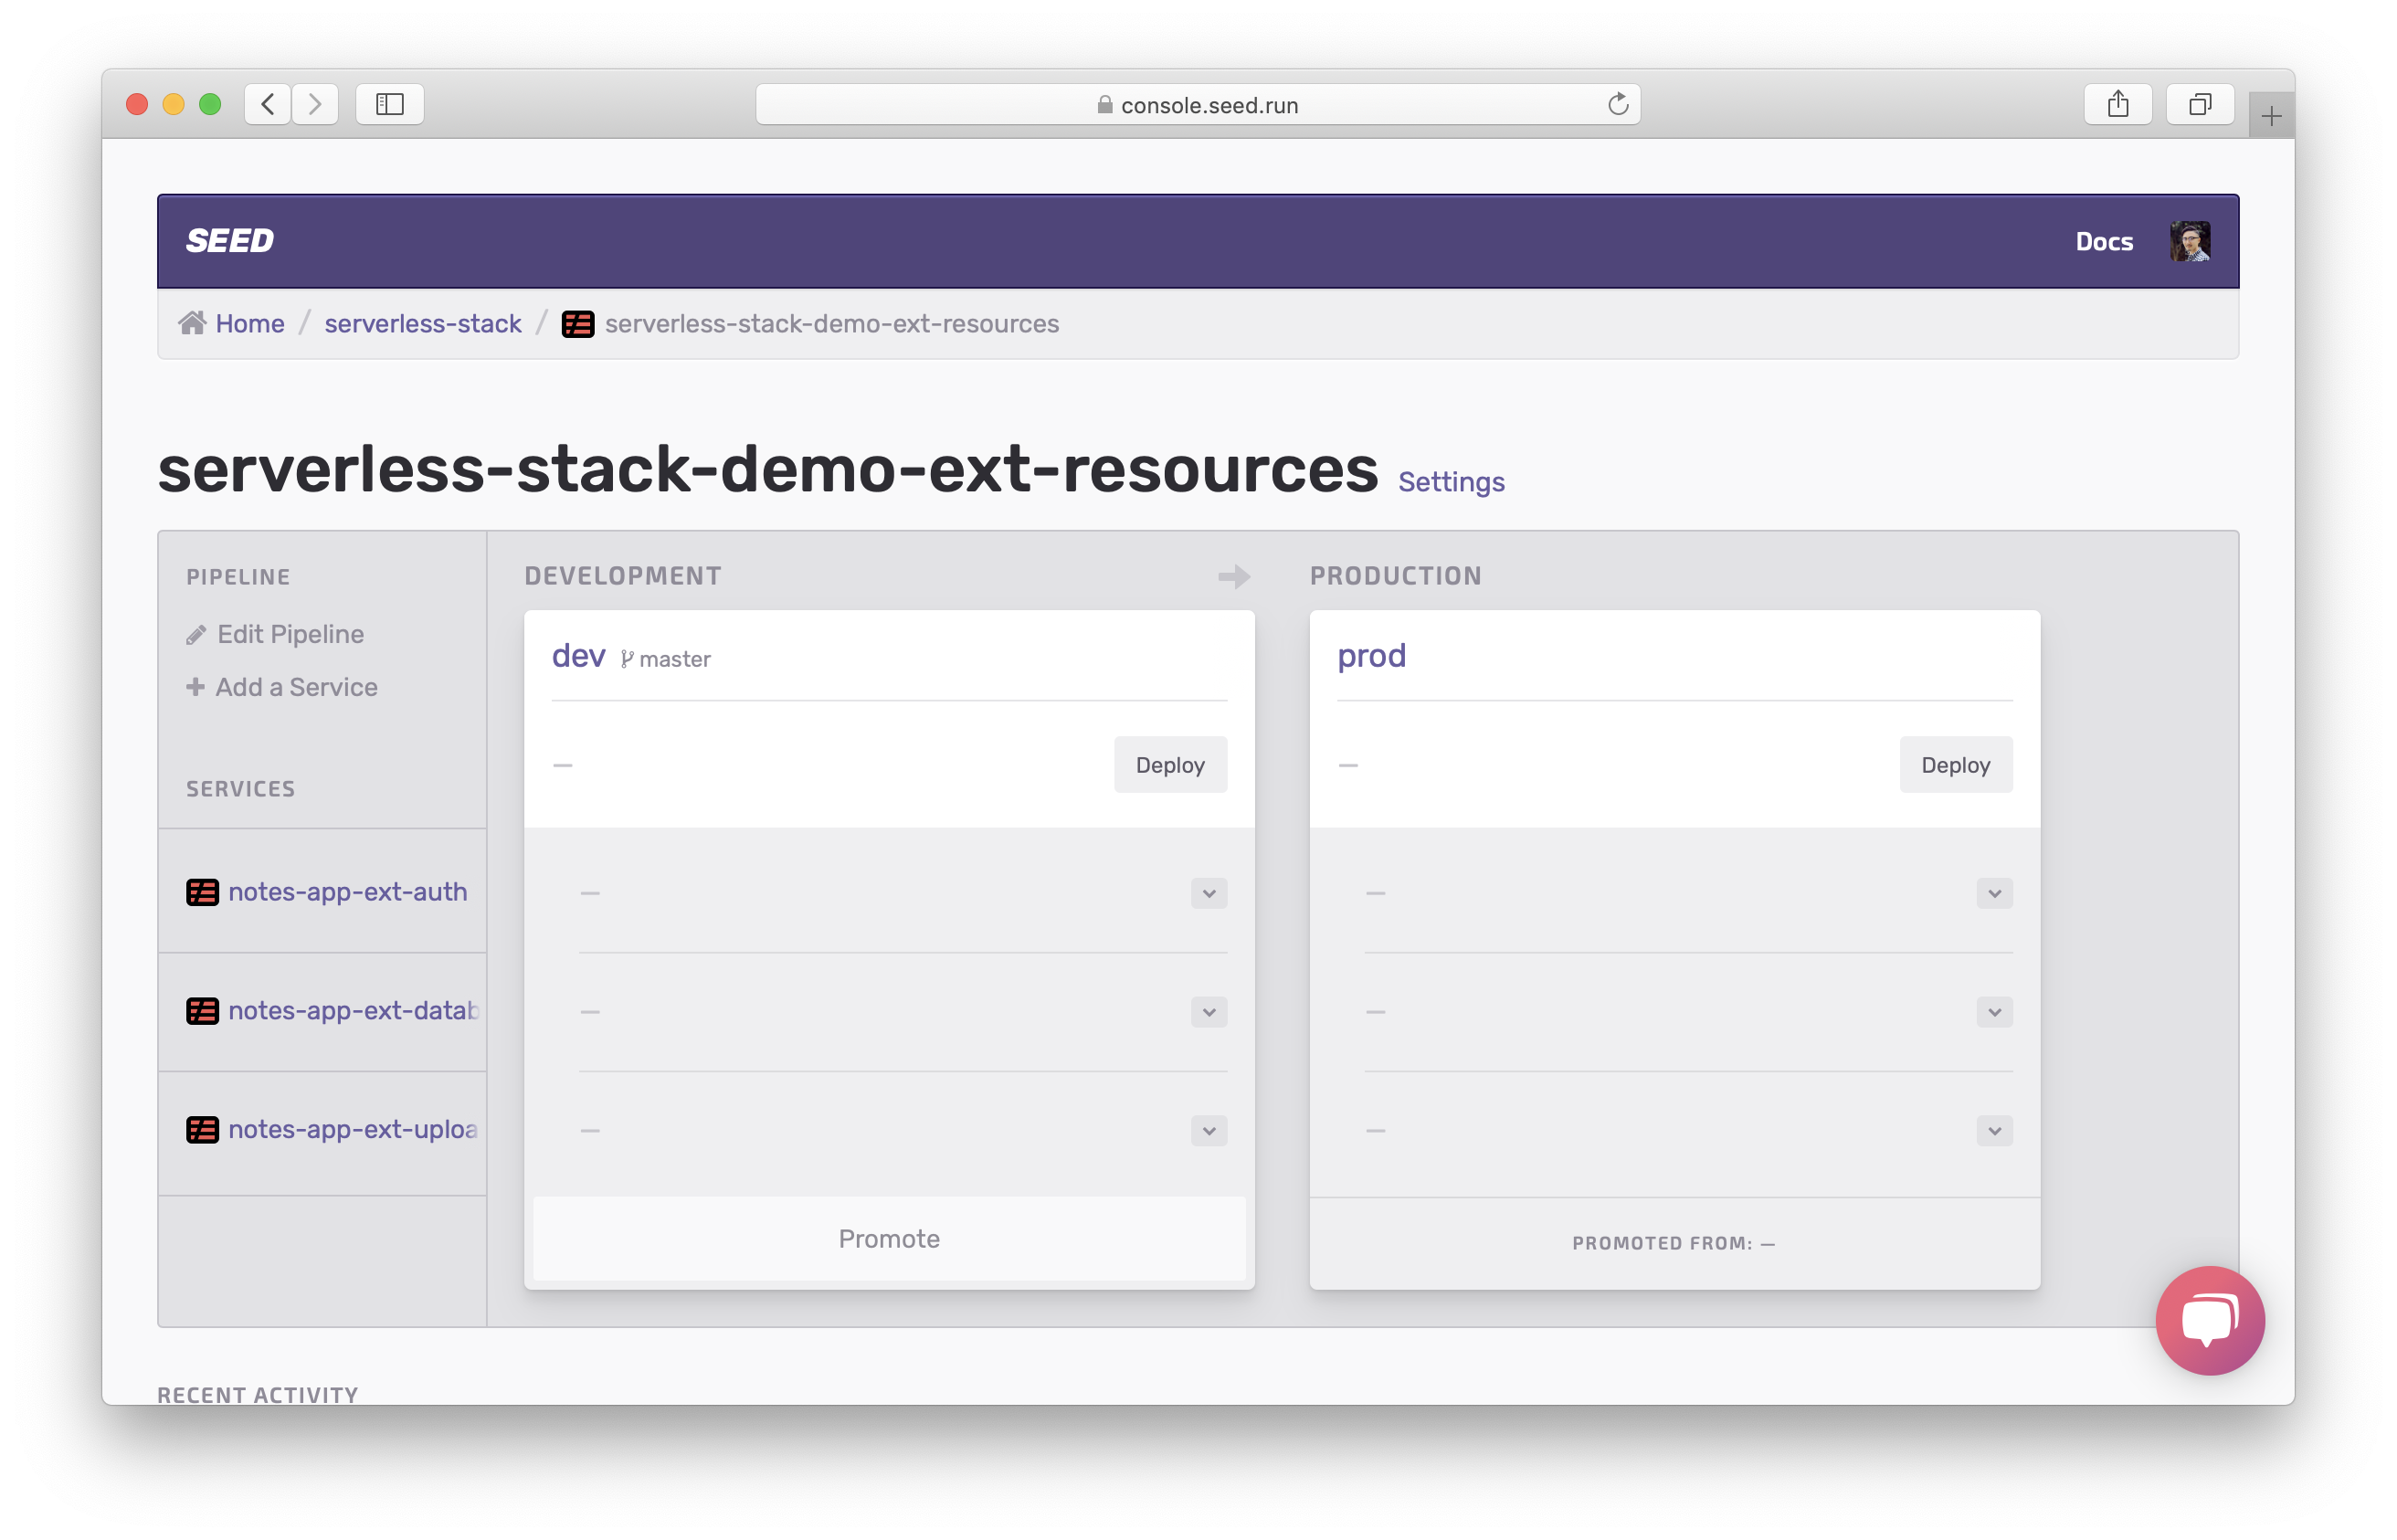
Before we deploy, let’s make sure the services will deploy in the desired order. Recall from the Deploy a Serverless app with dependencies chapter that you can configure the phases by heading to the app settings.
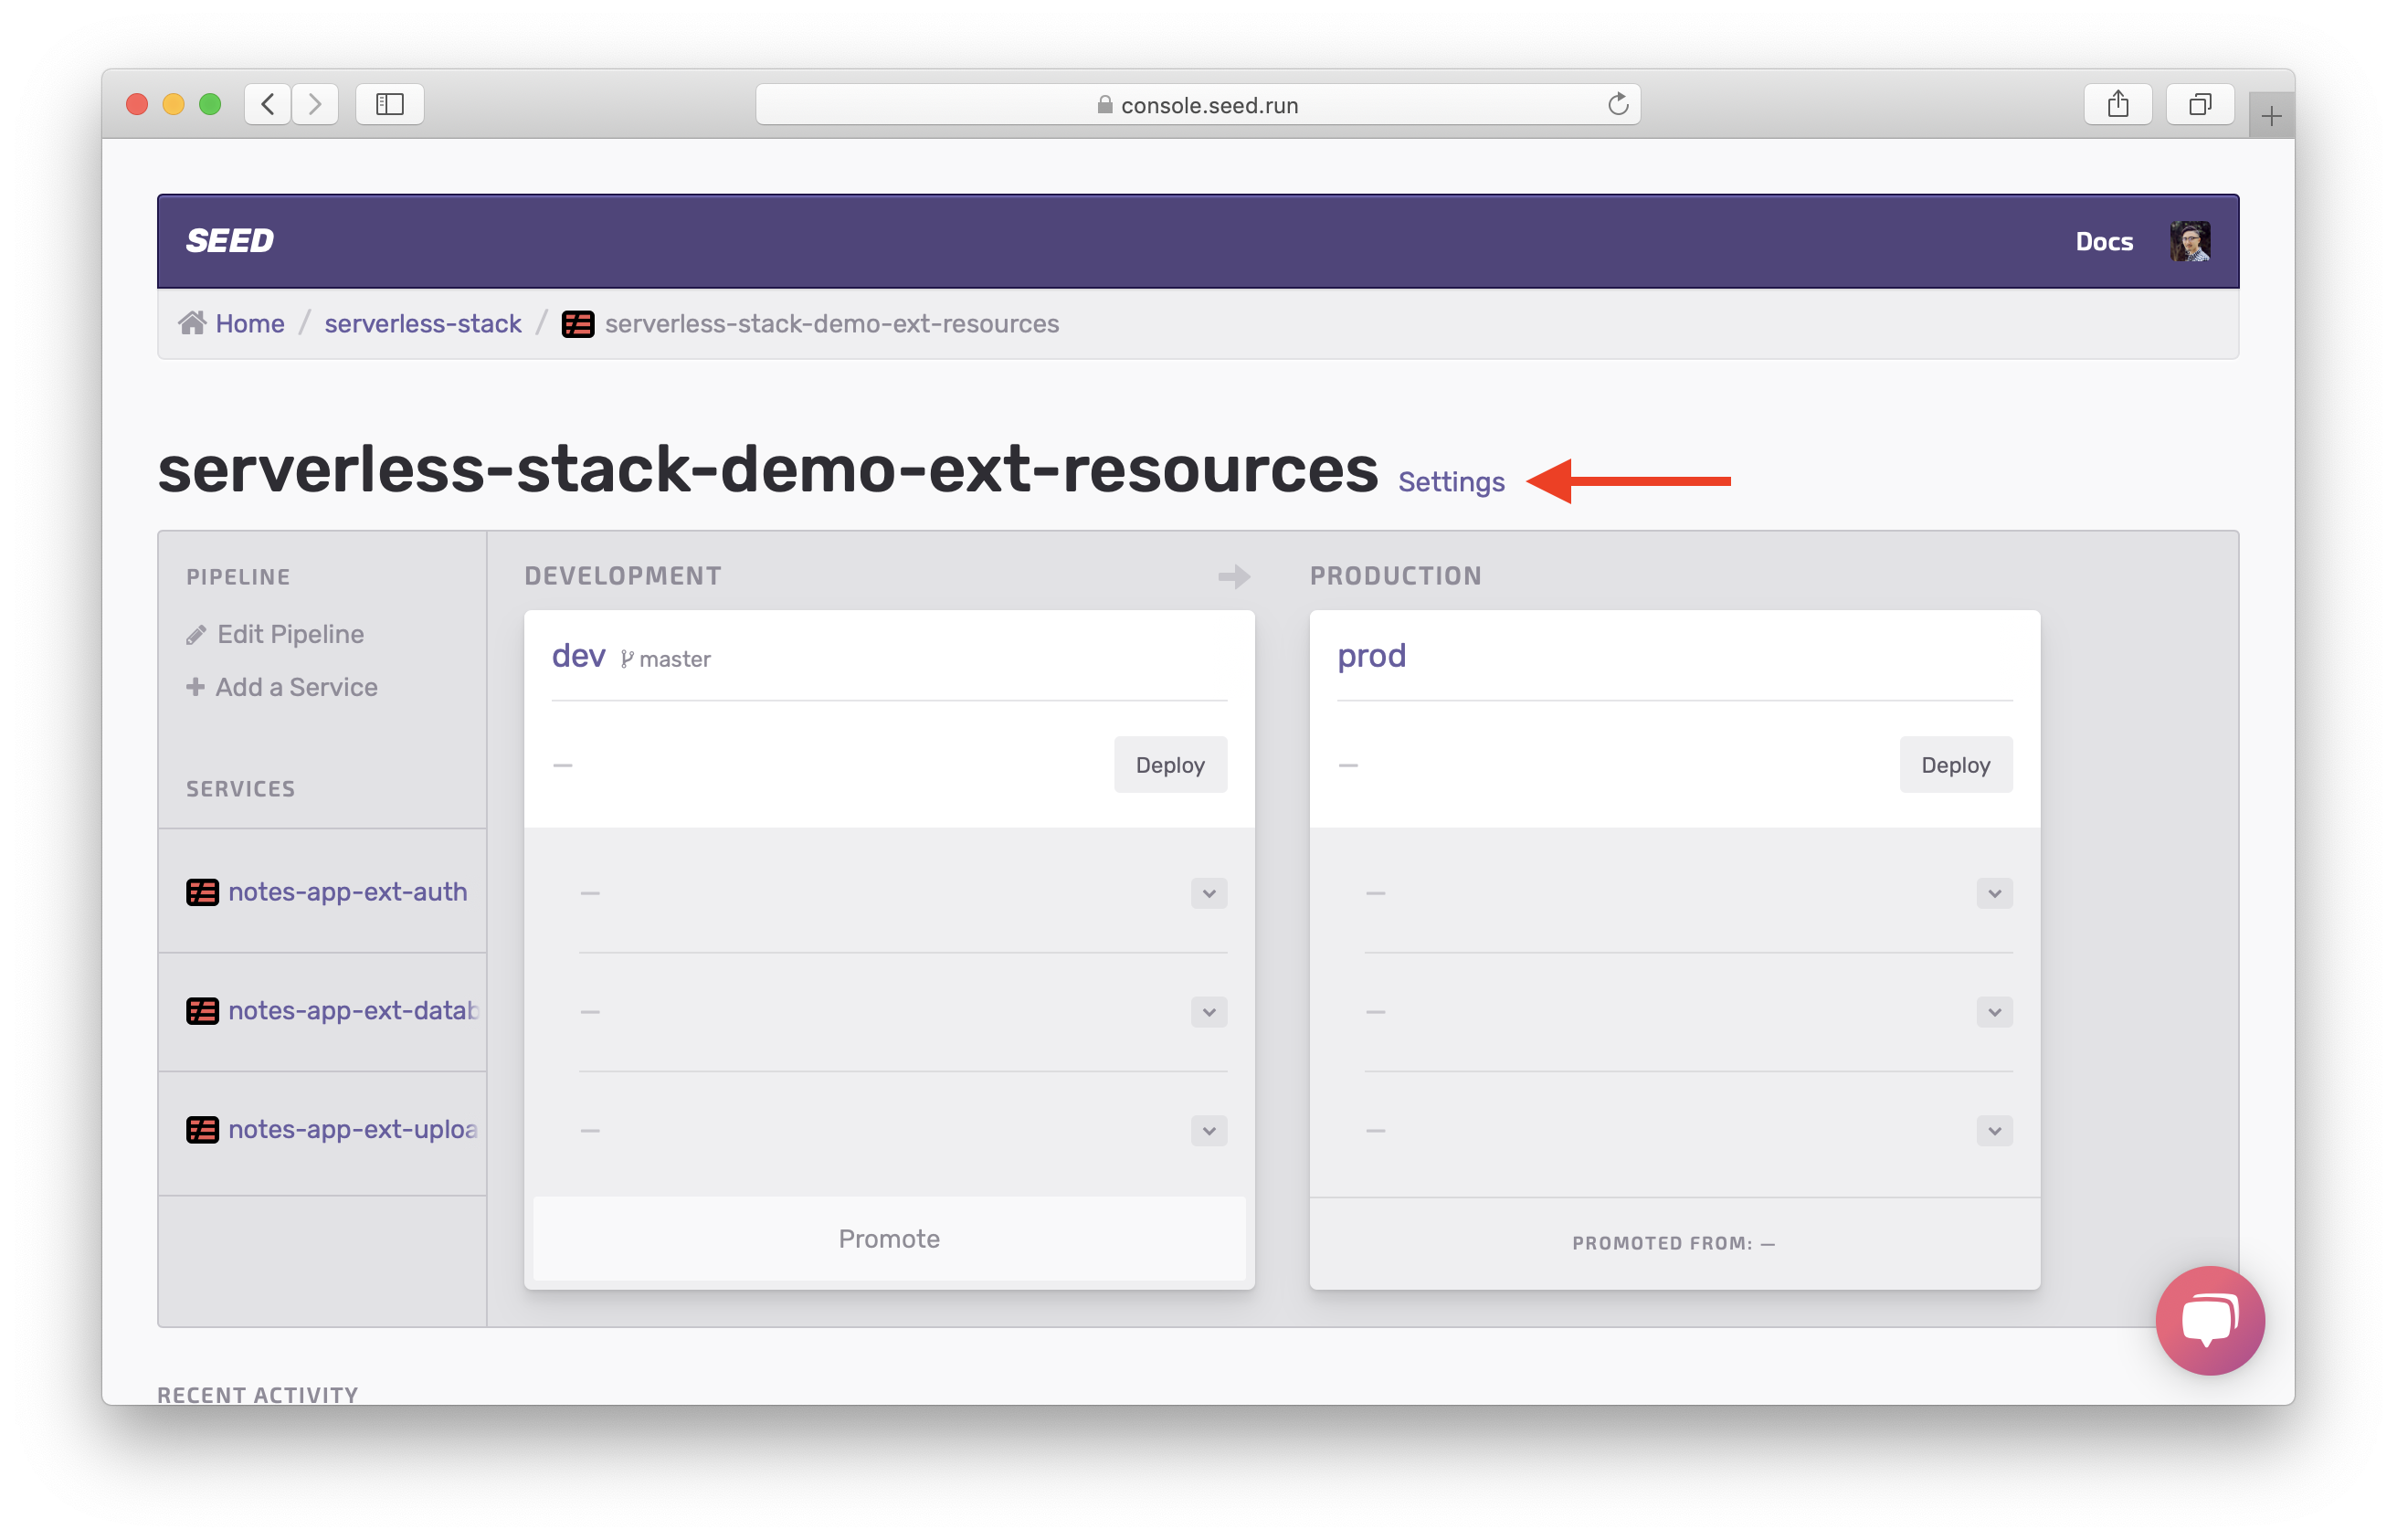
Scroll down and select Manage Deploy Phases.
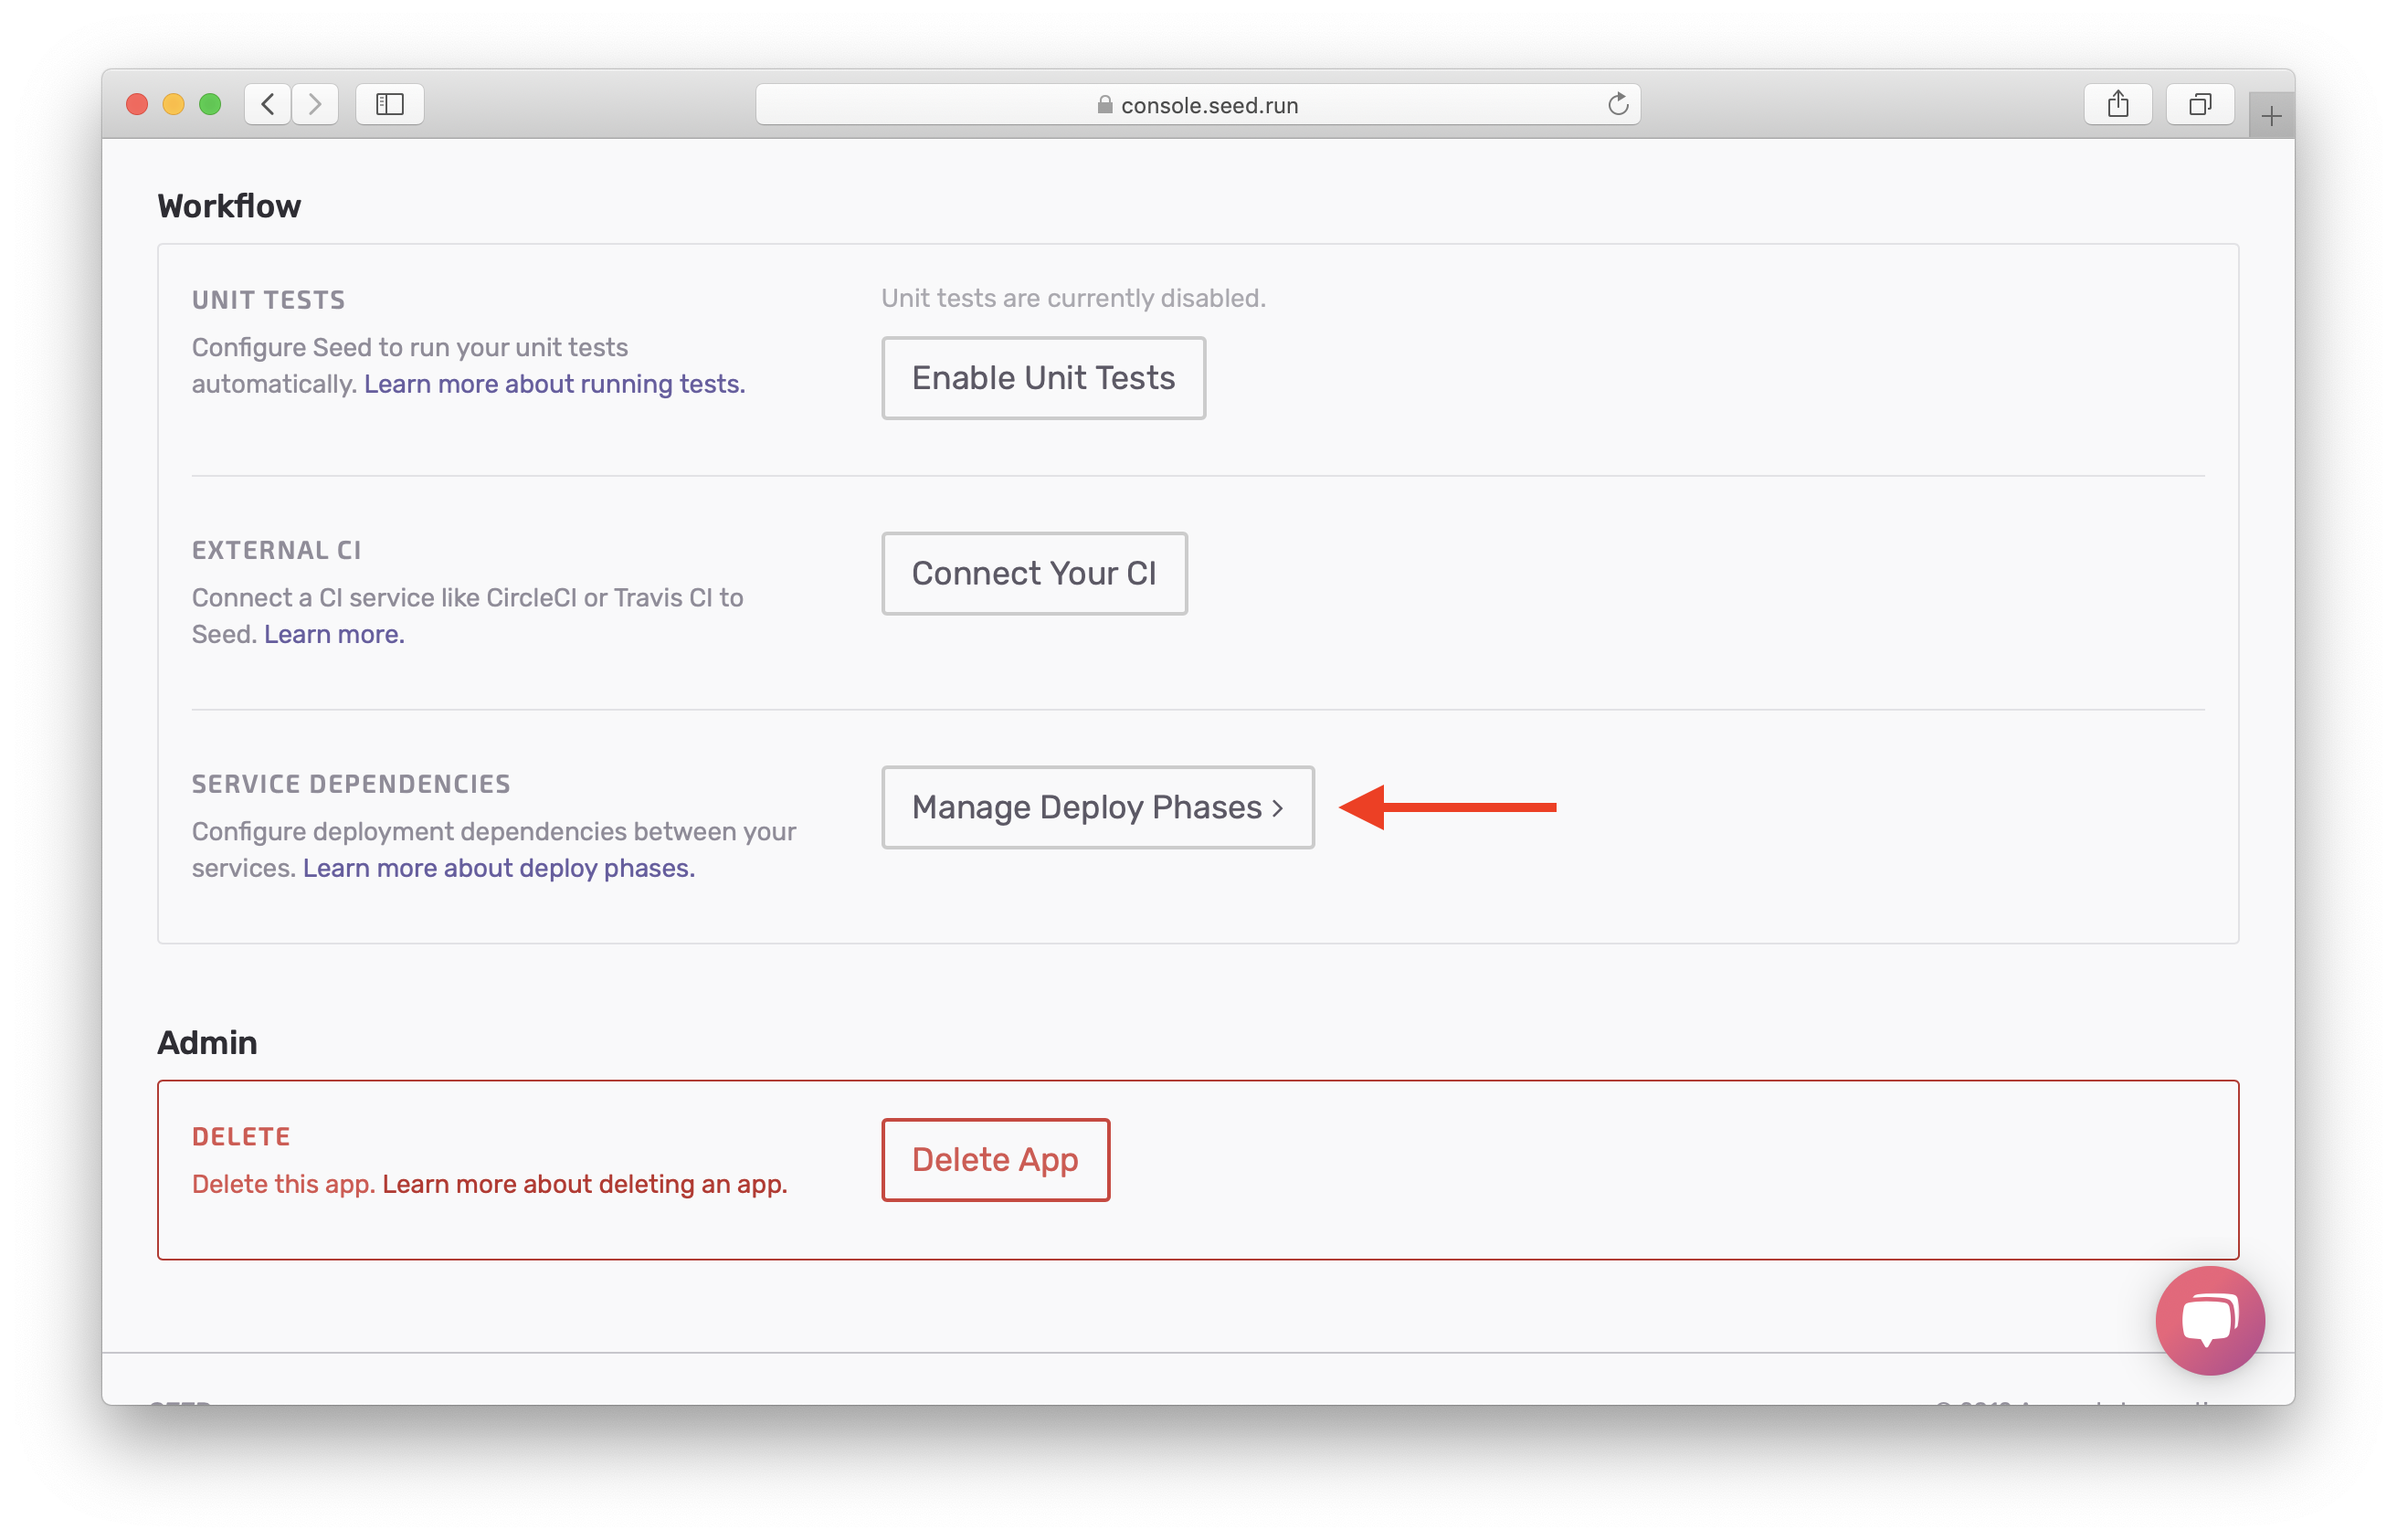
Here you’ll notice that by default all the services are deployed concurrently.
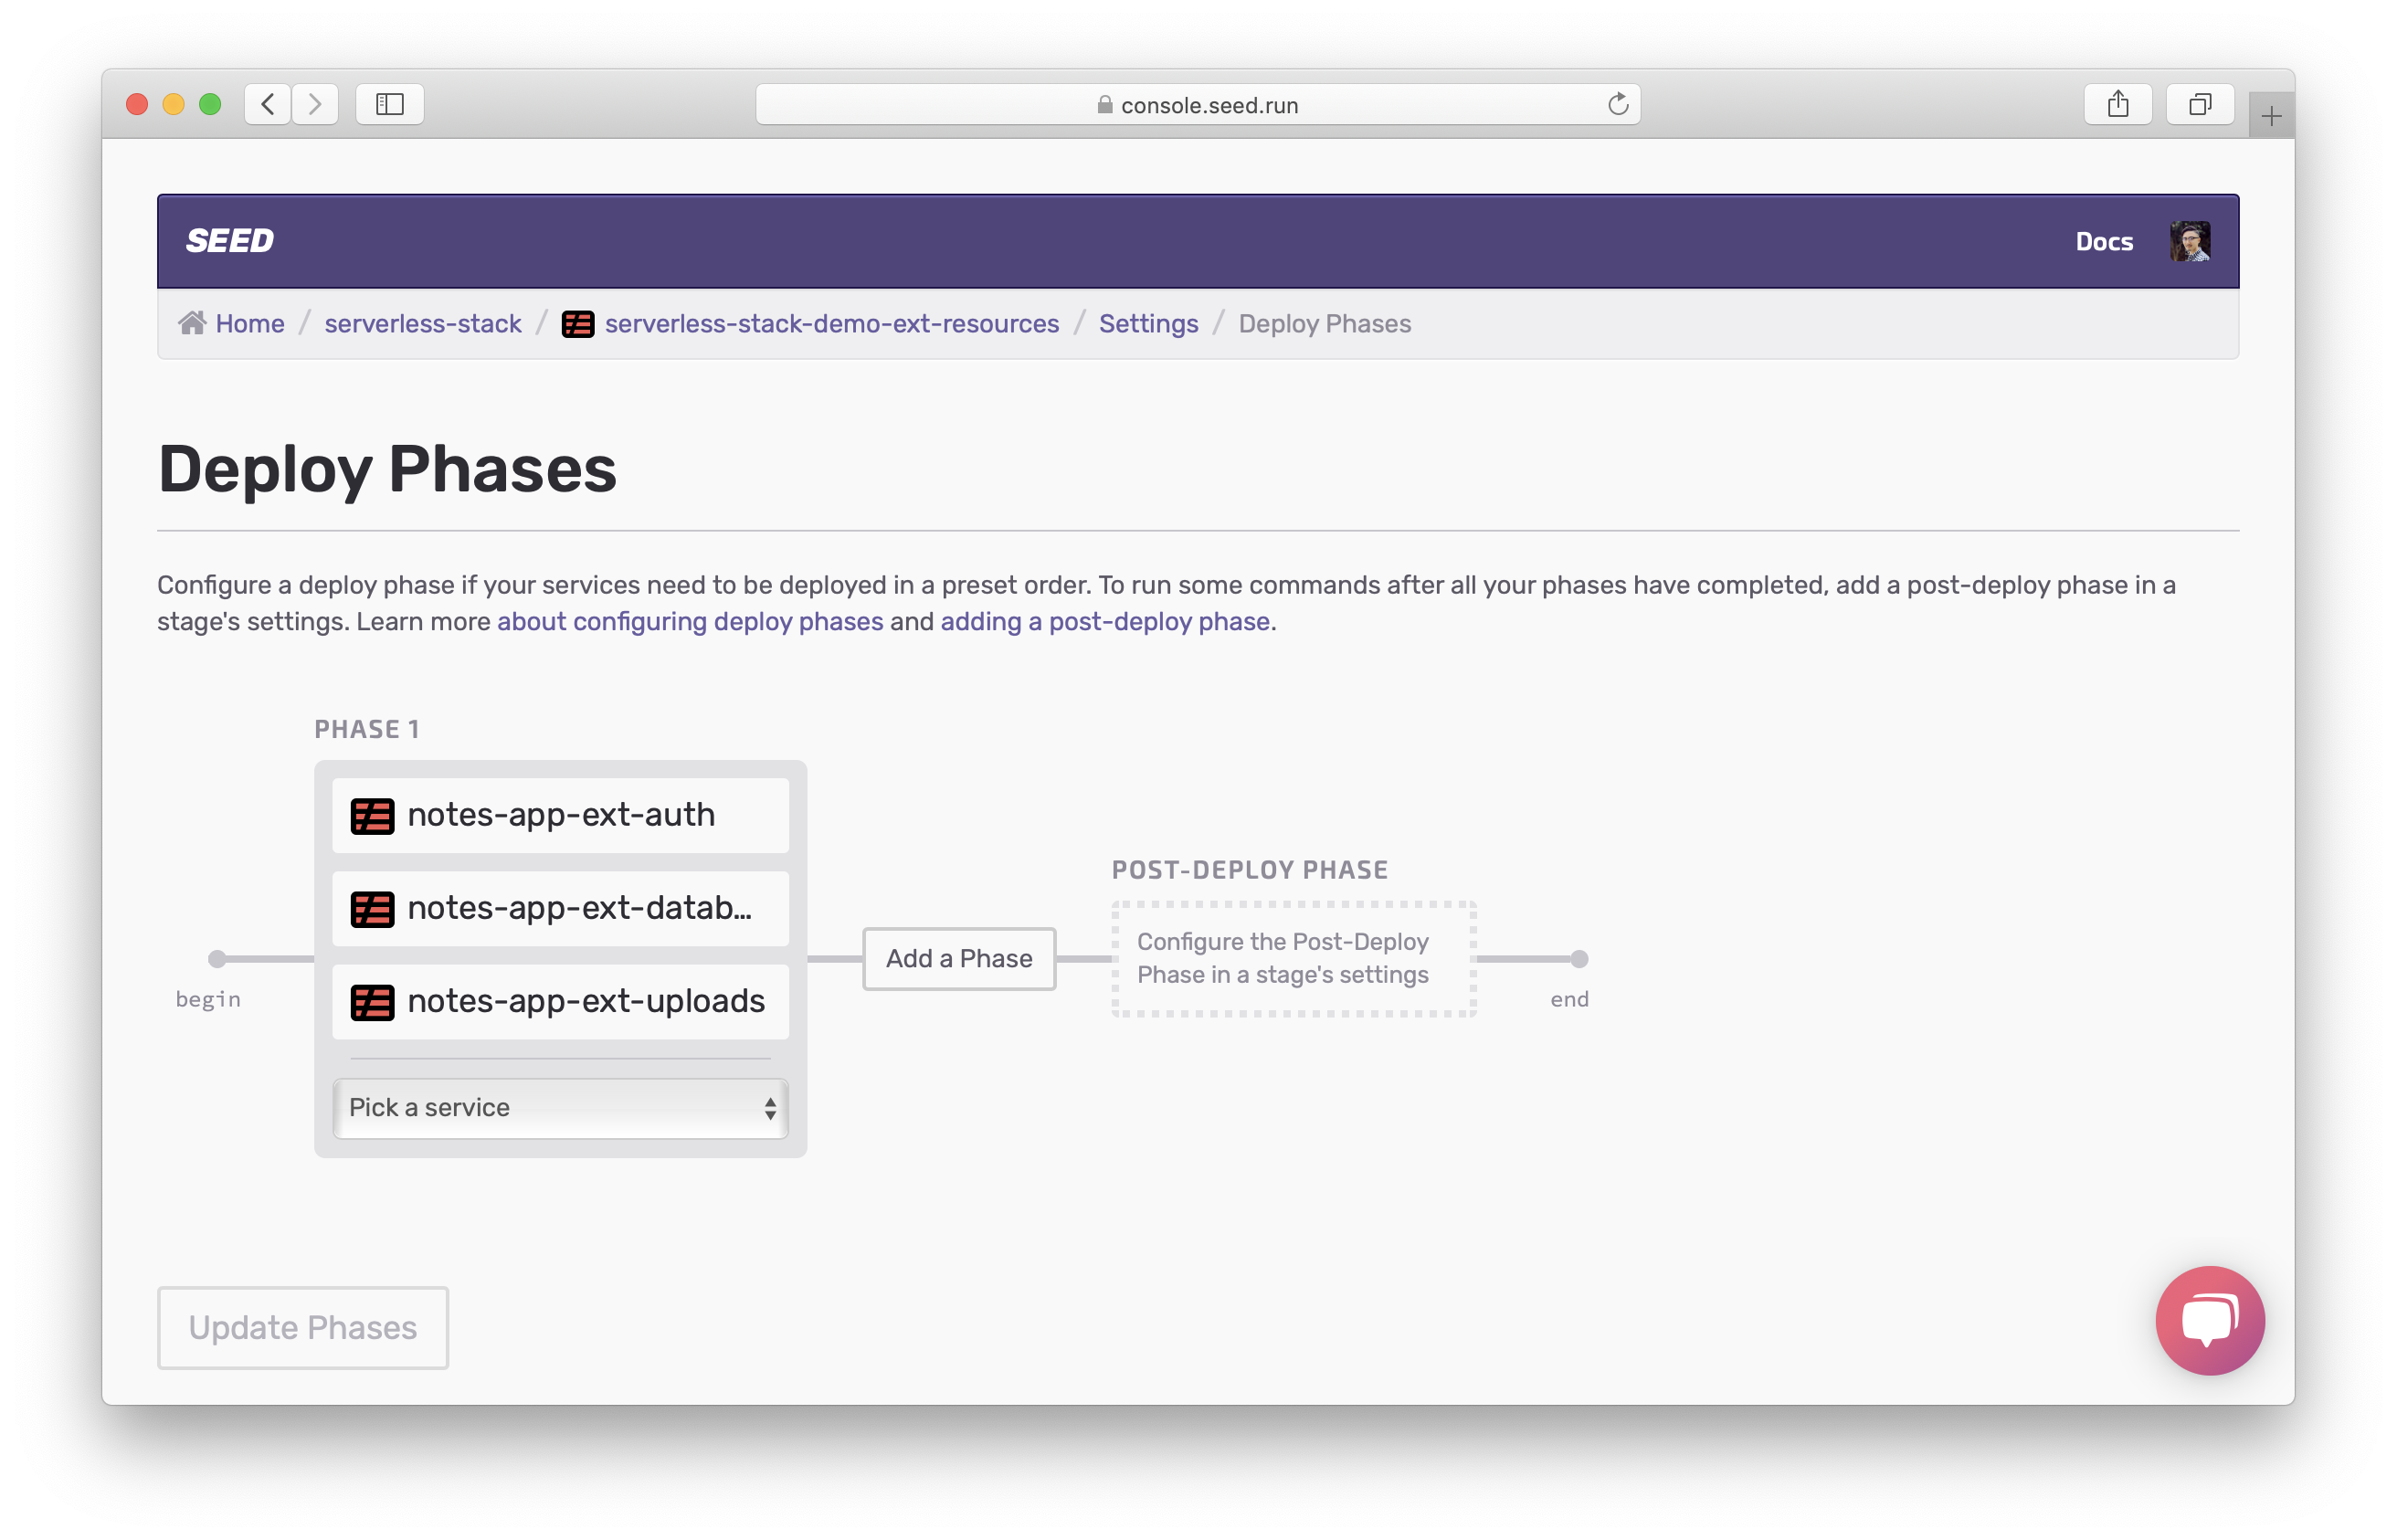
Select Add a phase and move the auth service to Phase 2. And hit Update Phases.

Now let’s make our first deployment. Click Deploy under the dev stage.
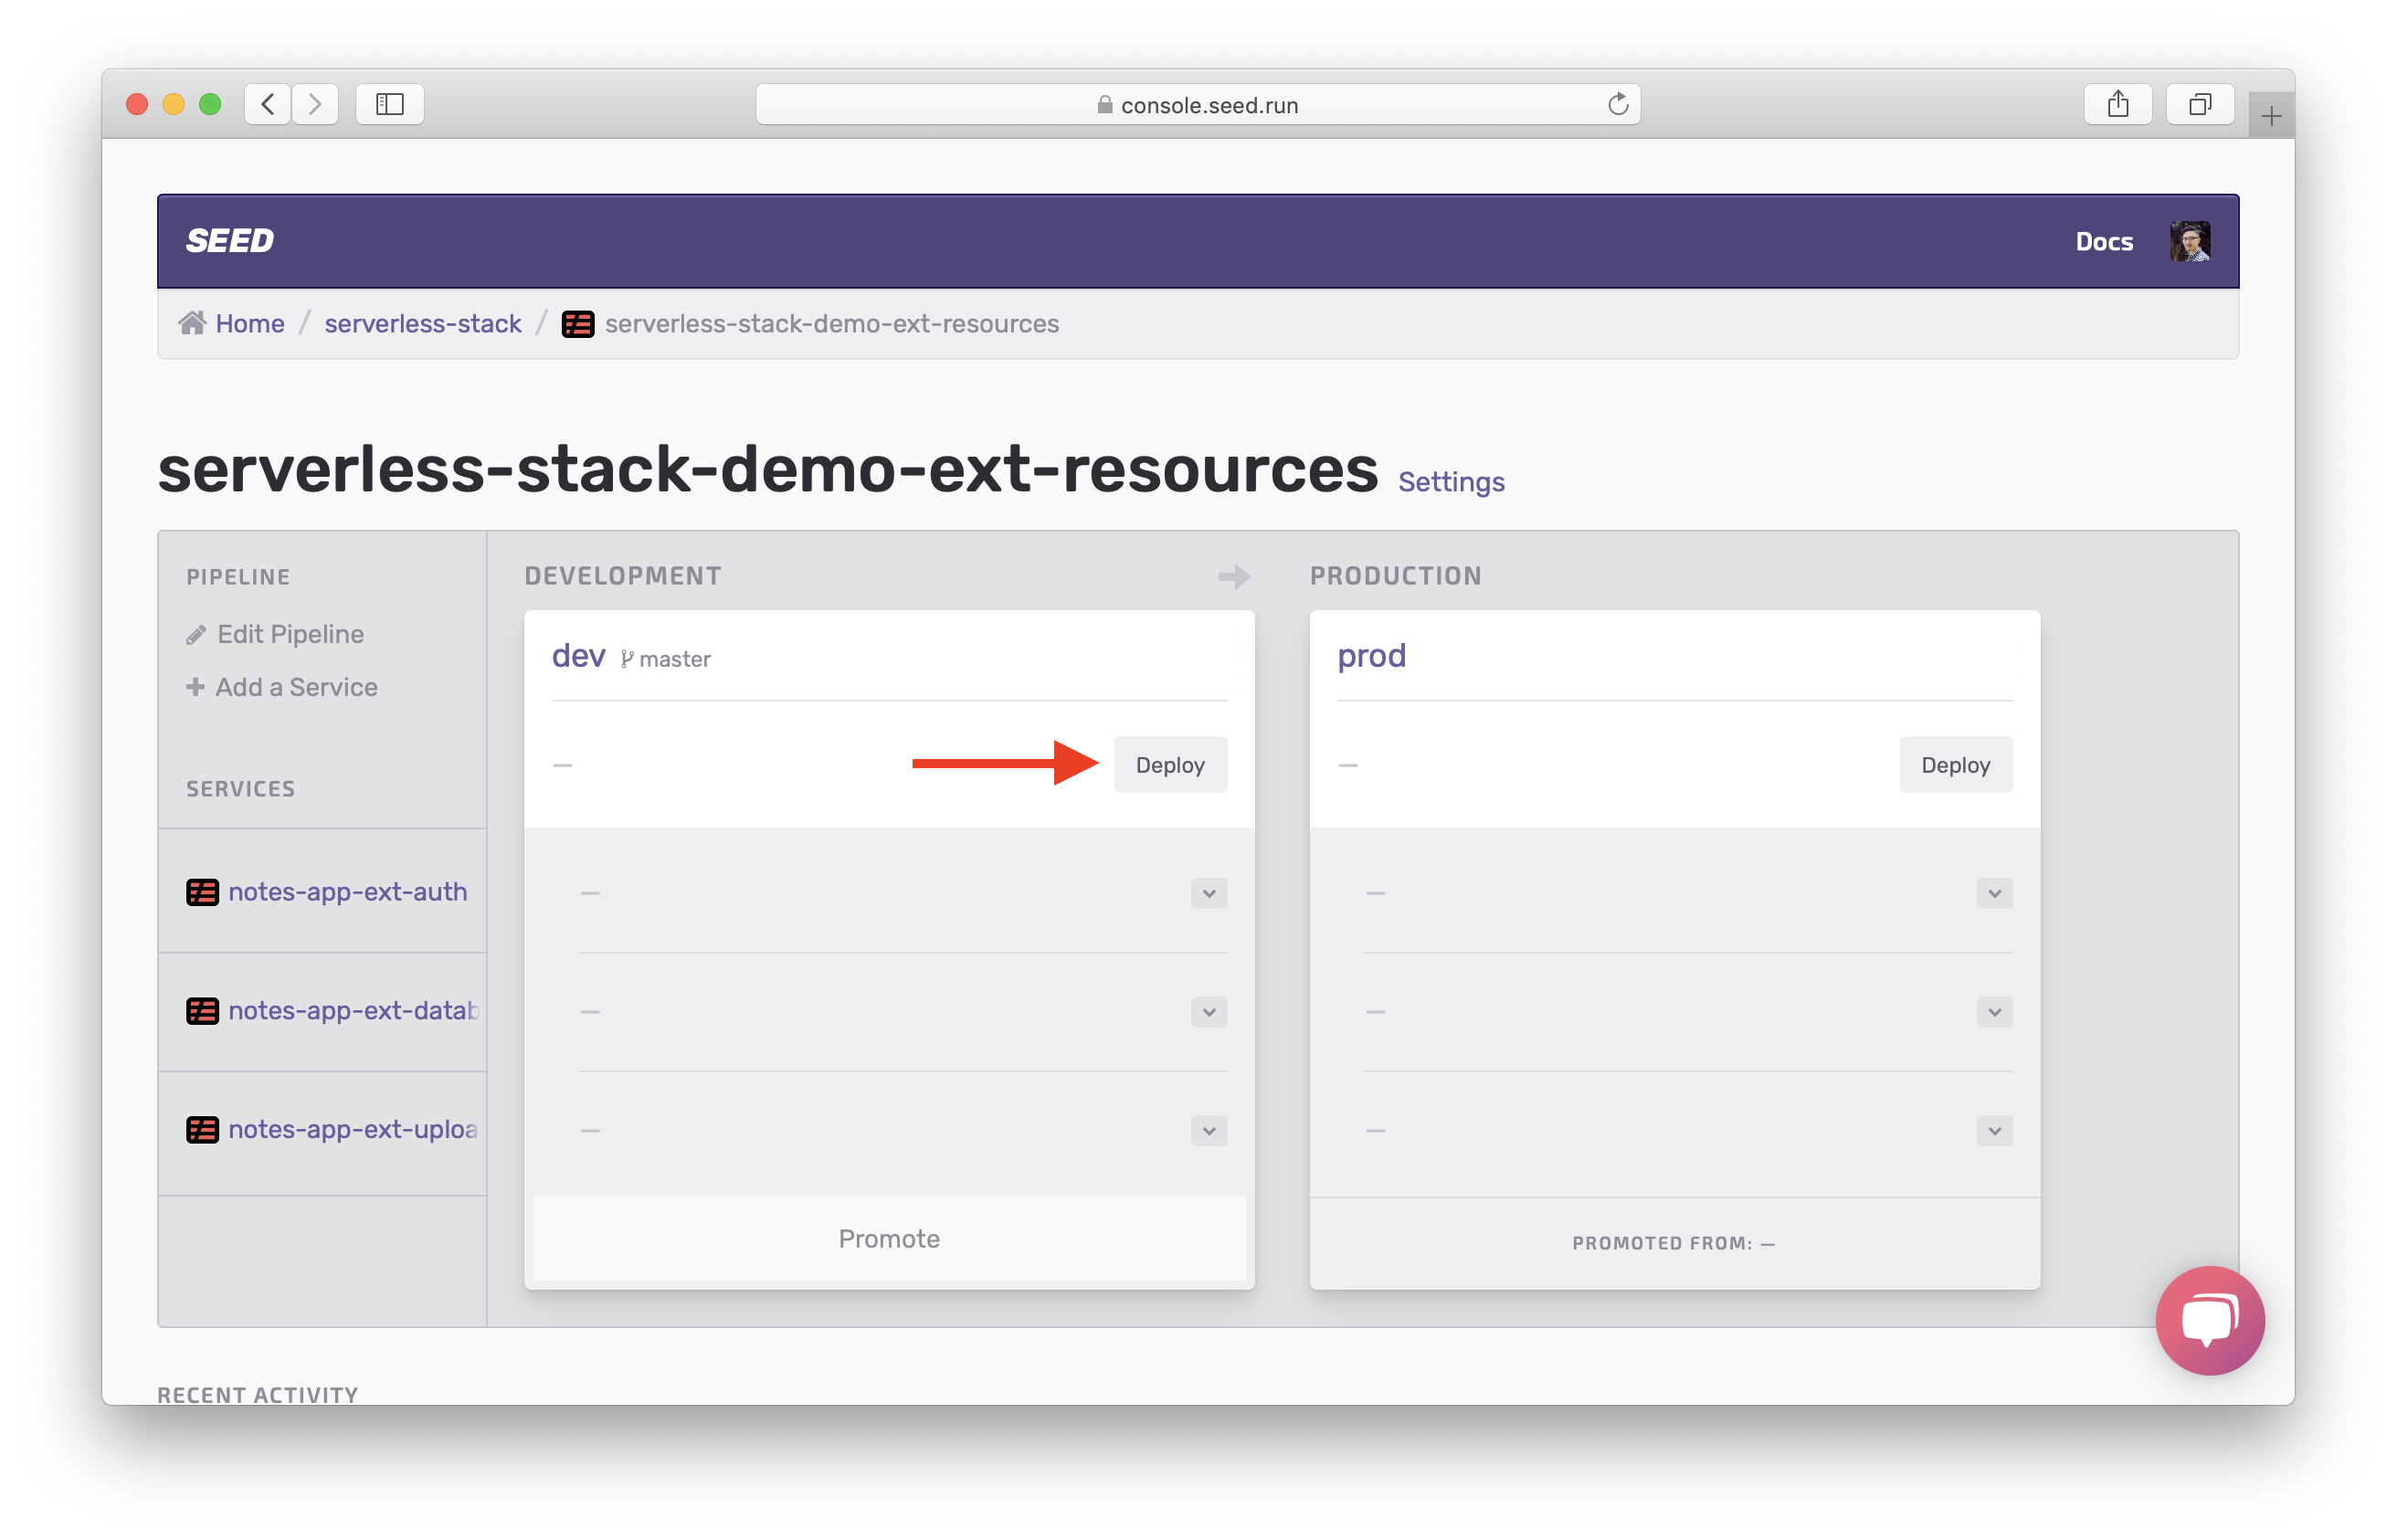
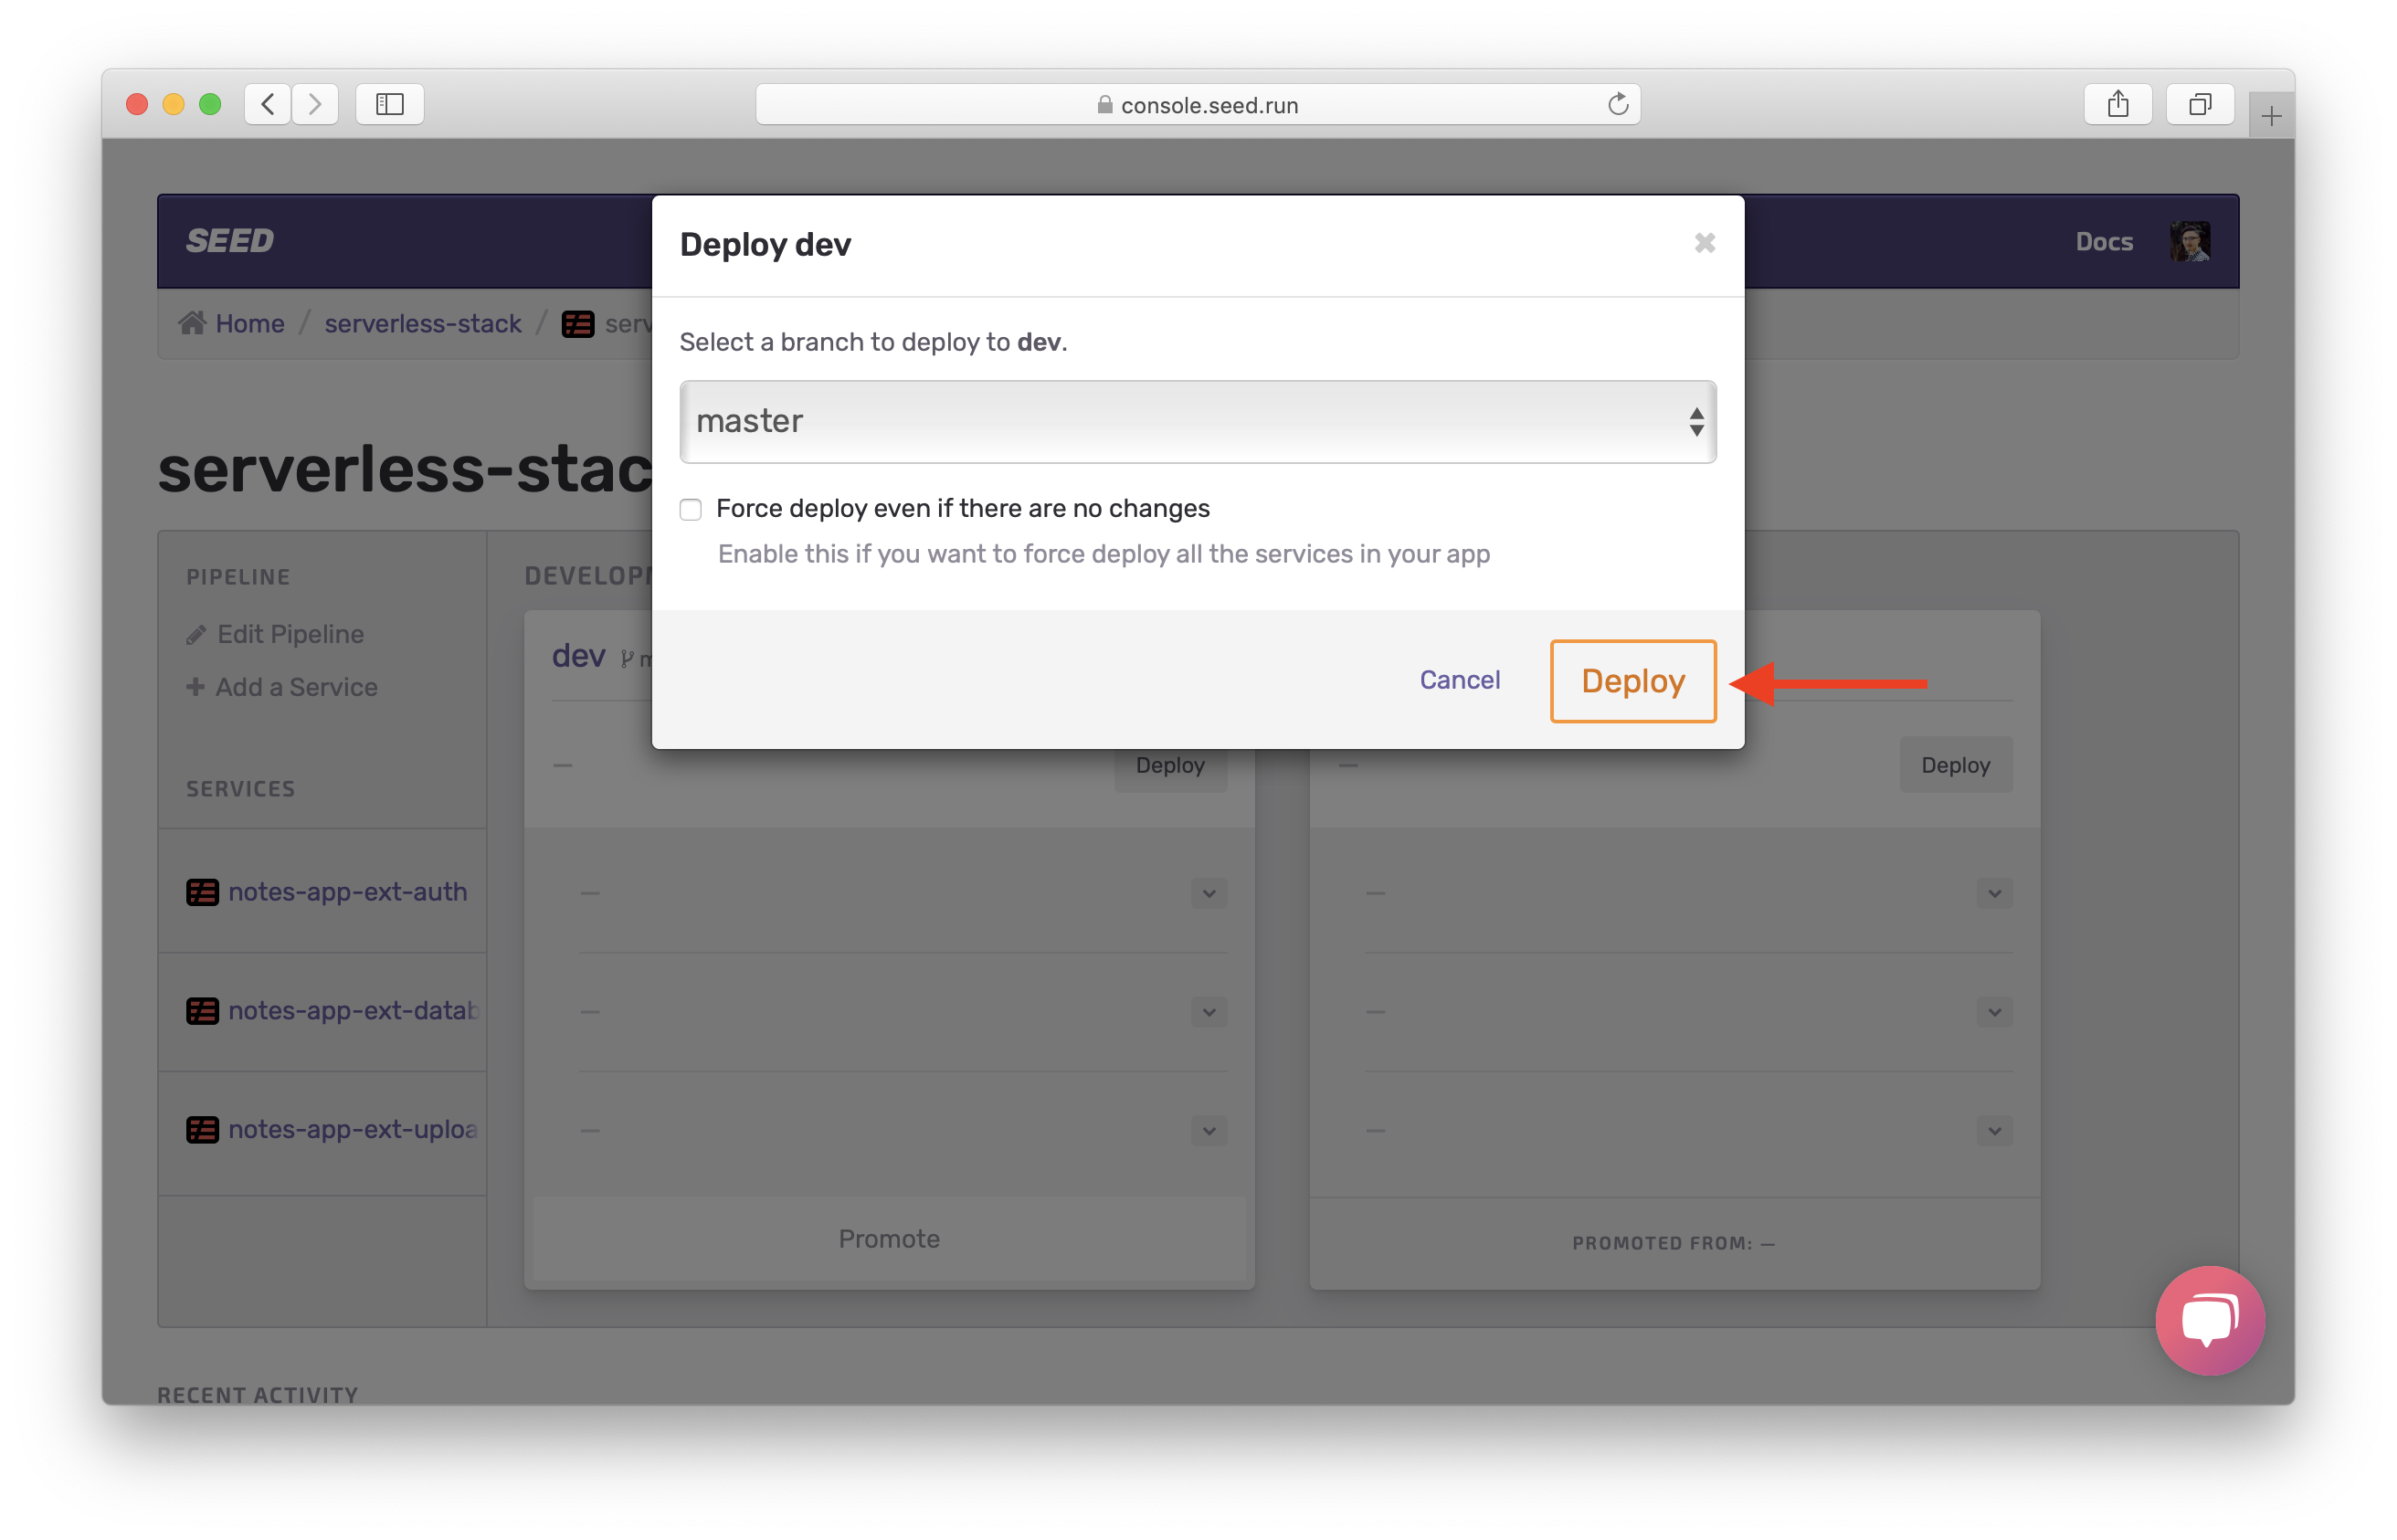
We are deploying the master branch here. Confirm this by clicking Deploy.
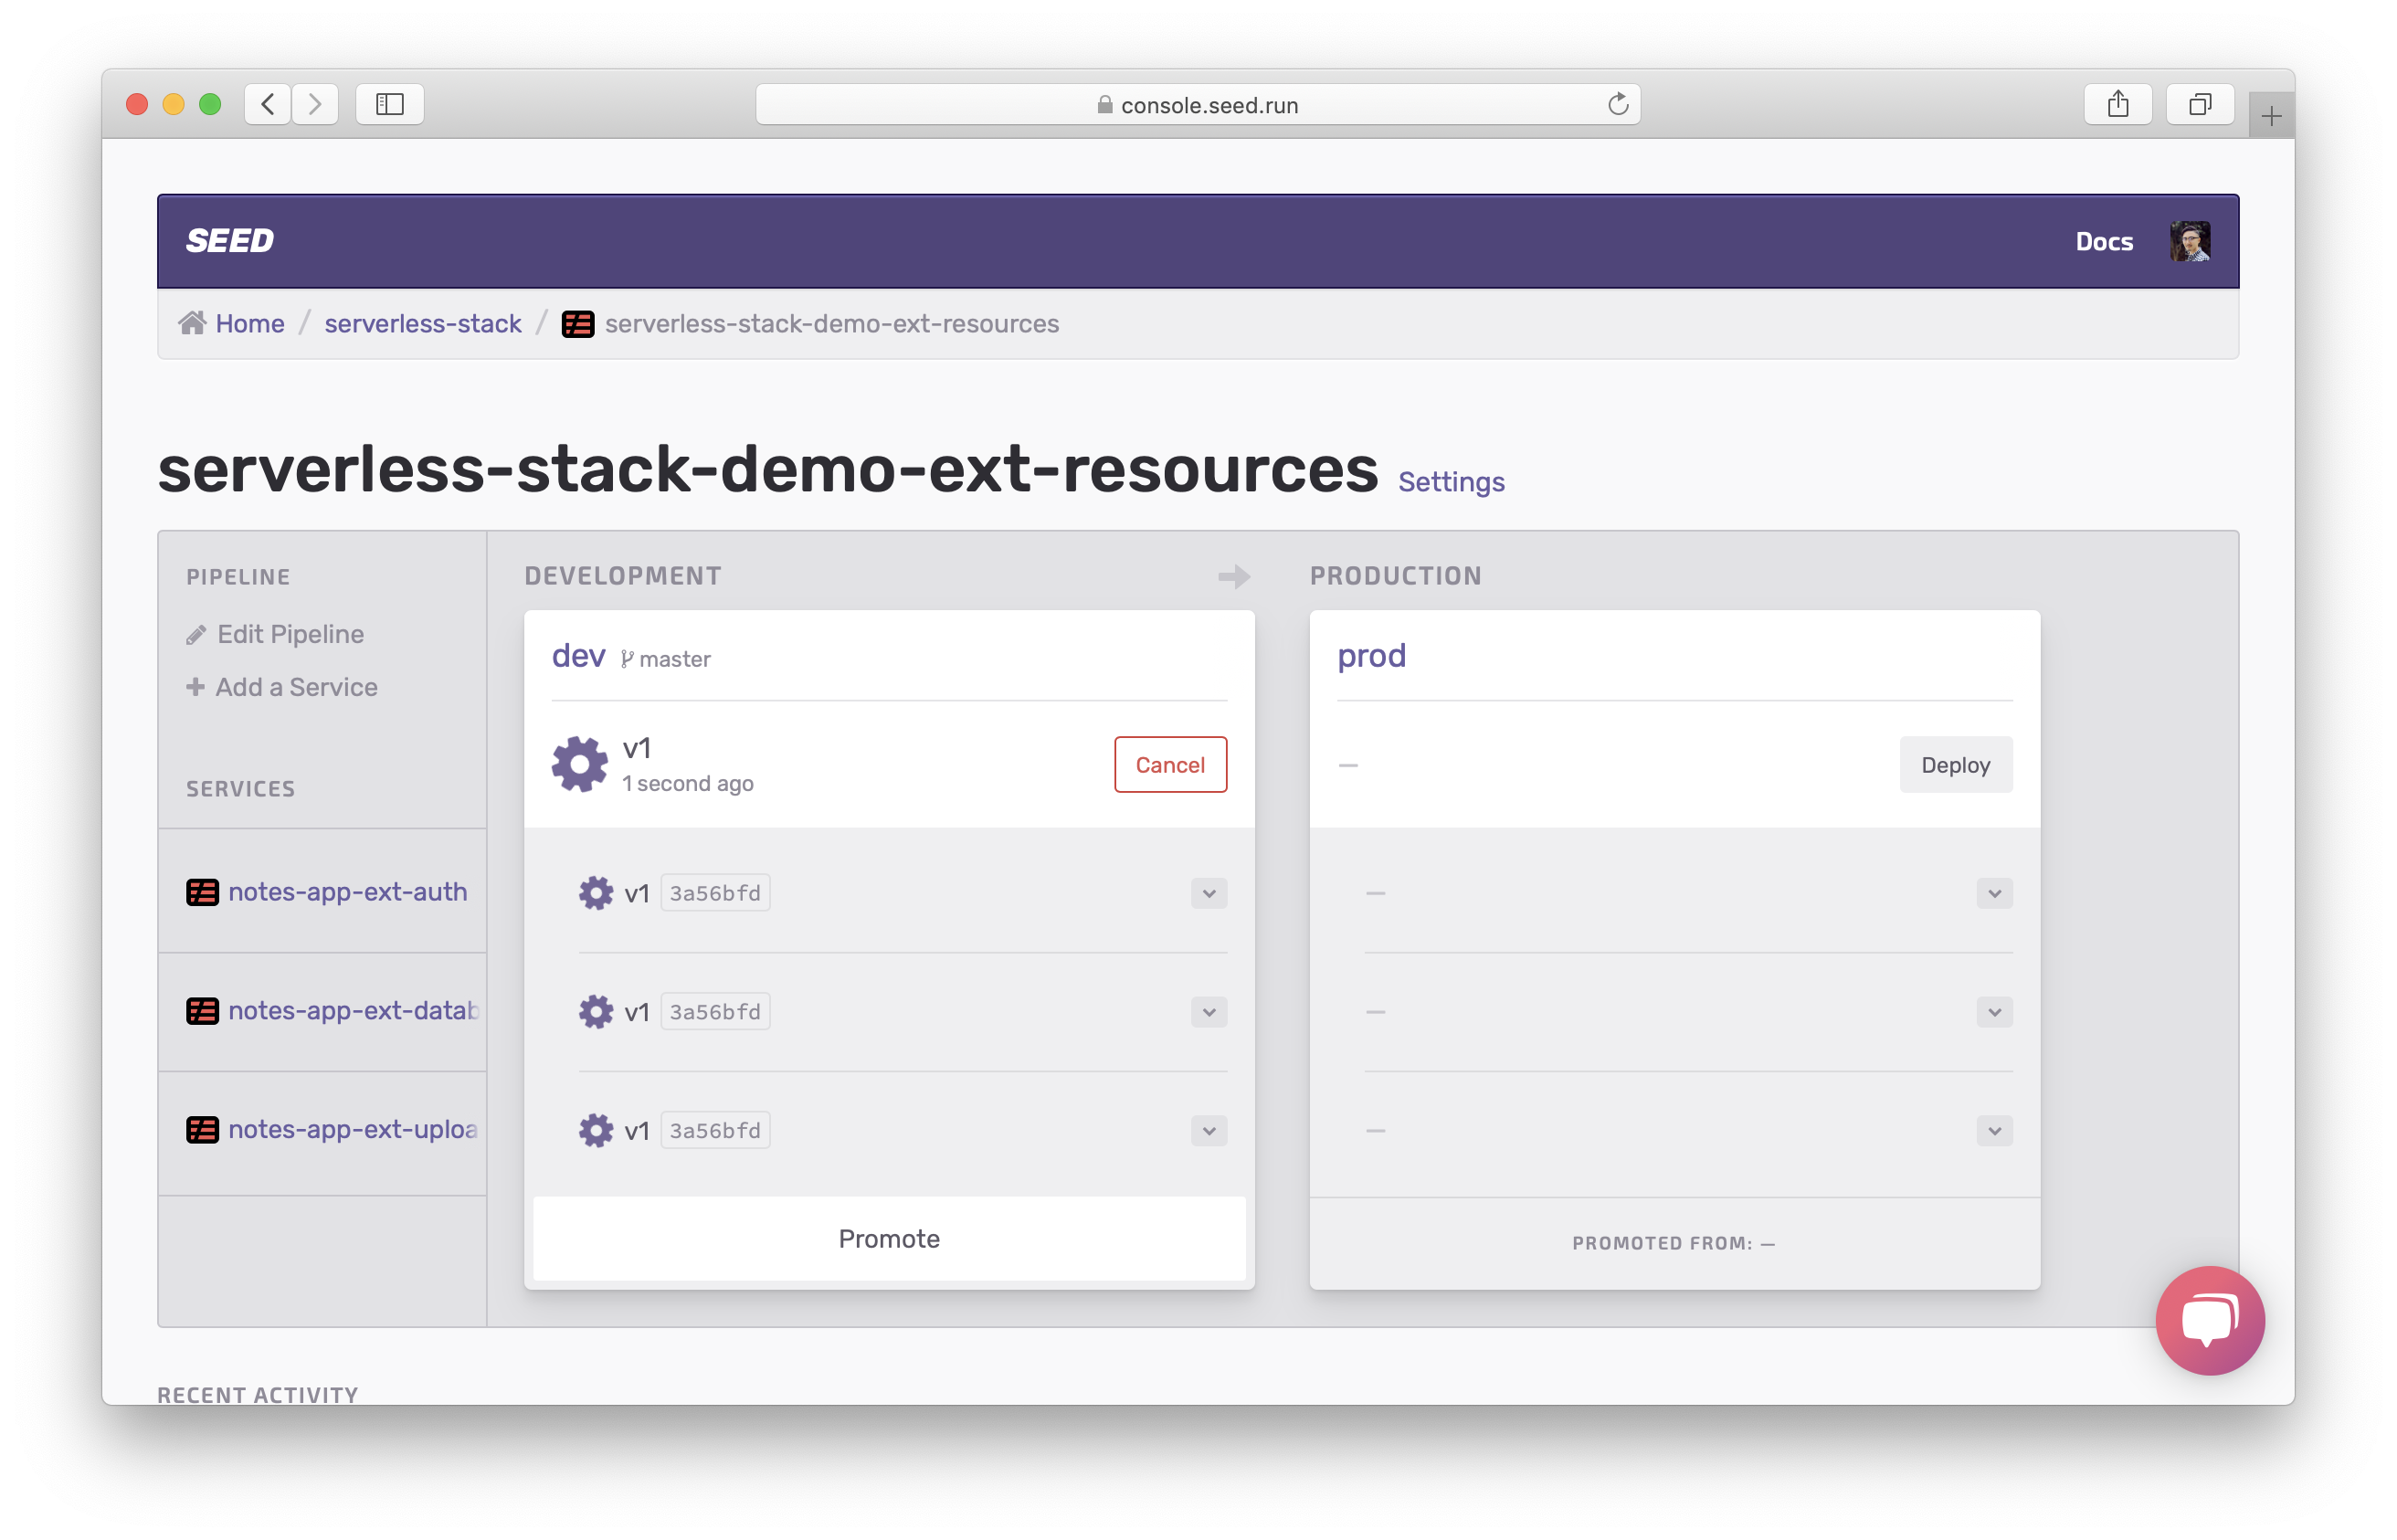
You’ll notice that all the services are being deployed.
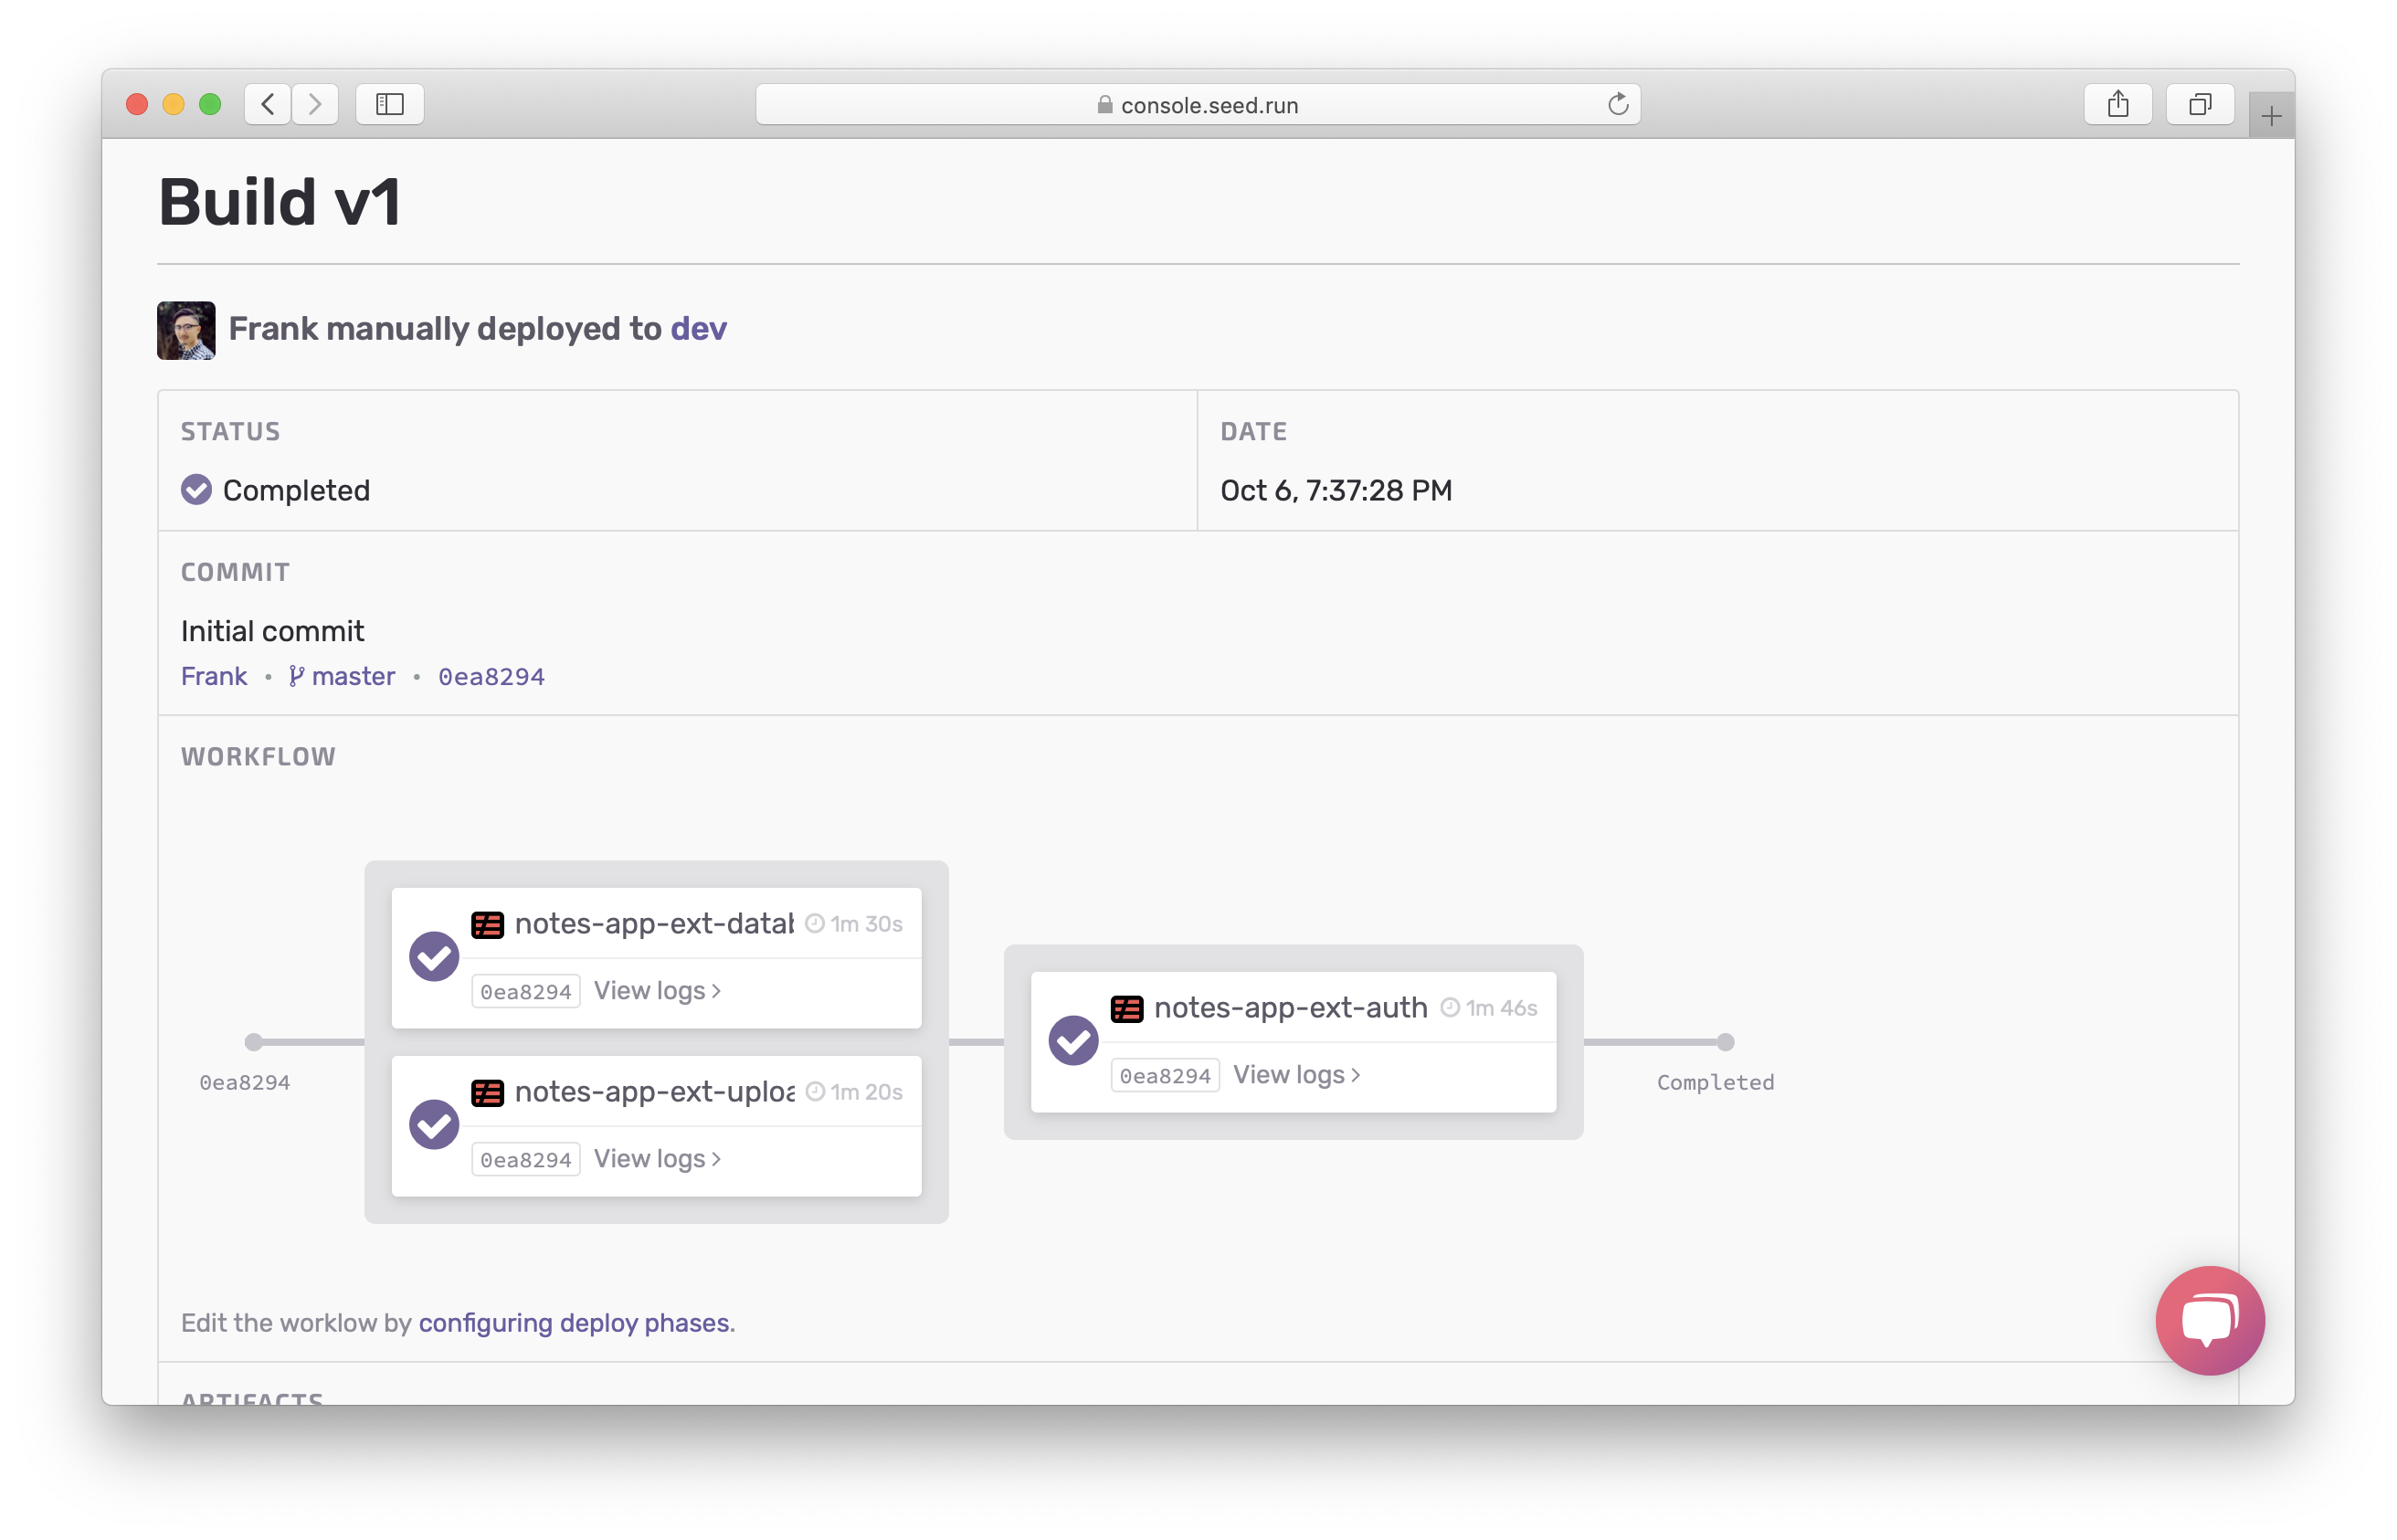
After all services are successfully deployed. Click the build v1.

You can see that the deployments are carried out in the order specified by the deploy phases.
Go back to the app dashboard, and hit Promote to deploy this to the prod stage.
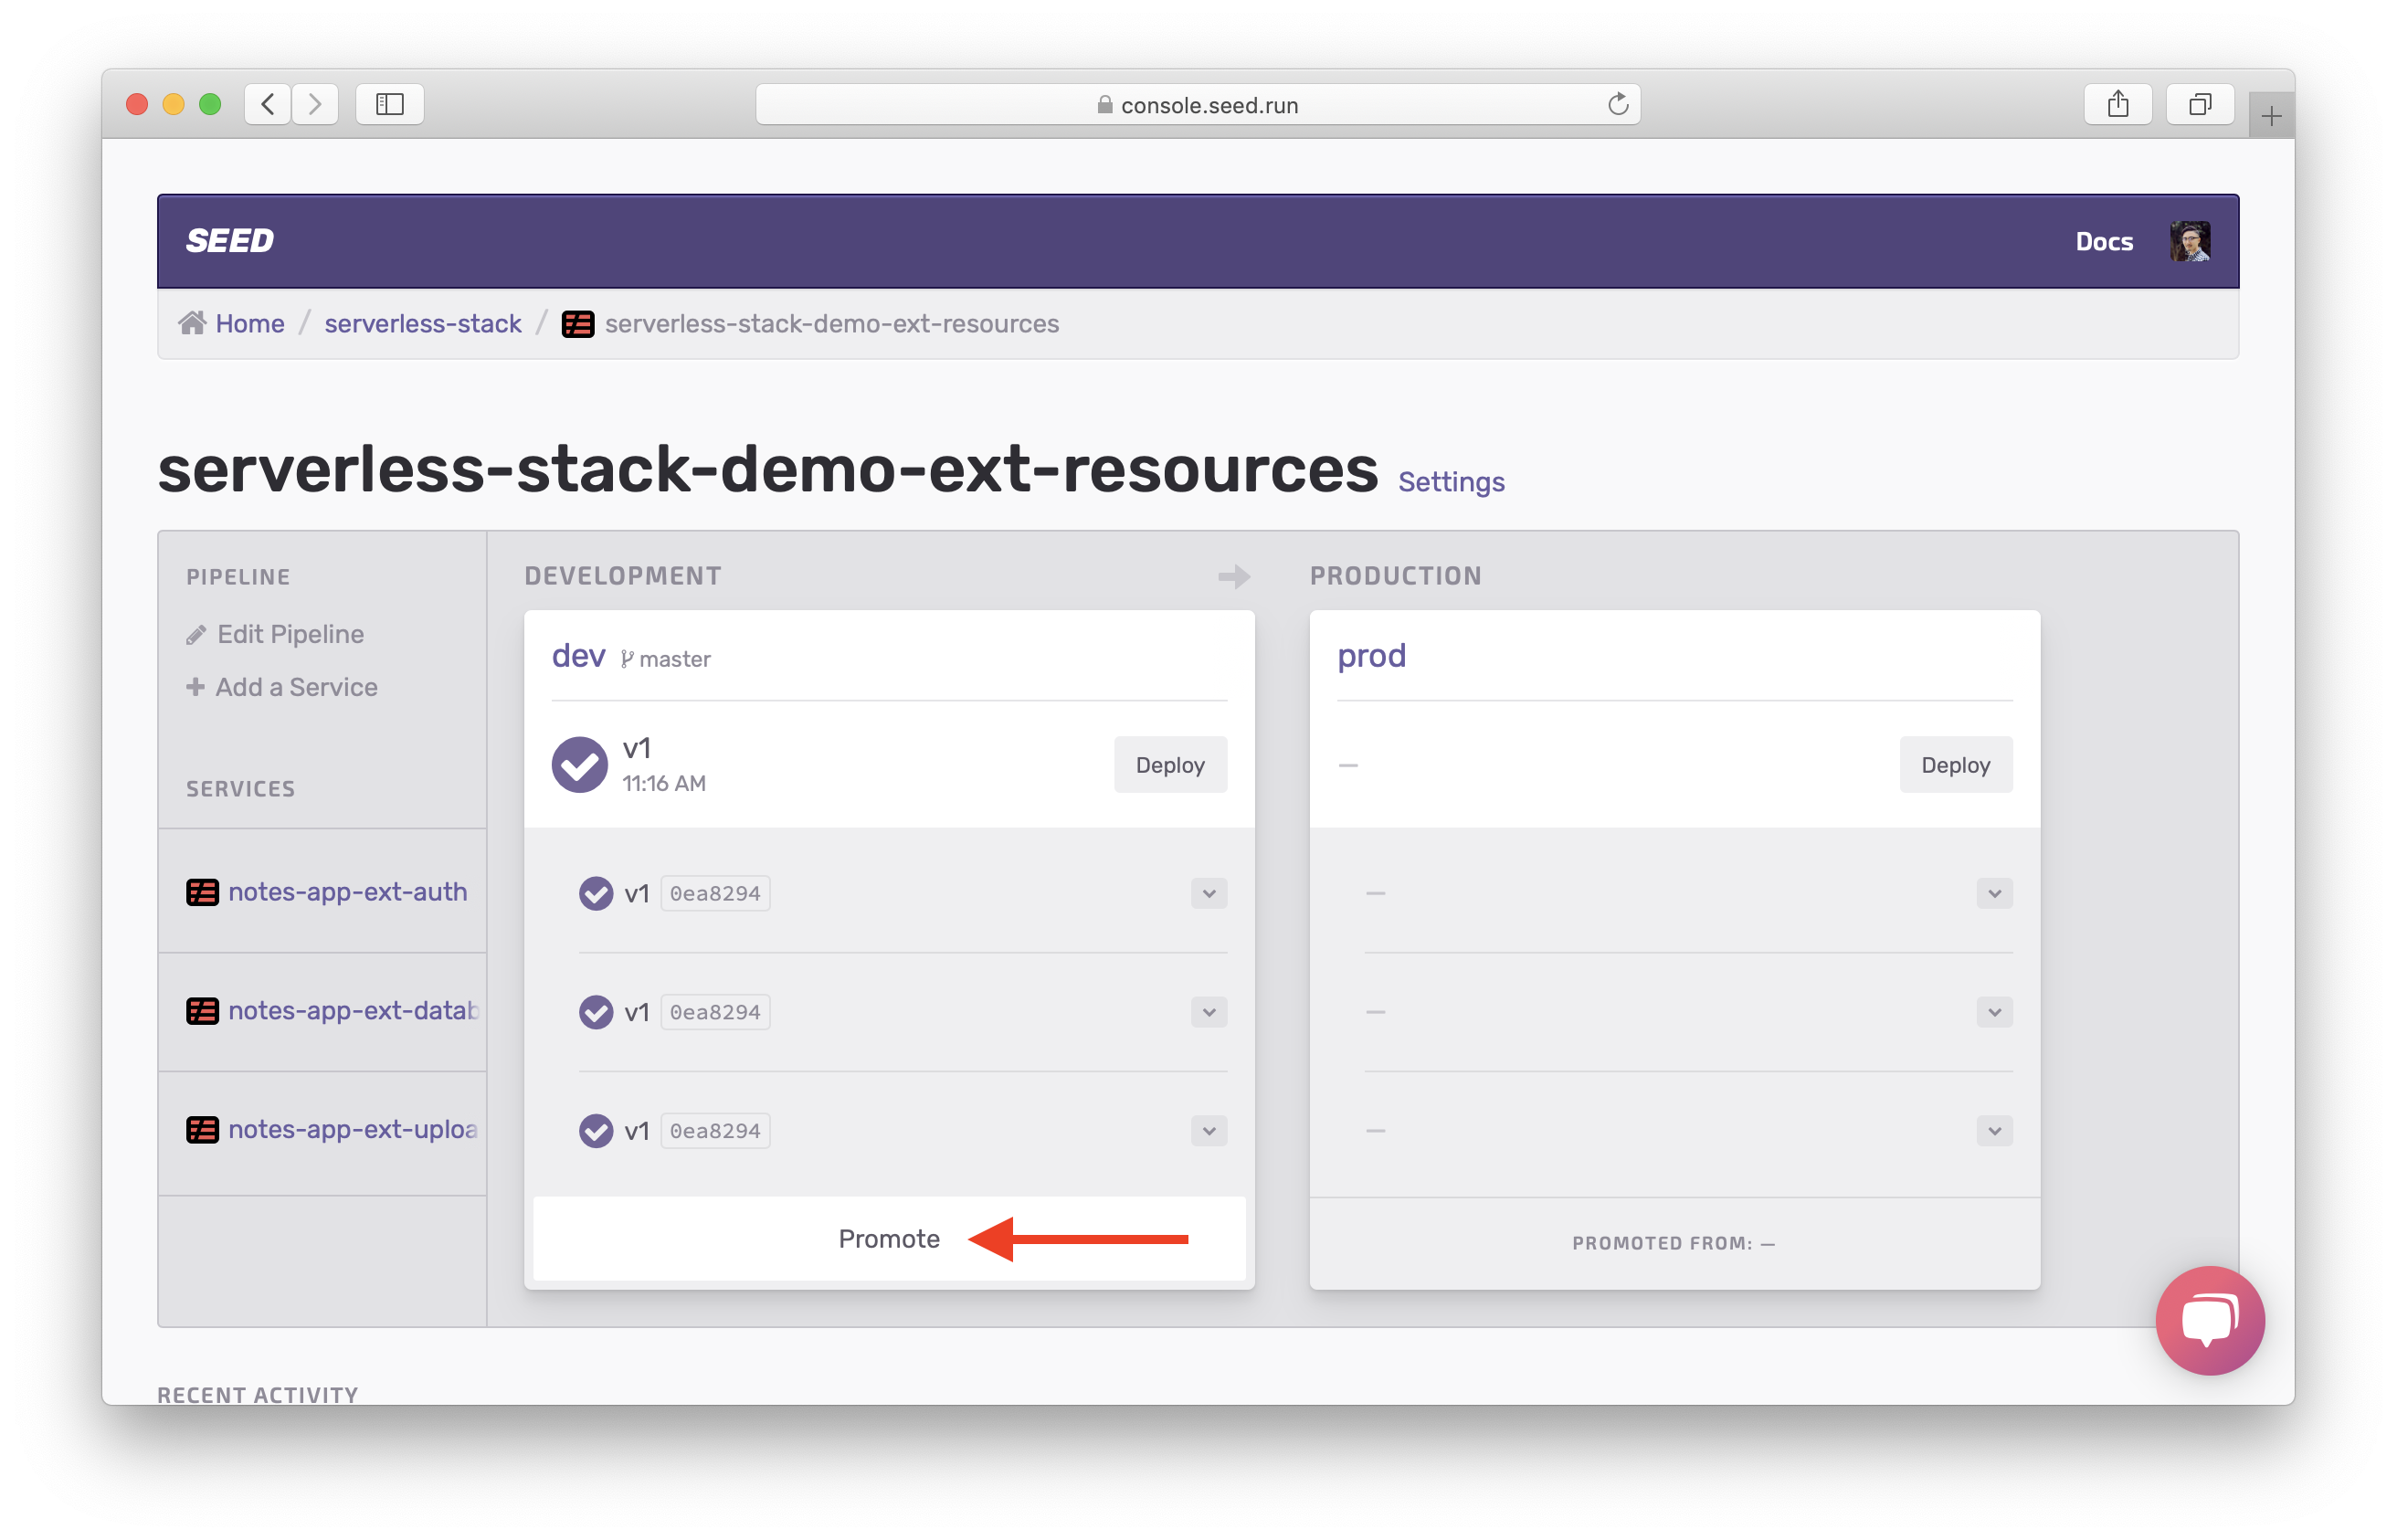
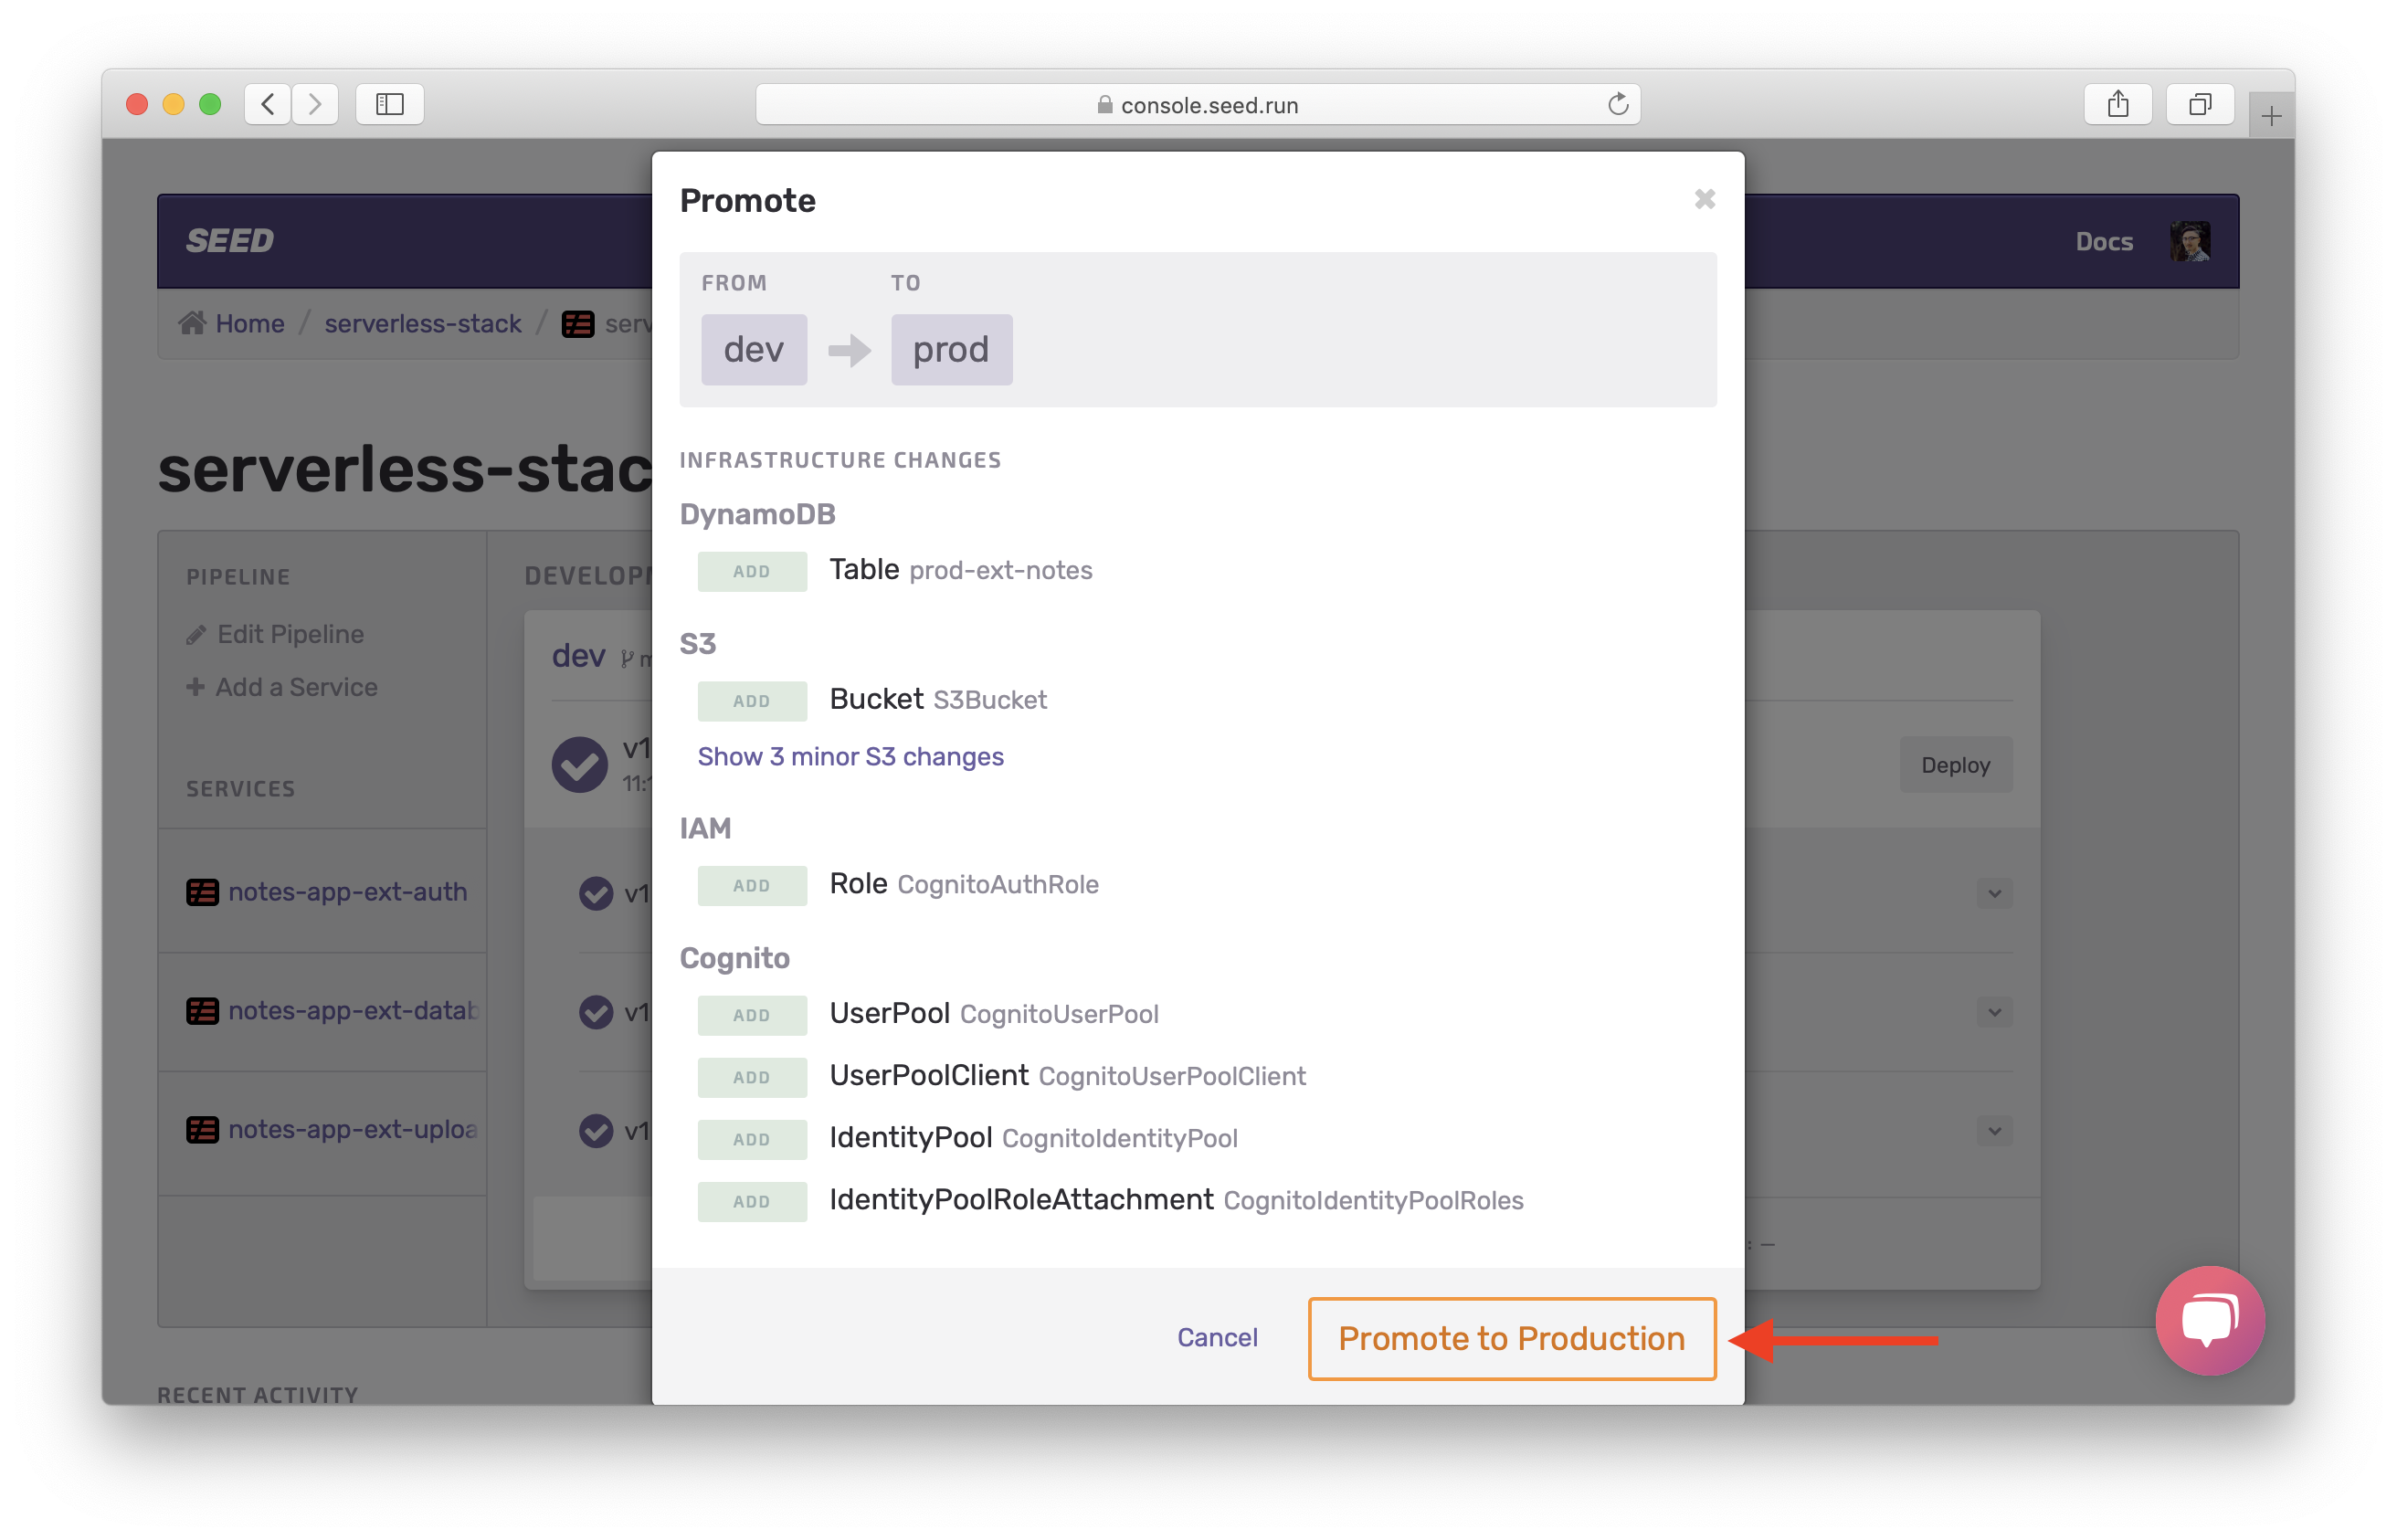
You will see a list of changes in resources. Since this is the first time we are deploying to the prod stage, the change list shows all the resources that will be created. We’ll take a look at this in detail later in the Promoting to production chapter.
Click Promote to Production.
This will trigger the services to deploy in the same order we specified.
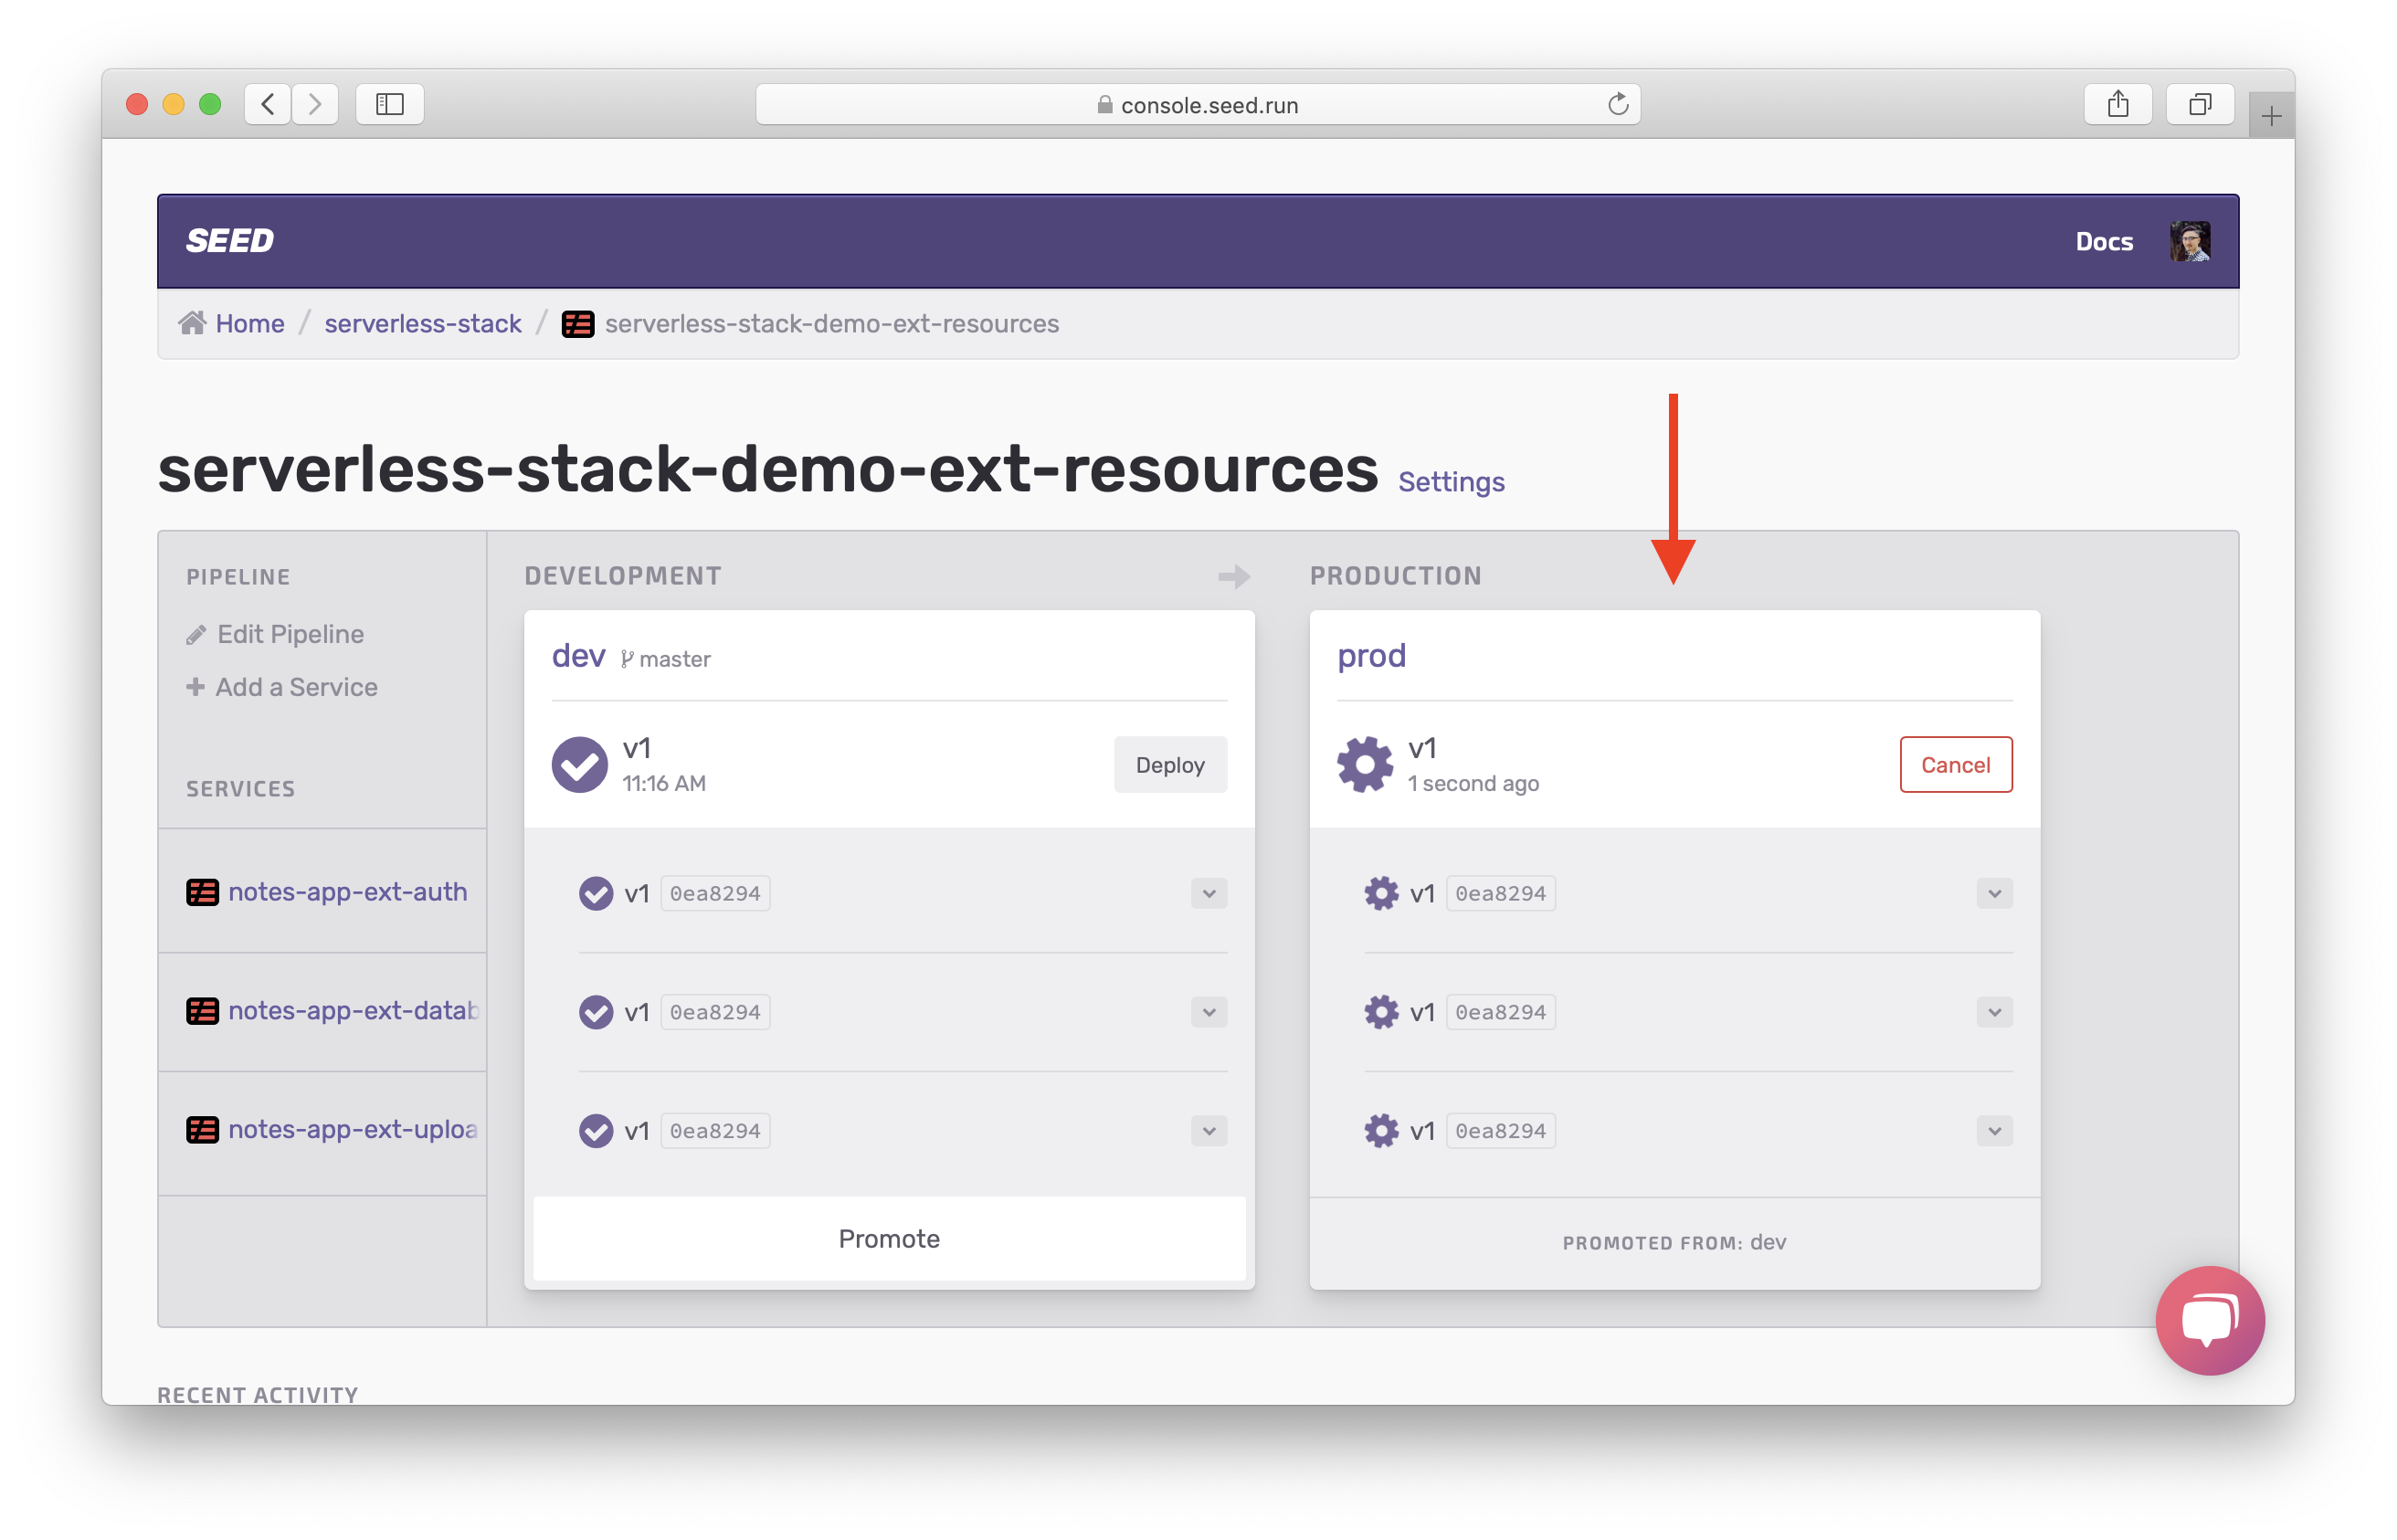
Now our resources have been deployed to both dev and prod.

Next, let’s deploy our API services repo.
For help and discussion
Comments on this chapterIf you liked this post, please subscribe to our newsletter, give us a star on GitHub, and follow us on Twitter.
Brought to you by
