Create a Settings Page
We are going to add a settings page to our app. This is going to allow users to pay for our service. The flow will look something like this:
- Users put in their credit card info and the number of notes they want to store.
- We call Stripe on the frontend to generate a token for the credit card.
- We then call our billing API with the token and the number of notes.
- Our billing API calculates the amount and bills the card!
To get started let’s add our settings page.
 Create a new file in
 src/containers/Settings.js and add the following.
import React, { useState } from "react";
import { API } from "aws-amplify";

export default function Settings(props) {
  const [isLoading, setIsLoading] = useState(false);

  function billUser(details) {
    return API.post("notes", "/billing", {
      body: details
    });
  }

  return (
    <div className="Settings">
    </div>
  );
}
Next import this component in the header of src/Routes.js.
import Settings from "./containers/Settings";
Add the following below the /signup route in our <Switch> block in src/Routes.js.
<AppliedRoute path="/settings" exact component={Settings} appProps={appProps} />
Next add a link to our settings page in the navbar by replacing the return statement in src/App.js with this.
return (
  !isAuthenticating && (
    <div className="App container">
      <Navbar fluid collapseOnSelect>
        <Navbar.Header>
          <Navbar.Brand>
            <Link to="/">Scratch</Link>
          </Navbar.Brand>
          <Navbar.Toggle />
        </Navbar.Header>
        <Navbar.Collapse>
          <Nav pullRight>
            {isAuthenticated ? (
              <>
                <LinkContainer to="/settings">
                  <NavItem>Settings</NavItem>
                </LinkContainer>
                <NavItem onClick={handleLogout}>Logout</NavItem>
              </>
            ) : (
              <>
                <LinkContainer to="/signup">
                  <NavItem>Signup</NavItem>
                </LinkContainer>
                <LinkContainer to="/login">
                  <NavItem>Login</NavItem>
                </LinkContainer>
              </>
            )}
          </Nav>
        </Navbar.Collapse>
      </Navbar>
      <Routes appProps={{ isAuthenticated, userHasAuthenticated }} />
    </div>
  )
);
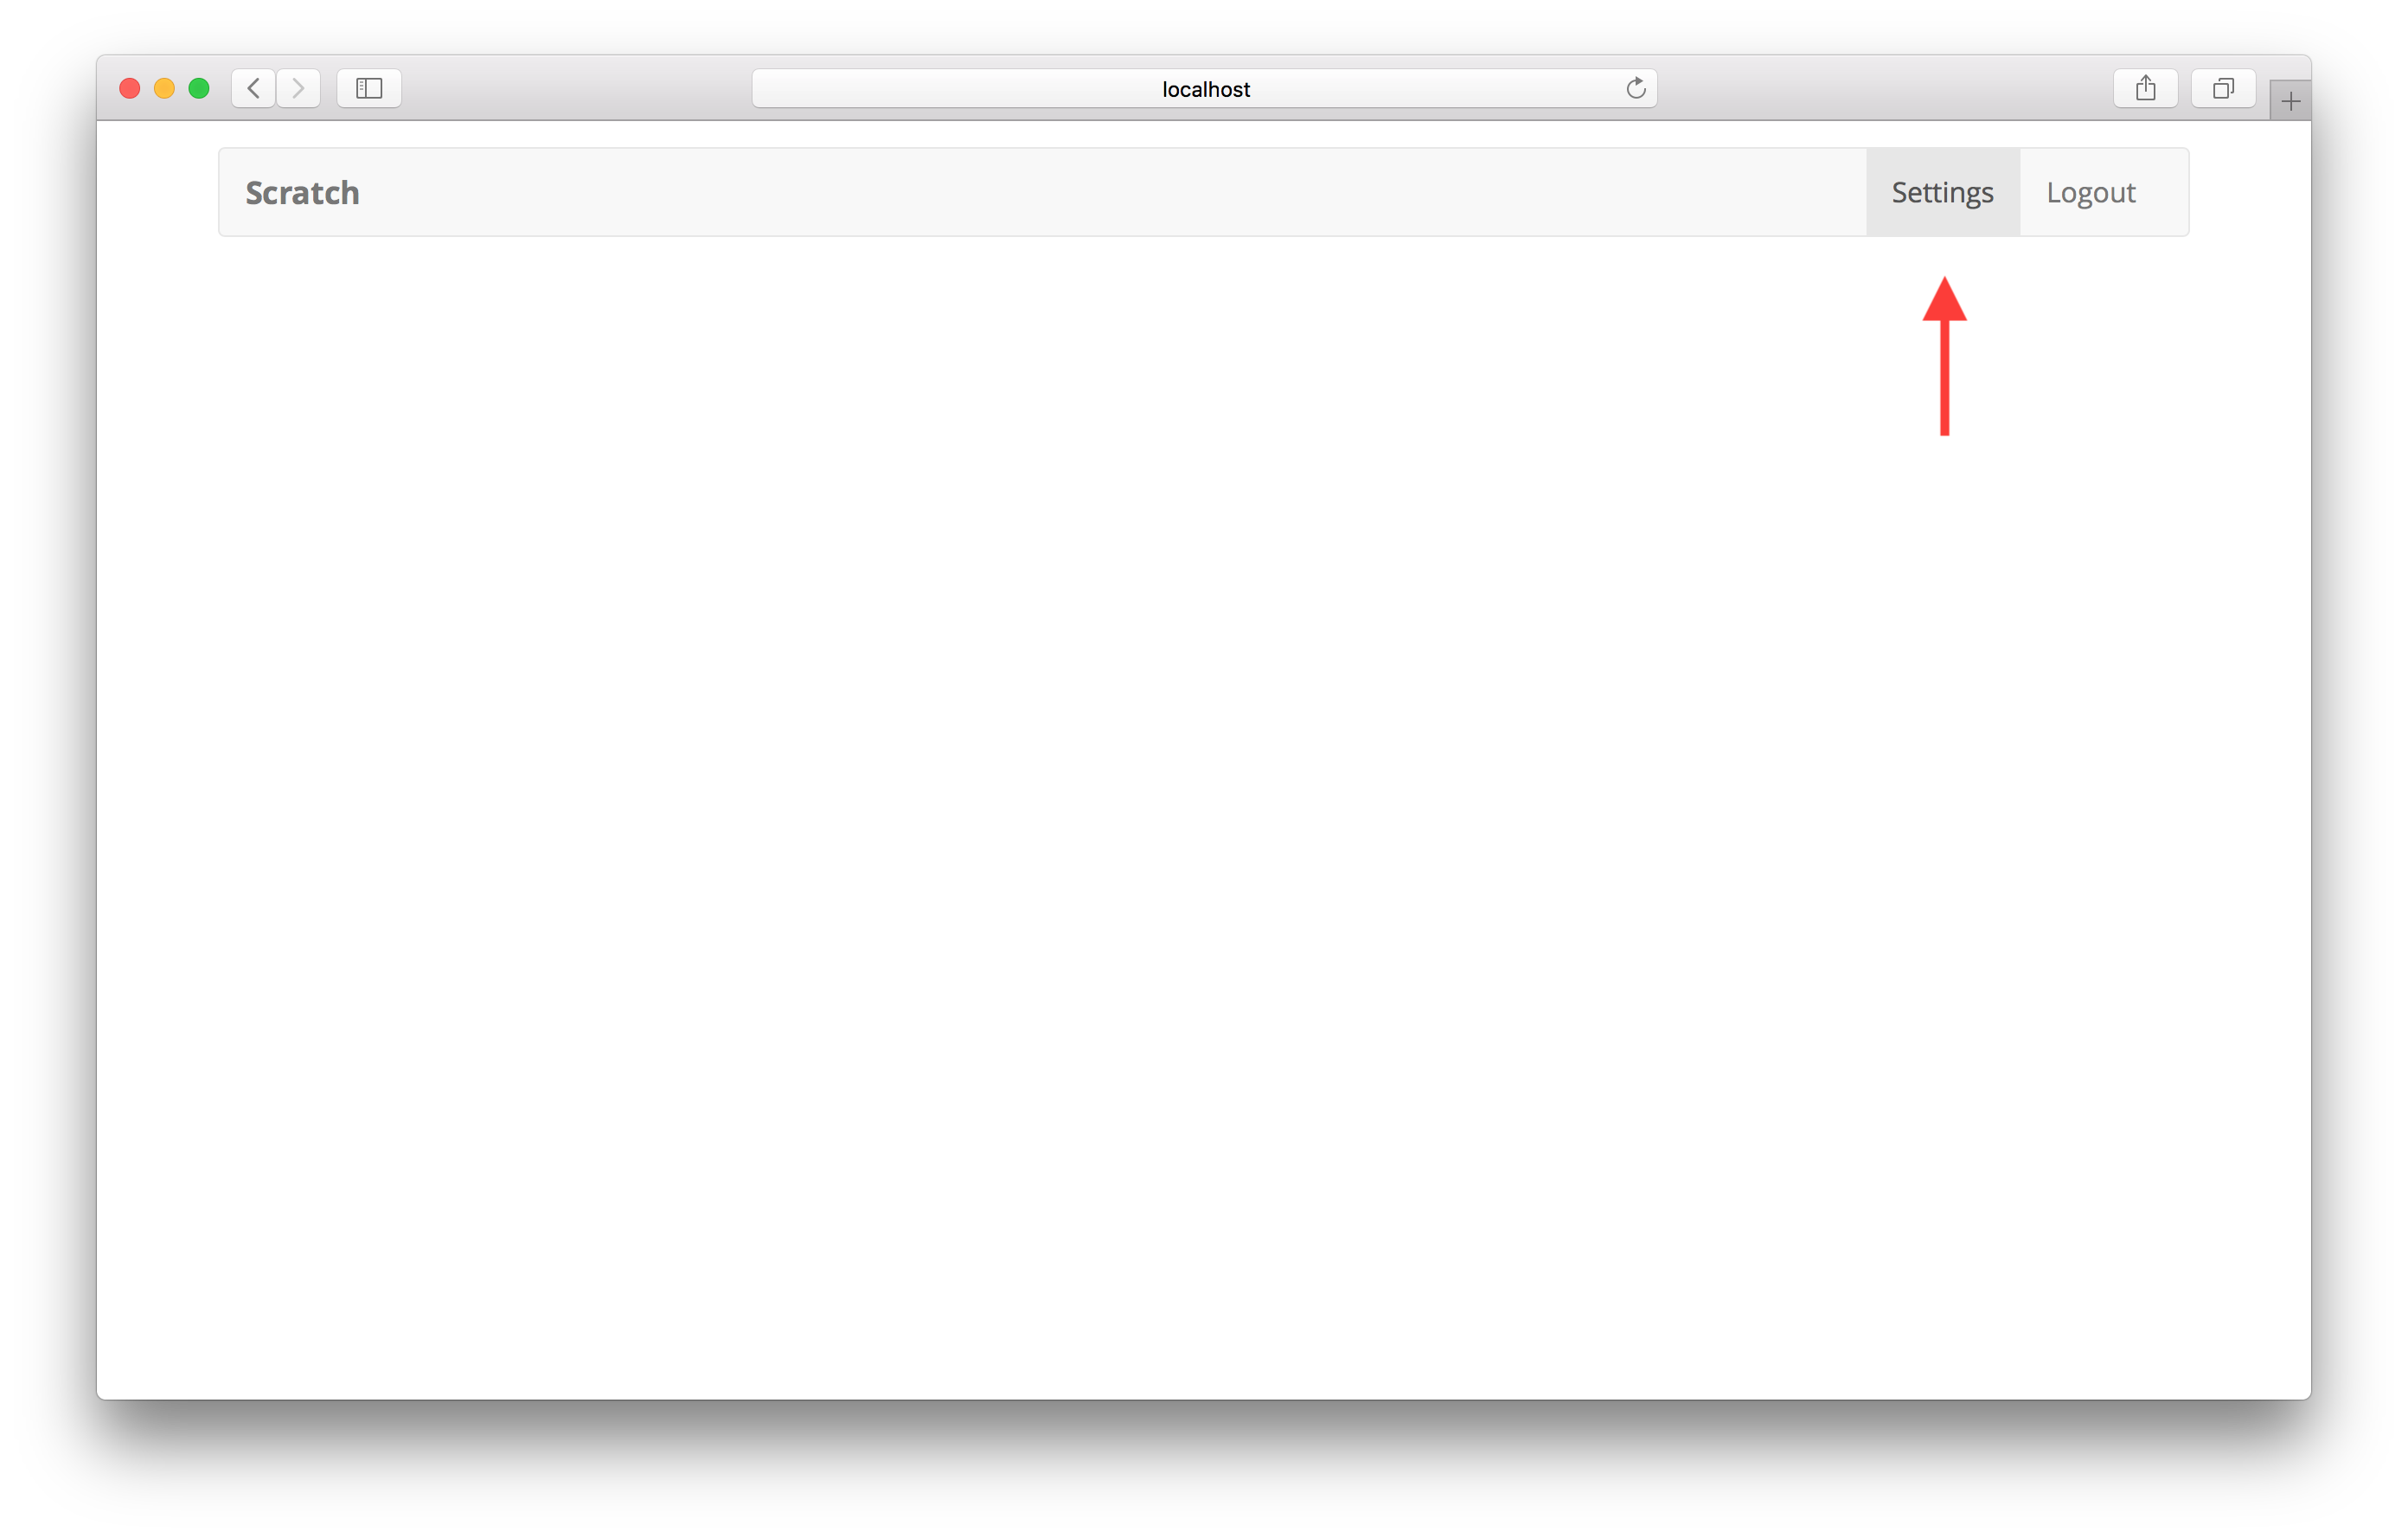
You’ll notice that we added another link in the navbar that only displays when a user is logged in.
Now if you head over to your app, you’ll see a new Settings link at the top. Of course, the page is pretty empty right now.
Next, we’ll add our Stripe SDK keys to our config.
For help and discussion
Comments on this chapterIf you liked this post, please subscribe to our newsletter, give us a star on GitHub, and follow us on Twitter.
Brought to you by
