Manage AWS Accounts Using AWS Organizations
With AWS Organizations, you can create and manage all the AWS accounts in your master account. In this chapter we’ll look at how to create multiple AWS accounts for the environments in our serverless app.
Create AWS accounts
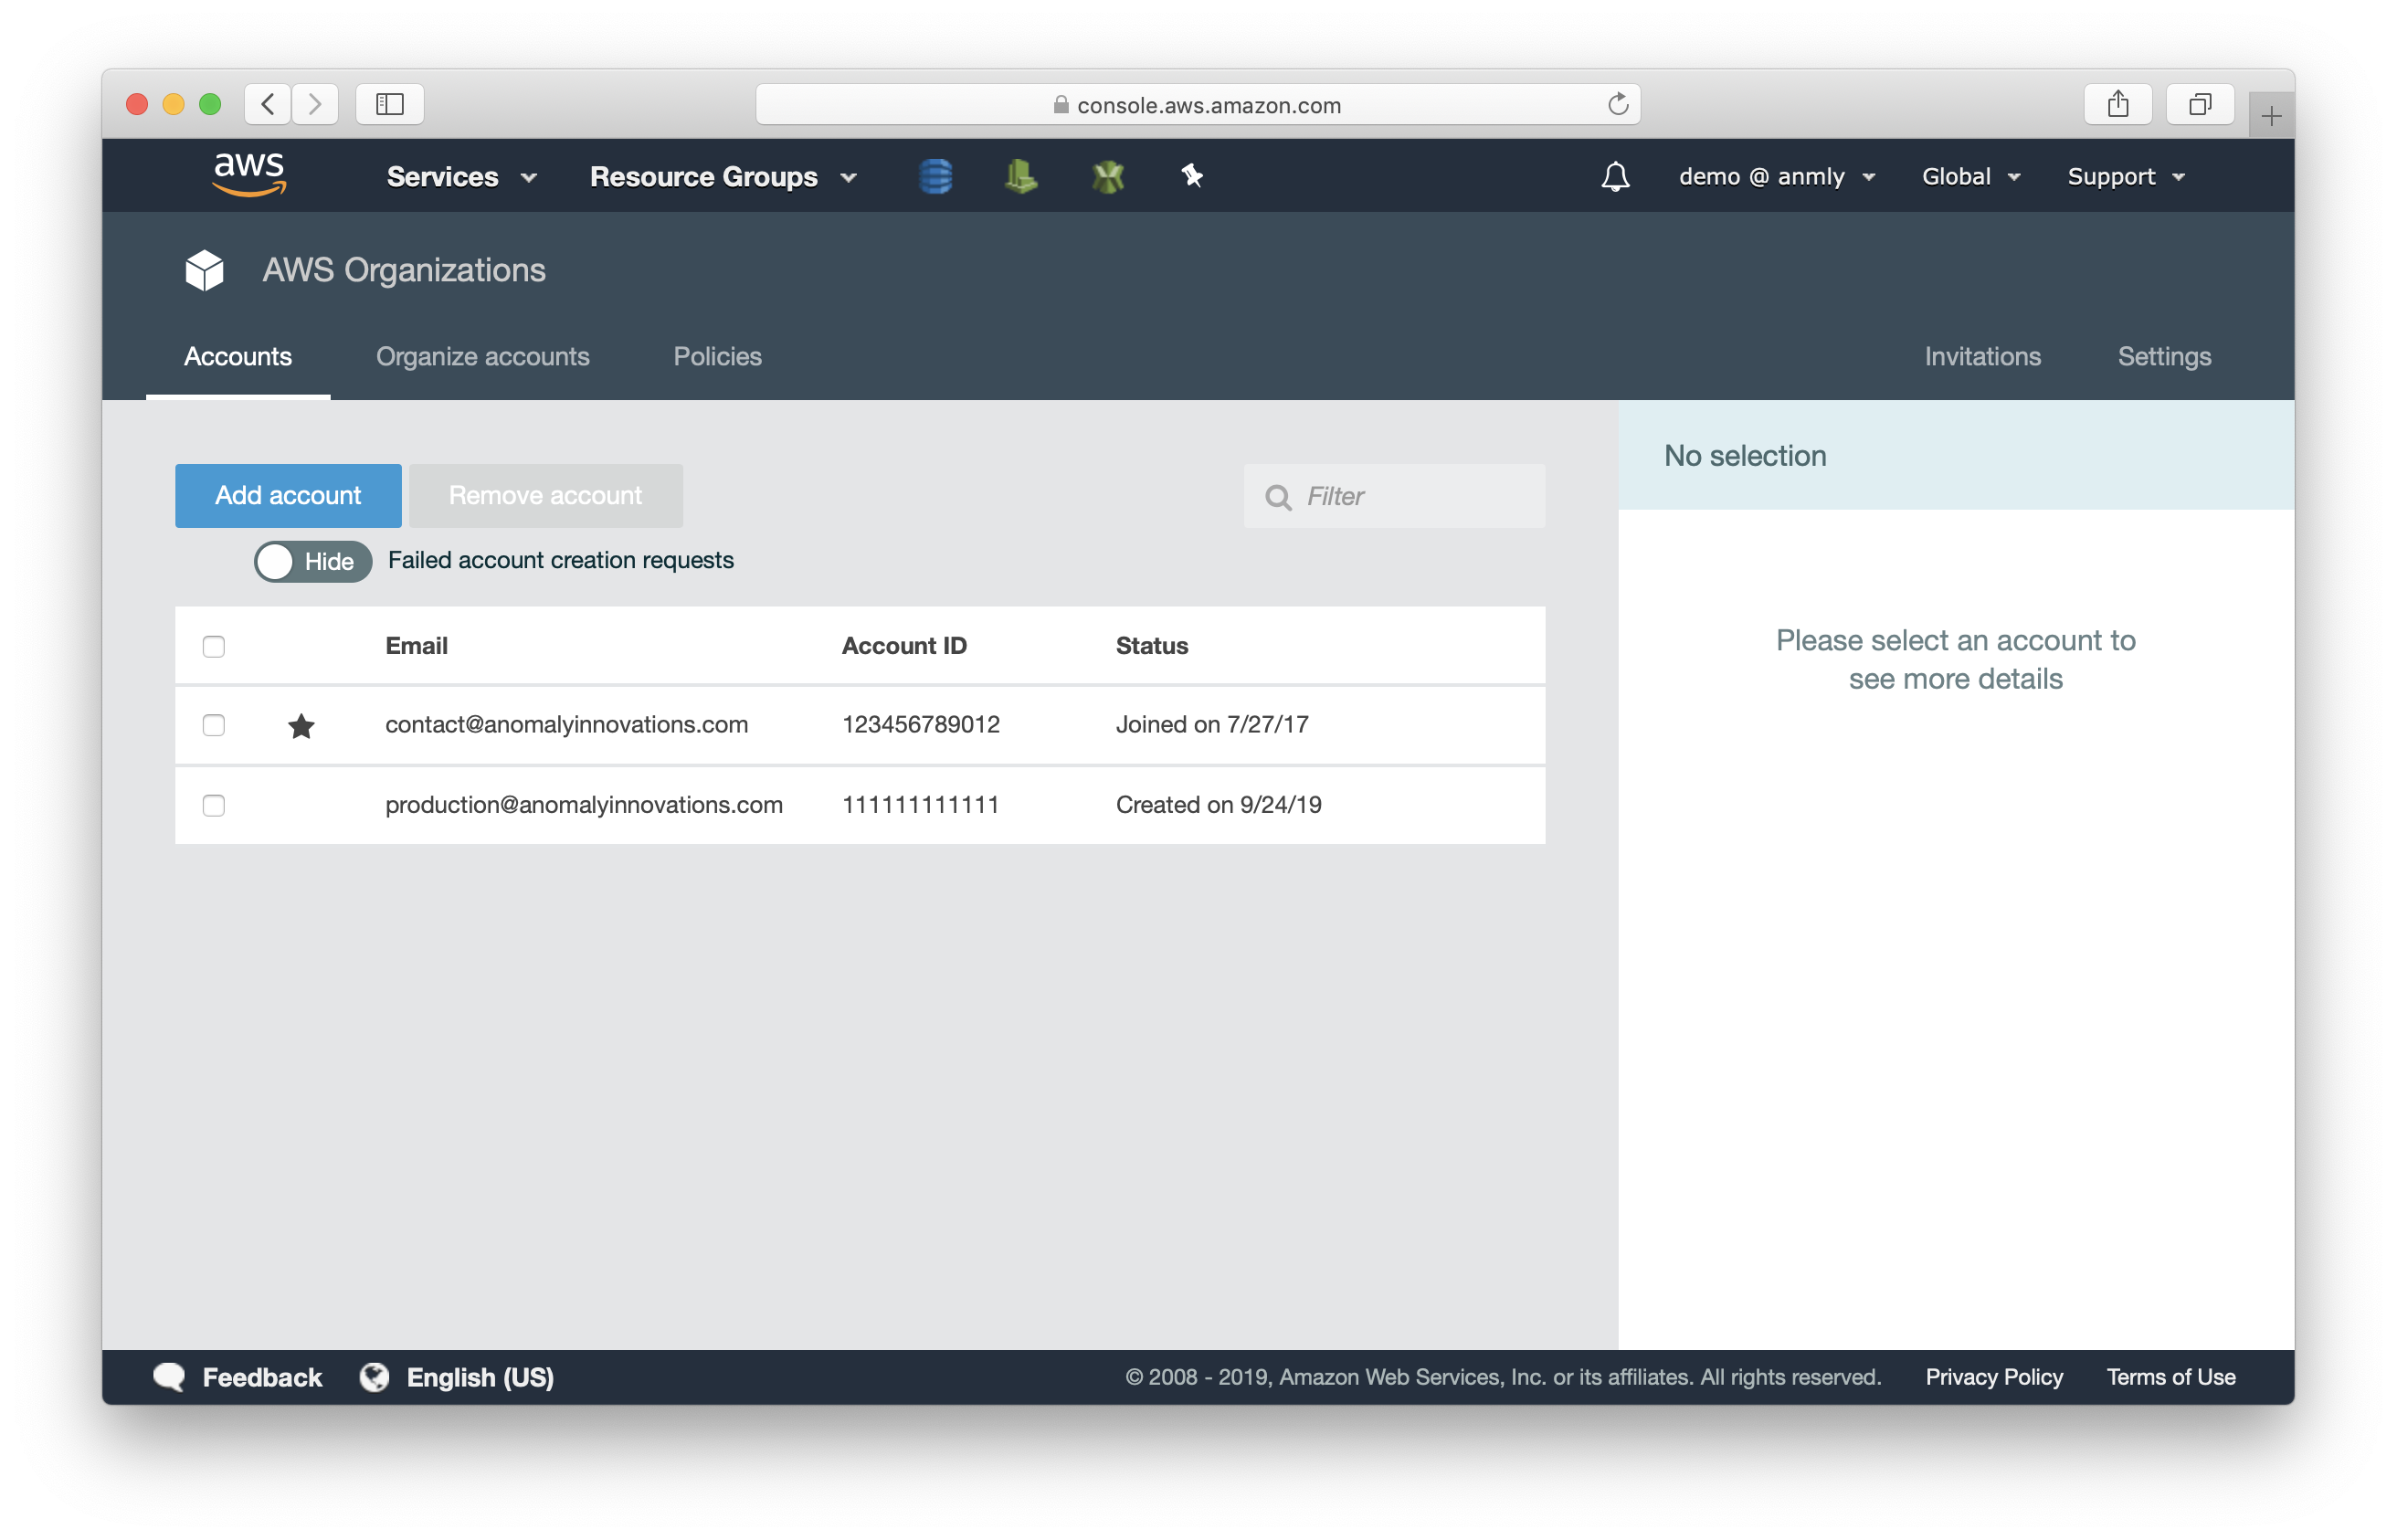
Go to the AWS Organizations console.
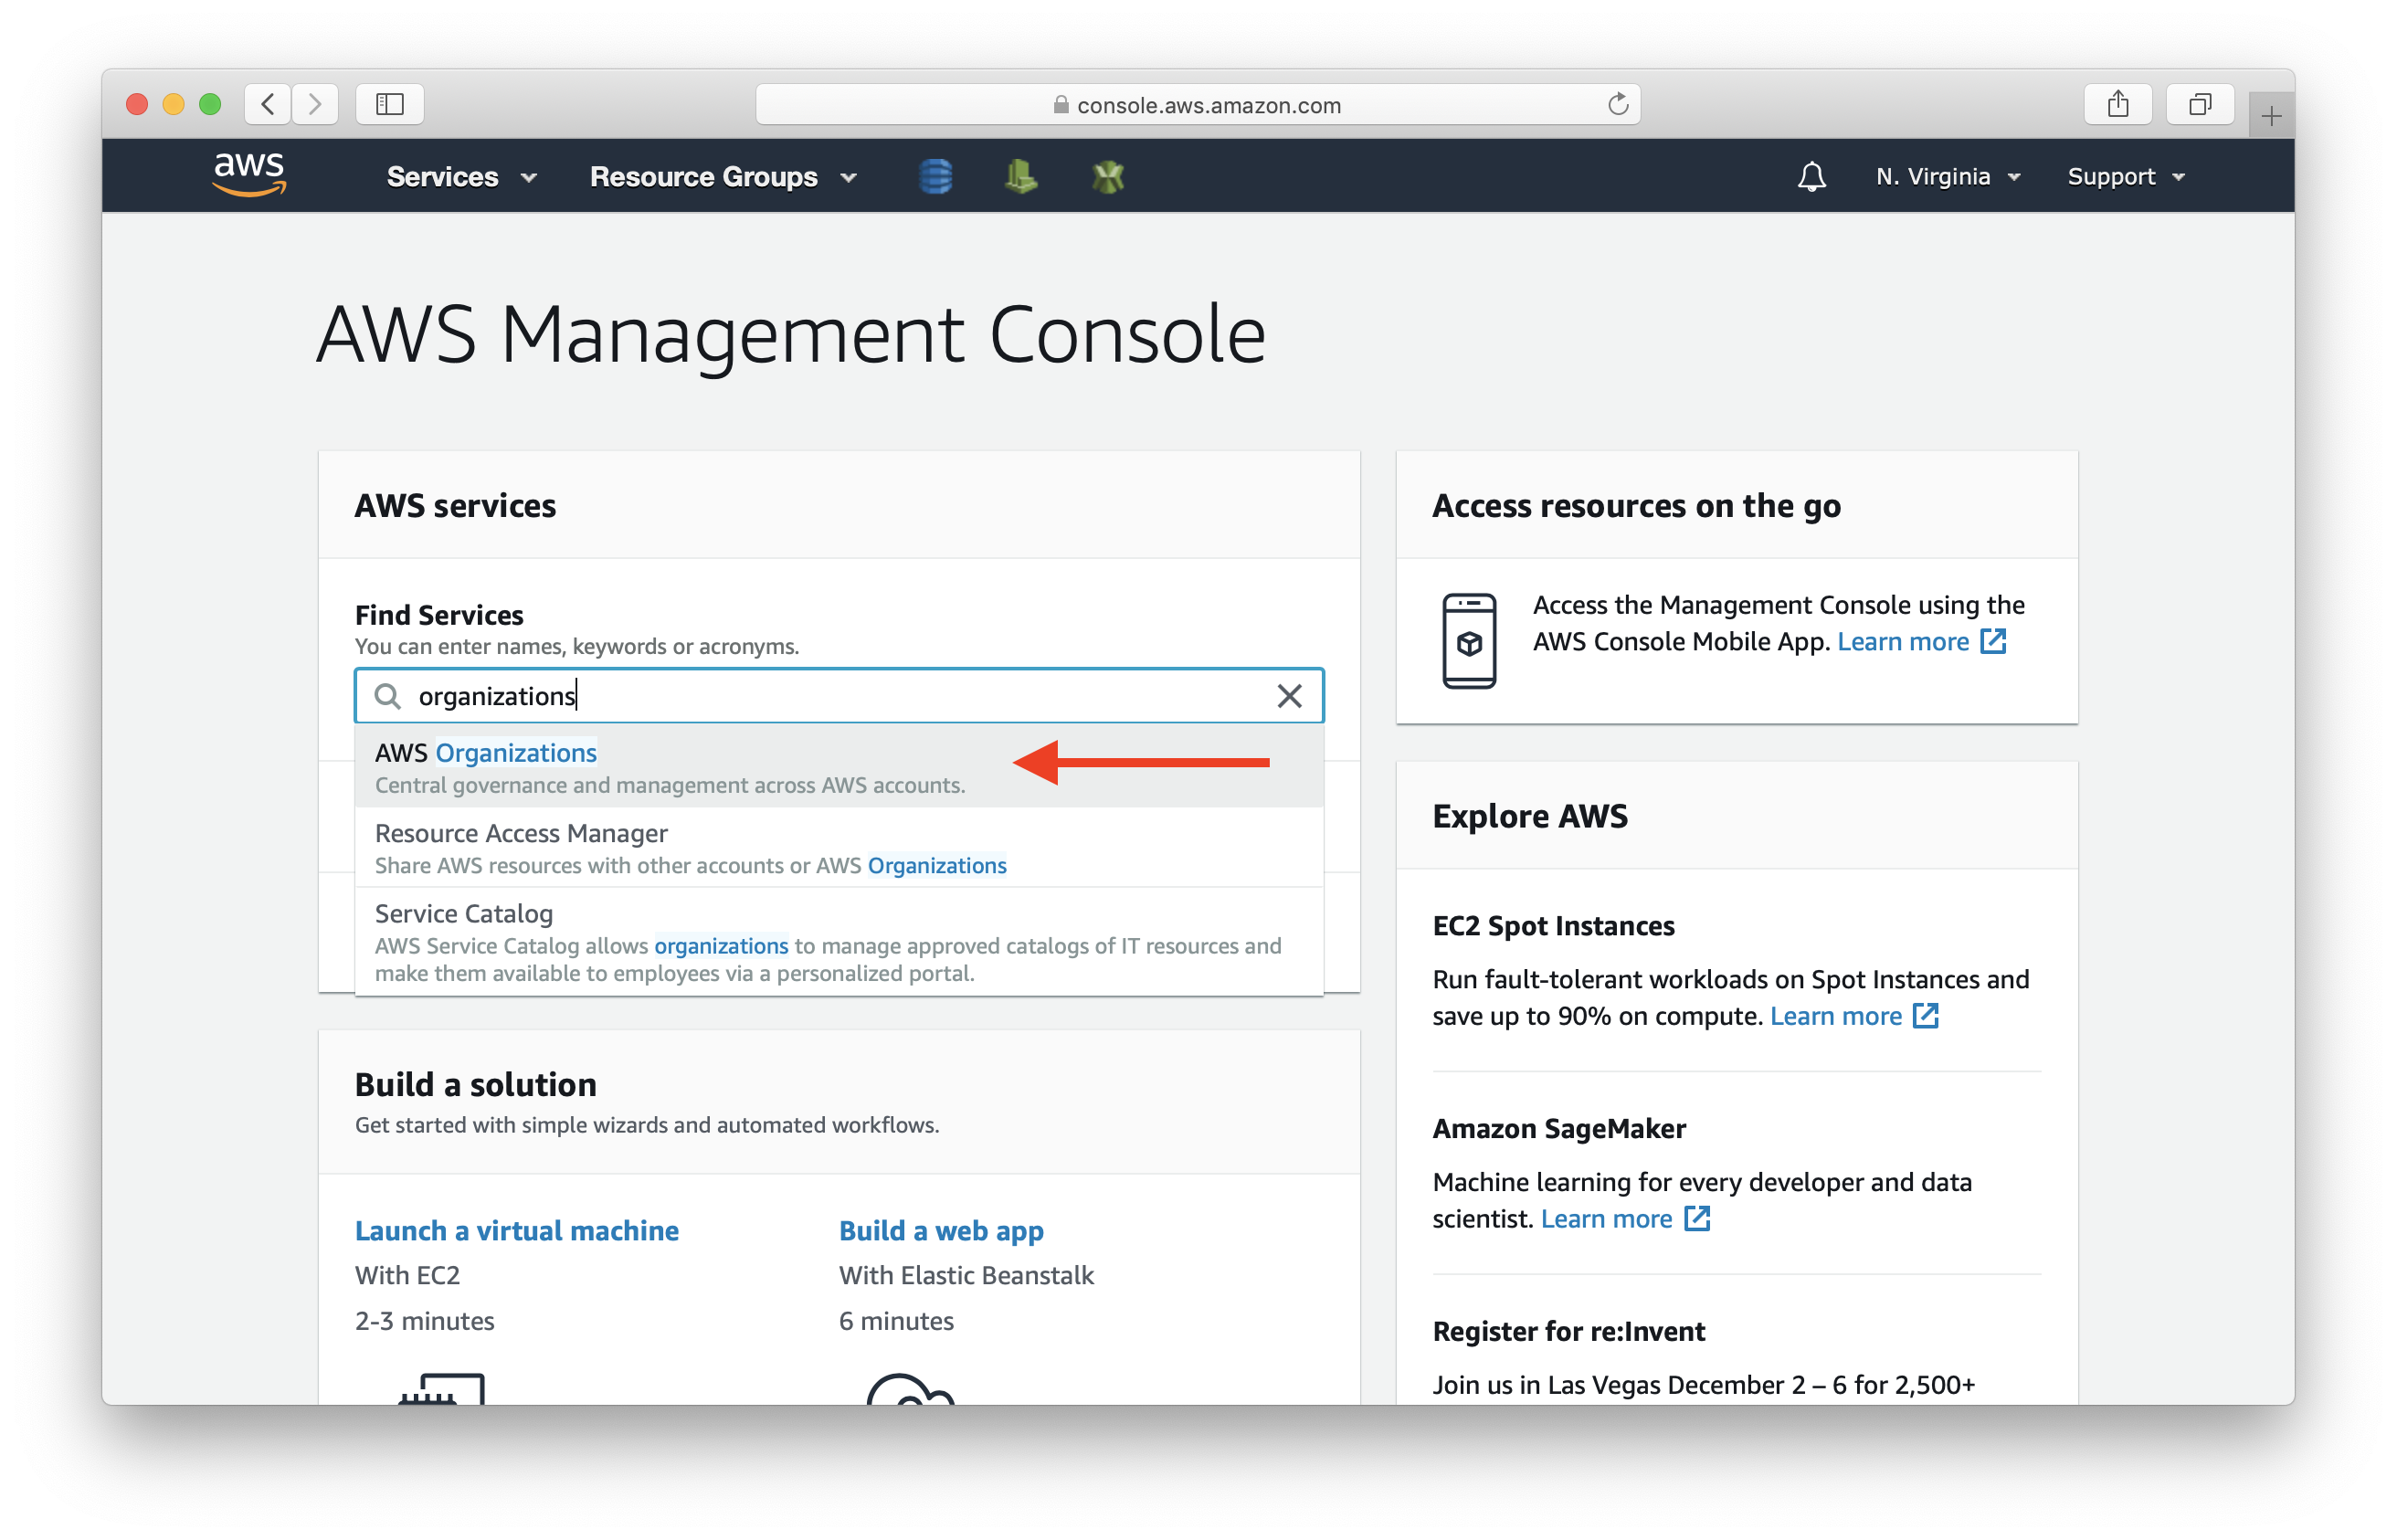
The account labeled with the star is your master AWS account. This account cannot be removed from the organization.
Select Add account.
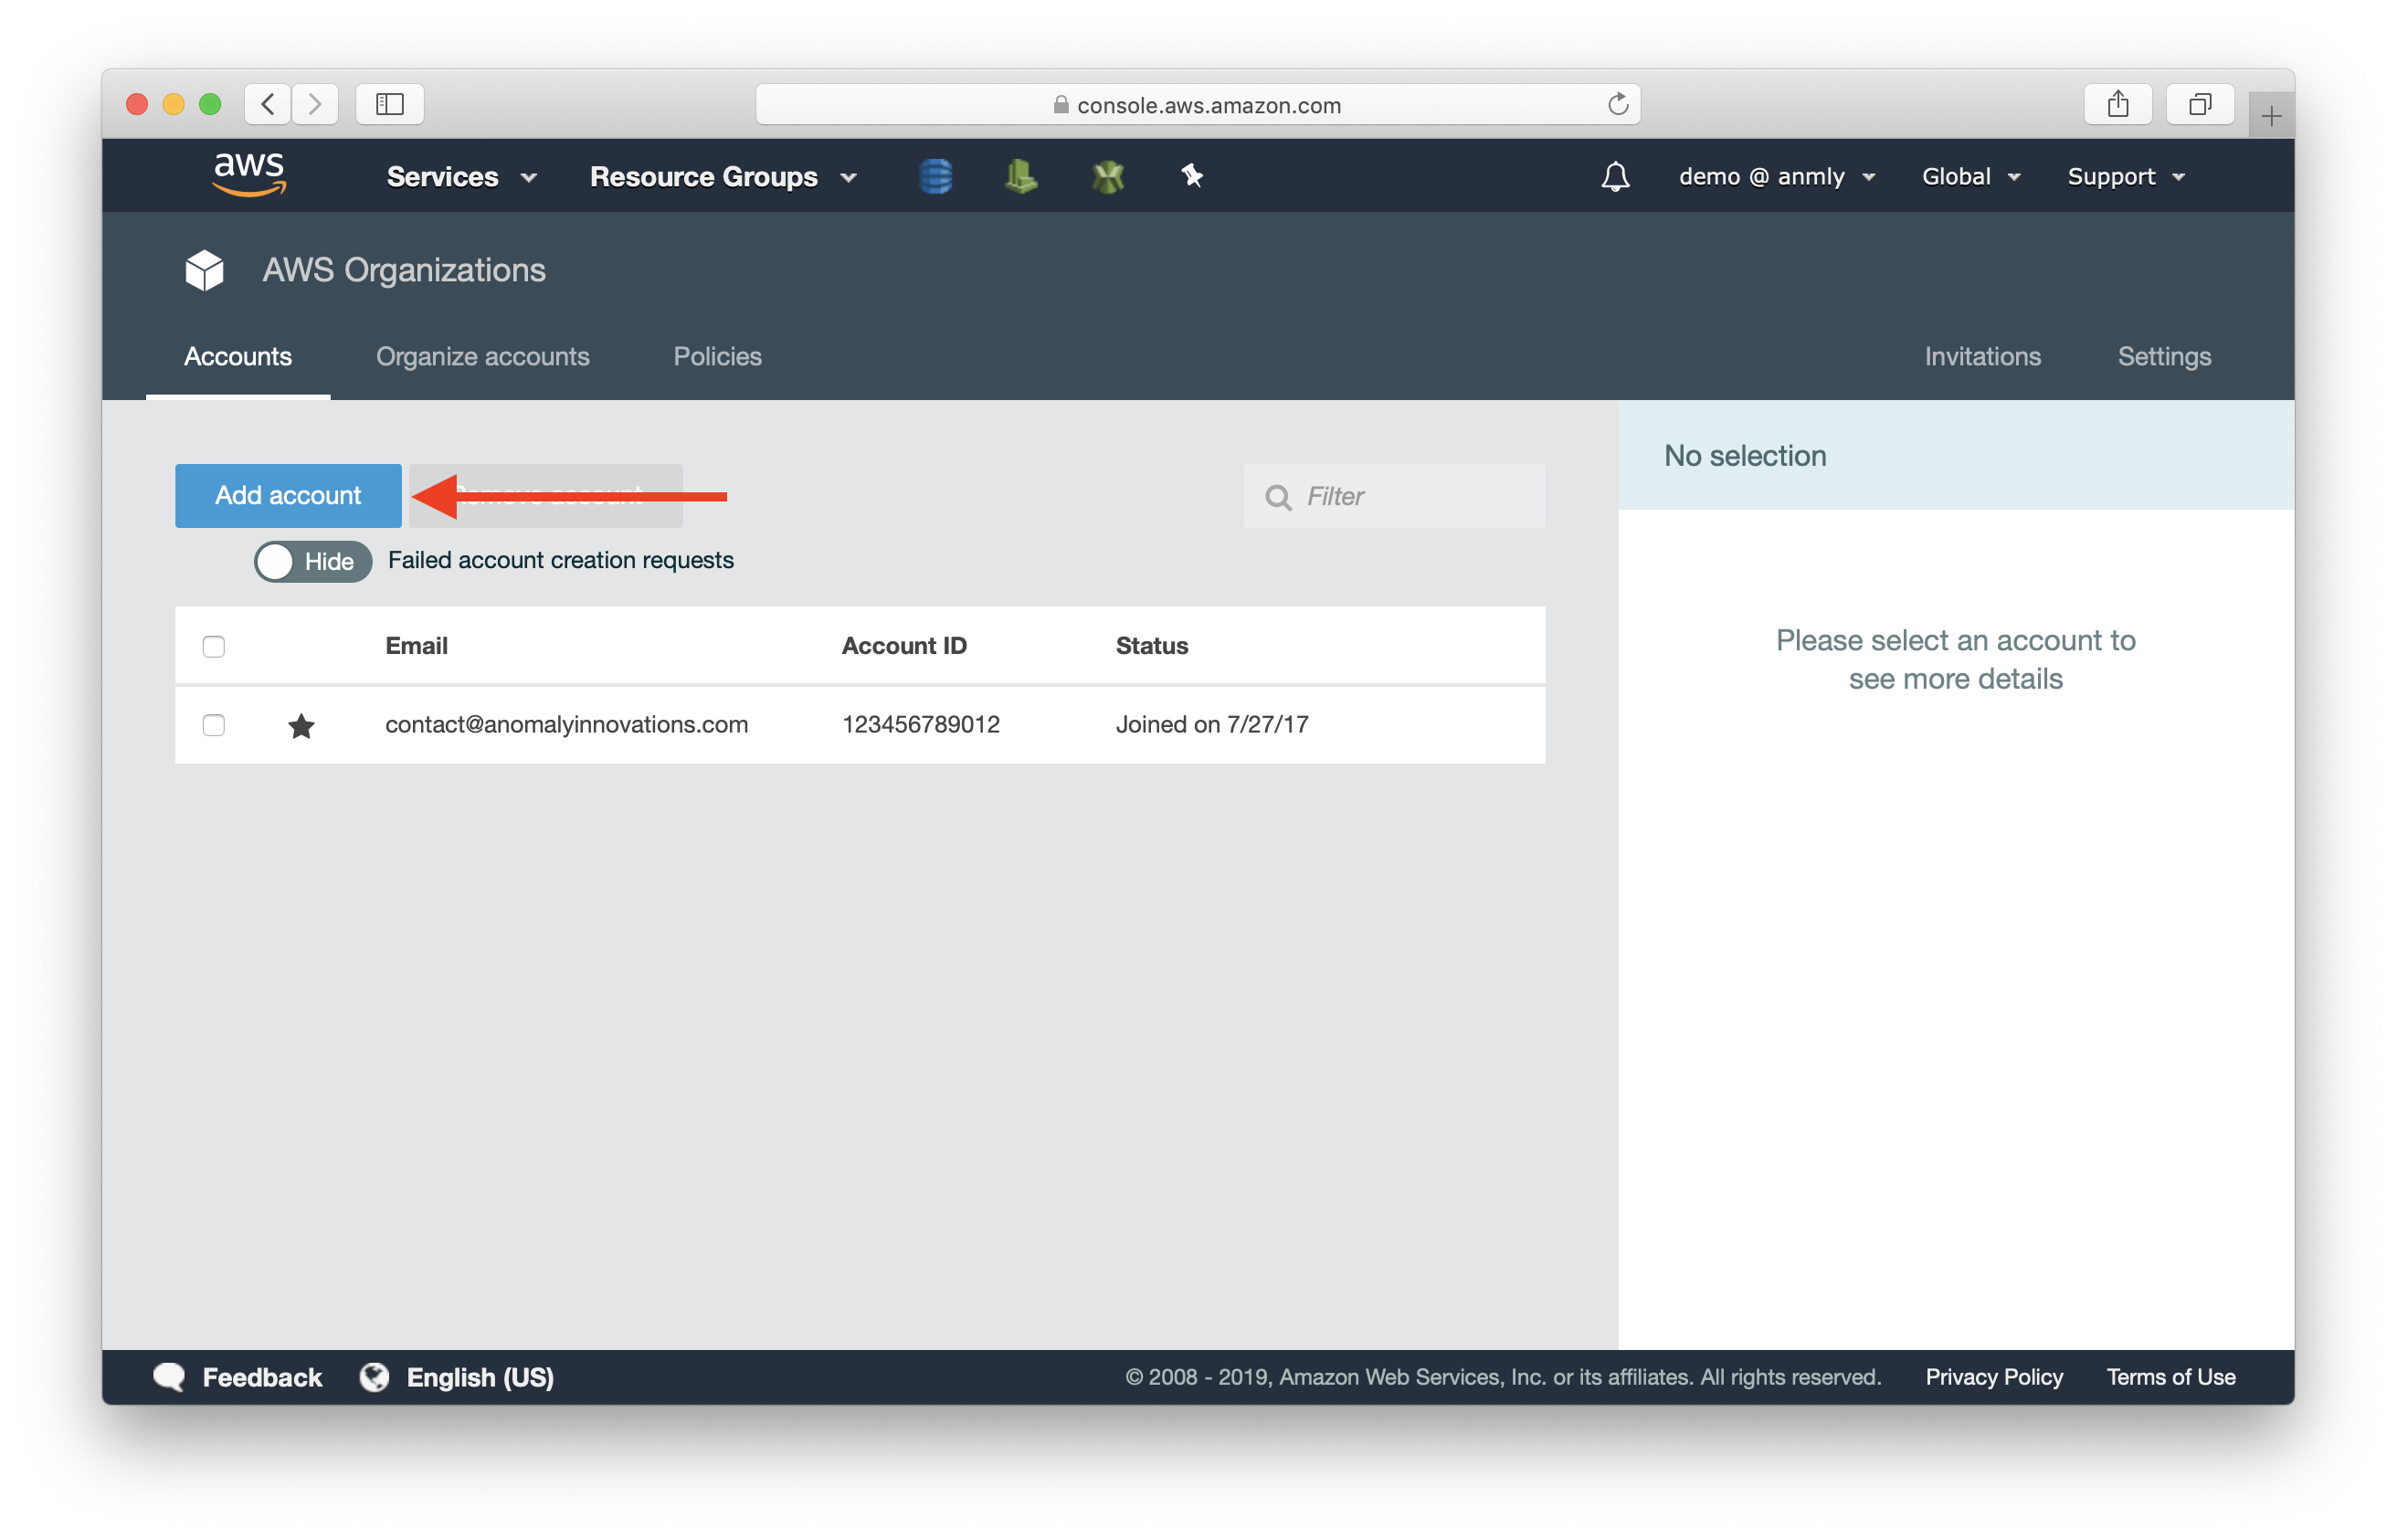
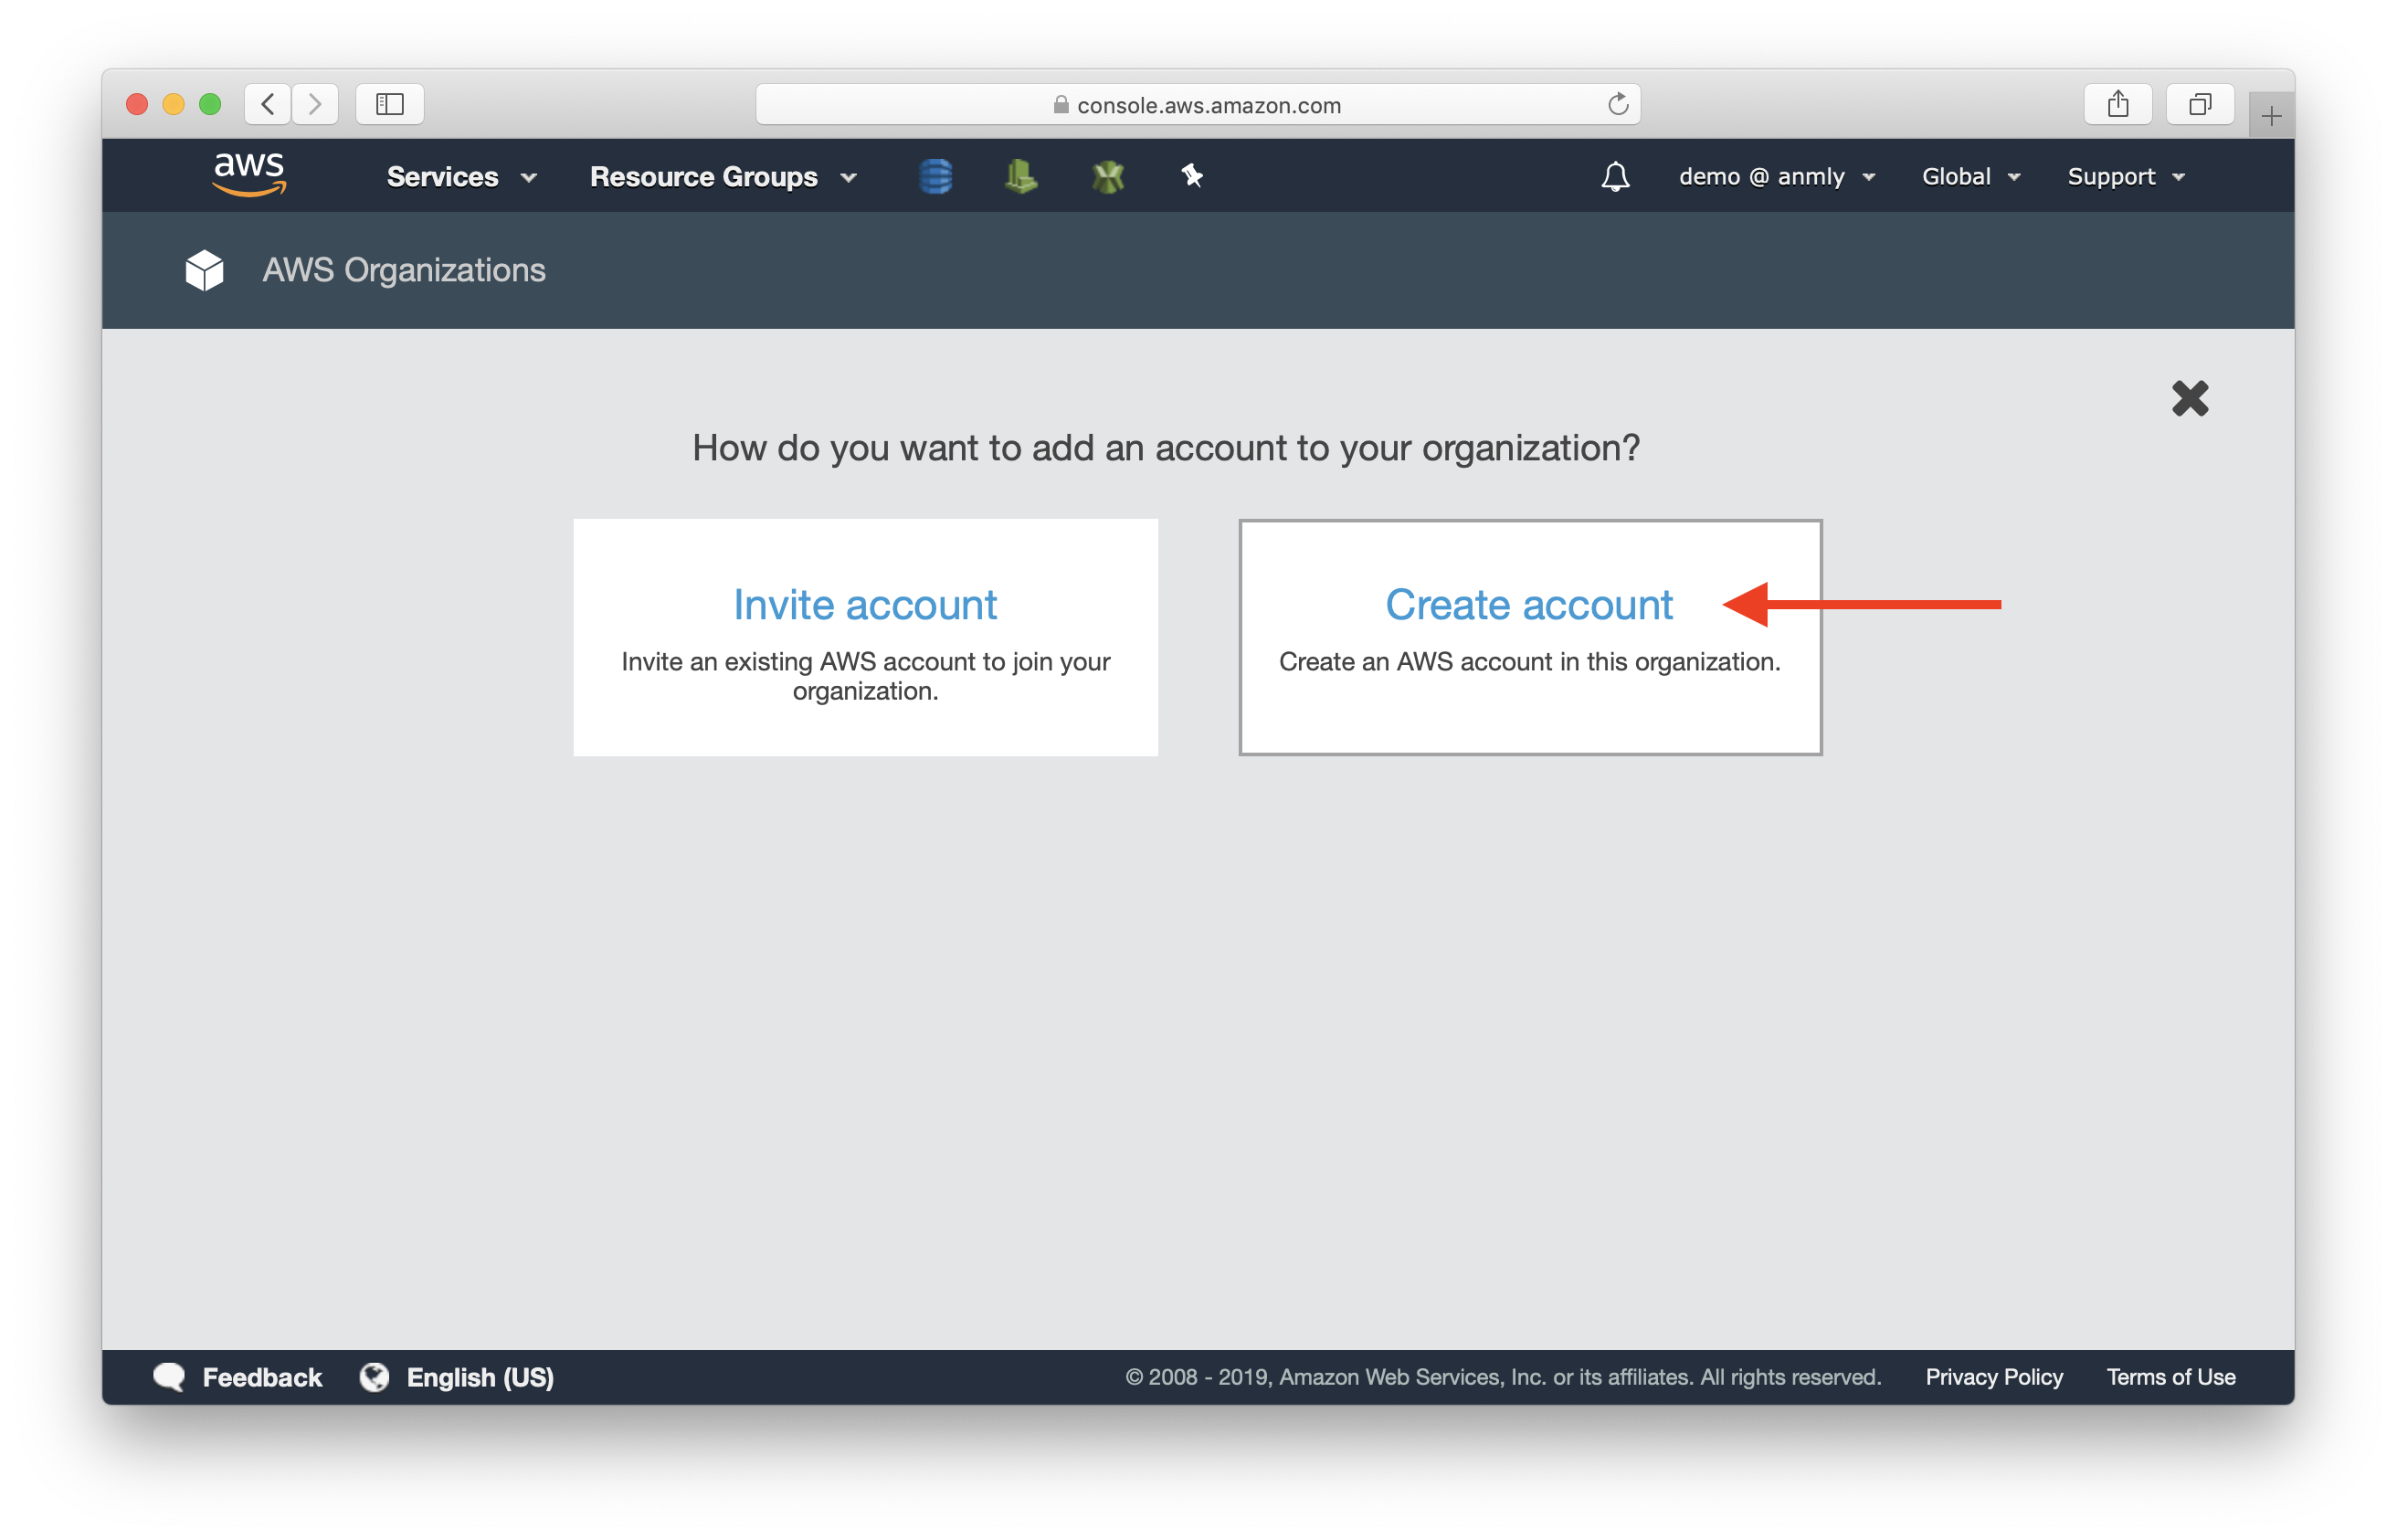
You can either create a new AWS account or if you already have multiple standalone AWS accounts, you can add them into your organization.
Select Create account.
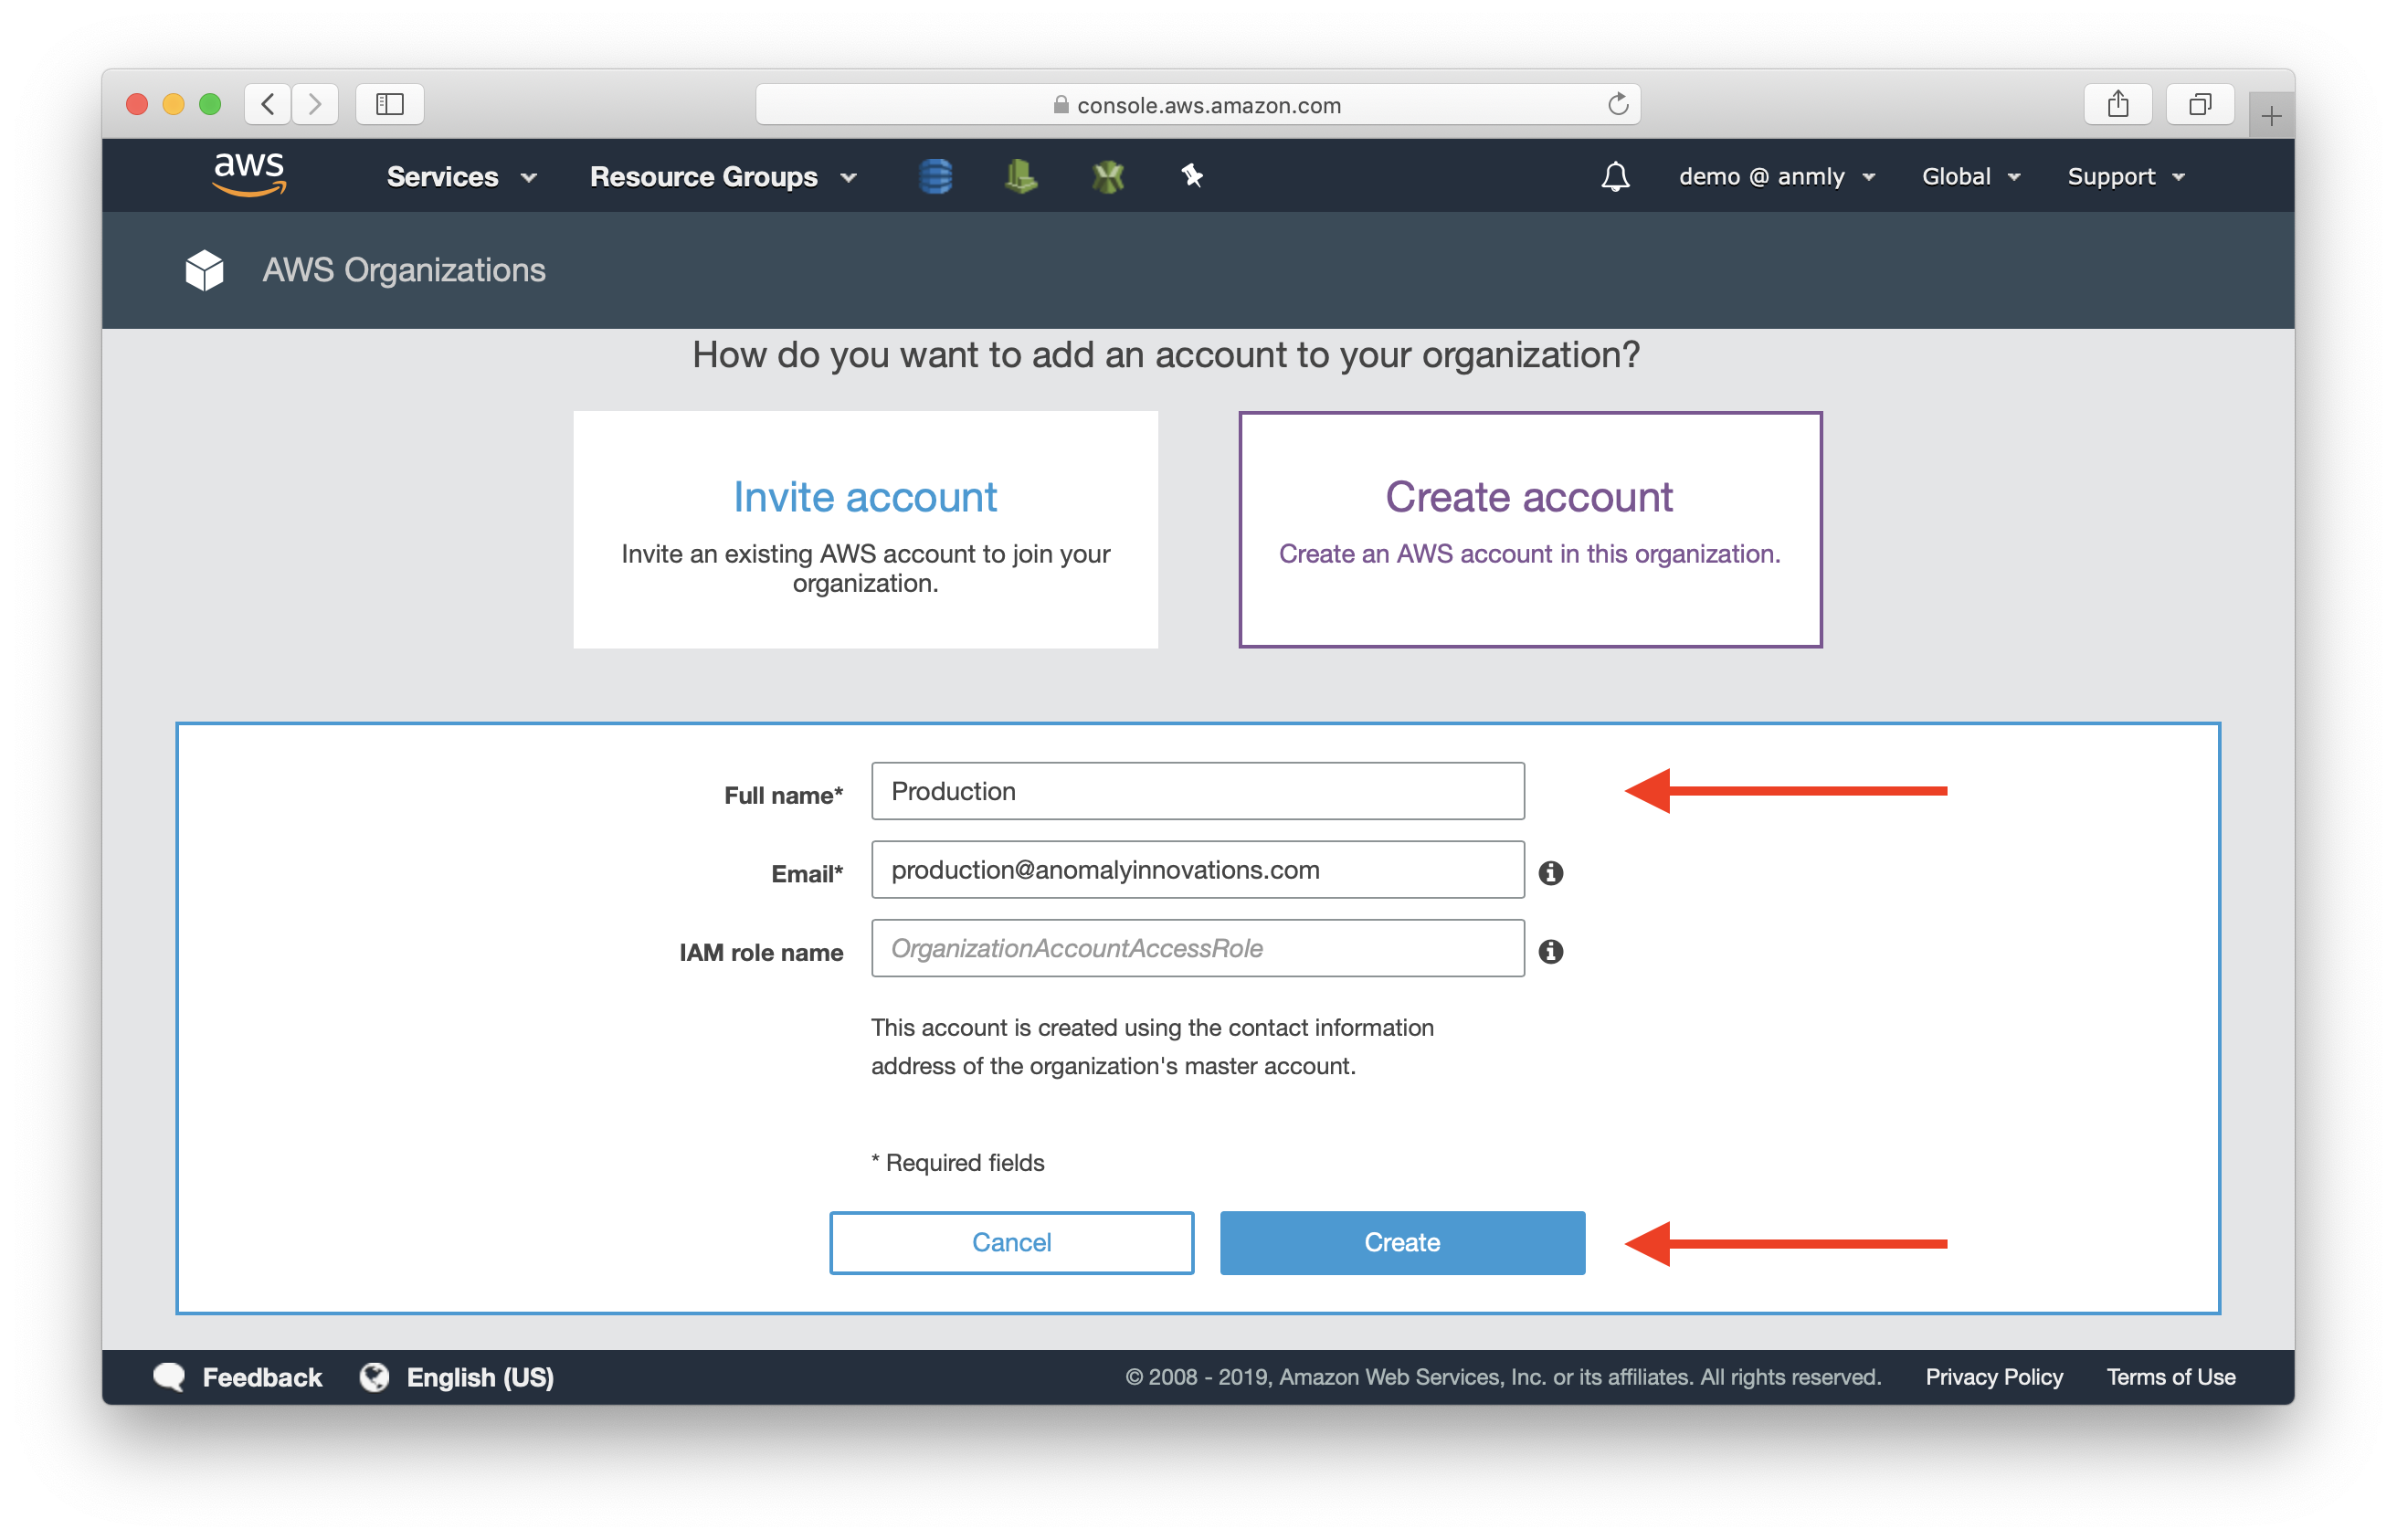
Let’s create our Production account first. Fill out the following:
- Full name: Enter Prod, Production or what you would like to call this account. It is used for display purposes only.
- Email: Each account requires a unique email address. Emails with the ‘+’ sign are allowed.
- IAM role name: Leave this empty. When creating a new account, AWS Organizations automatically creates an IAM role in the new account that allows the master account to be able to assume into it. Actually, it’s the only way to access a newly created account. By default, the IAM role is named OrganizationAccountAccessRole, you can give it another name.
Now, you have 2 AWS accounts in your organization.
Access AWS accounts
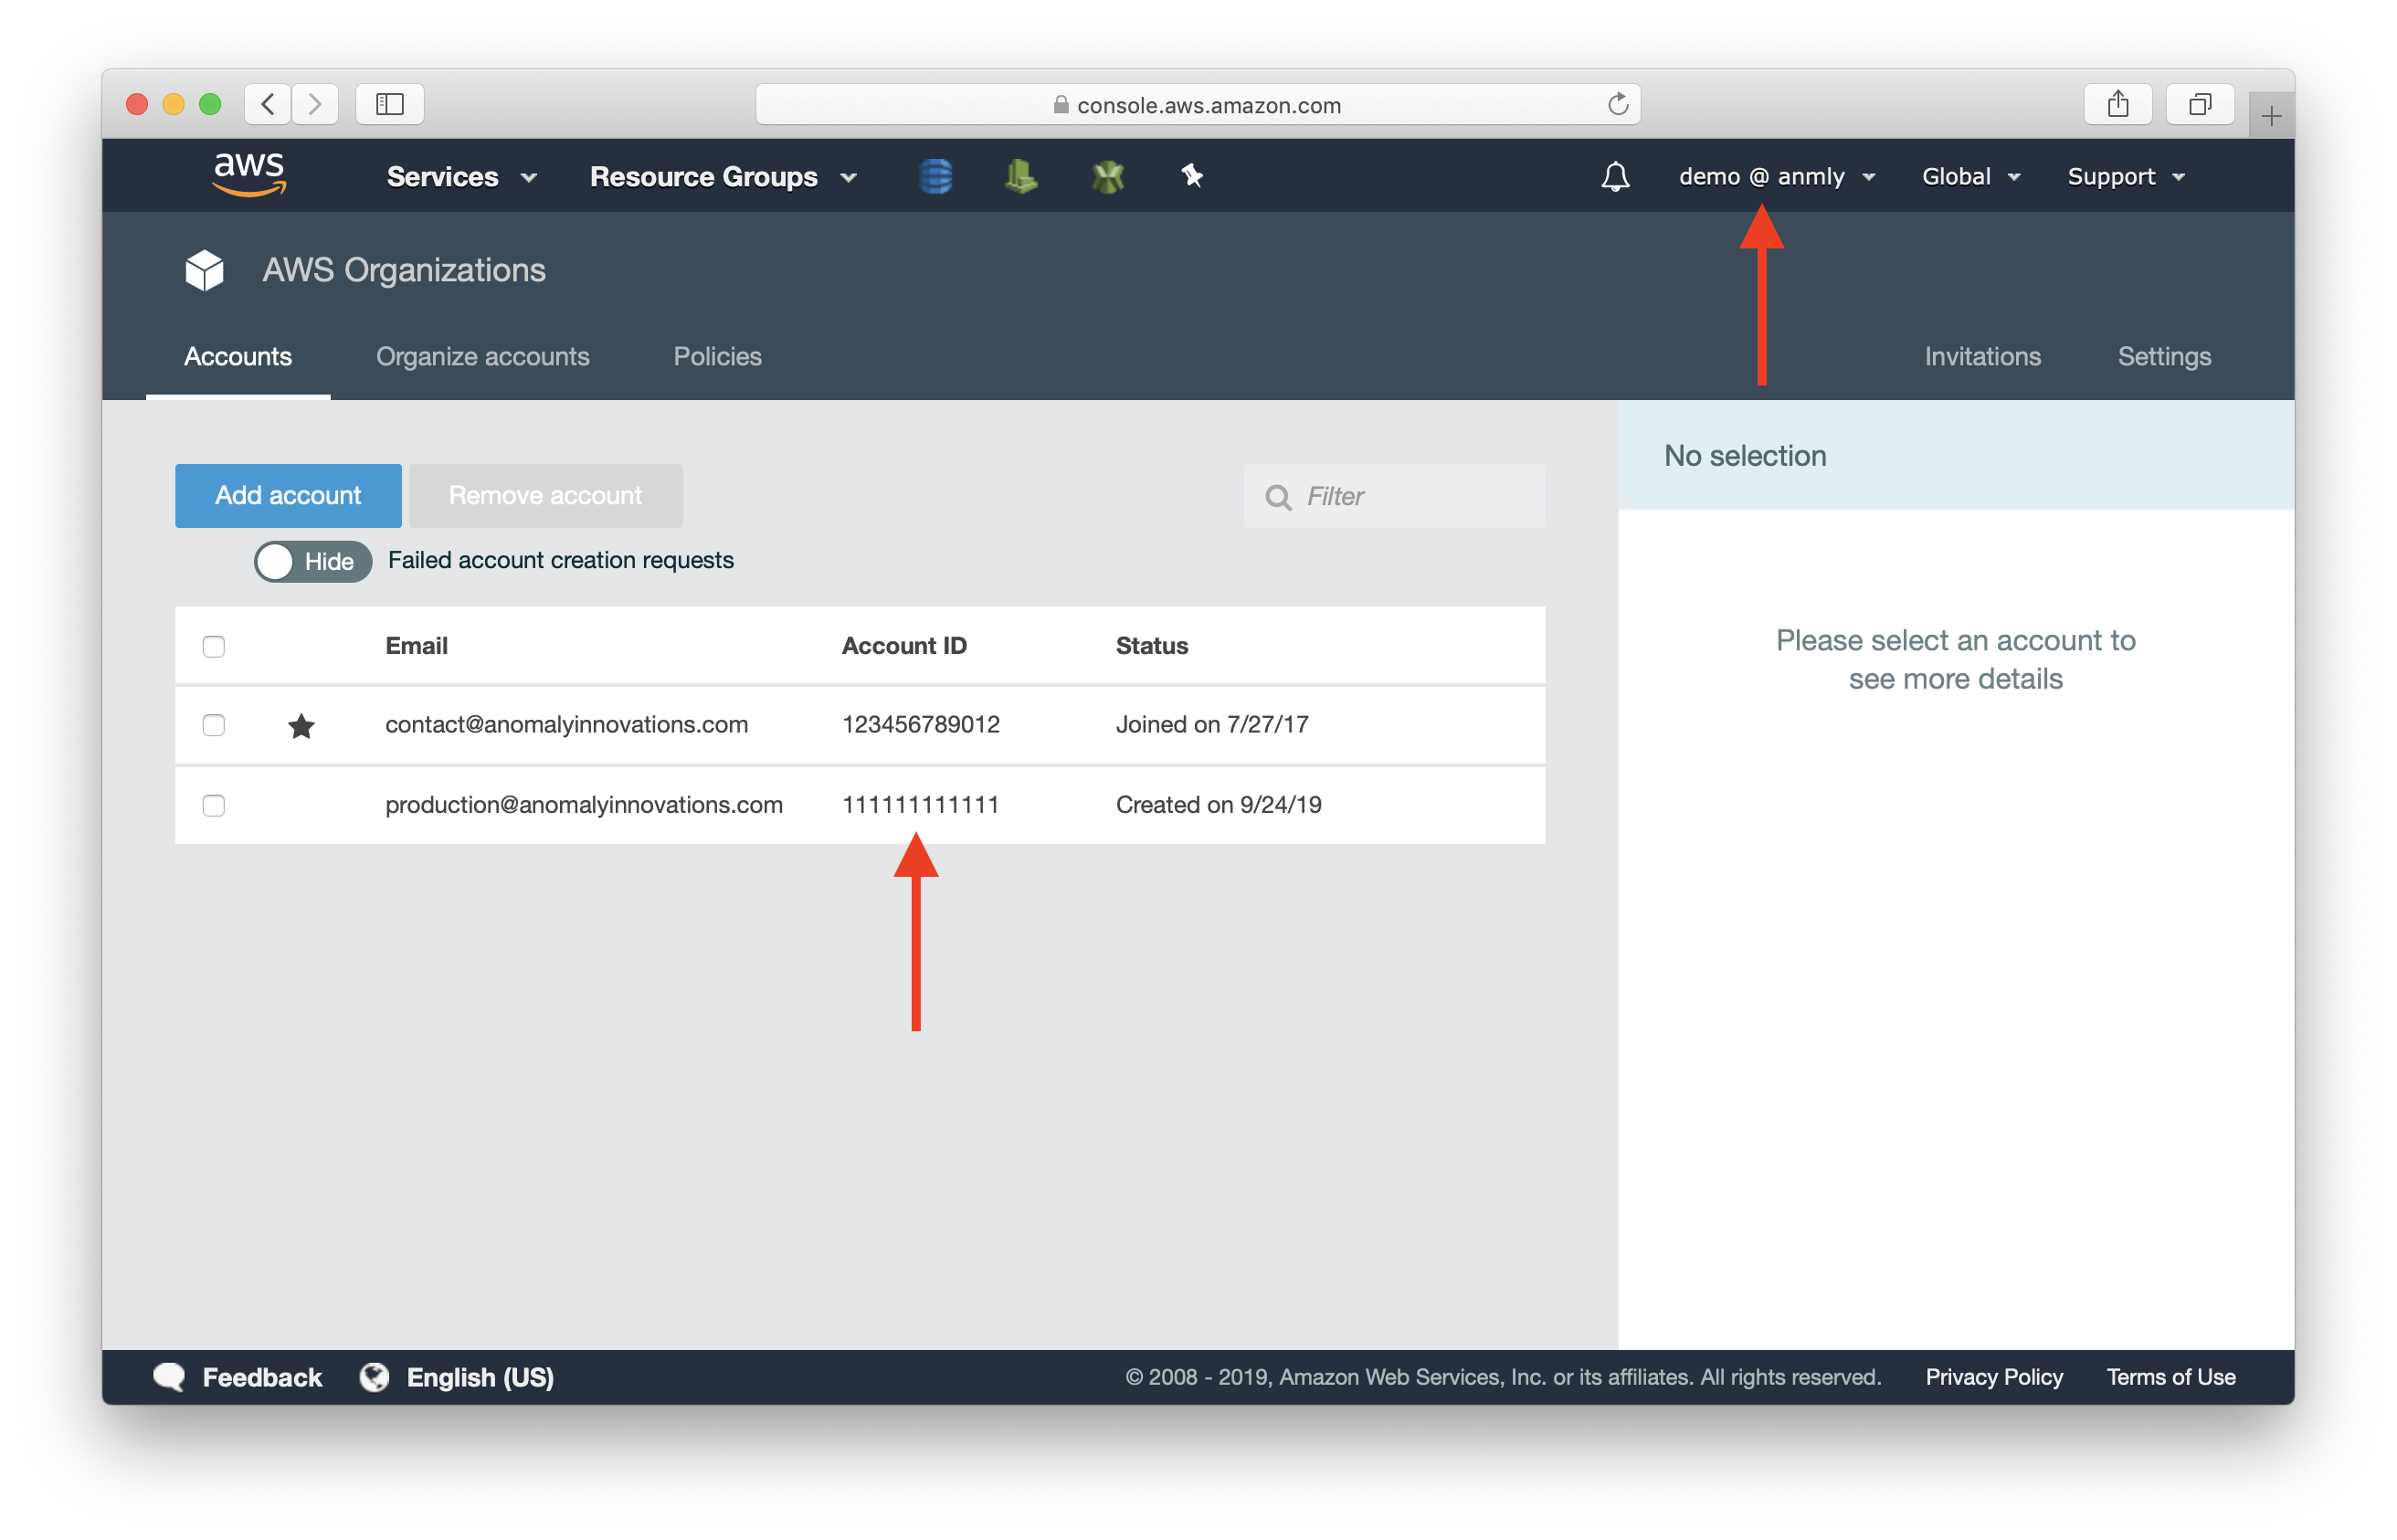
Next, let’s try switch into the Production account. First, take a note of the newly created Account ID. We need this number in the next step.
Then, select the account picker at the top.
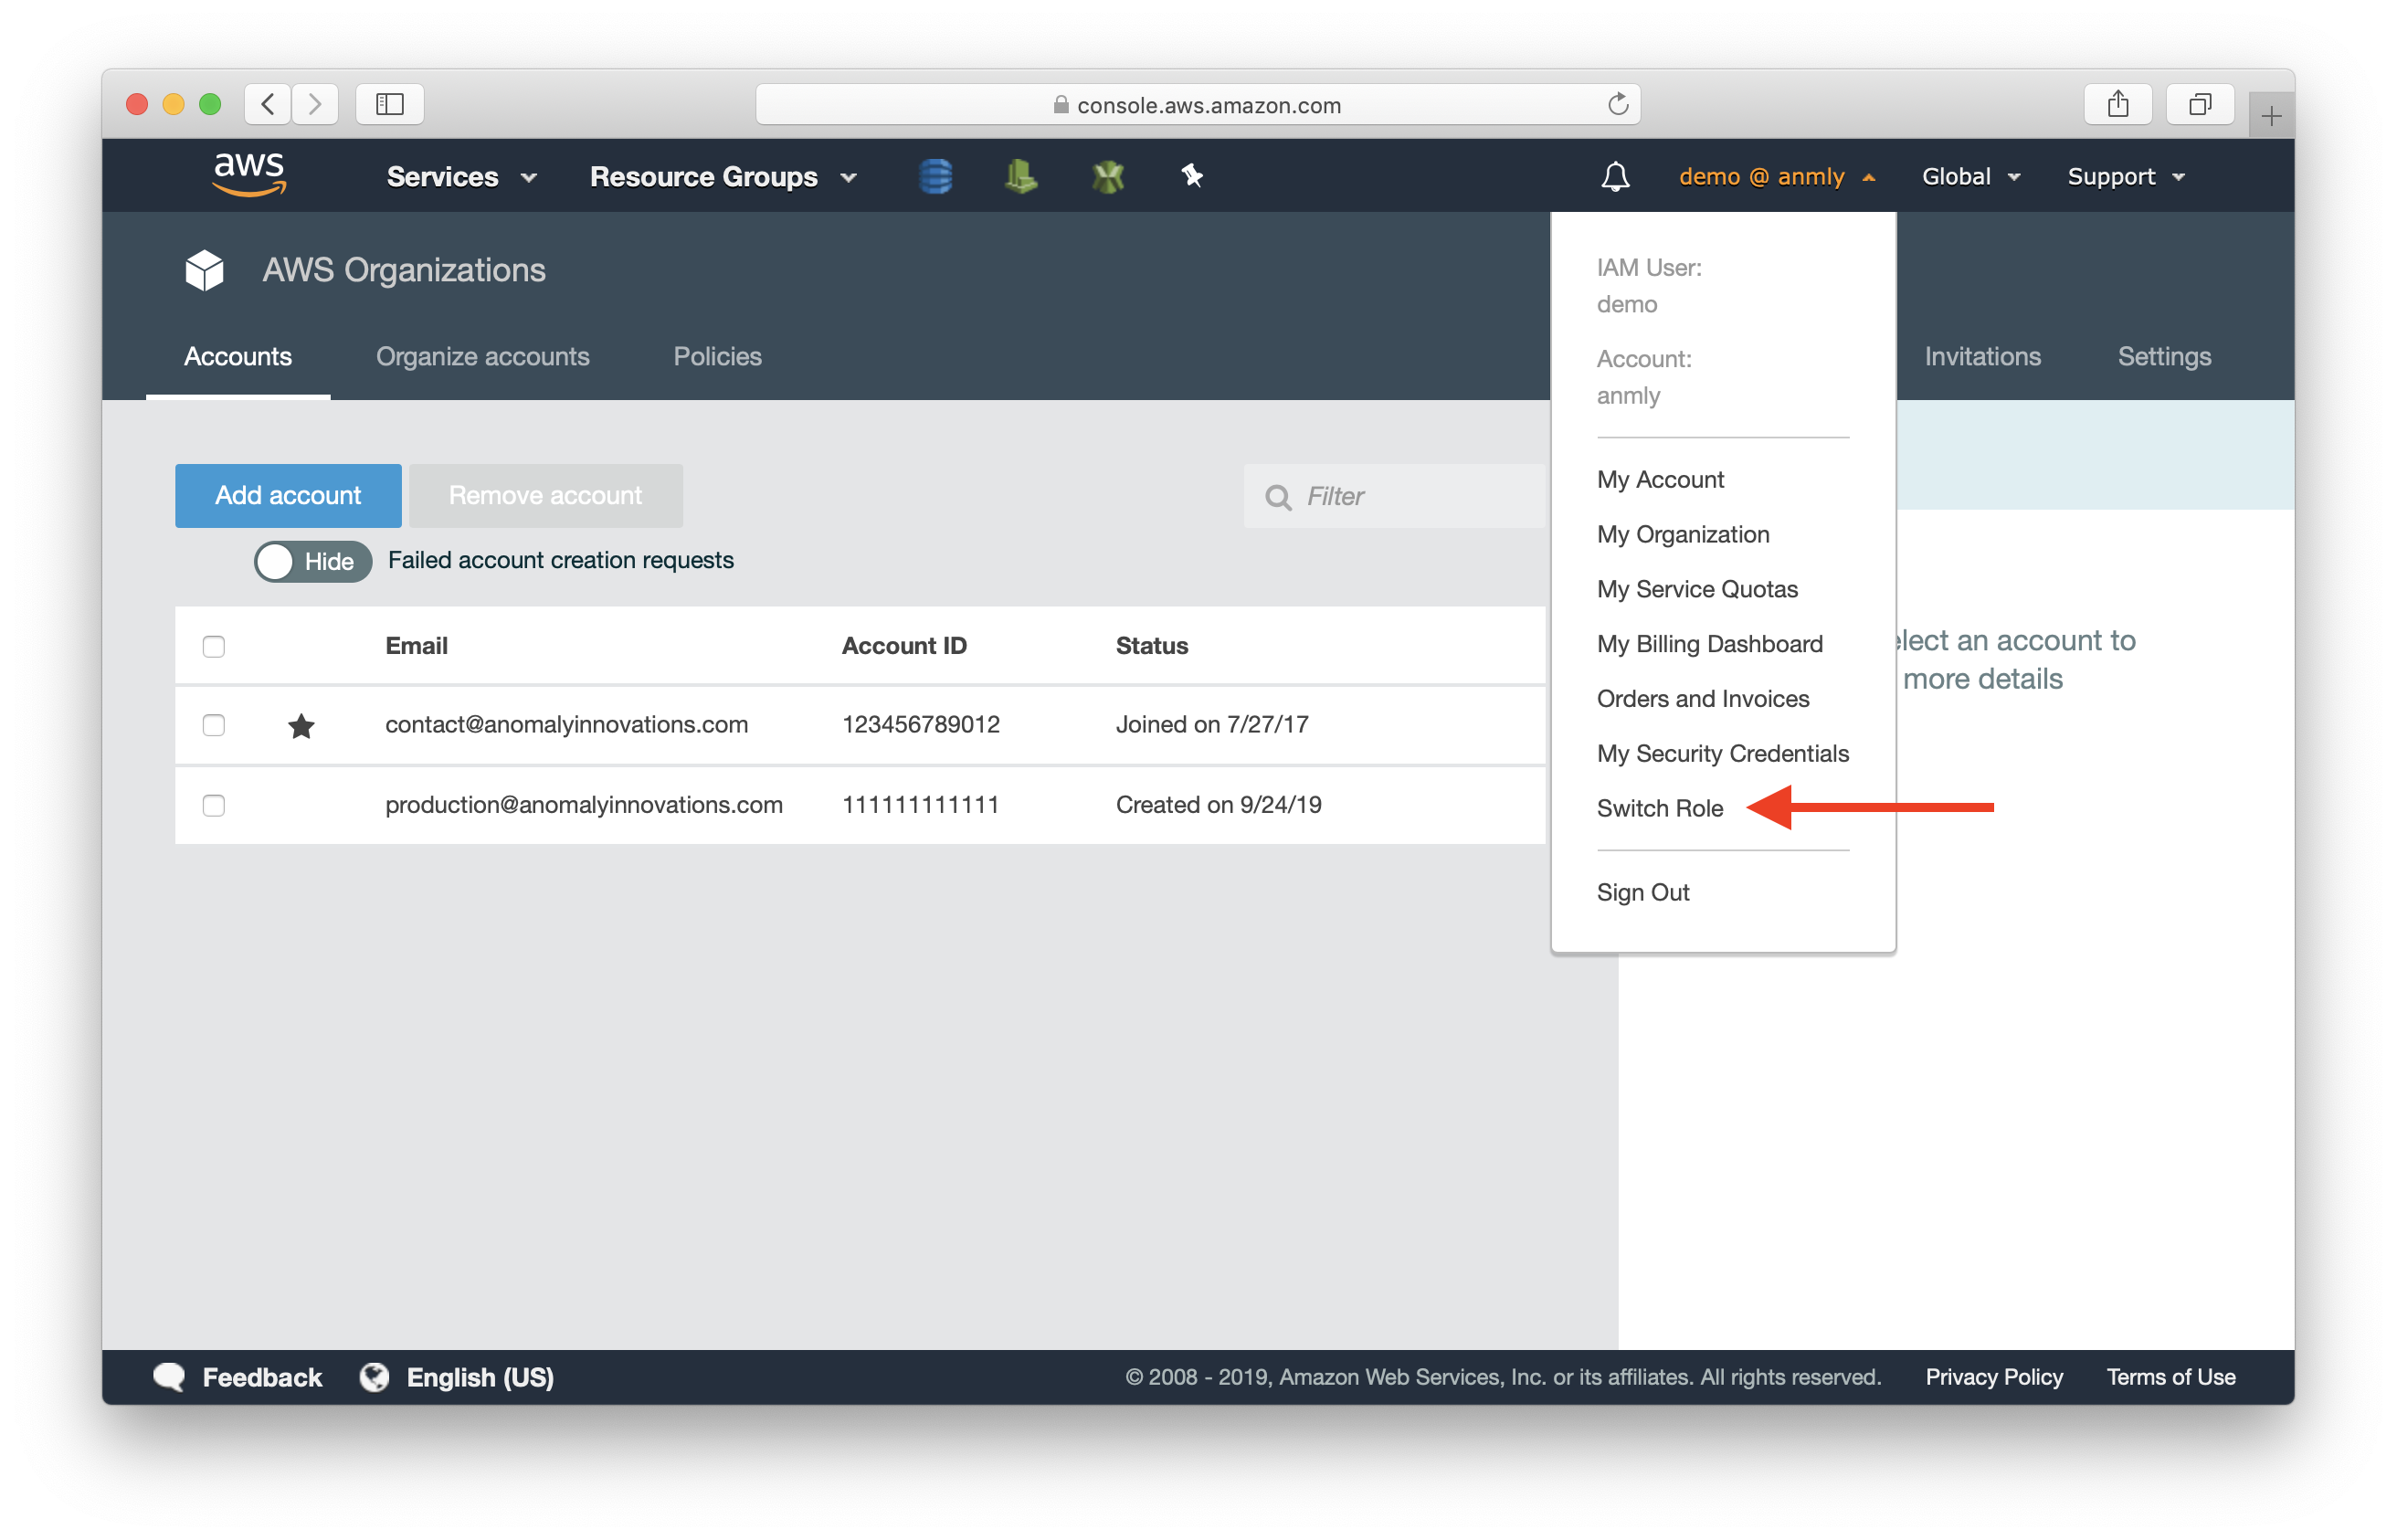
Select Switch Role.
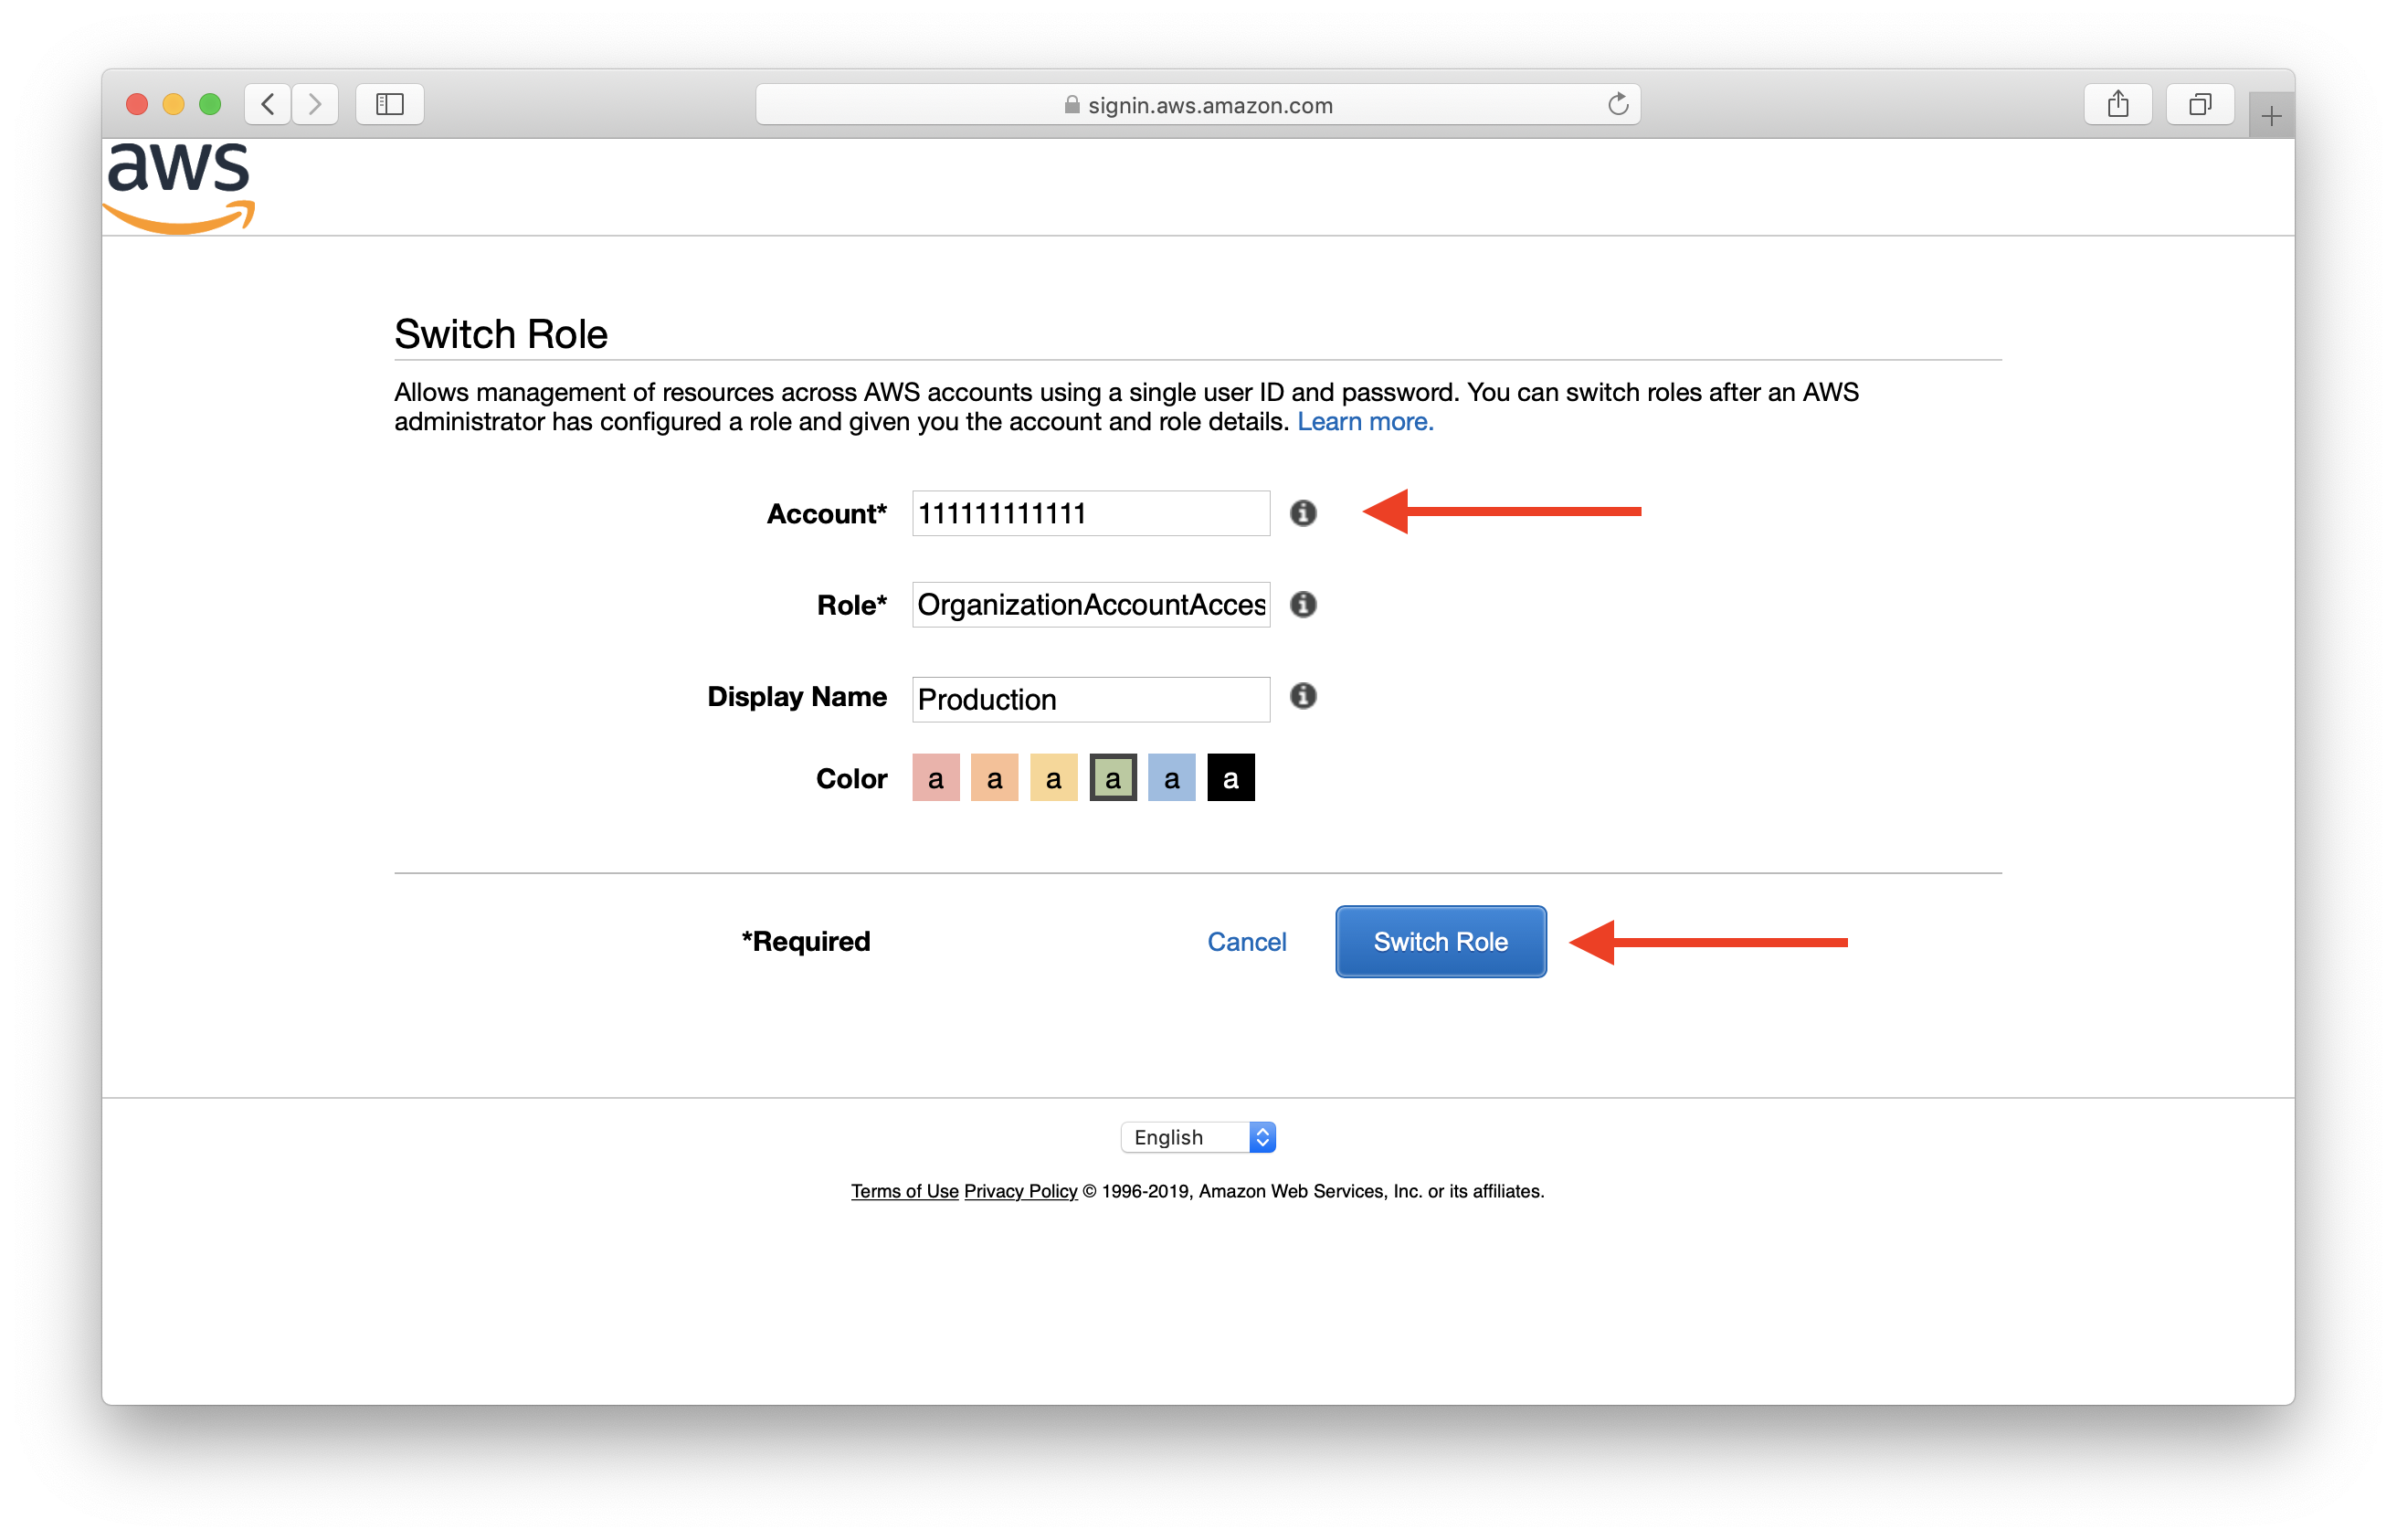
Fill in the following:
- Account: Account ID of the newly created Prod account from the previous step.
- Role: Name of the IAM role from the previous step. If you left it blank, use OrganizationAccountAccessRole.
- Display Name: It’s good to use the name (Full name) from when we created the account. It’ll help keep things recognizable.
- Color: Pick a color that represents Production for you.
Note that the Display Name and Color fields are personal to you. Your team members will need to set this up again on their own.
Then select Switch Role.
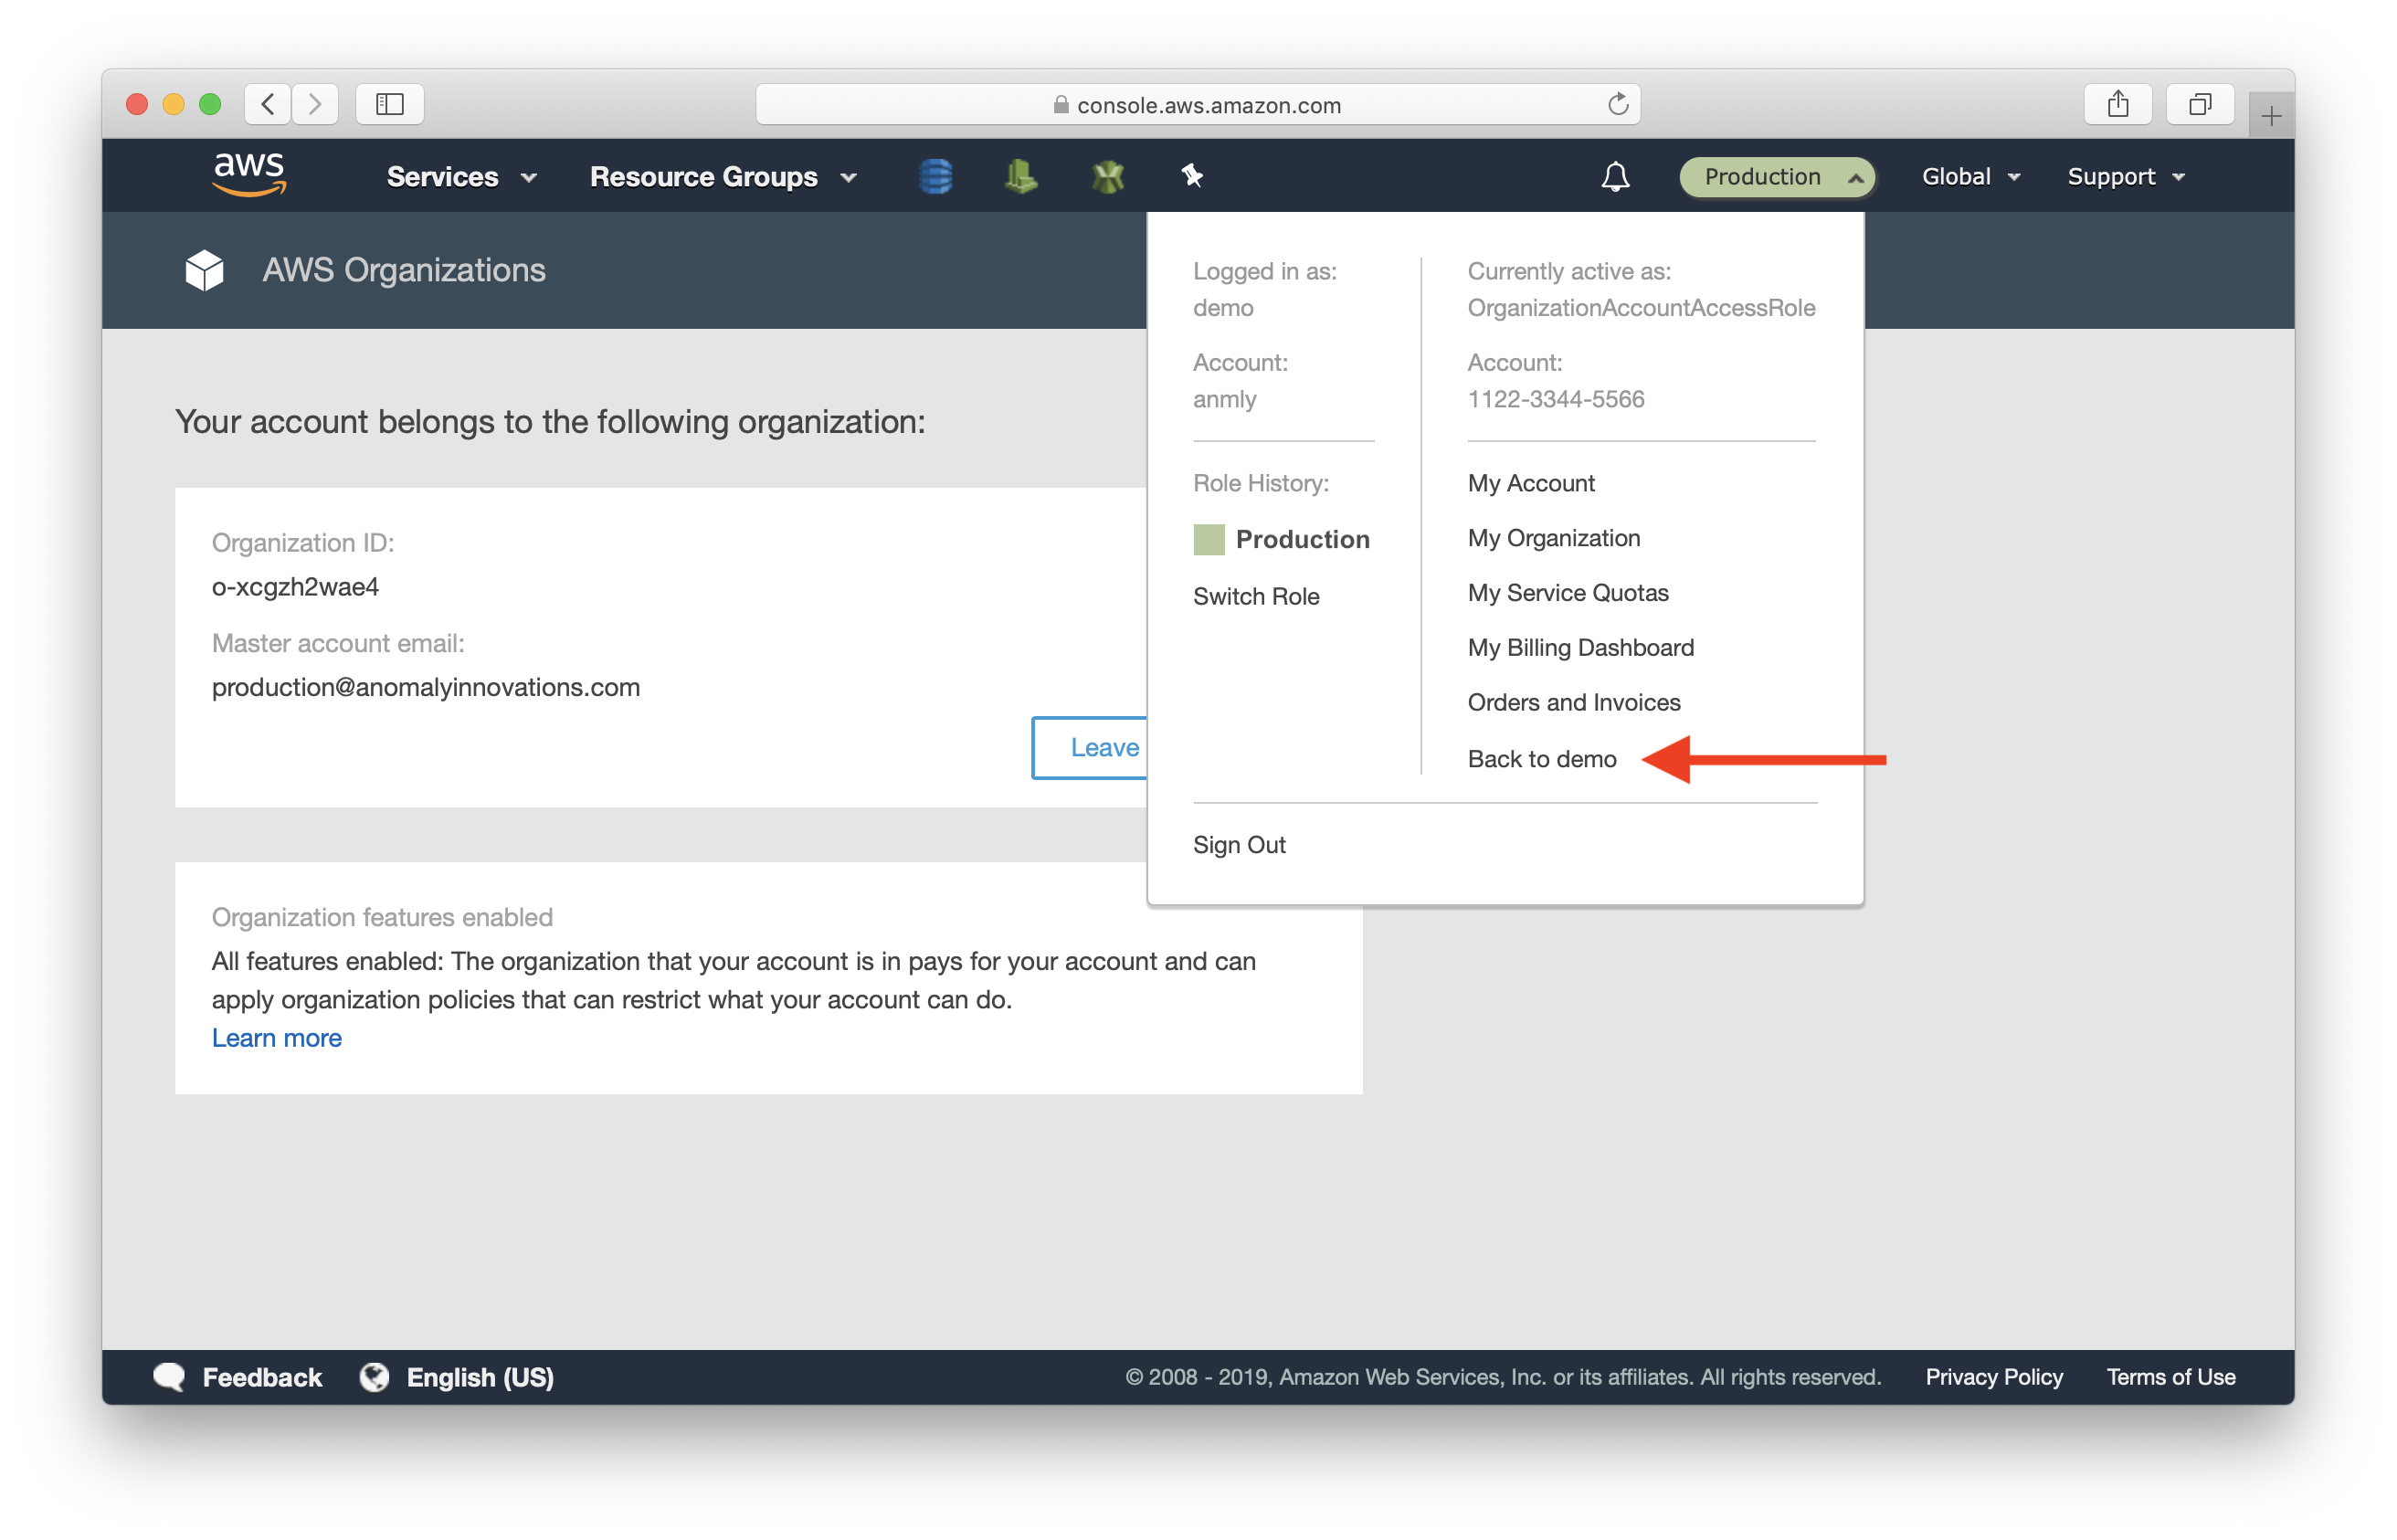
Now, you are in the Prod account. You can check which account you are currently assumed into by looking at the top bar.
You can switch back to the master account by clicking on the account picker and selecting Back to master .
Next, repeat the above steps to create the Development account.
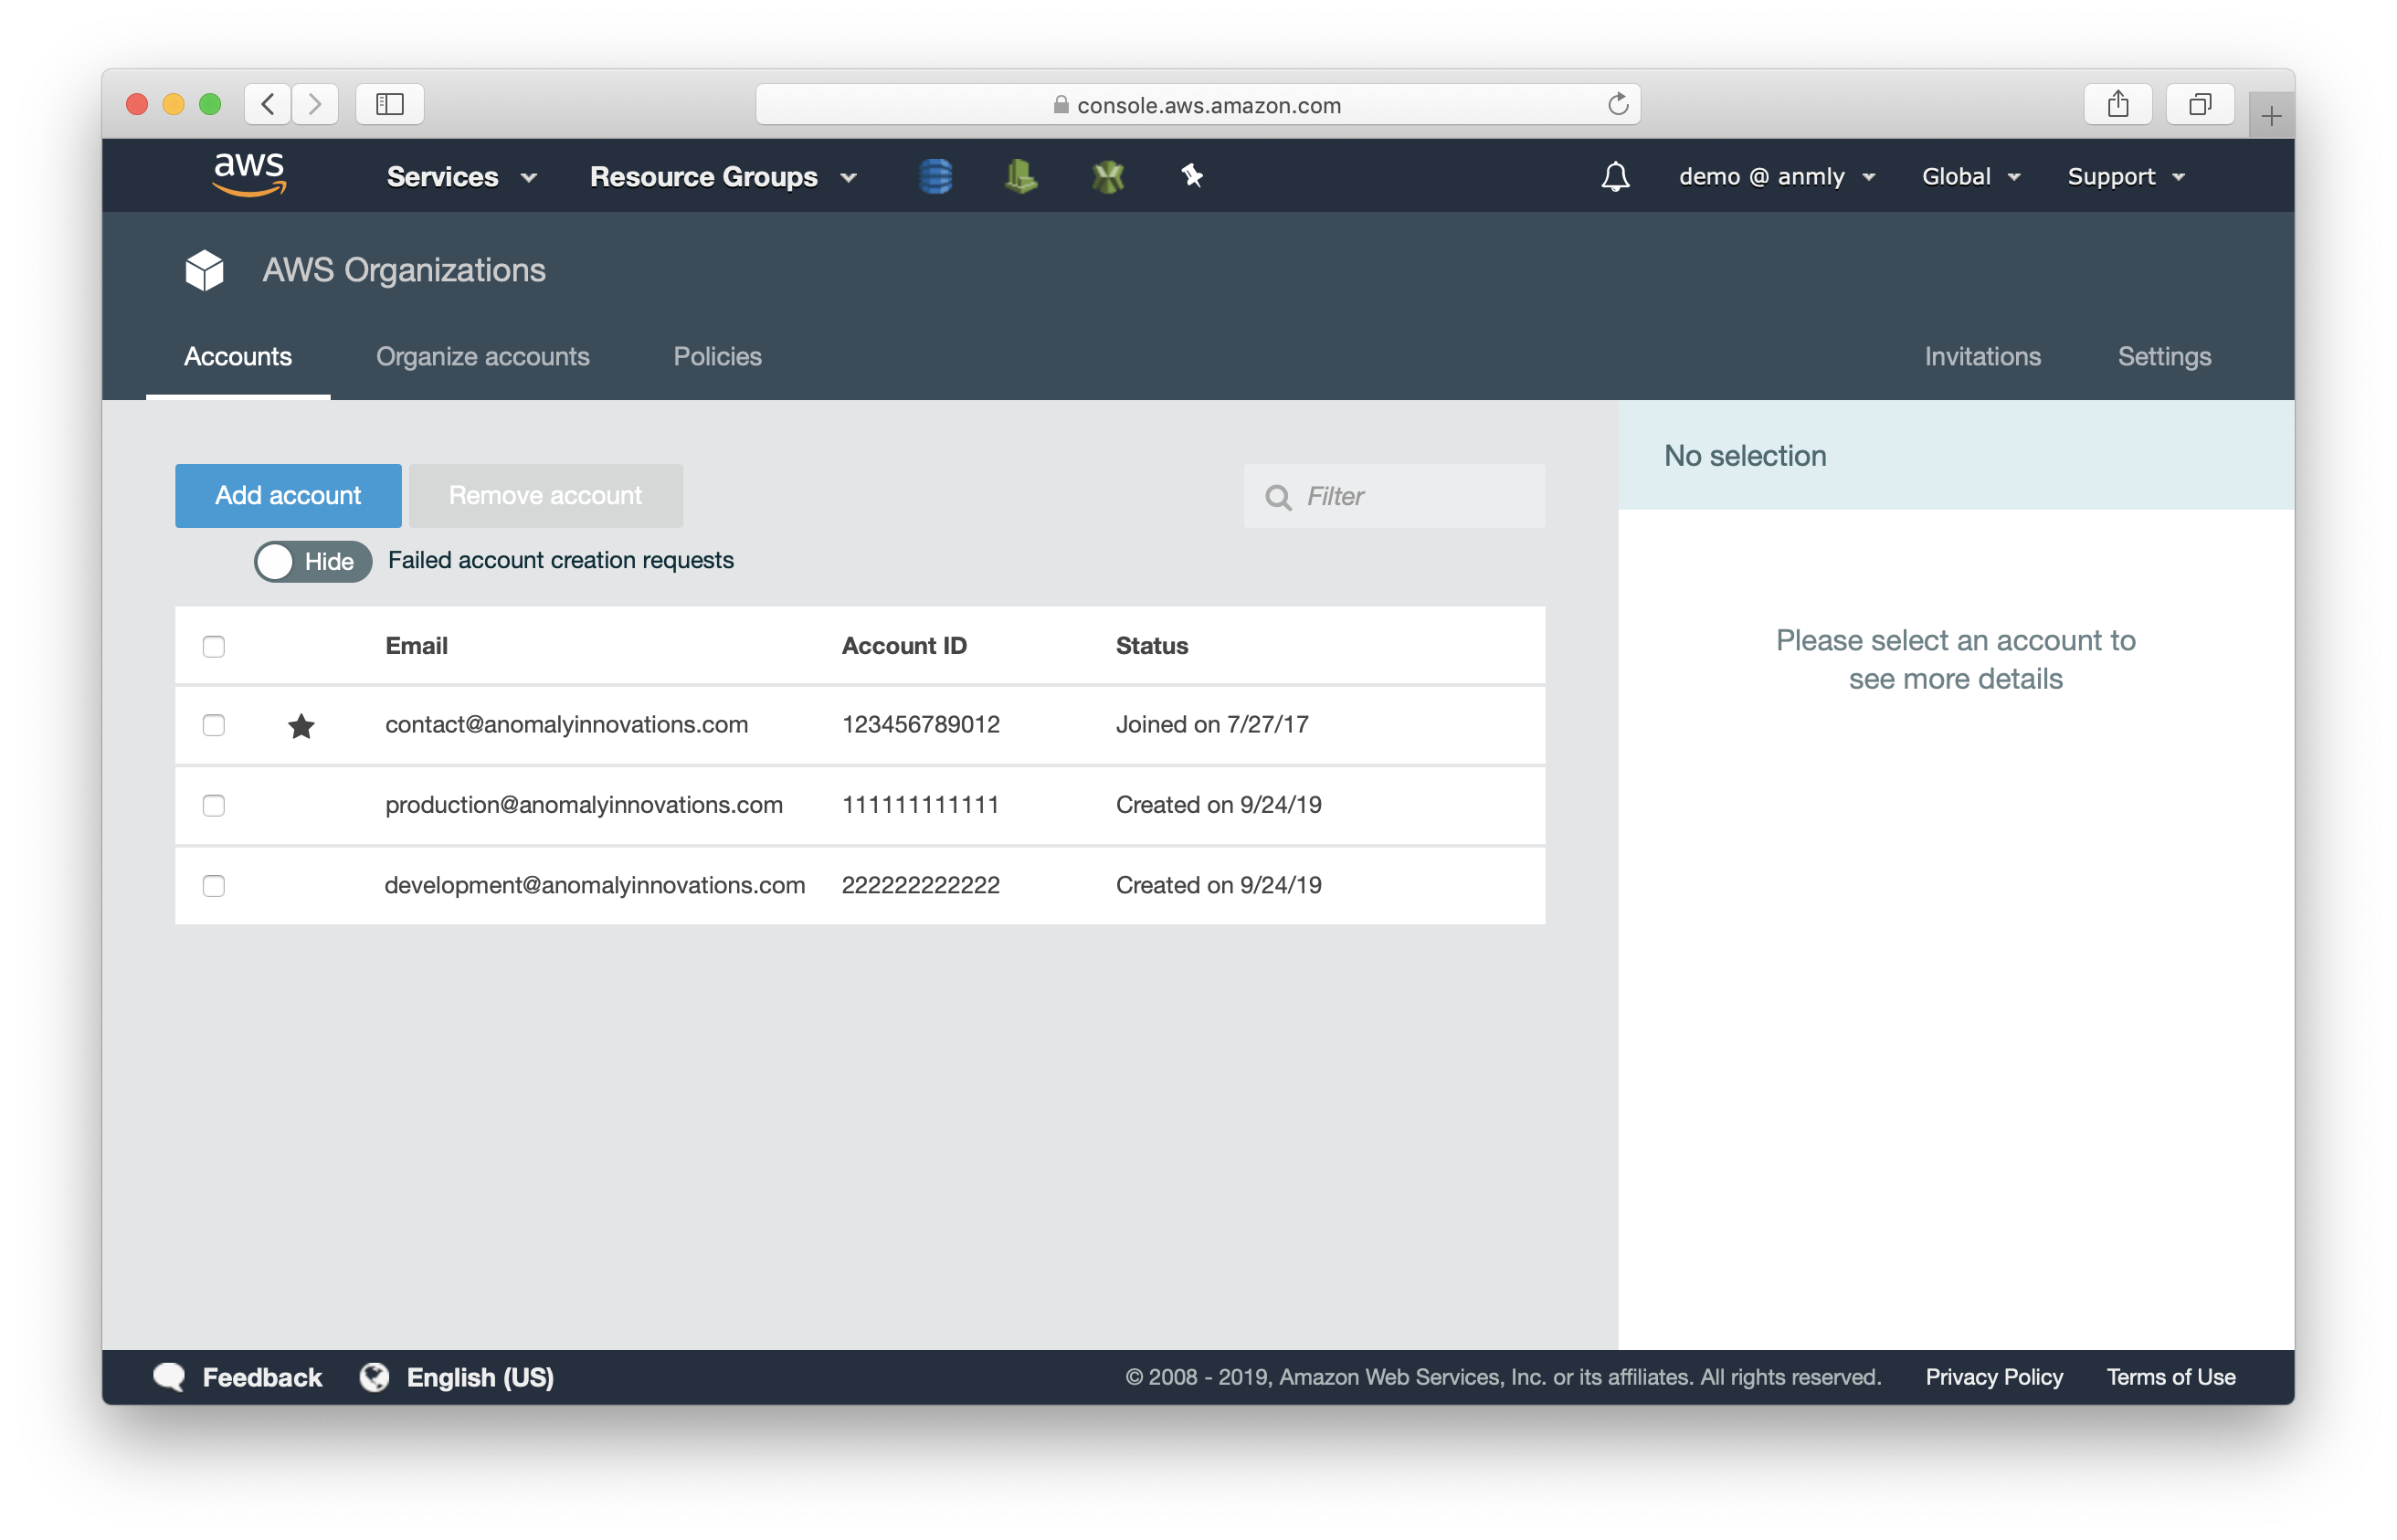
Now we have our AWS accounts created. Let’s make sure we are using these environments correctly in the configuration of our app.
For help and discussion
Comments on this chapterIf you liked this post, please subscribe to our newsletter, give us a star on GitHub, and follow us on Twitter.
