Add the Session to the State
To complete the login process we would need to update the app state with the session to reflect that the user has logged in.
Update the App State
First we’ll start by updating the application state by setting that the user is logged in. We might be tempted to store this in the Login container, but since we are going to use this in a lot of other places, it makes sense to lift up the state. The most logical place to do this will be in our App component.
To save the user’s login state, let’s include the useState hook in src/App.js.
 Replace, the
 React import:
import React from "react";
With the following:
import React, { useState } from "react";
Add the following to the top of our App component function.
const [isAuthenticated, userHasAuthenticated] = useState(false);
This initializes the isAuthenticated state variable to false, as in the user is not logged in. And calling userHasAuthenticated updates it. But for the Login container to call this method we need to pass a reference of this method to it.
Pass the Session State to the Routes
We can do this by passing in a couple of props to the child component of the routes that the App component creates.
Replace our Routes component by replacing the following line in the return statement of src/App.js.
<Routes />
With this.
<Routes appProps={{ isAuthenticated, userHasAuthenticated }} />
Currently, our Routes component don’t do anything with the passed in appProps. We need it to apply these props to the child component it is going to render. In this case we need it to apply them to our Login component.
To do this we are going to create a new component that’ll extend the standard Route component and apply the appProps.
Create a src/components/ directory by running this command in your working directory.
$ mkdir src/components/
Here we’ll be storing all our React components that are not dealing directly with our API or responding to routes.
Create a new component in src/components/AppliedRoute.js and add the following.
import React from "react";
import { Route } from "react-router-dom";

export default function AppliedRoute({ component: C, appProps, ...rest }) {
  return (
    <Route {...rest} render={props => <C {...props} {...appProps} />} />
  );
}
This simple component creates a Route where the child component that it renders contains the passed in props. Let’s take a quick look at how this being done.
-
The
Routecomponent takes a prop calledcomponentthat represents the component that will be rendered when a matching route is found. We want ourappPropsto be applied to this component. -
The
Routecomponent can also take arendermethod in place of thecomponent. This allows us to control what is passed in to our component. -
Based on this we can create a component that returns a
Routethat takes acomponentandappPropsprop. This allows us to pass in the component we want rendered and the props that we want applied. -
Finally, we take
component(set asC) andappPropsand render inside ourRouteusing the inline function;props => <C {...props} {...appProps} />. Note, thepropsvariable in this case is what the Route component passes us. Whereas, theappPropsare the props that we are trying to set in ourAppcomponent.
Now to use this component, we are going to include it in the routes where we need to have the appProps passed in.
Replace the Routes function in src/Routes.js with the following.
export default function Routes({ appProps }) {
  return (
    <Switch>
      <AppliedRoute path="/" exact component={Home} appProps={appProps} />
      <AppliedRoute path="/login" exact component={Login} appProps={appProps} />
      { /* Finally, catch all unmatched routes */ }
      <Route component={NotFound} />
    </Switch>
  );
}
And import the new component in the header of src/Routes.js.
import AppliedRoute from "./components/AppliedRoute";
Now in the Login container we’ll call the userHasAuthenticated method.
Replace the alert('Logged in'); line with the following in src/containers/Login.js.
props.userHasAuthenticated(true);
Create a Logout Button
We can now use this to display a Logout button once the user logs in. Find the following in our src/App.js.
<LinkContainer to="/signup">
  <NavItem>Signup</NavItem>
</LinkContainer>
<LinkContainer to="/login">
  <NavItem>Login</NavItem>
</LinkContainer>
And replace it with this:
{isAuthenticated
  ? <NavItem onClick={handleLogout}>Logout</NavItem>
  : <>
      <LinkContainer to="/signup">
        <NavItem>Signup</NavItem>
      </LinkContainer>
      <LinkContainer to="/login">
        <NavItem>Login</NavItem>
      </LinkContainer>
    </>
}
The <> or Fragment component can be thought of as a placeholder component. We need this because in the case the user is not logged in, we want to render two links. To do this we would need to wrap it inside a single component, like a div. But by using the Fragment component it tells React that the two links are inside this component but we don’t want to render any extra HTML.
And add this handleLogout method to src/App.js above the render() { line as well.
function handleLogout() {
  userHasAuthenticated(false);
}
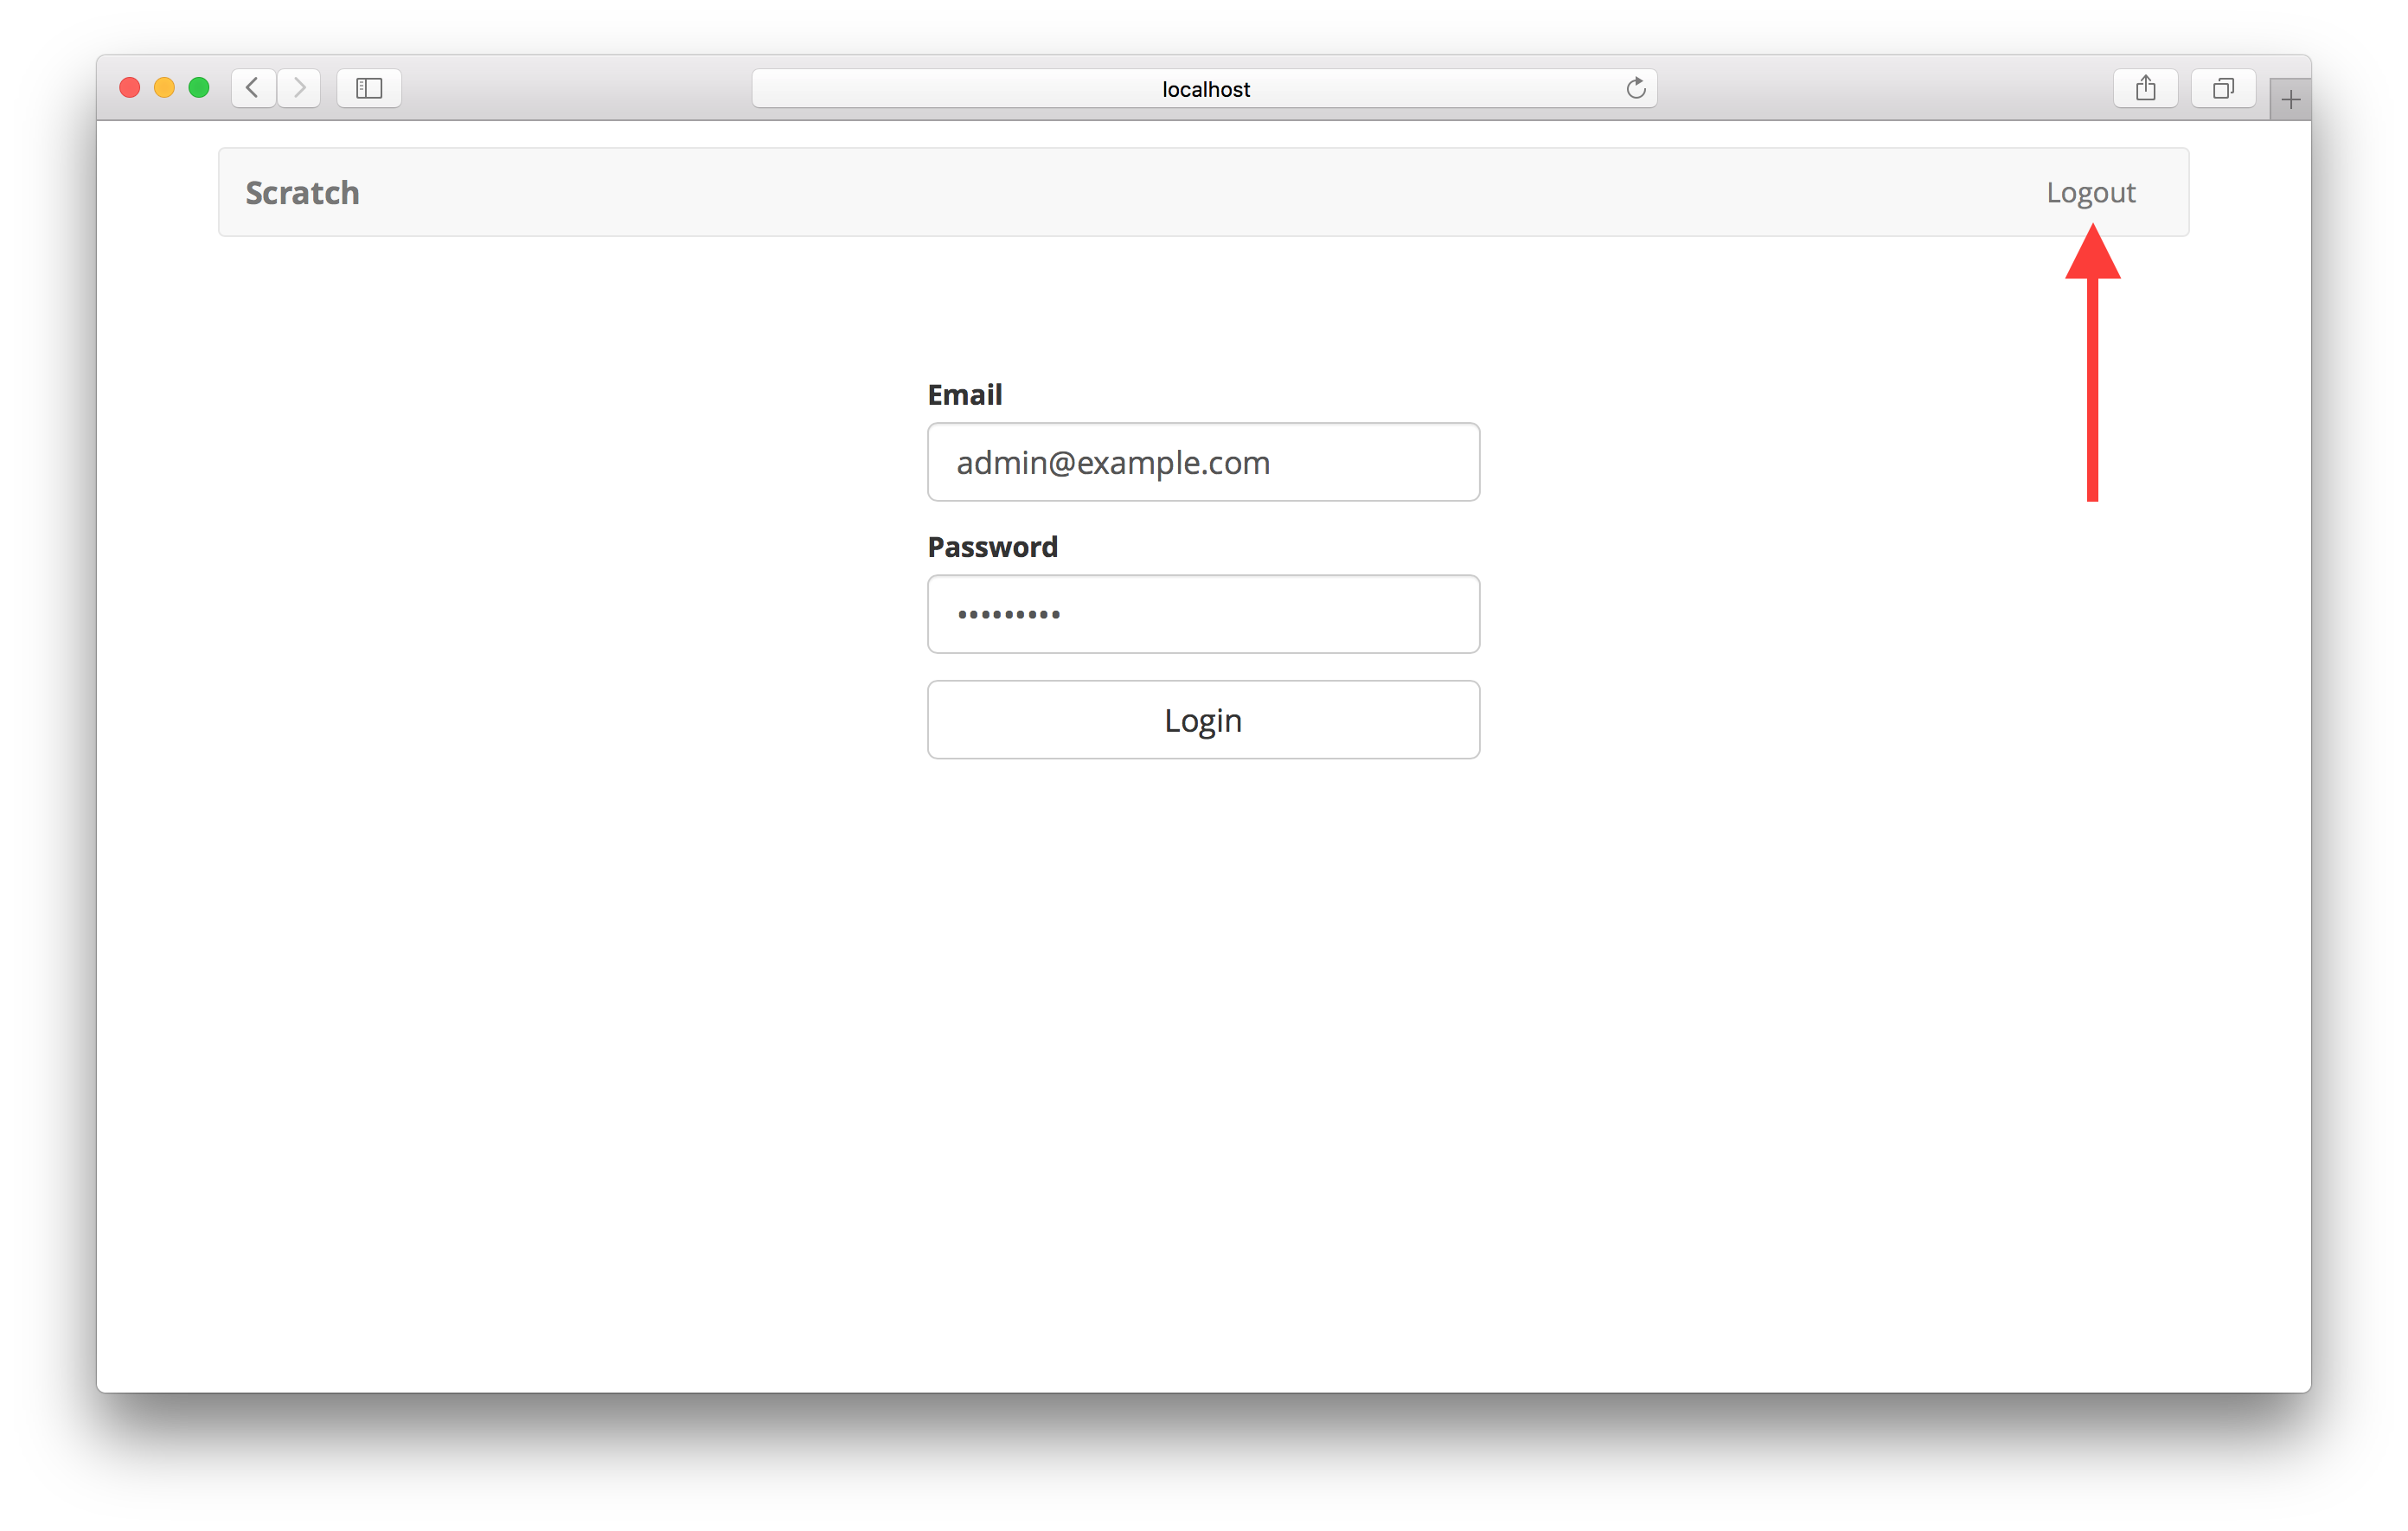
Now head over to your browser and try logging in with the admin credentials we created in the Create a Cognito Test User chapter. You should see the Logout button appear right away.
Now if you refresh your page you should be logged out again. This is because we are not initializing the state from the browser session. Let’s look at how to do that next.
For help and discussion
Comments on this chapterIf you liked this post, please subscribe to our newsletter, give us a star on GitHub, and follow us on Twitter.
Brought to you by
