Create Containers
Currently, our app has a single component that renders our content. For creating our note taking app, we need to create a few different pages to load/edit/create notes. Before we can do that we will put the outer chrome of our app inside a component and render all the top level components inside them. These top level components that represent the various pages will be called containers.
Add a Navbar
Let’s start by creating the outer chrome of our application by first adding a navigation bar to it. We are going to use the Navbar React-Bootstrap component.
 To start, you can go remove the
 src/logo.svg that is placed there by Create React App.
$ rm src/logo.svg
And go ahead and remove the code inside src/App.js and replace it with the following.
import React from "react";
import { Link } from "react-router-dom";
import { Navbar } from "react-bootstrap";
import "./App.css";

function App(props) {
  return (
    <div className="App container">
      <Navbar fluid collapseOnSelect>
        <Navbar.Header>
          <Navbar.Brand>
            <Link to="/">Scratch</Link>
          </Navbar.Brand>
          <Navbar.Toggle />
        </Navbar.Header>
      </Navbar>
    </div>
  );
}

export default App;
We are doing a few things here:
- Creating a fixed width container using Bootstrap in
div.container. - Adding a Navbar inside the container that fits to its container’s width using the attribute
fluid. - Using
Linkcomponent from the React-Router to handle the link to our app’s homepage (without forcing the page to refresh).
Note that React Bootstrap might give you a couple of warnings in your browser console.
Warning: componentWillMount has been renamed, and is not recommended for use.
We can ignore them for now while we wait for React Bootstrap to fix them. Also, we’ll be upgrading the guide to React Bootstrap v1 once it is out of beta.
Let’s also add a couple of line of styles to space things out a bit more.
Remove all the code inside src/App.css and replace it with the following:
.App {
  margin-top: 15px;
}

.App .navbar-brand {
  font-weight: bold;
}
Add the Home container
Now that we have the outer chrome of our application ready, let’s add the container for the homepage of our app. It’ll respond to the / route.
Create a src/containers/ directory by running the following in your working directory.
$ mkdir src/containers/
We’ll be storing all of our top level components here. These are components that will respond to our routes and make requests to our API. We will be calling them containers through the rest of this tutorial.
Create a new container and add the following to src/containers/Home.js.
import React from "react";
import "./Home.css";

export default function Home() {
  return (
    <div className="Home">
      <div className="lander">
        <h1>Scratch</h1>
        <p>A simple note taking app</p>
      </div>
    </div>
  );
}
This simply renders our homepage given that the user is not currently signed in.
Now let’s add a few lines to style this.
Add the following into src/containers/Home.css.
.Home .lander {
  padding: 80px 0;
  text-align: center;
}

.Home .lander h1 {
  font-family: "Open Sans", sans-serif;
  font-weight: 600;
}

.Home .lander p {
  color: #999;
}
Set up the Routes
Now we’ll set up the routes so that we can have this container respond to the / route.
Create src/Routes.js and add the following into it.
import React from "react";
import { Route, Switch } from "react-router-dom";
import Home from "./containers/Home";

export default function Routes() {
  return (
    <Switch>
      <Route path="/" exact component={Home} />
    </Switch>
  );
}
This component uses this Switch component from React-Router that renders the first matching route that is defined within it. For now we only have a single route, it looks for / and renders the Home component when matched. We are also using the exact prop to ensure that it matches the / route exactly. This is because the path / will also match any route that starts with a /.
Render the Routes
Now let’s render the routes into our App component.
Add the following to the header of your src/App.js.
import Routes from "./Routes";
And add the following line below our Navbar component inside the render of src/App.js.
<Routes />
So the App function component of our src/App.js should now look like this.
function App(props) {
  return (
    <div className="App container">
      <Navbar fluid collapseOnSelect>
        <Navbar.Header>
          <Navbar.Brand>
            <Link to="/">Scratch</Link>
          </Navbar.Brand>
          <Navbar.Toggle />
        </Navbar.Header>
      </Navbar>
      <Routes />
    </div>
  );
}
This ensures that as we navigate to different routes in our app, the portion below the navbar will change to reflect that.
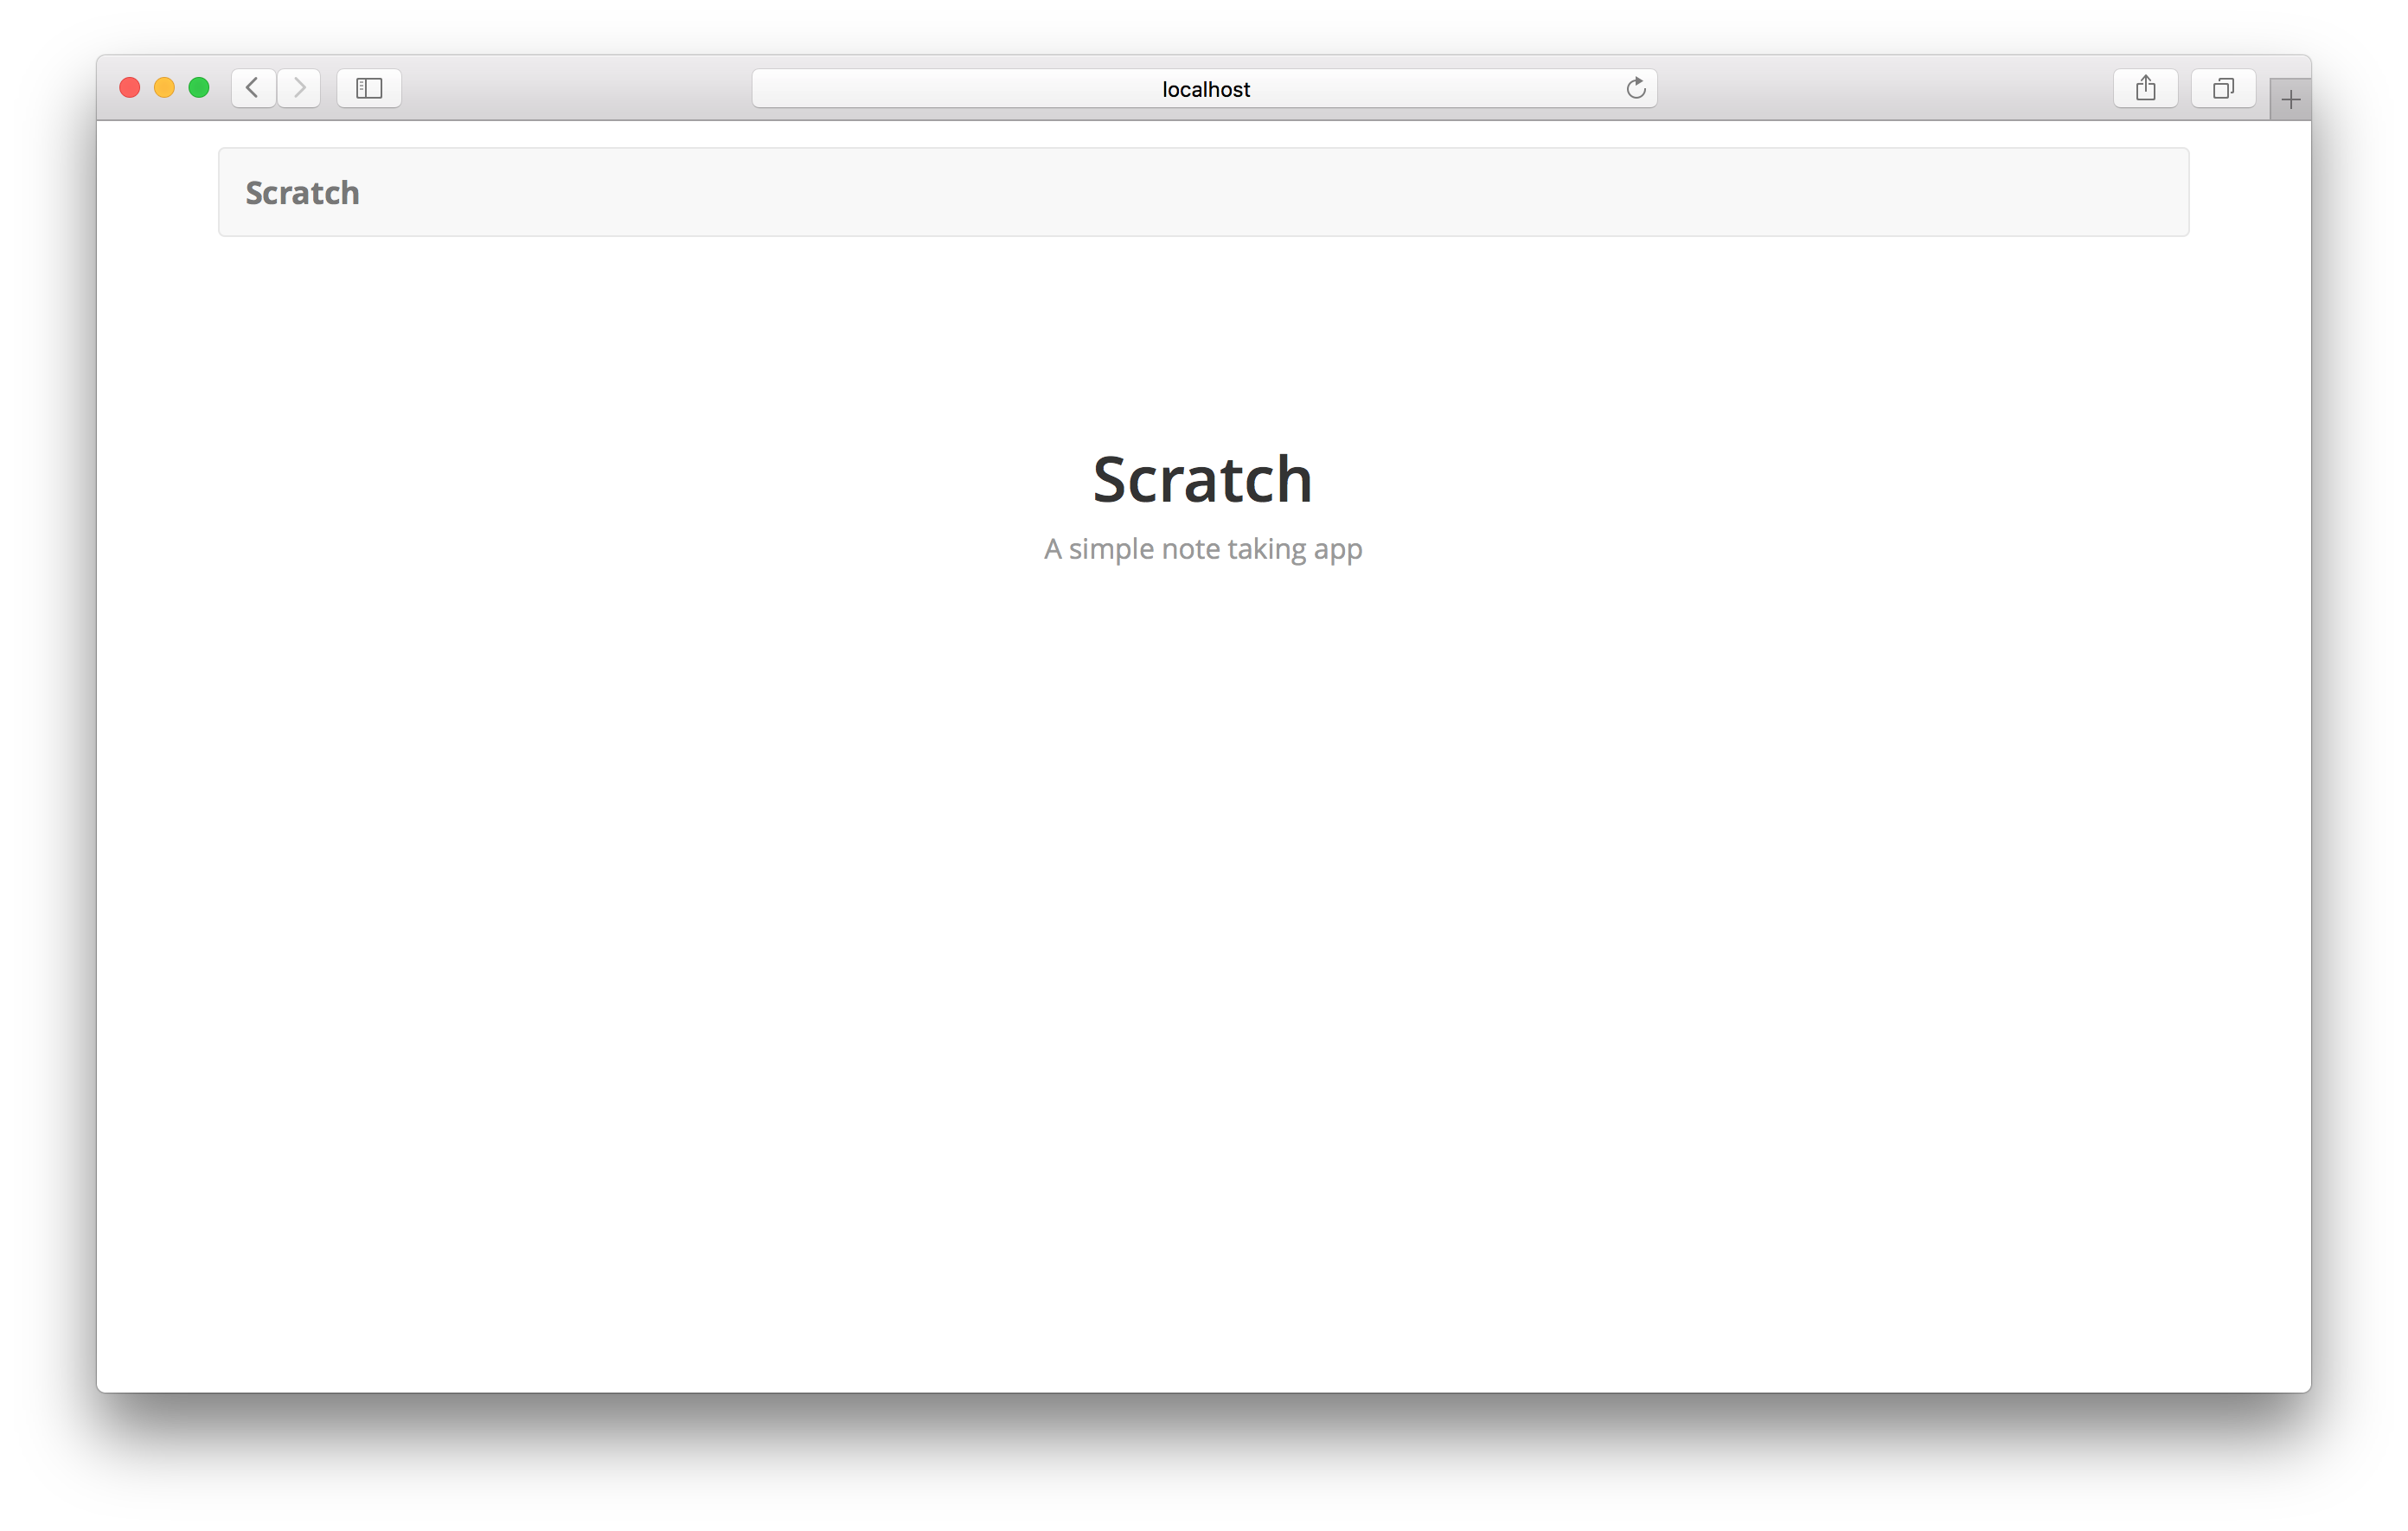
Finally, head over to your browser and your app should show the brand new homepage of your app.
Next we are going to add login and signup links to our navbar.
For help and discussion
Comments on this chapterIf you liked this post, please subscribe to our newsletter, give us a star on GitHub, and follow us on Twitter.
Brought to you by
