Share Route 53 Domains Across AWS Accounts
Our notes app has an API Gateway endpoint. In this chapter, we are going to look at how to set up custom domains for each of our environments. Recall that our environments are split across multiple AWS accounts.
We are going to setup the following custom domain scheme:
prod⇒ ext-api.serverless-stack.comdev⇒ dev.ext-api.serverless-stack.com
Assuming that our domain is hosted in our Production AWS account. We want to set it up so that our Development AWS account can use the above subdomain. This takes an extra setup.
Delegate domains across AWS accounts
We are going to have to delegate the subdomain dev.ext-api.serverless-stack.com to be hosted in the Development AWS account. Just a quick note, as you follow these steps, pay attention to the account name shown at the top right corner of the screenshot. It’ll tell you which account we are working with.
First, go into your Route 53 console in your Development account.
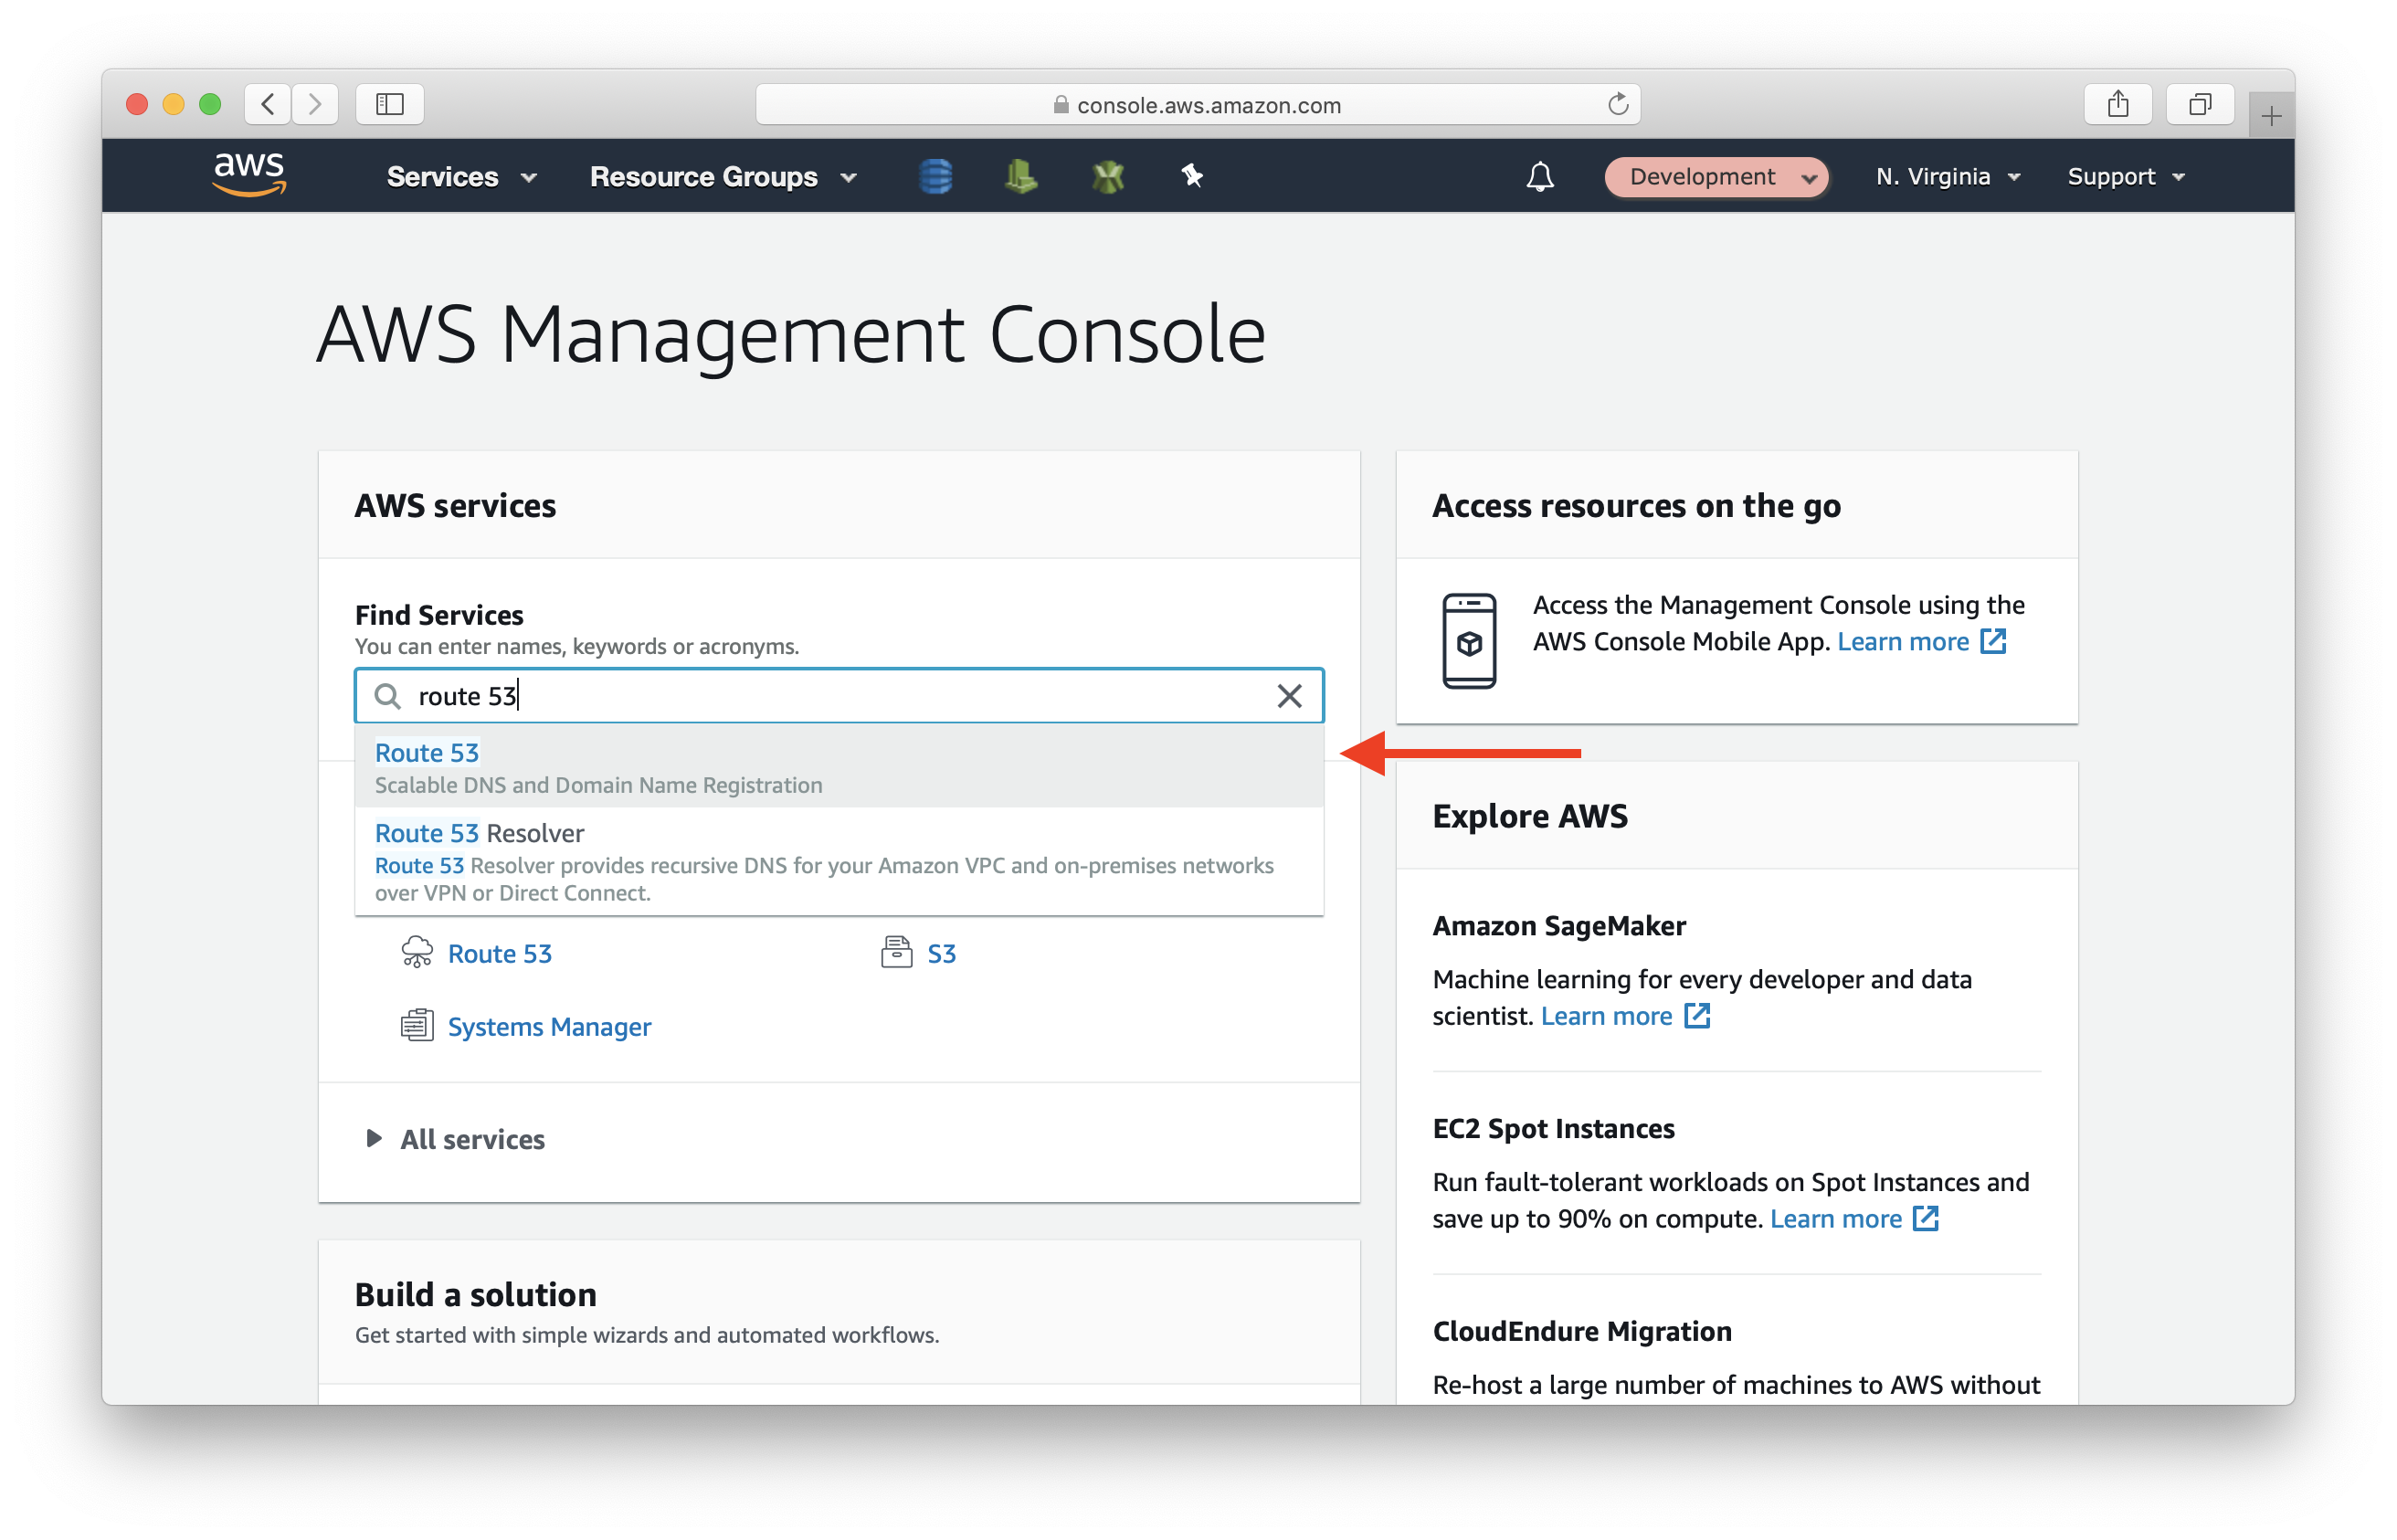
Click Hosted zones in the left menu. Then select Create Hosted Zone.
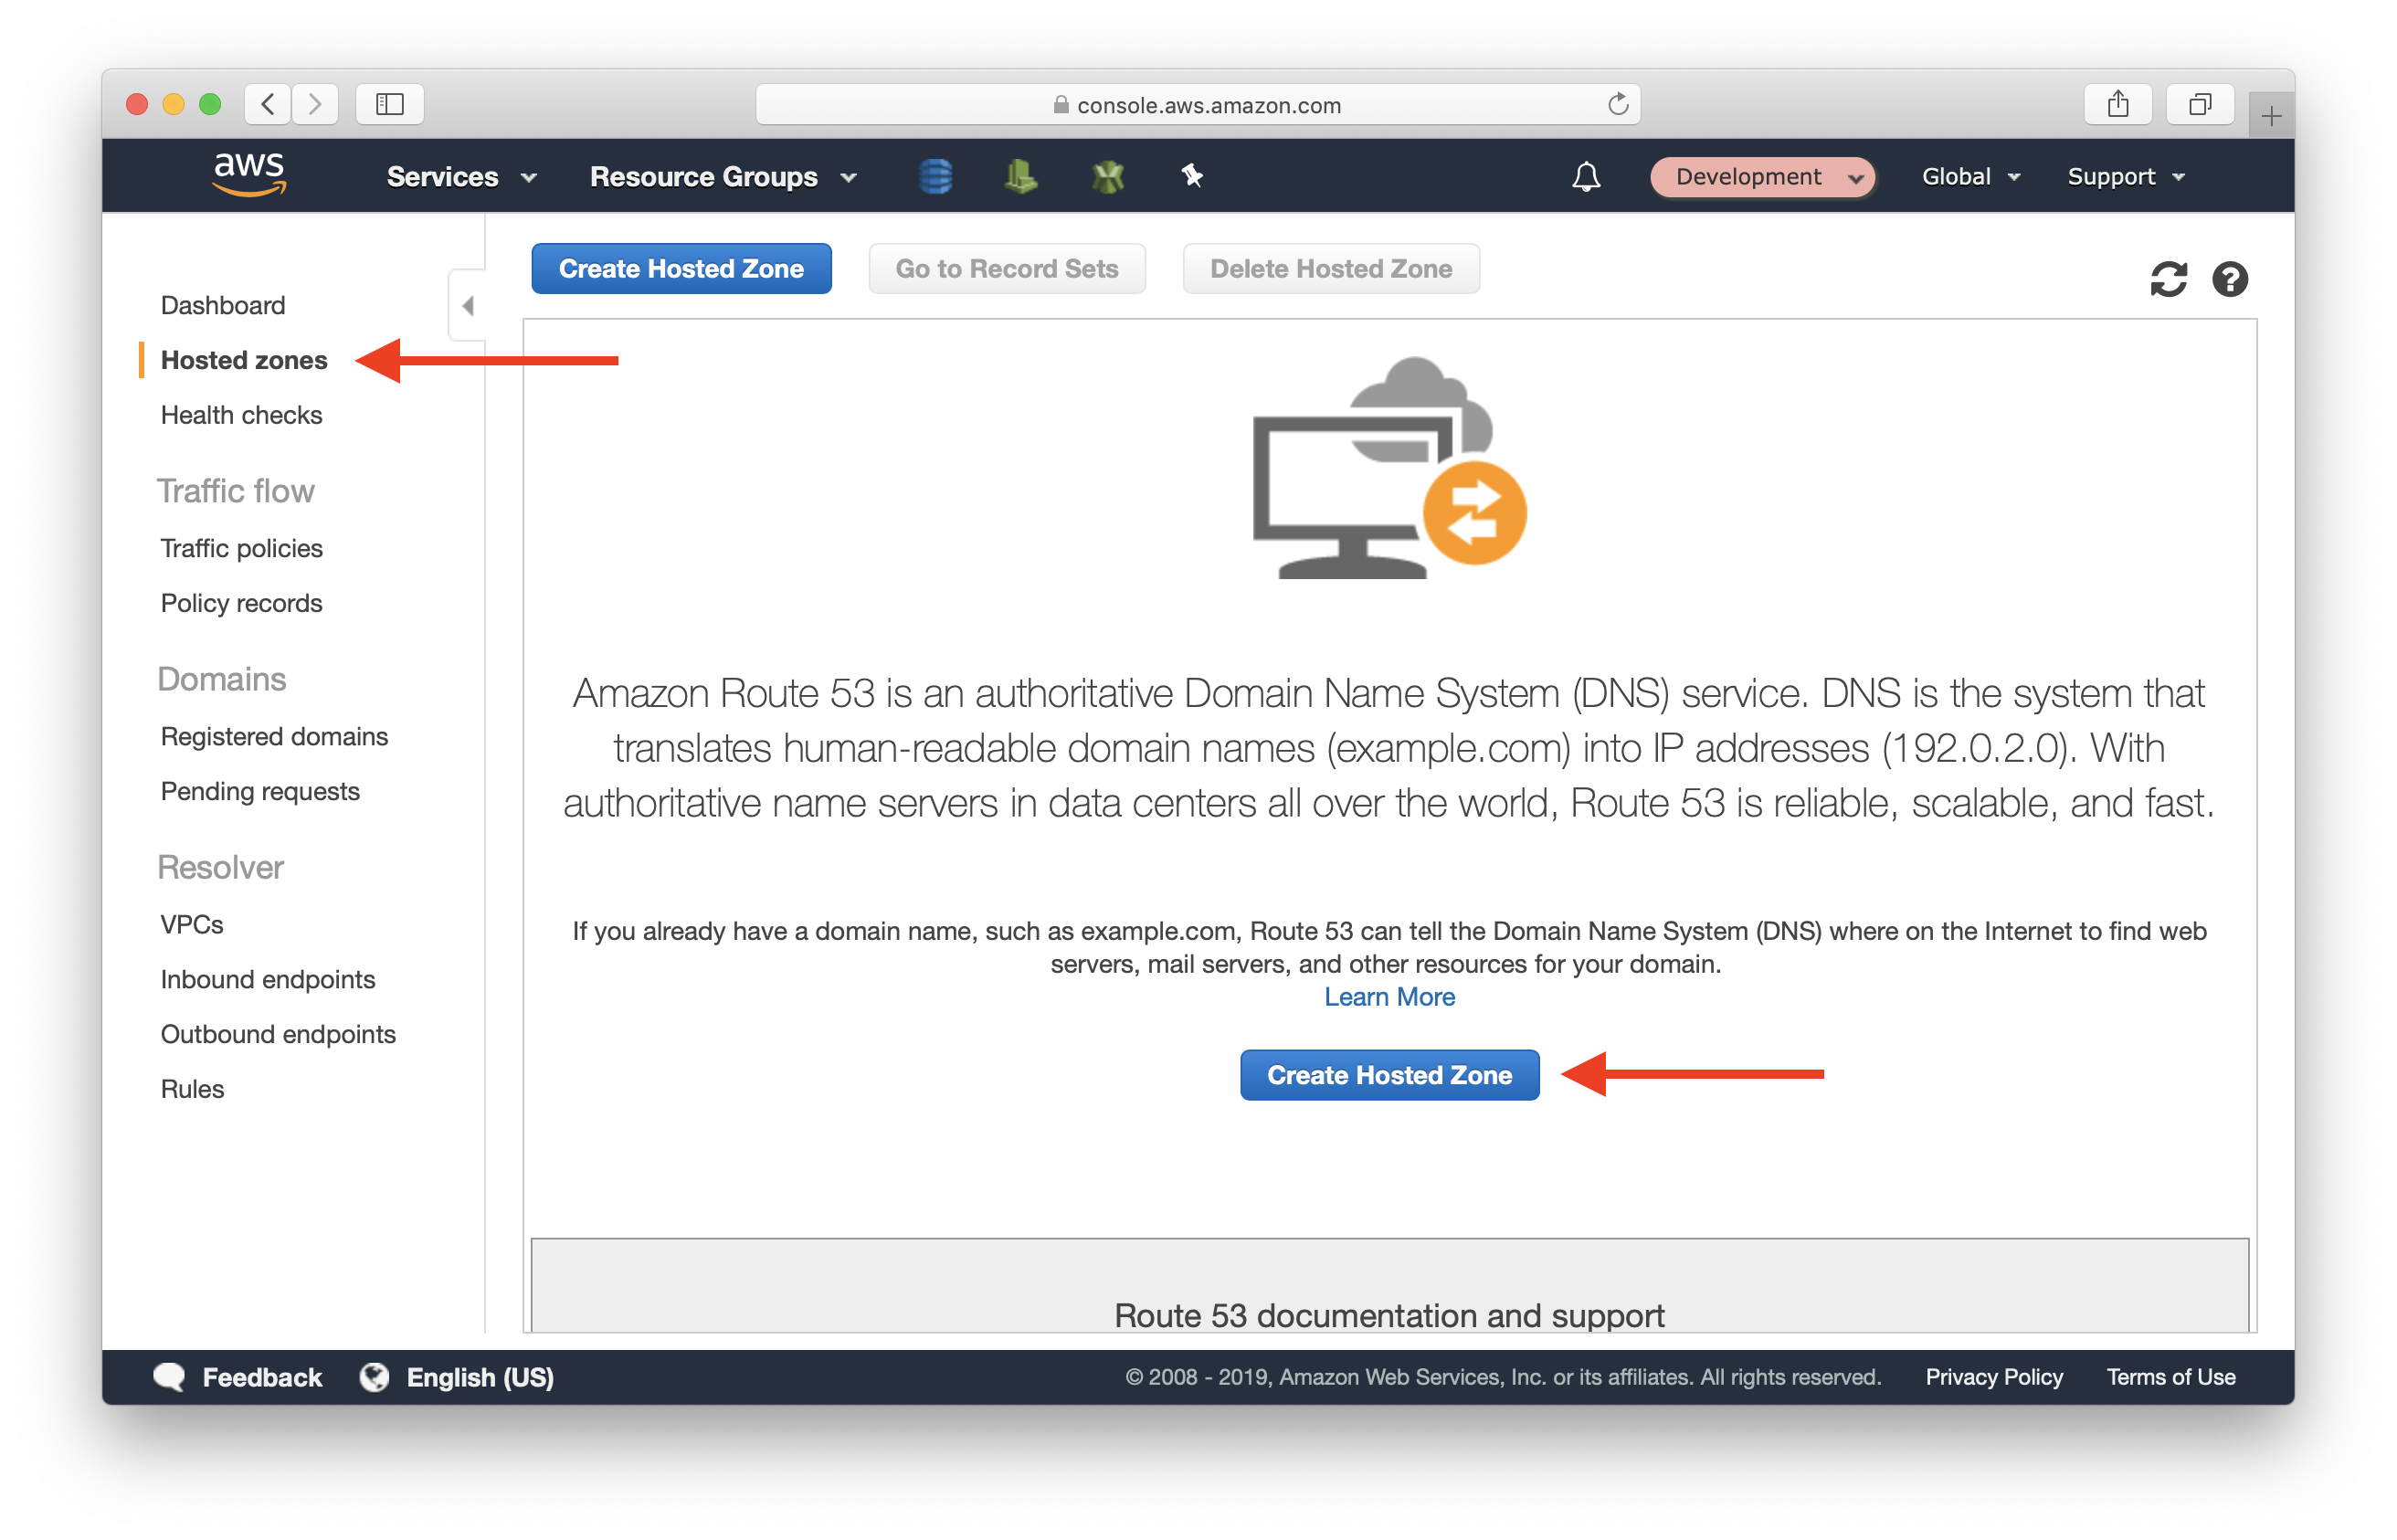
Select Create Hosted Zone at the top. Enter:
- Domain Name: dev.ext-api.serverless-stack.com
Then click Create.
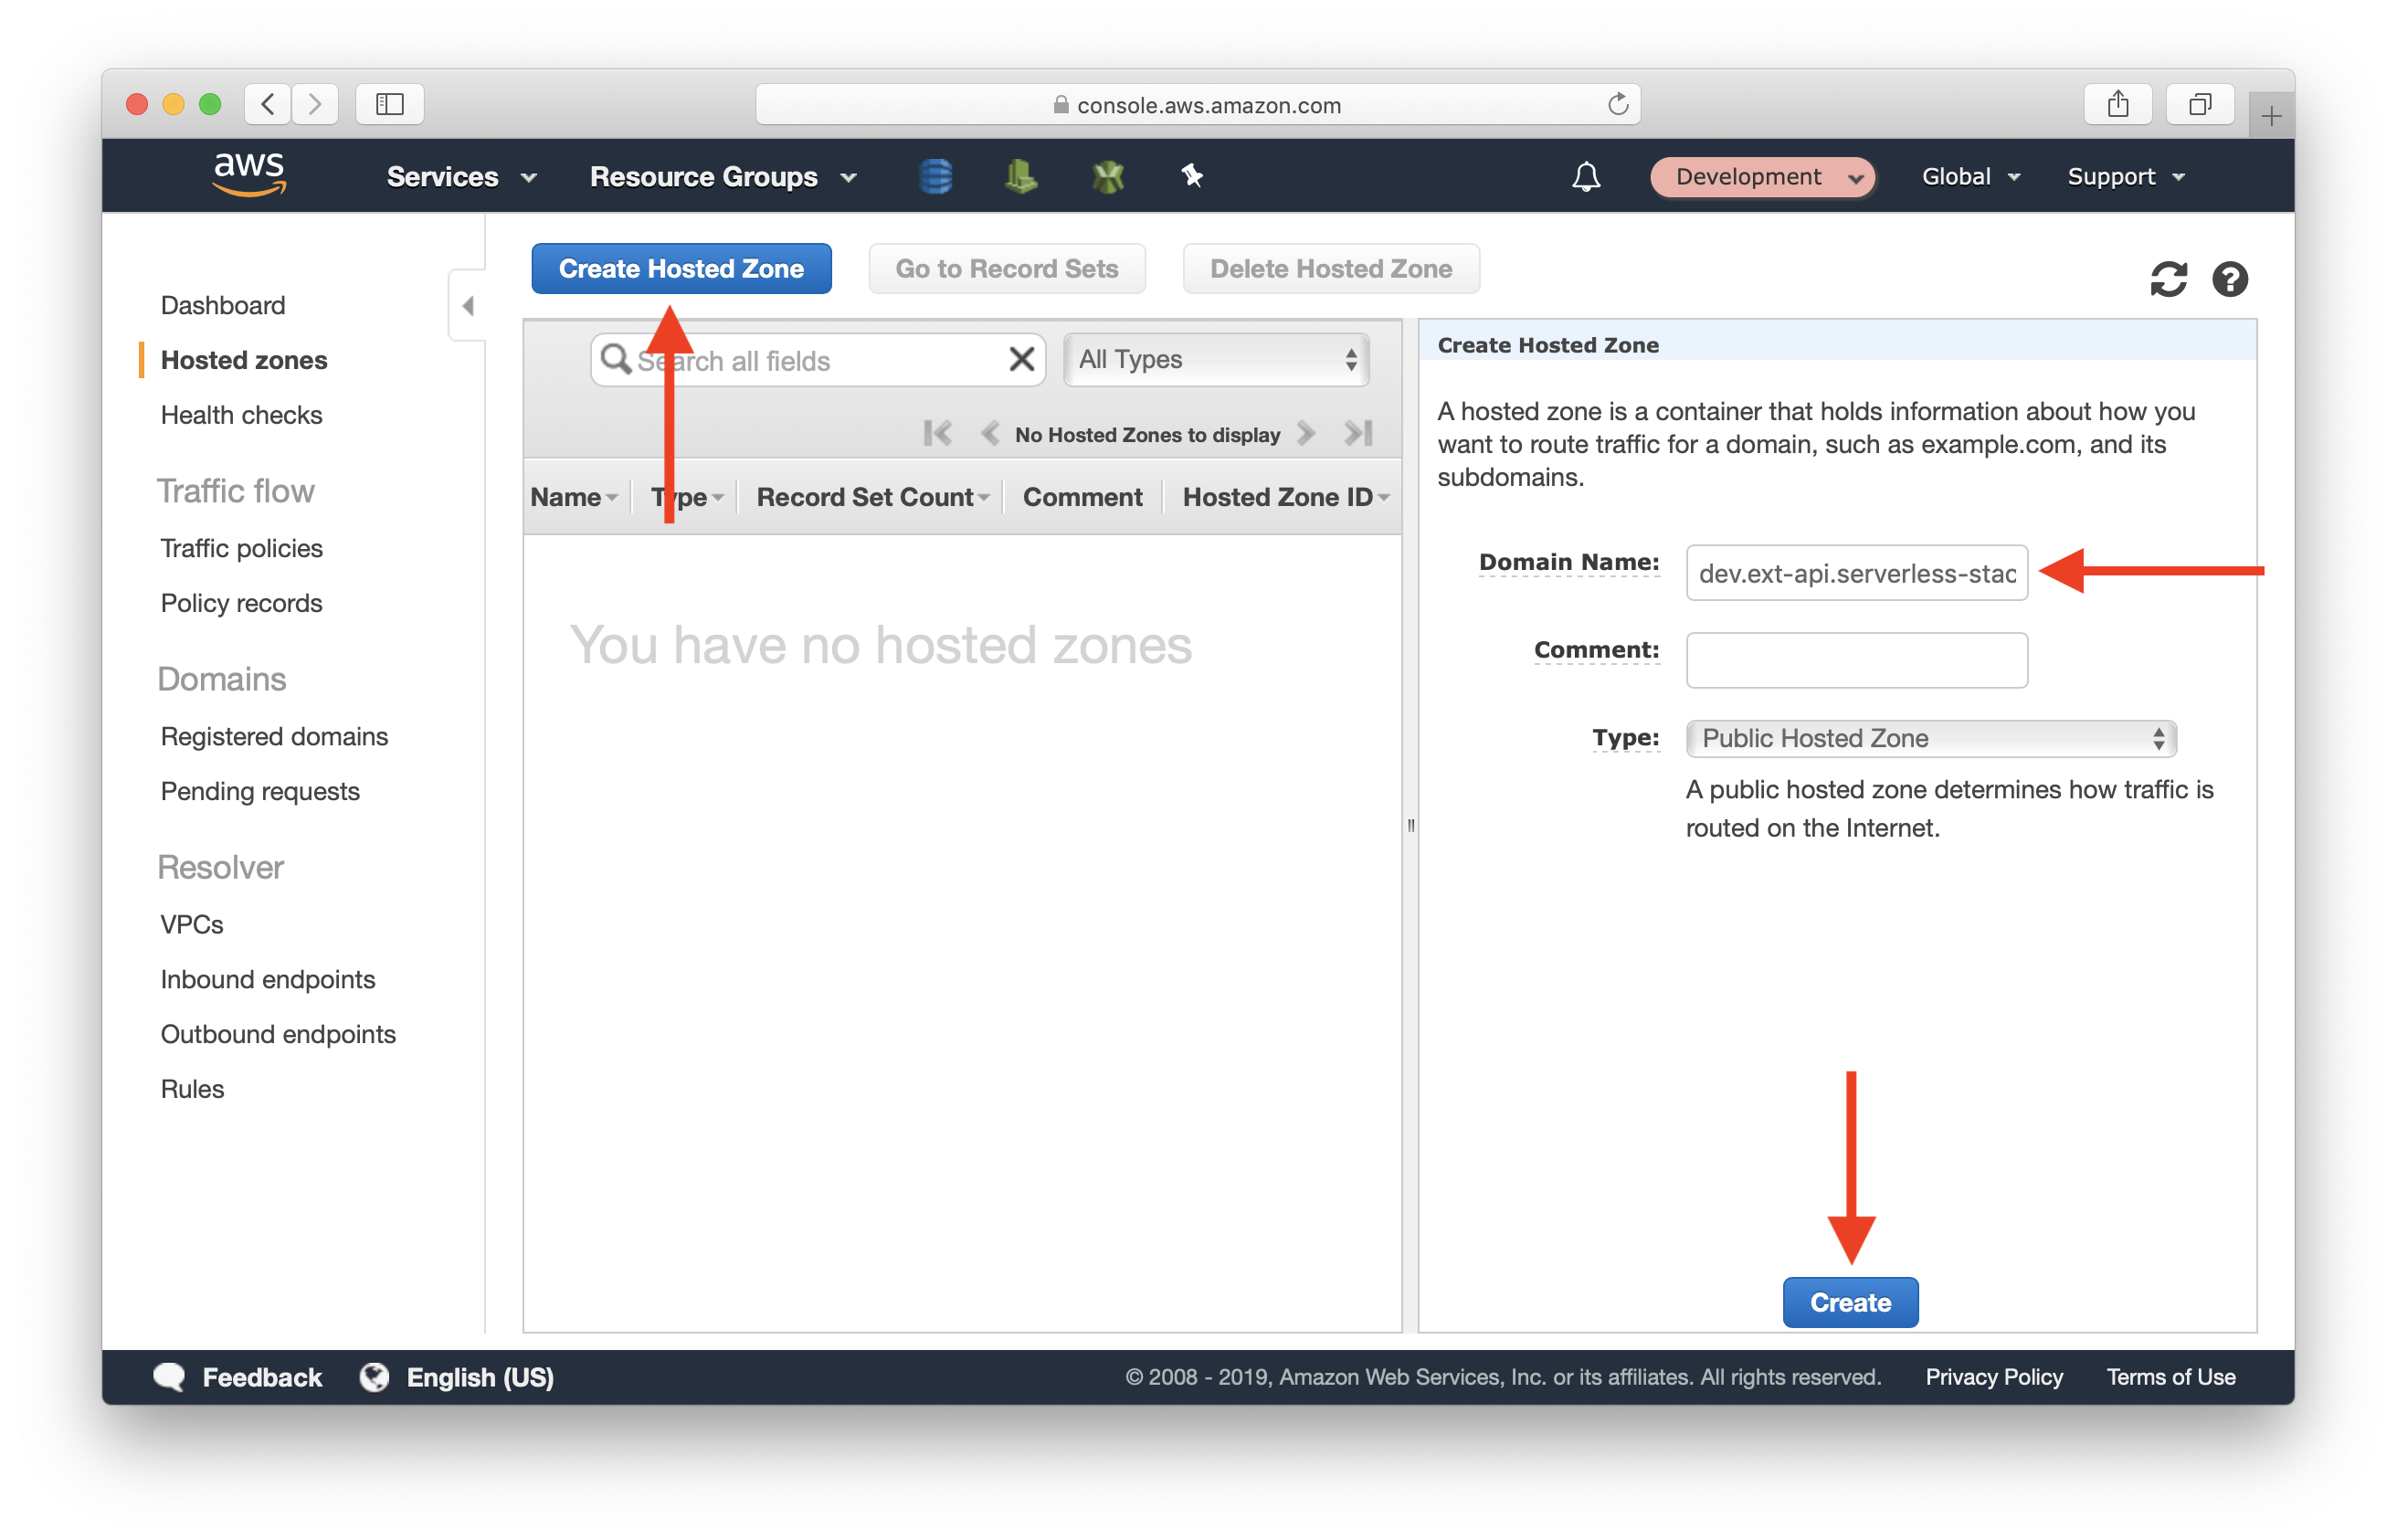
Select the zone you just created.
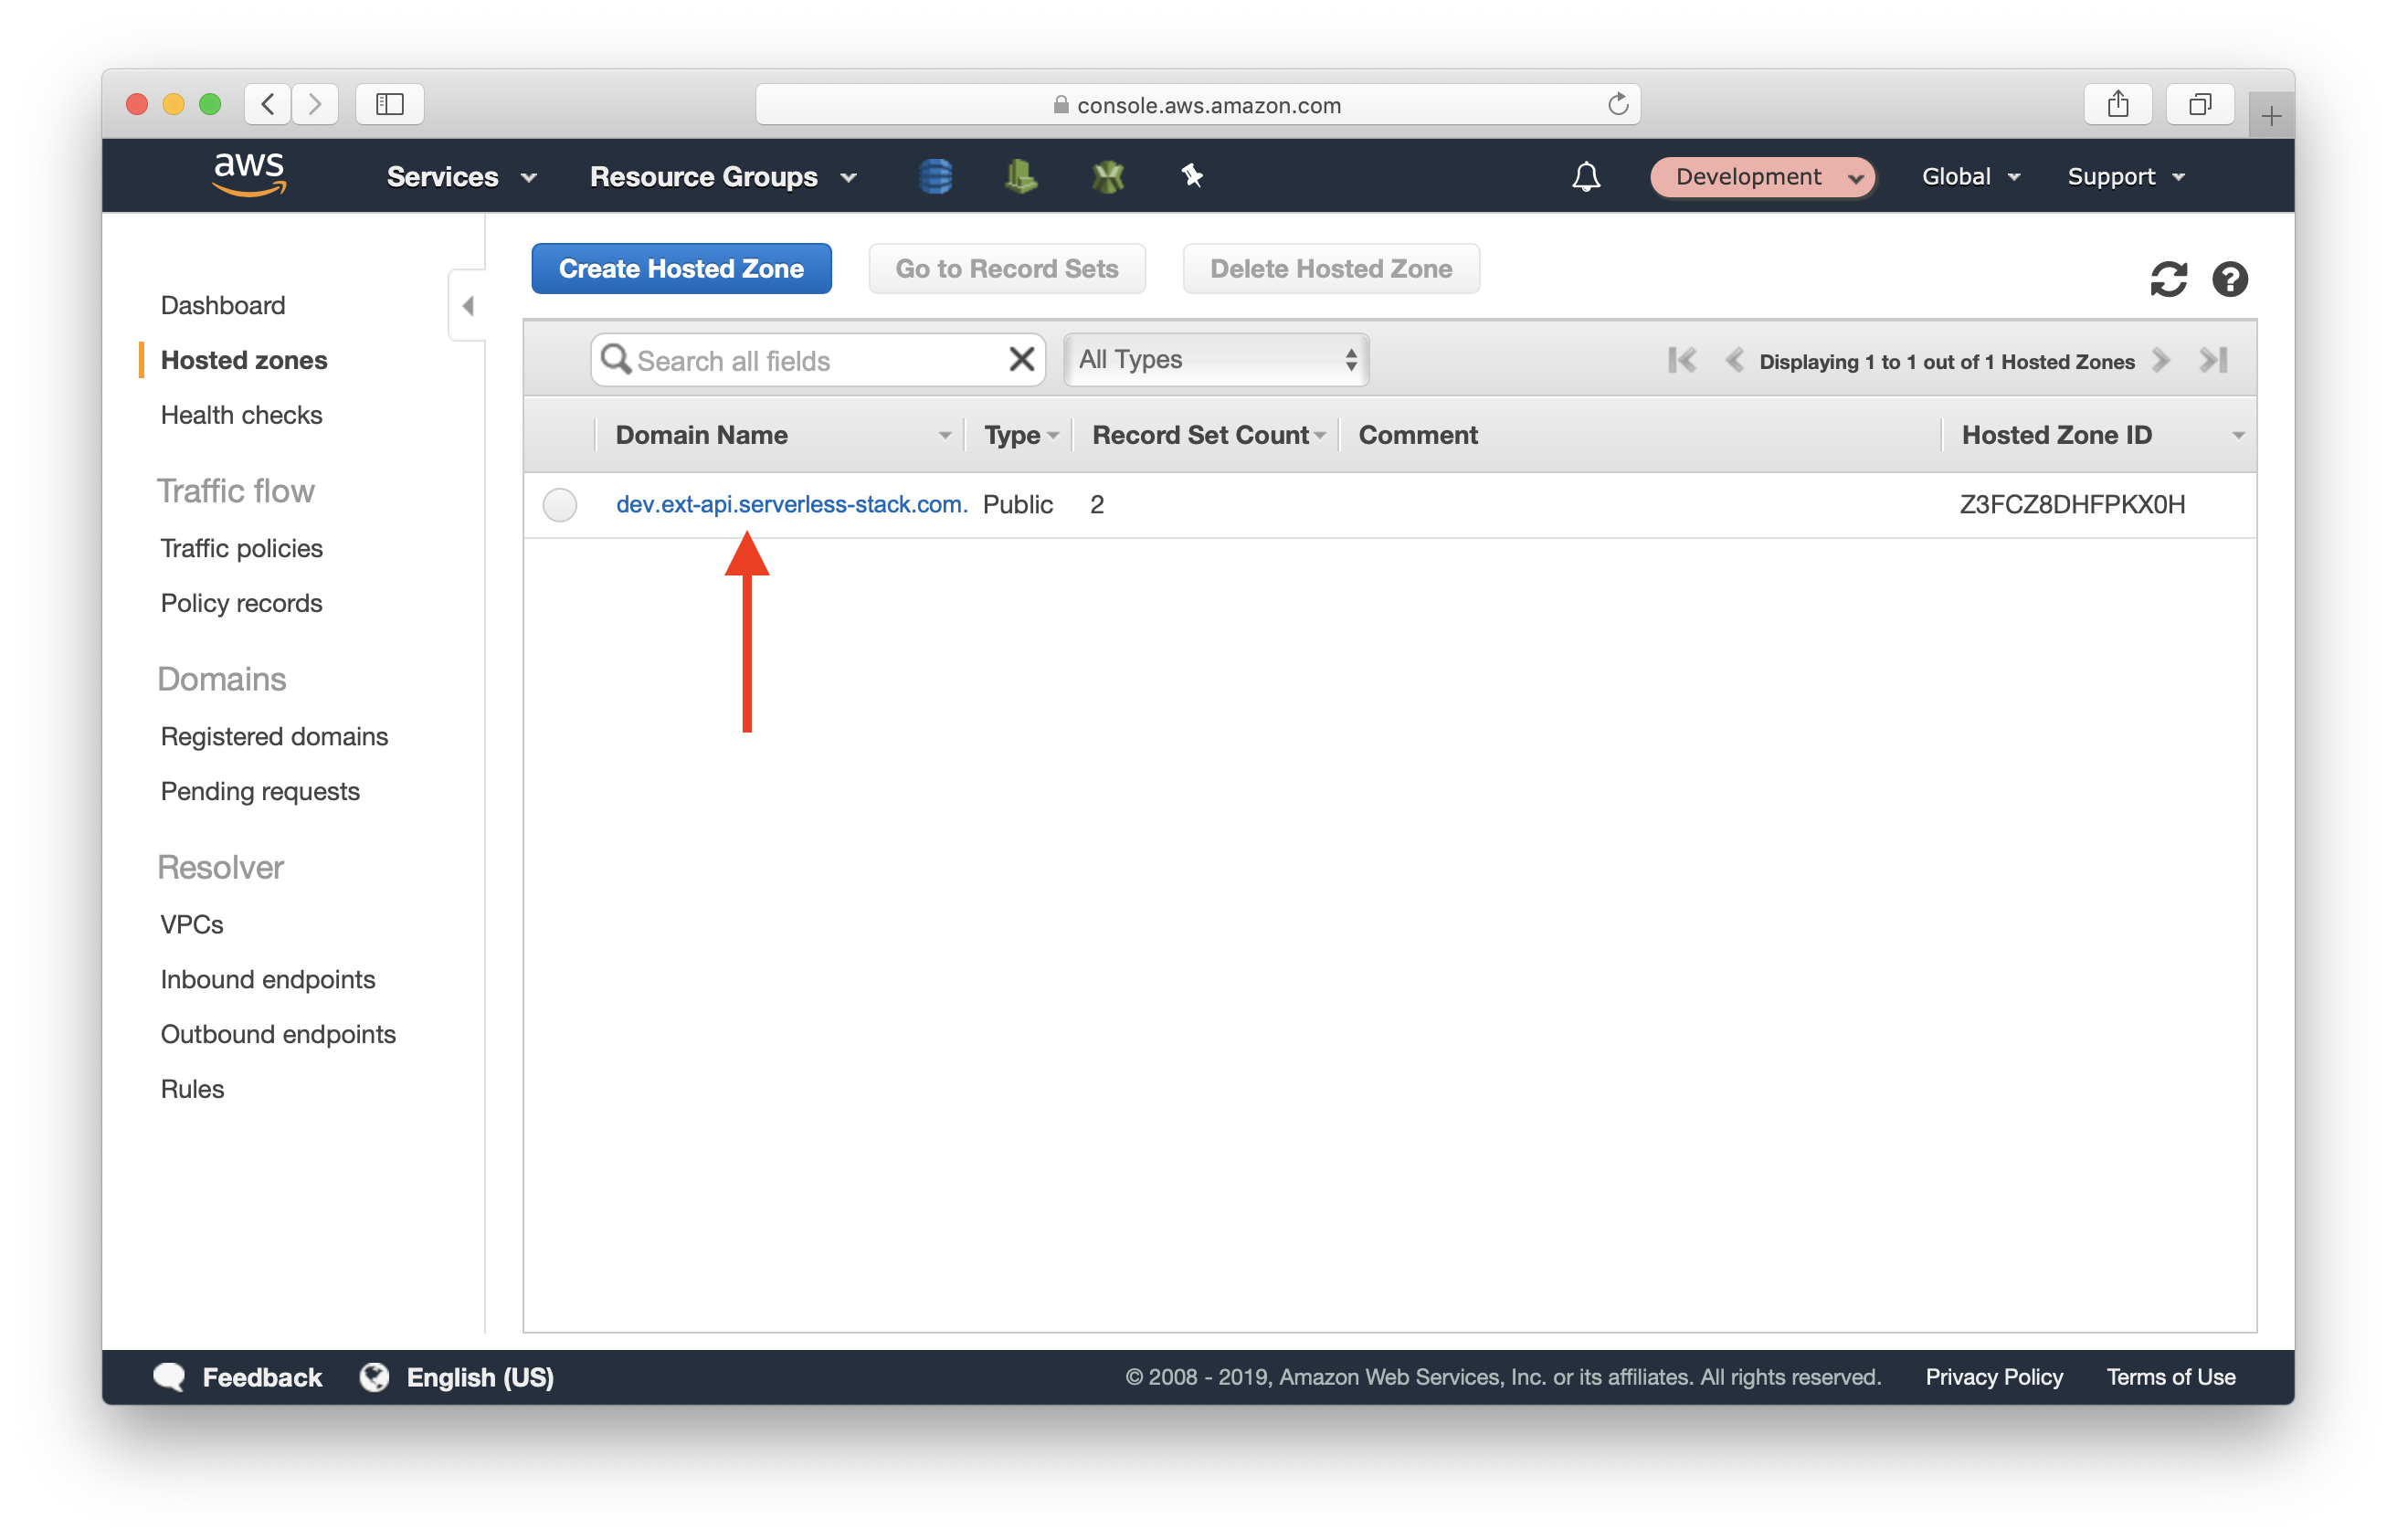
Click on the row with NS type. And copy the 4 lines in the Value field. We need this in the steps after.
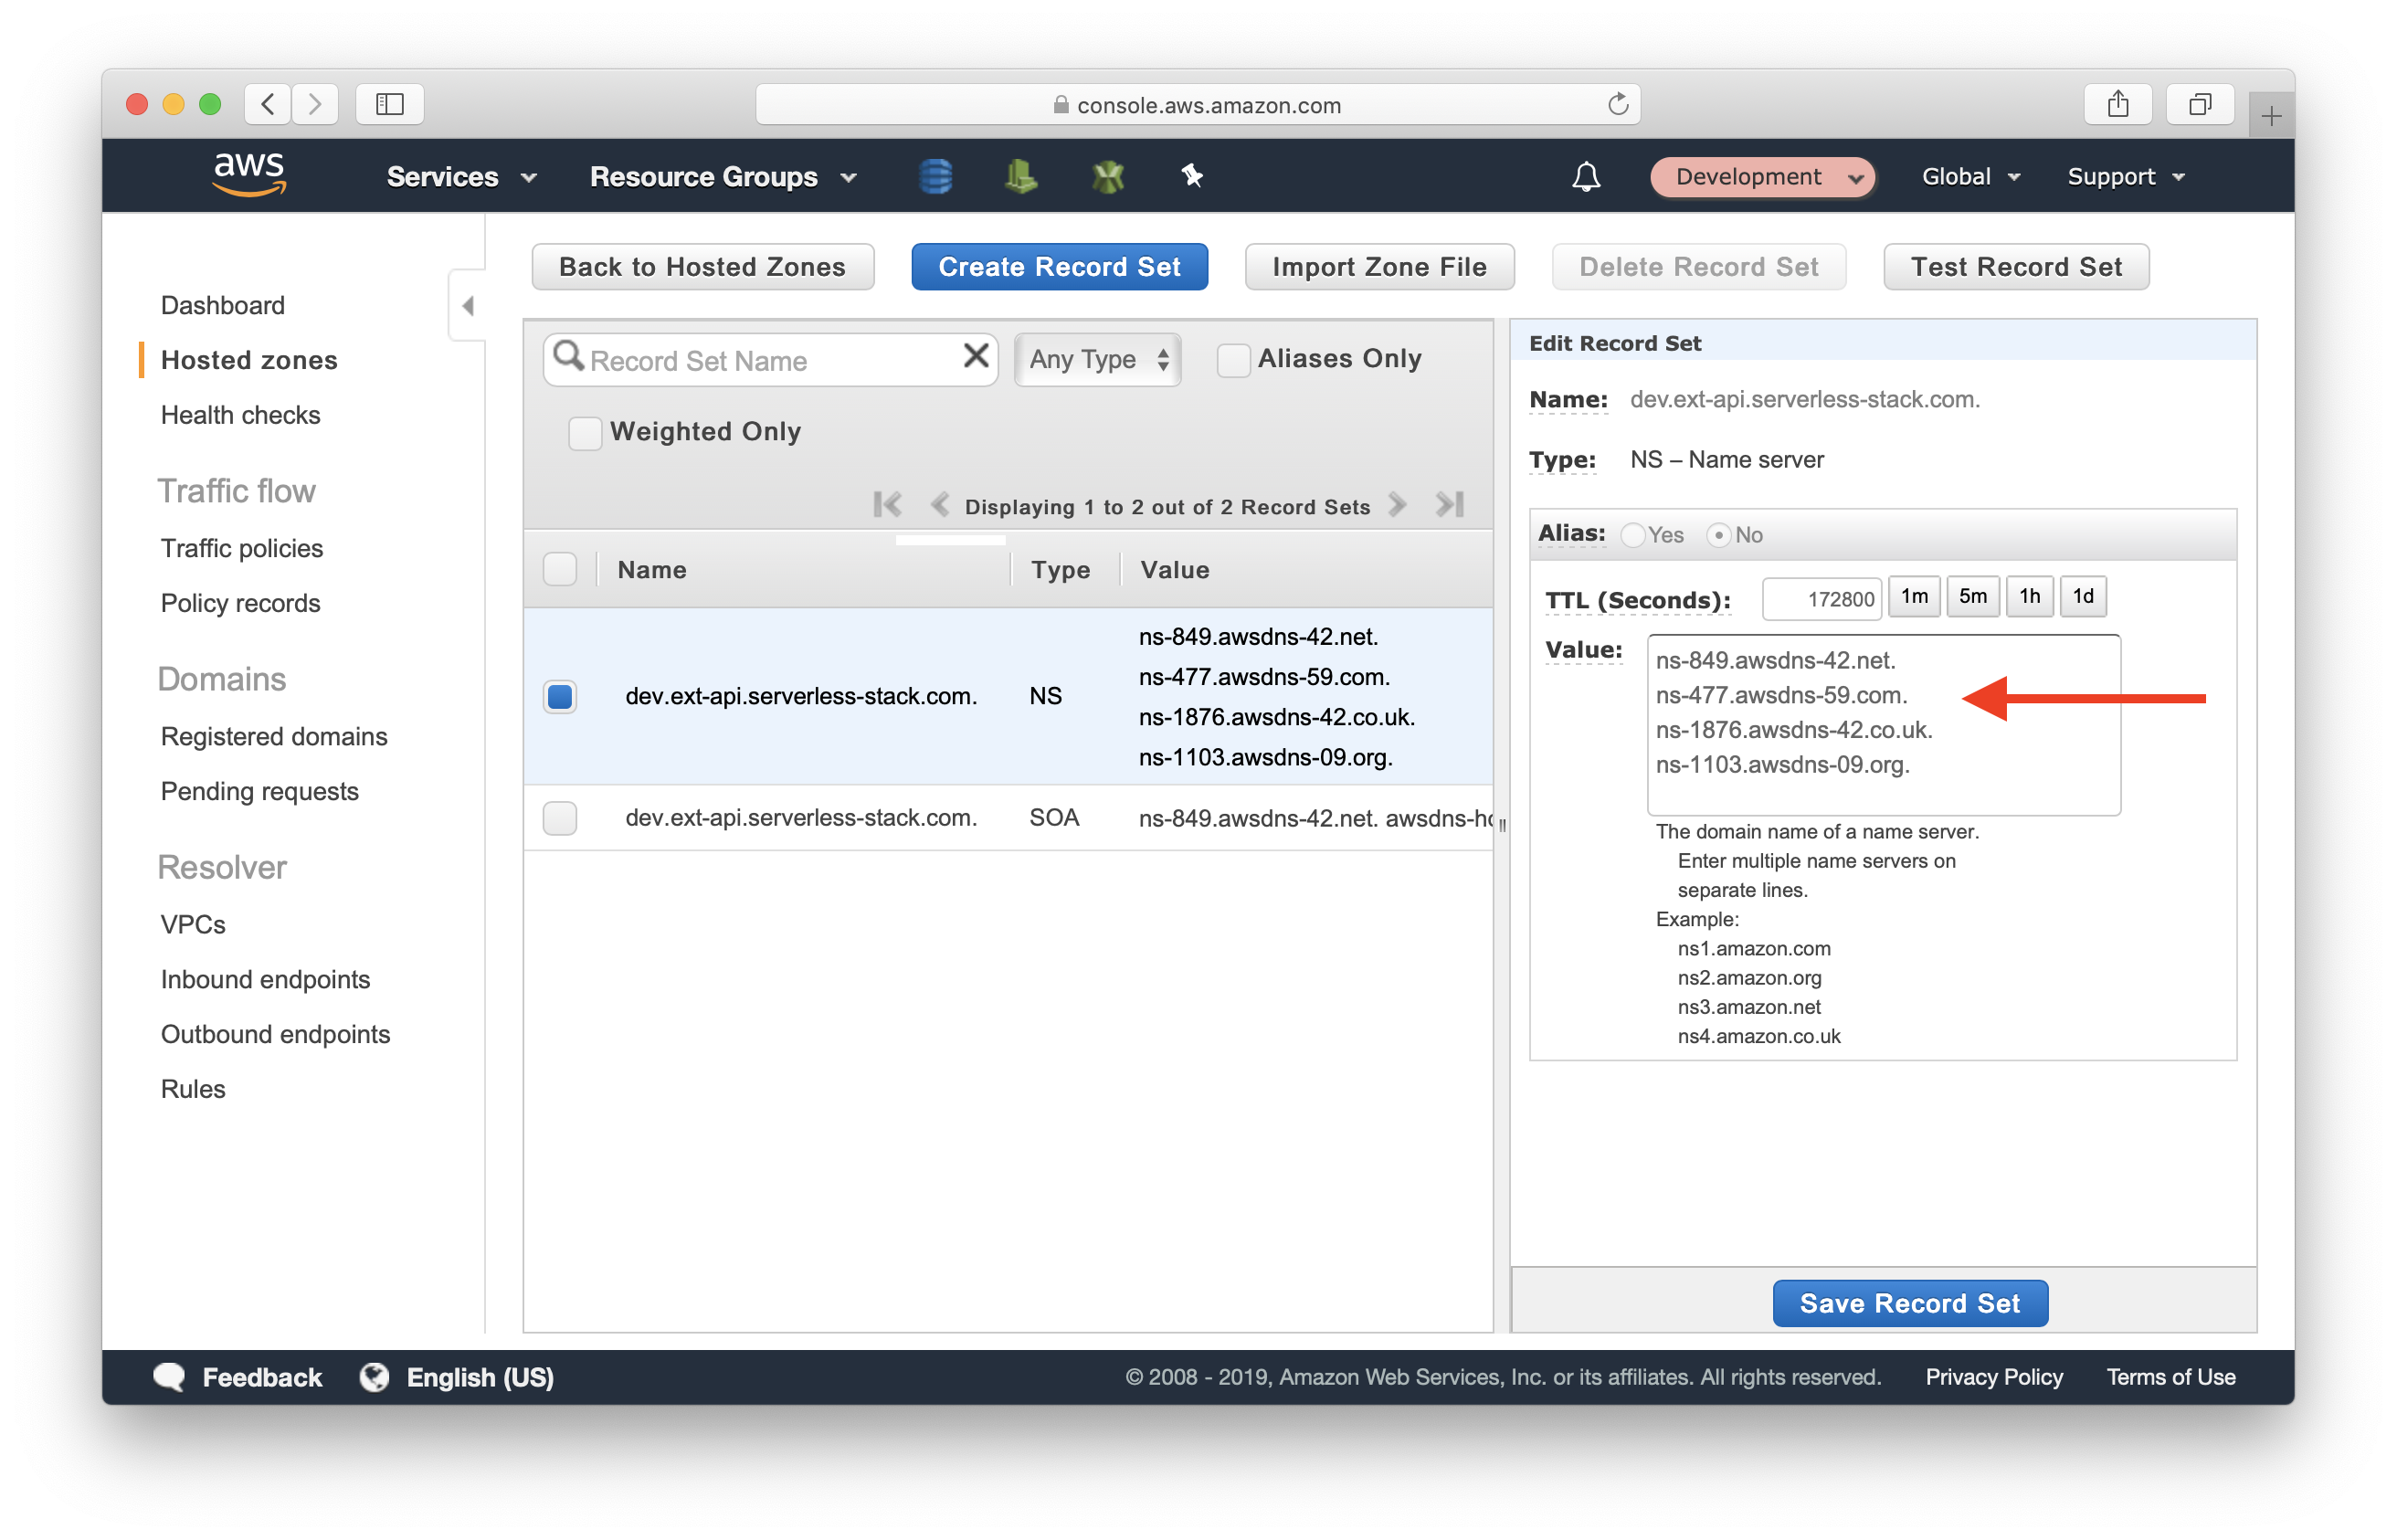
Now, switch to the Production account where the domain is hosted. And go into Route 53 console.
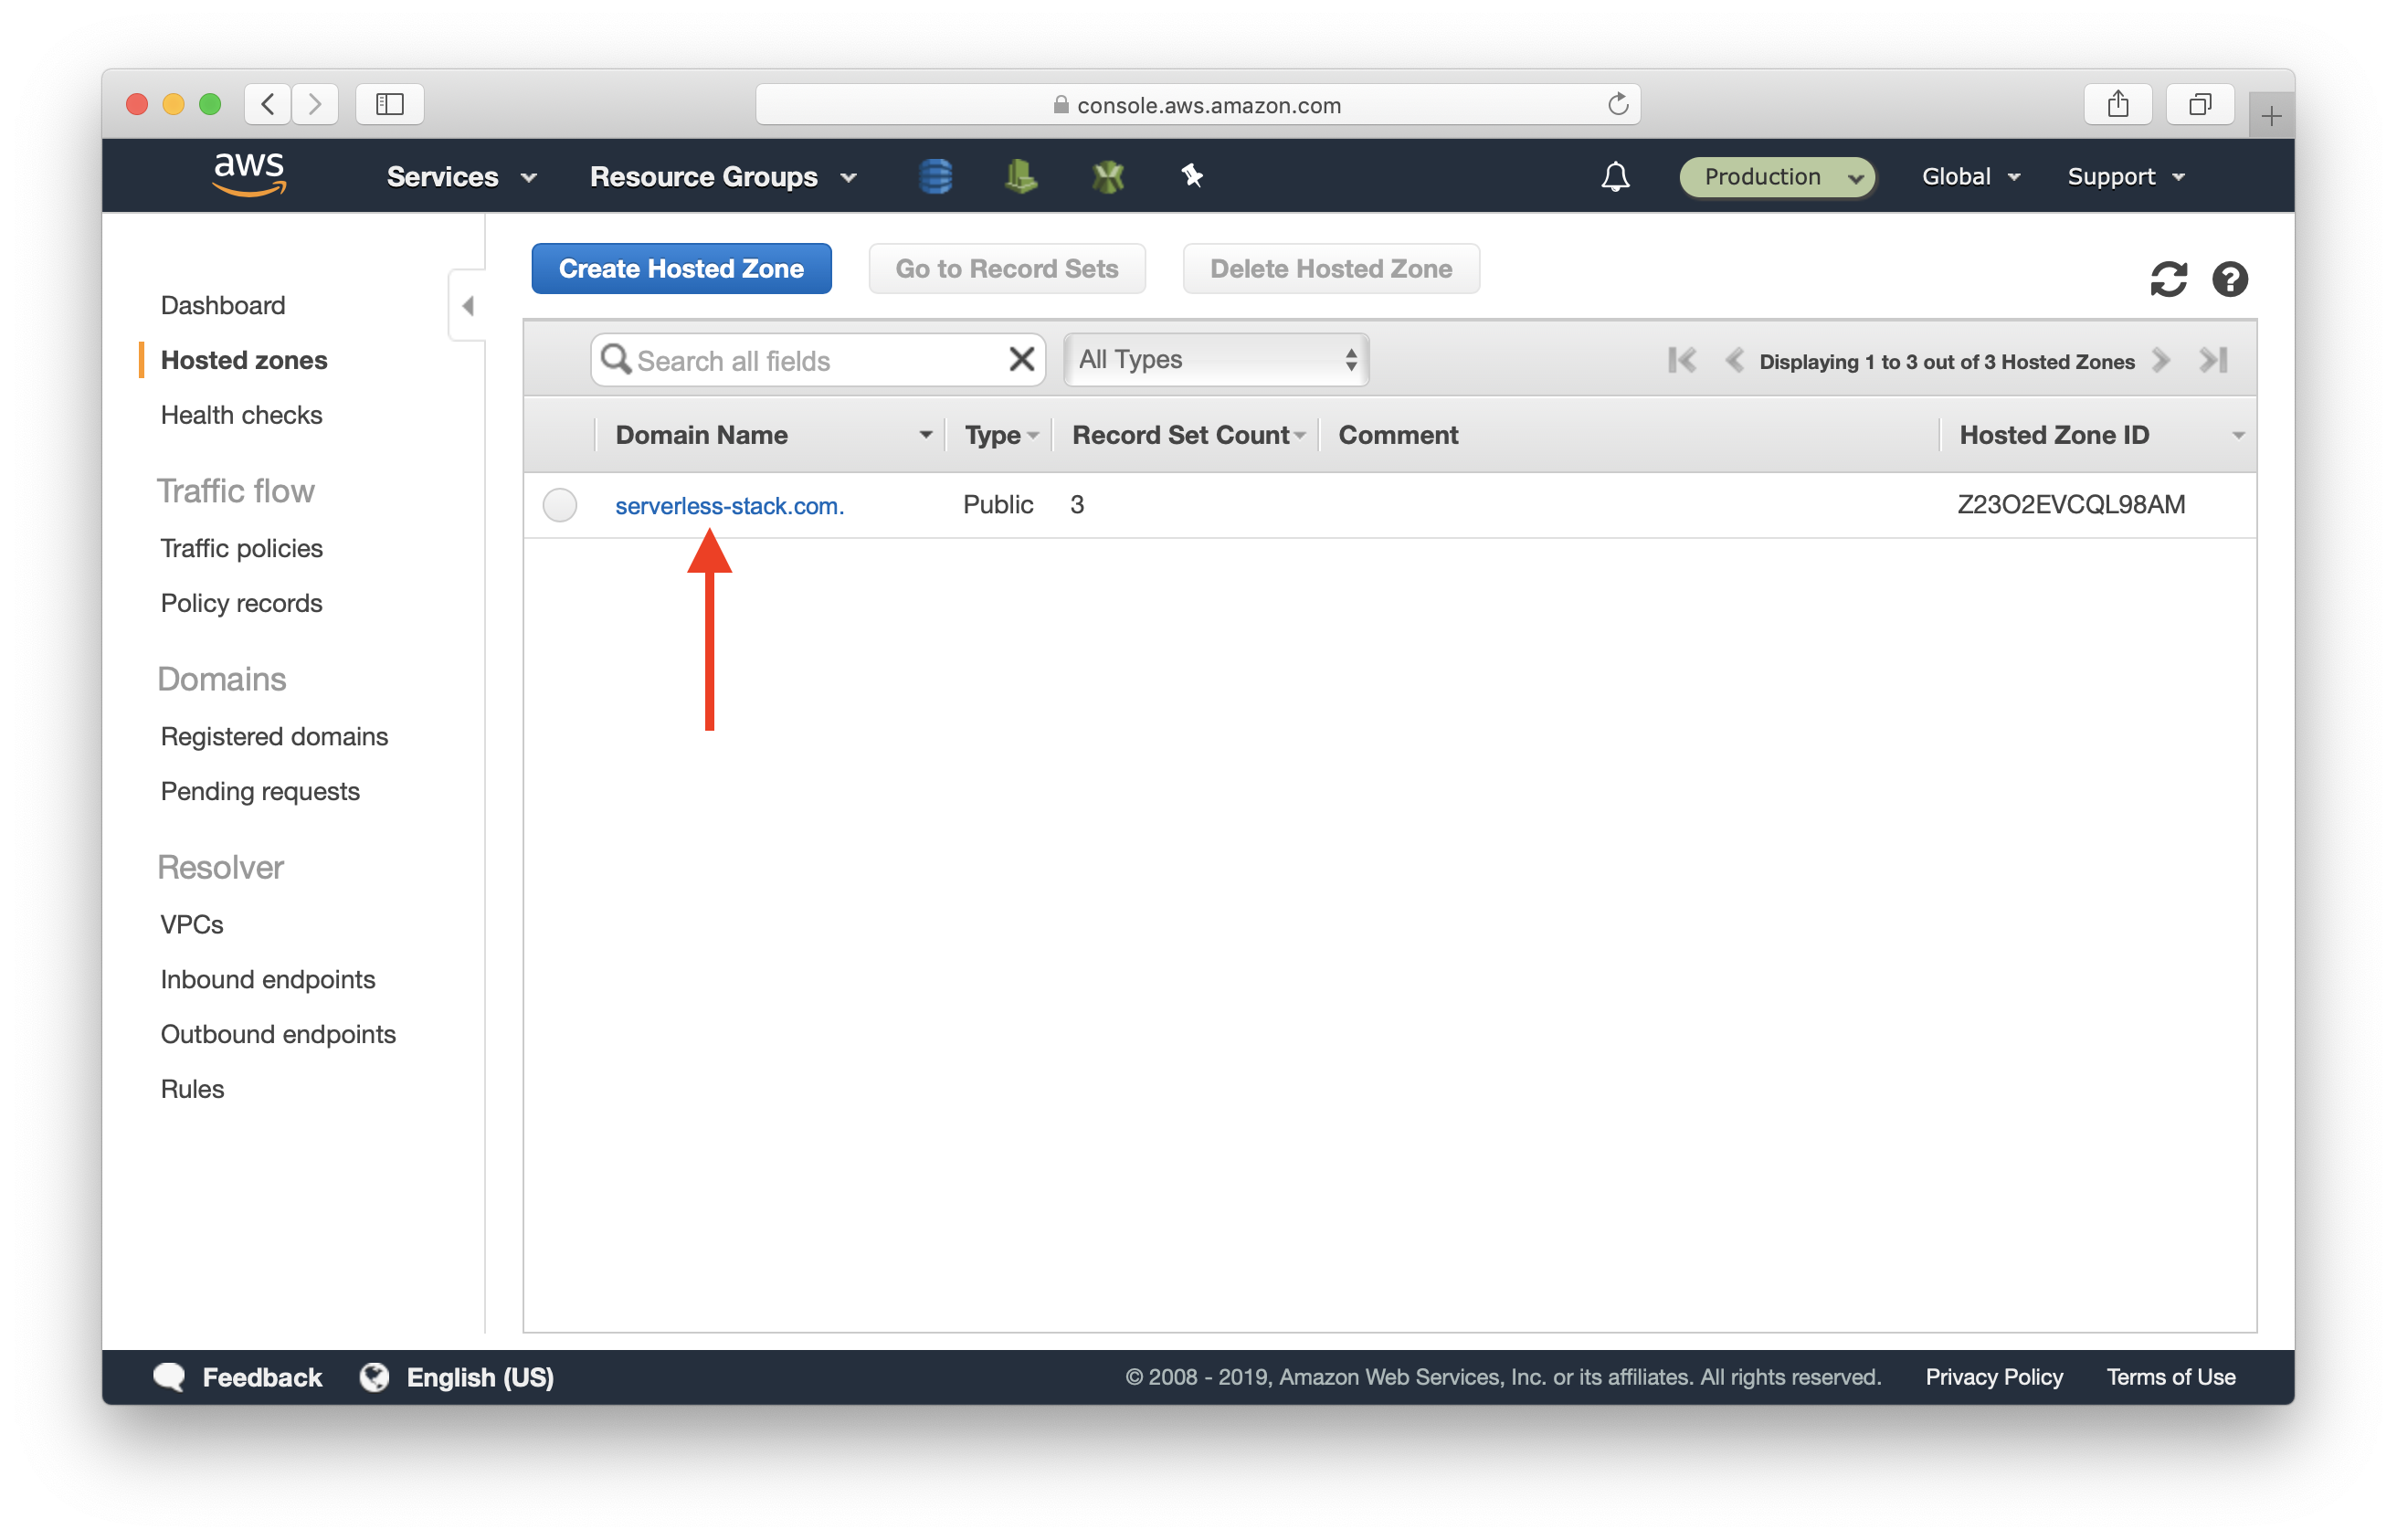
Select the domain.
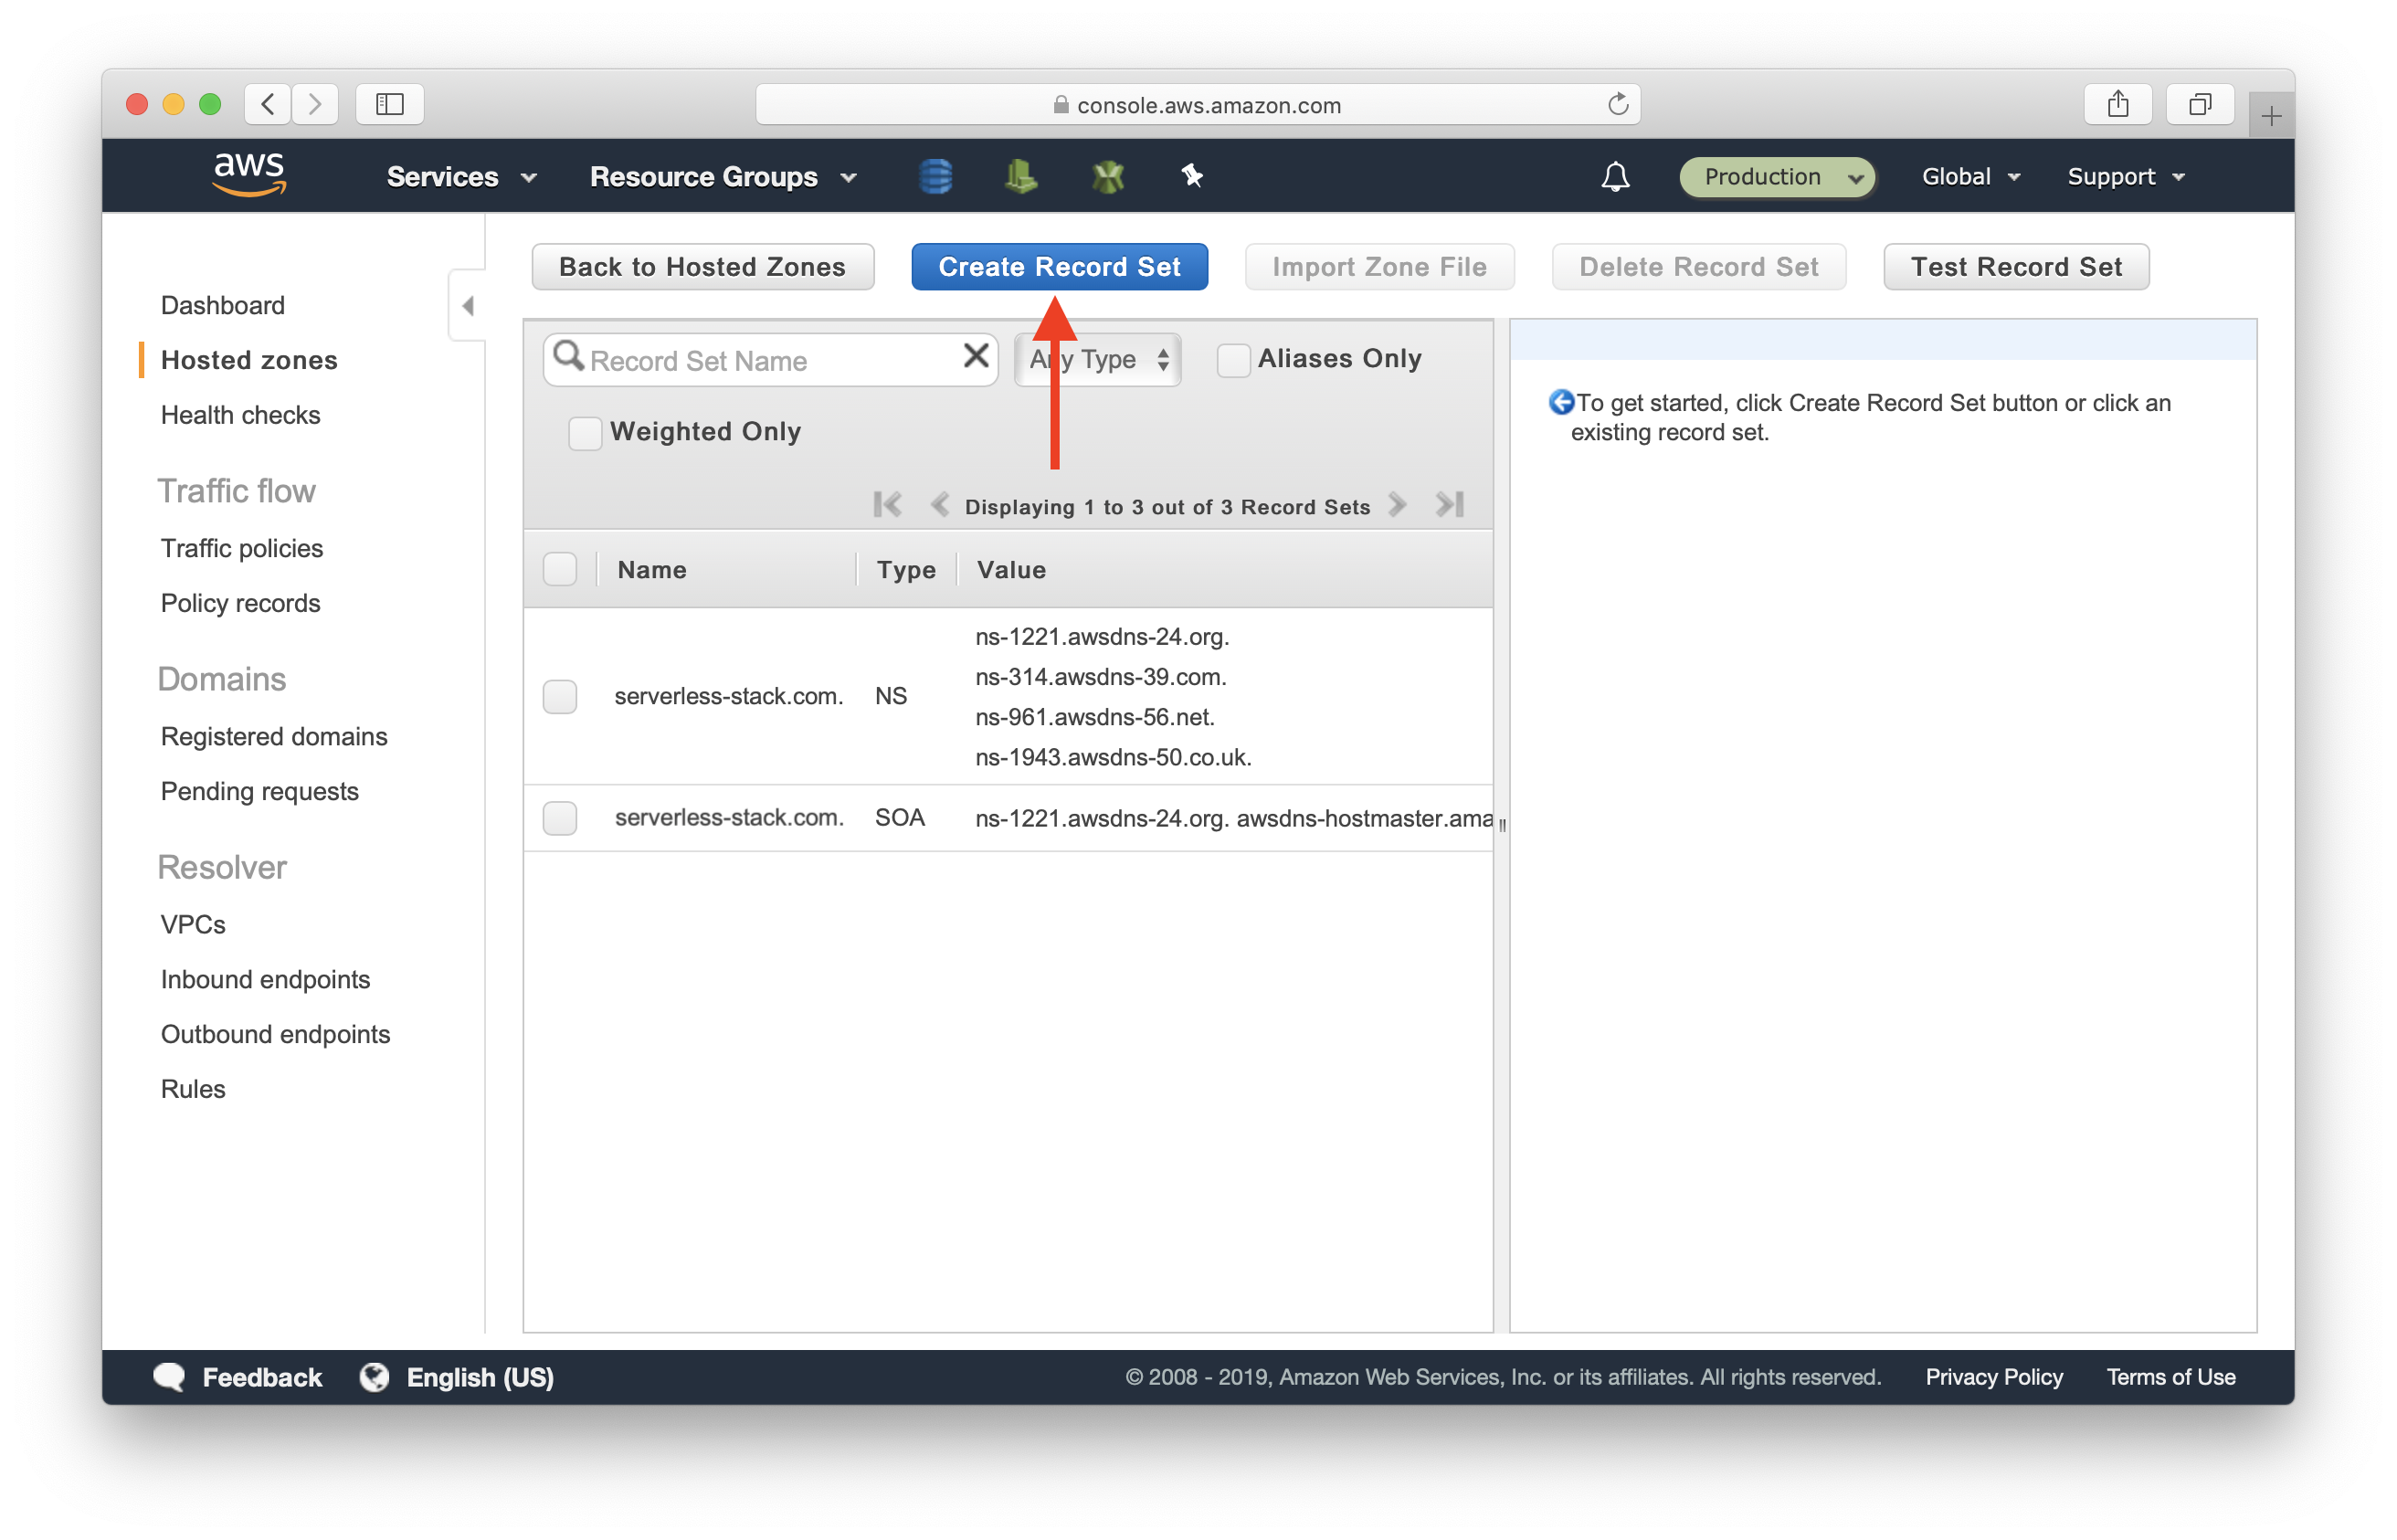
Click Create Record Set.
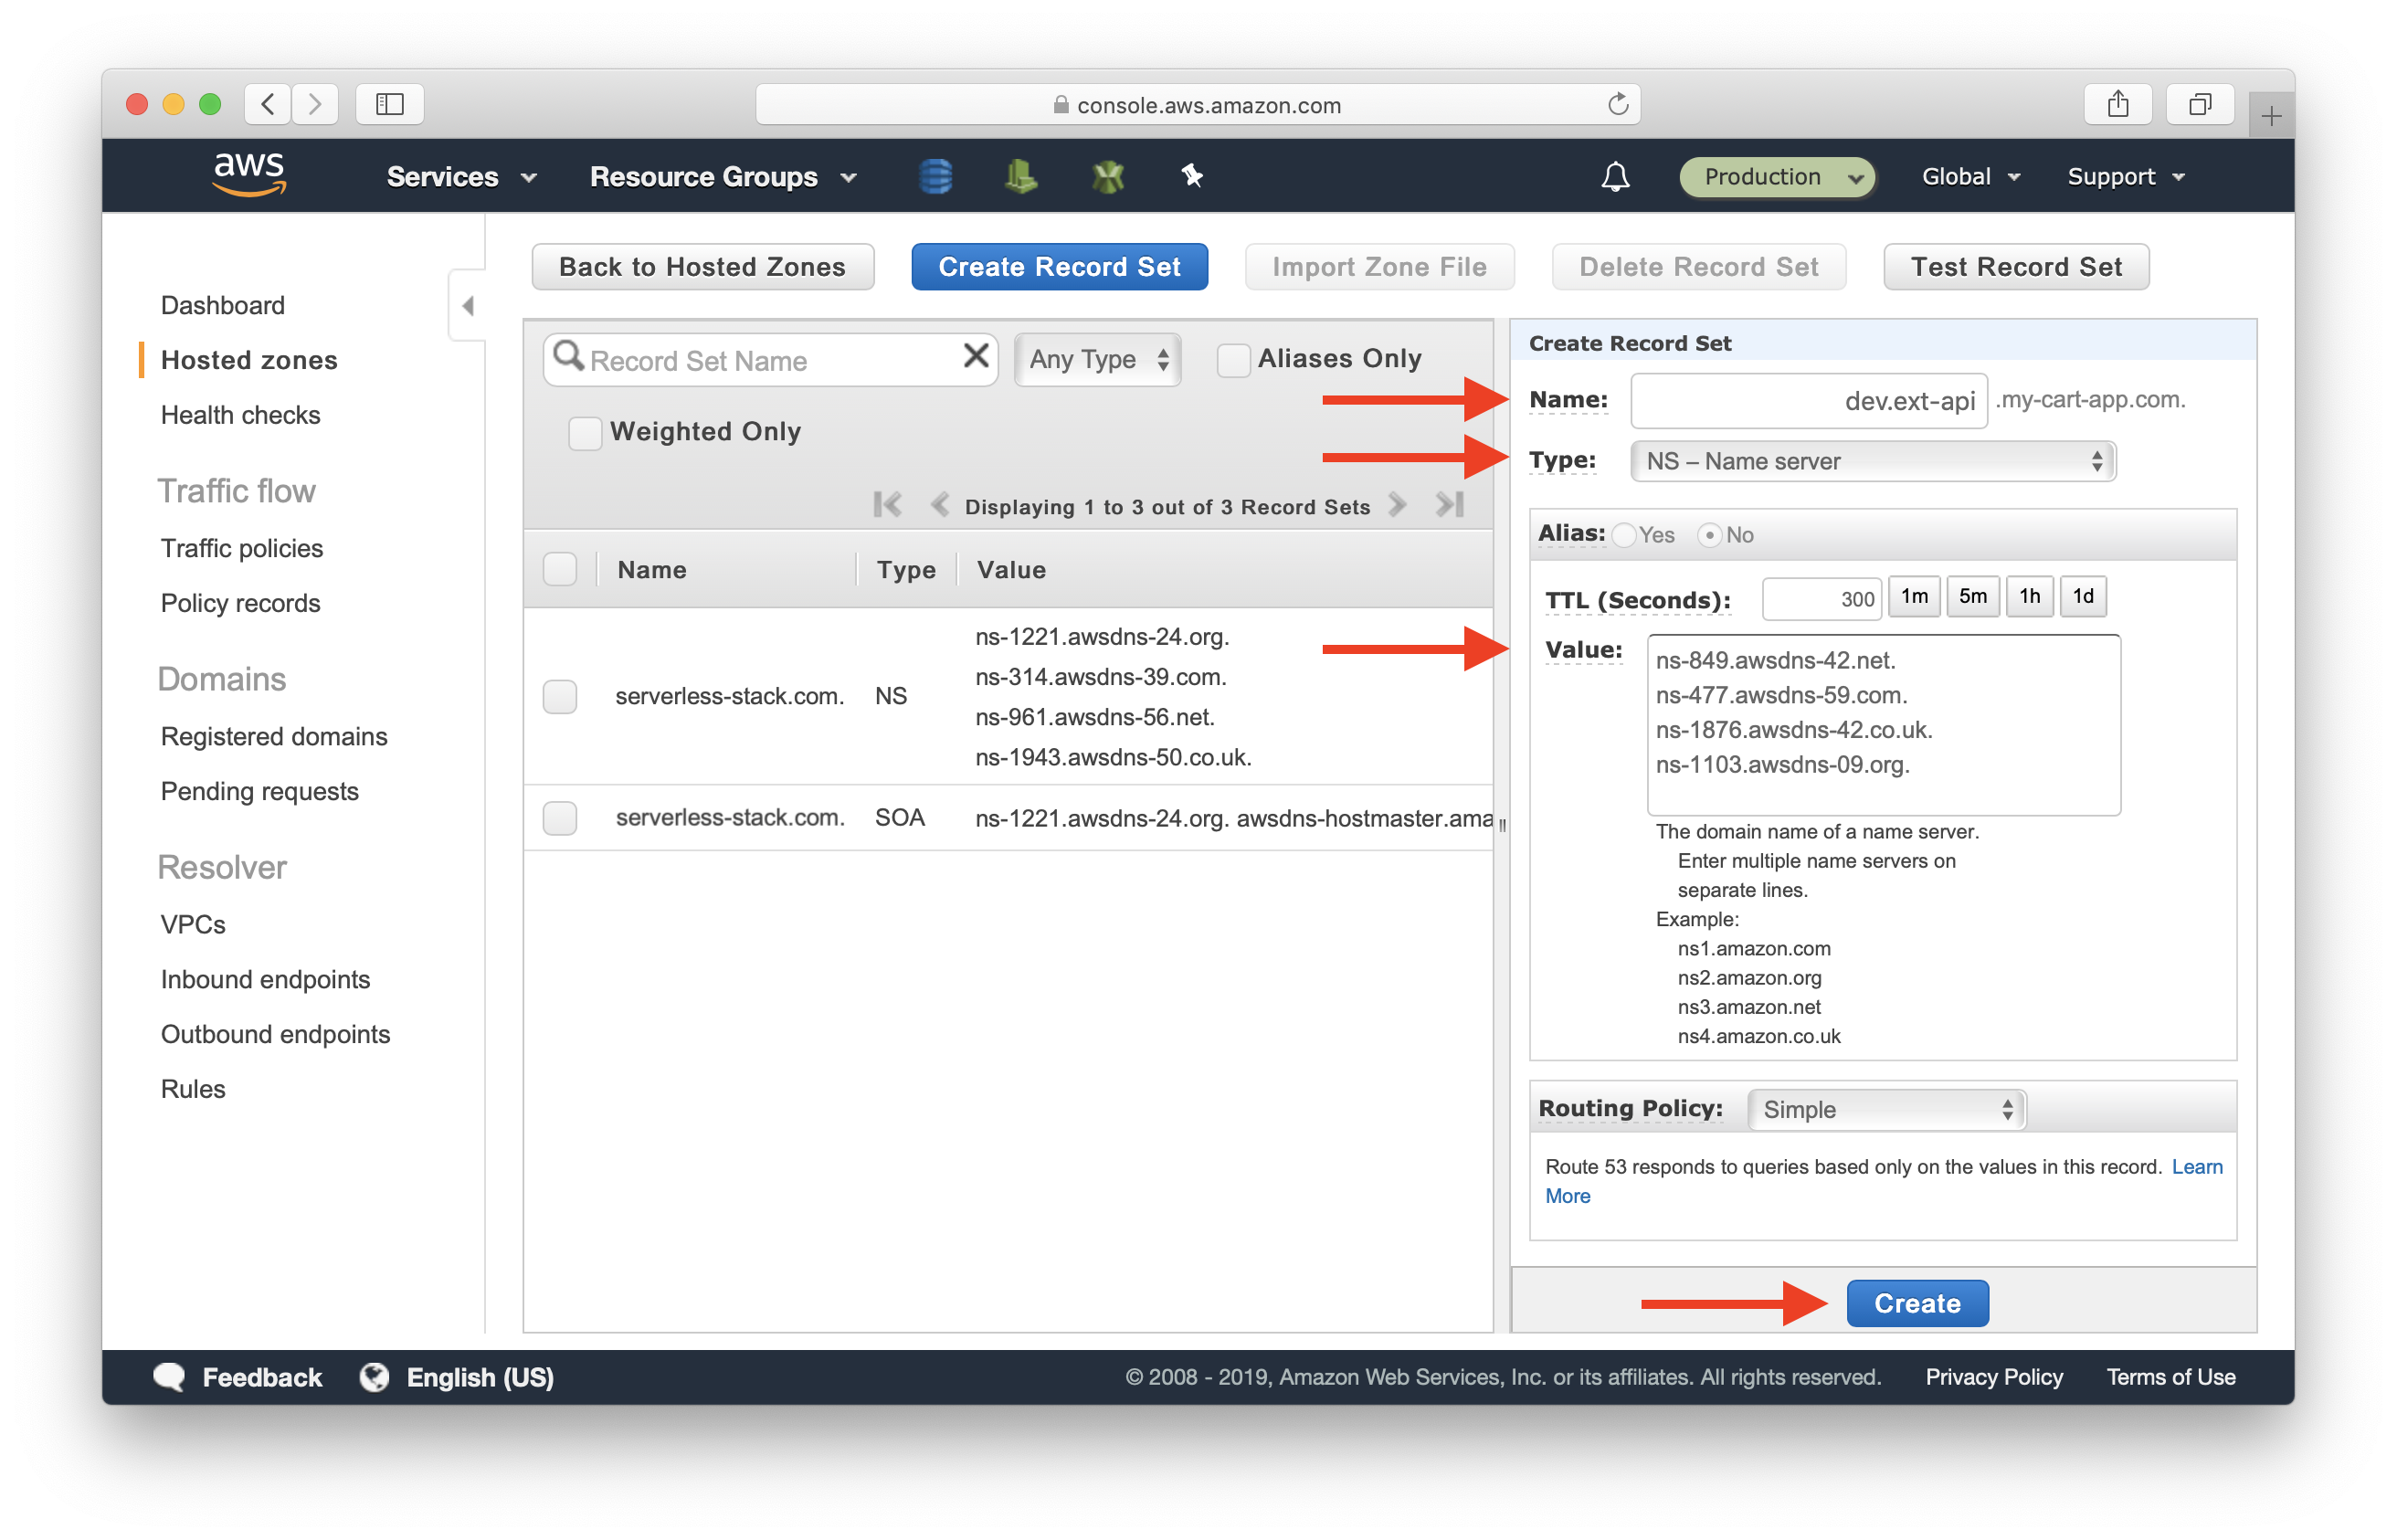
Fill in:
- Name: dev.ext-api
- Type: NS - Name server
And paste the 4 lines from above in the Value field.
Click Create.
You should see a new dev.ext-api.serverless-stack.com row in the table.
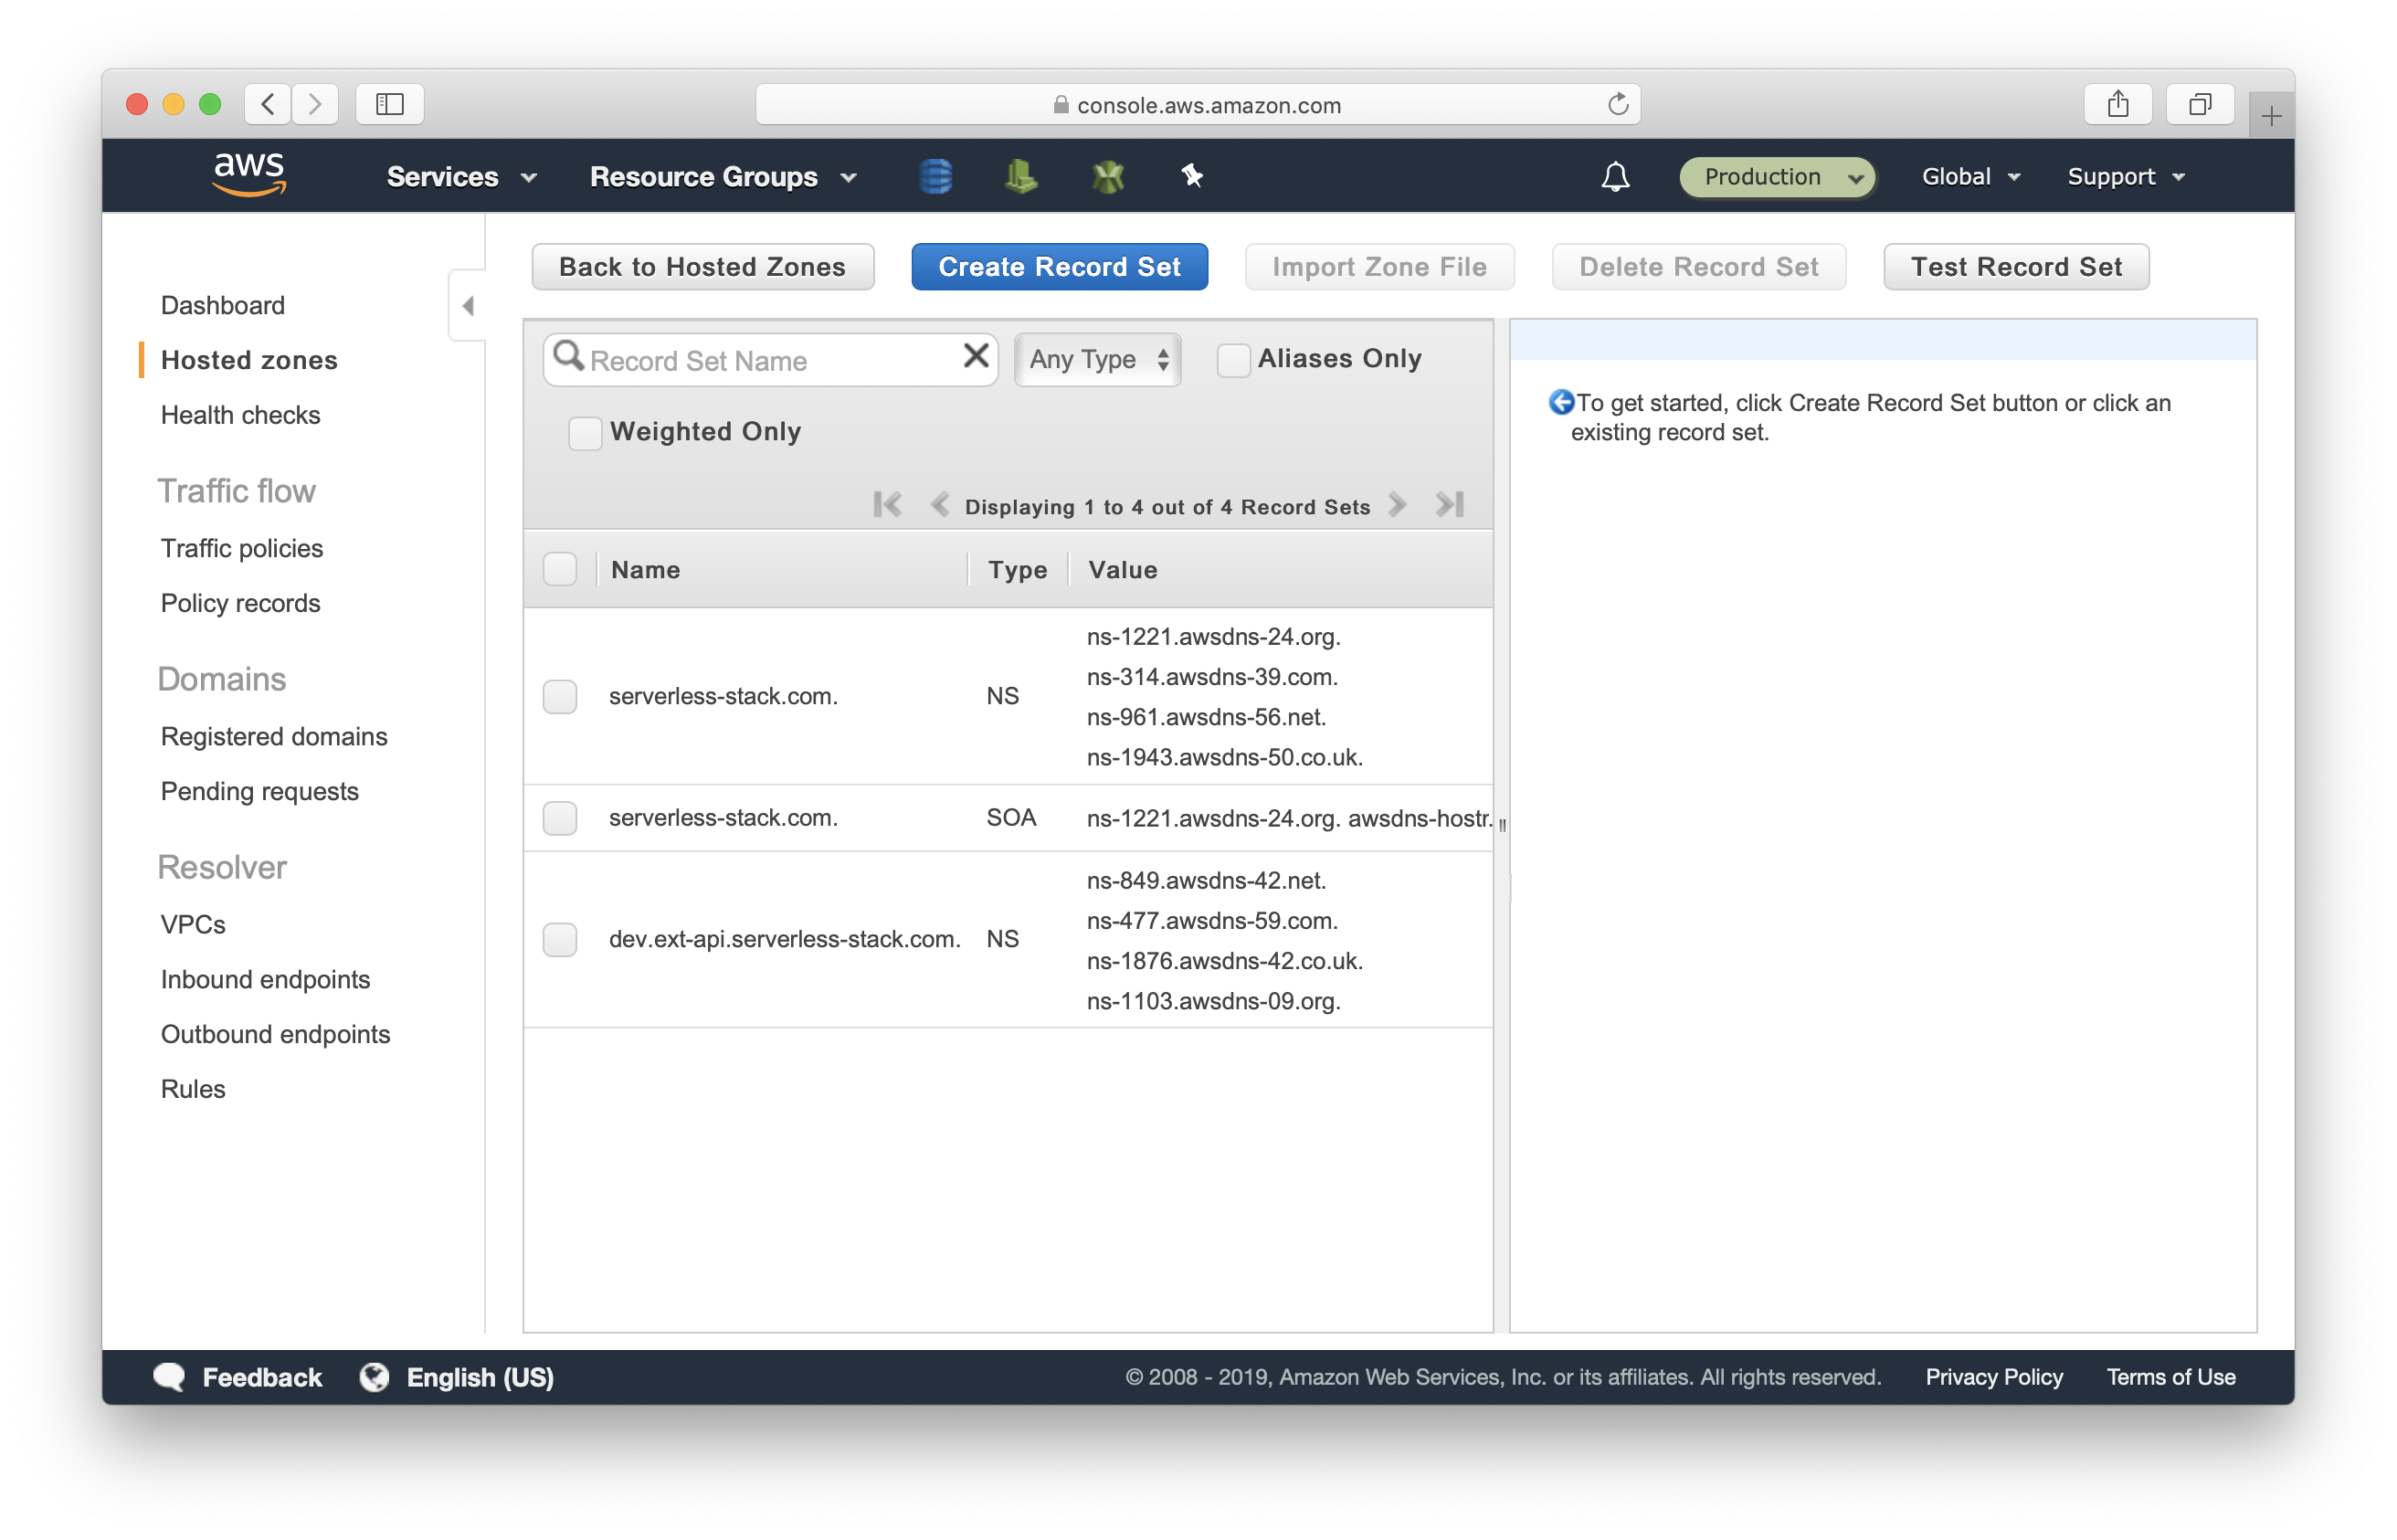
Now we’ve delegated the dev.ext-api subdomain of serverless-stack.com to our Development AWS account. You can now head over to your app or to Seed and add this as a custom domain for the dev stage.
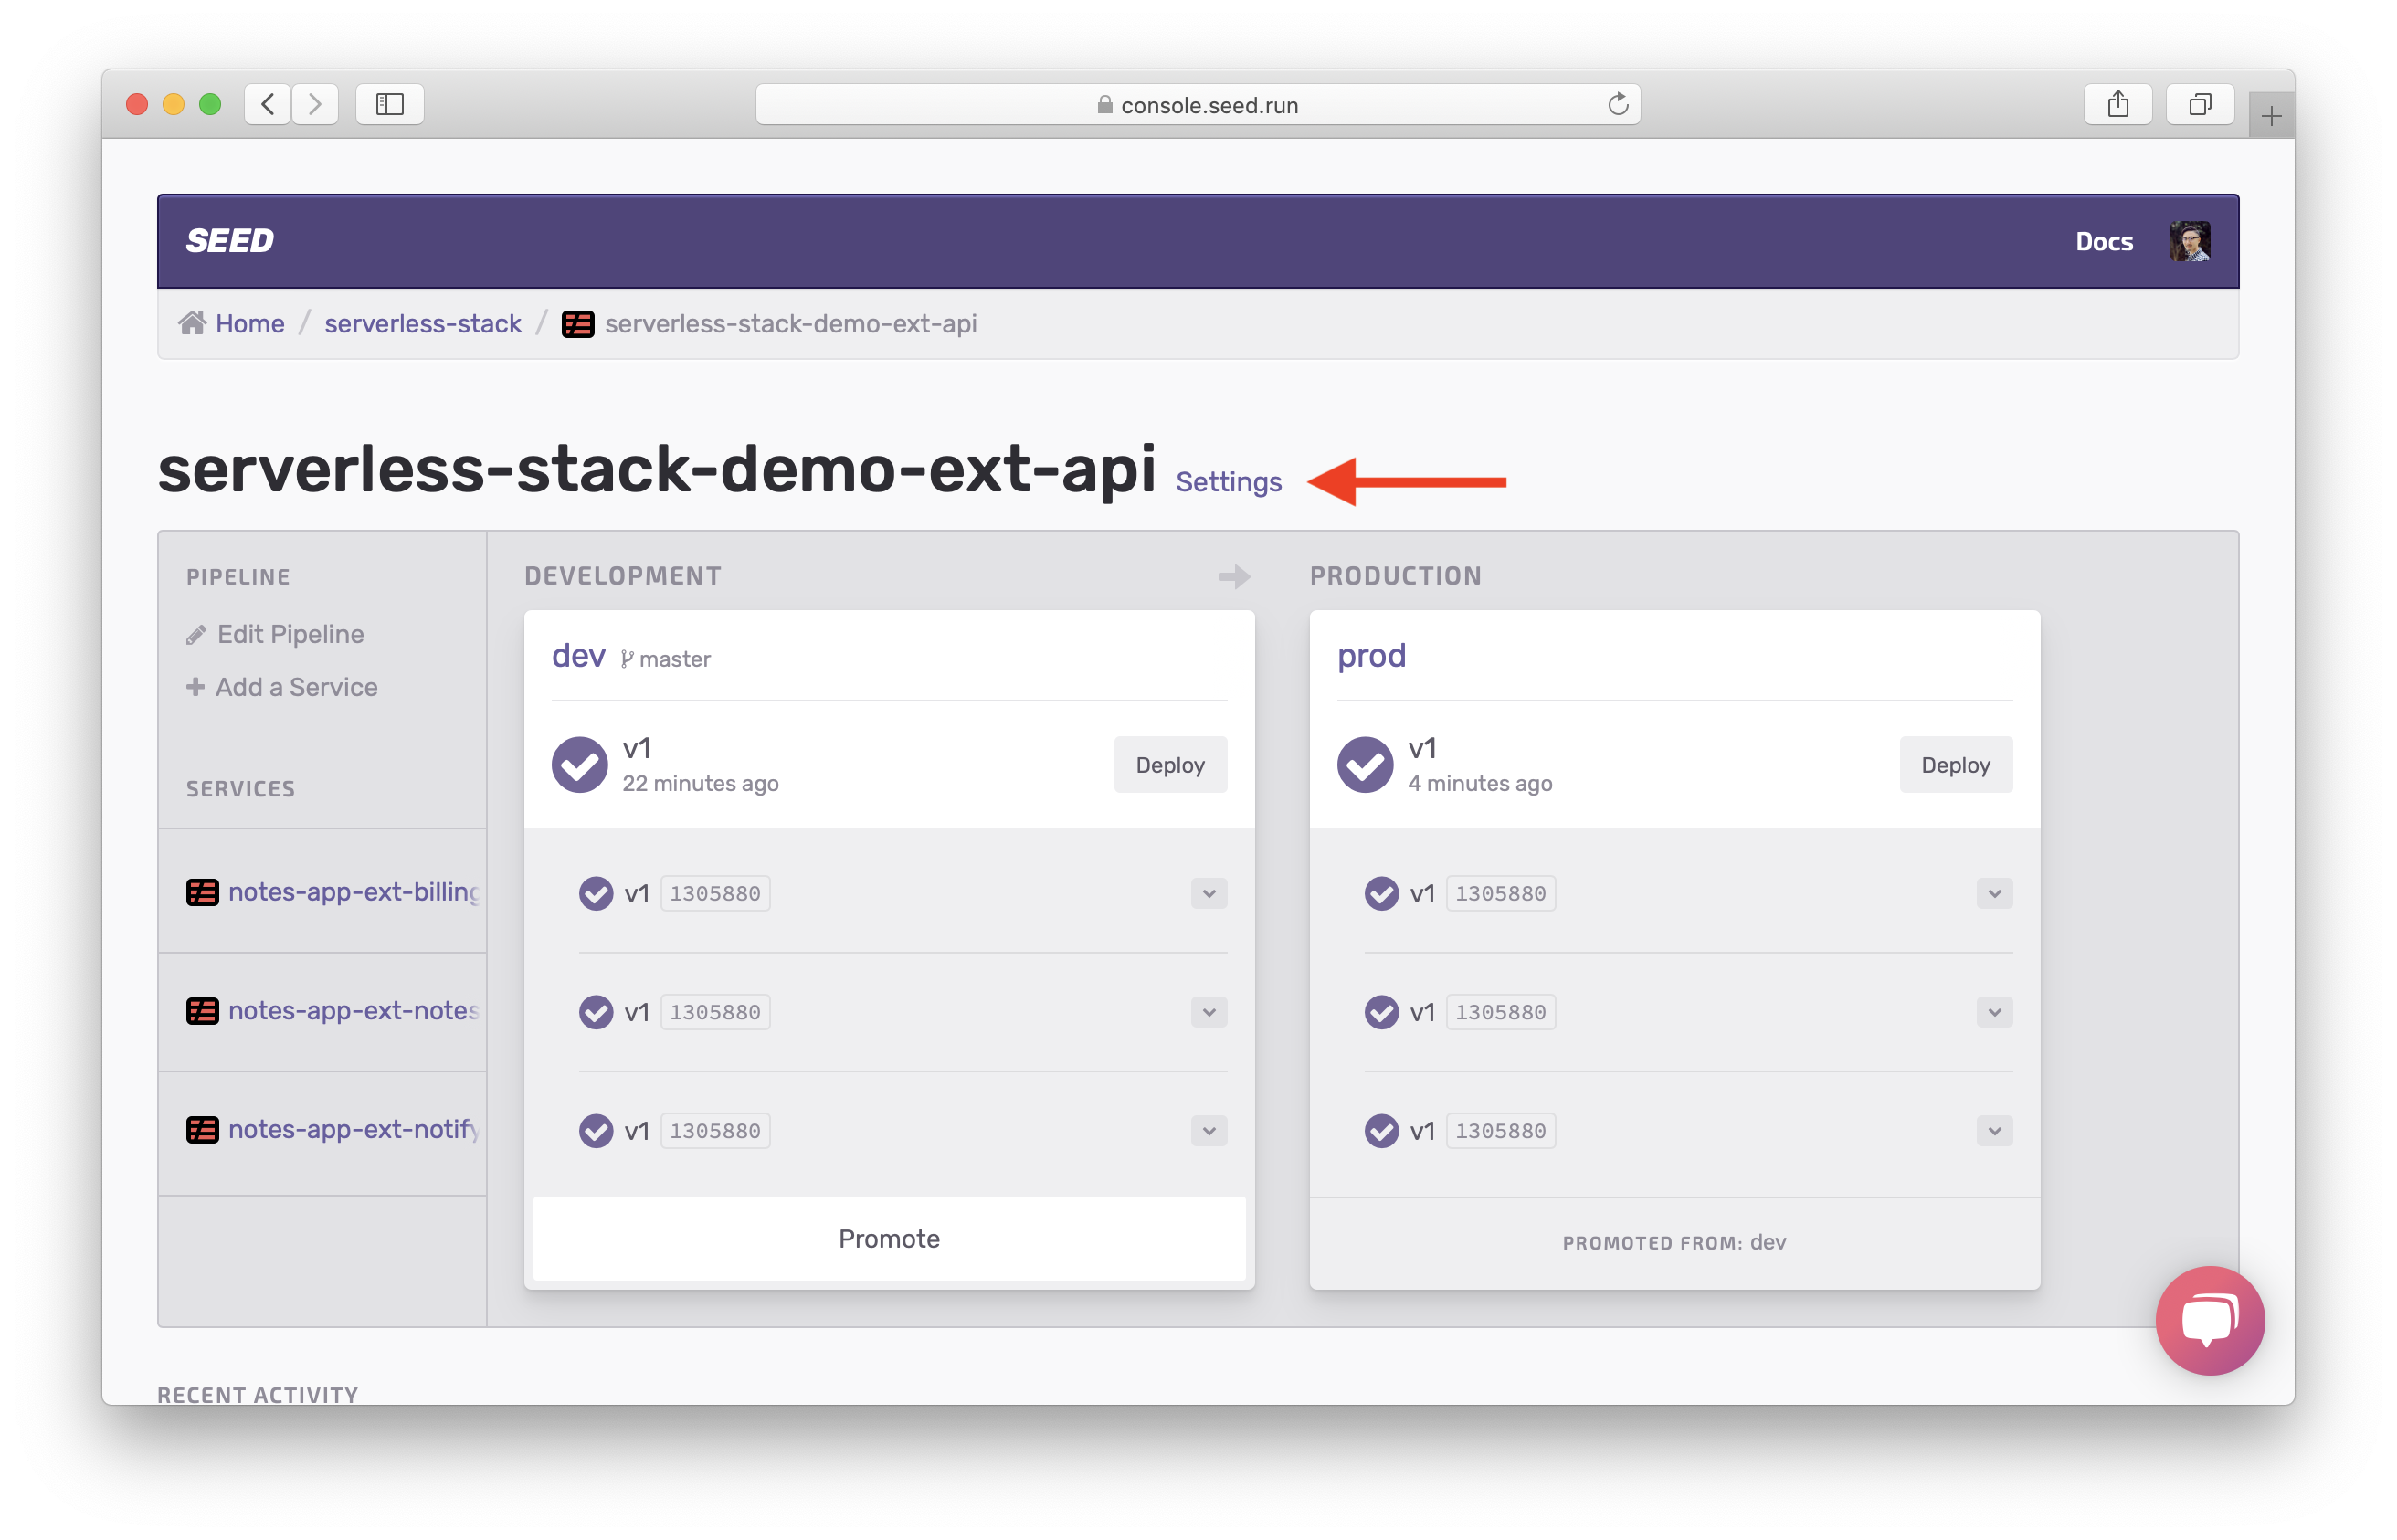
Go to the API app, and head into app settings.
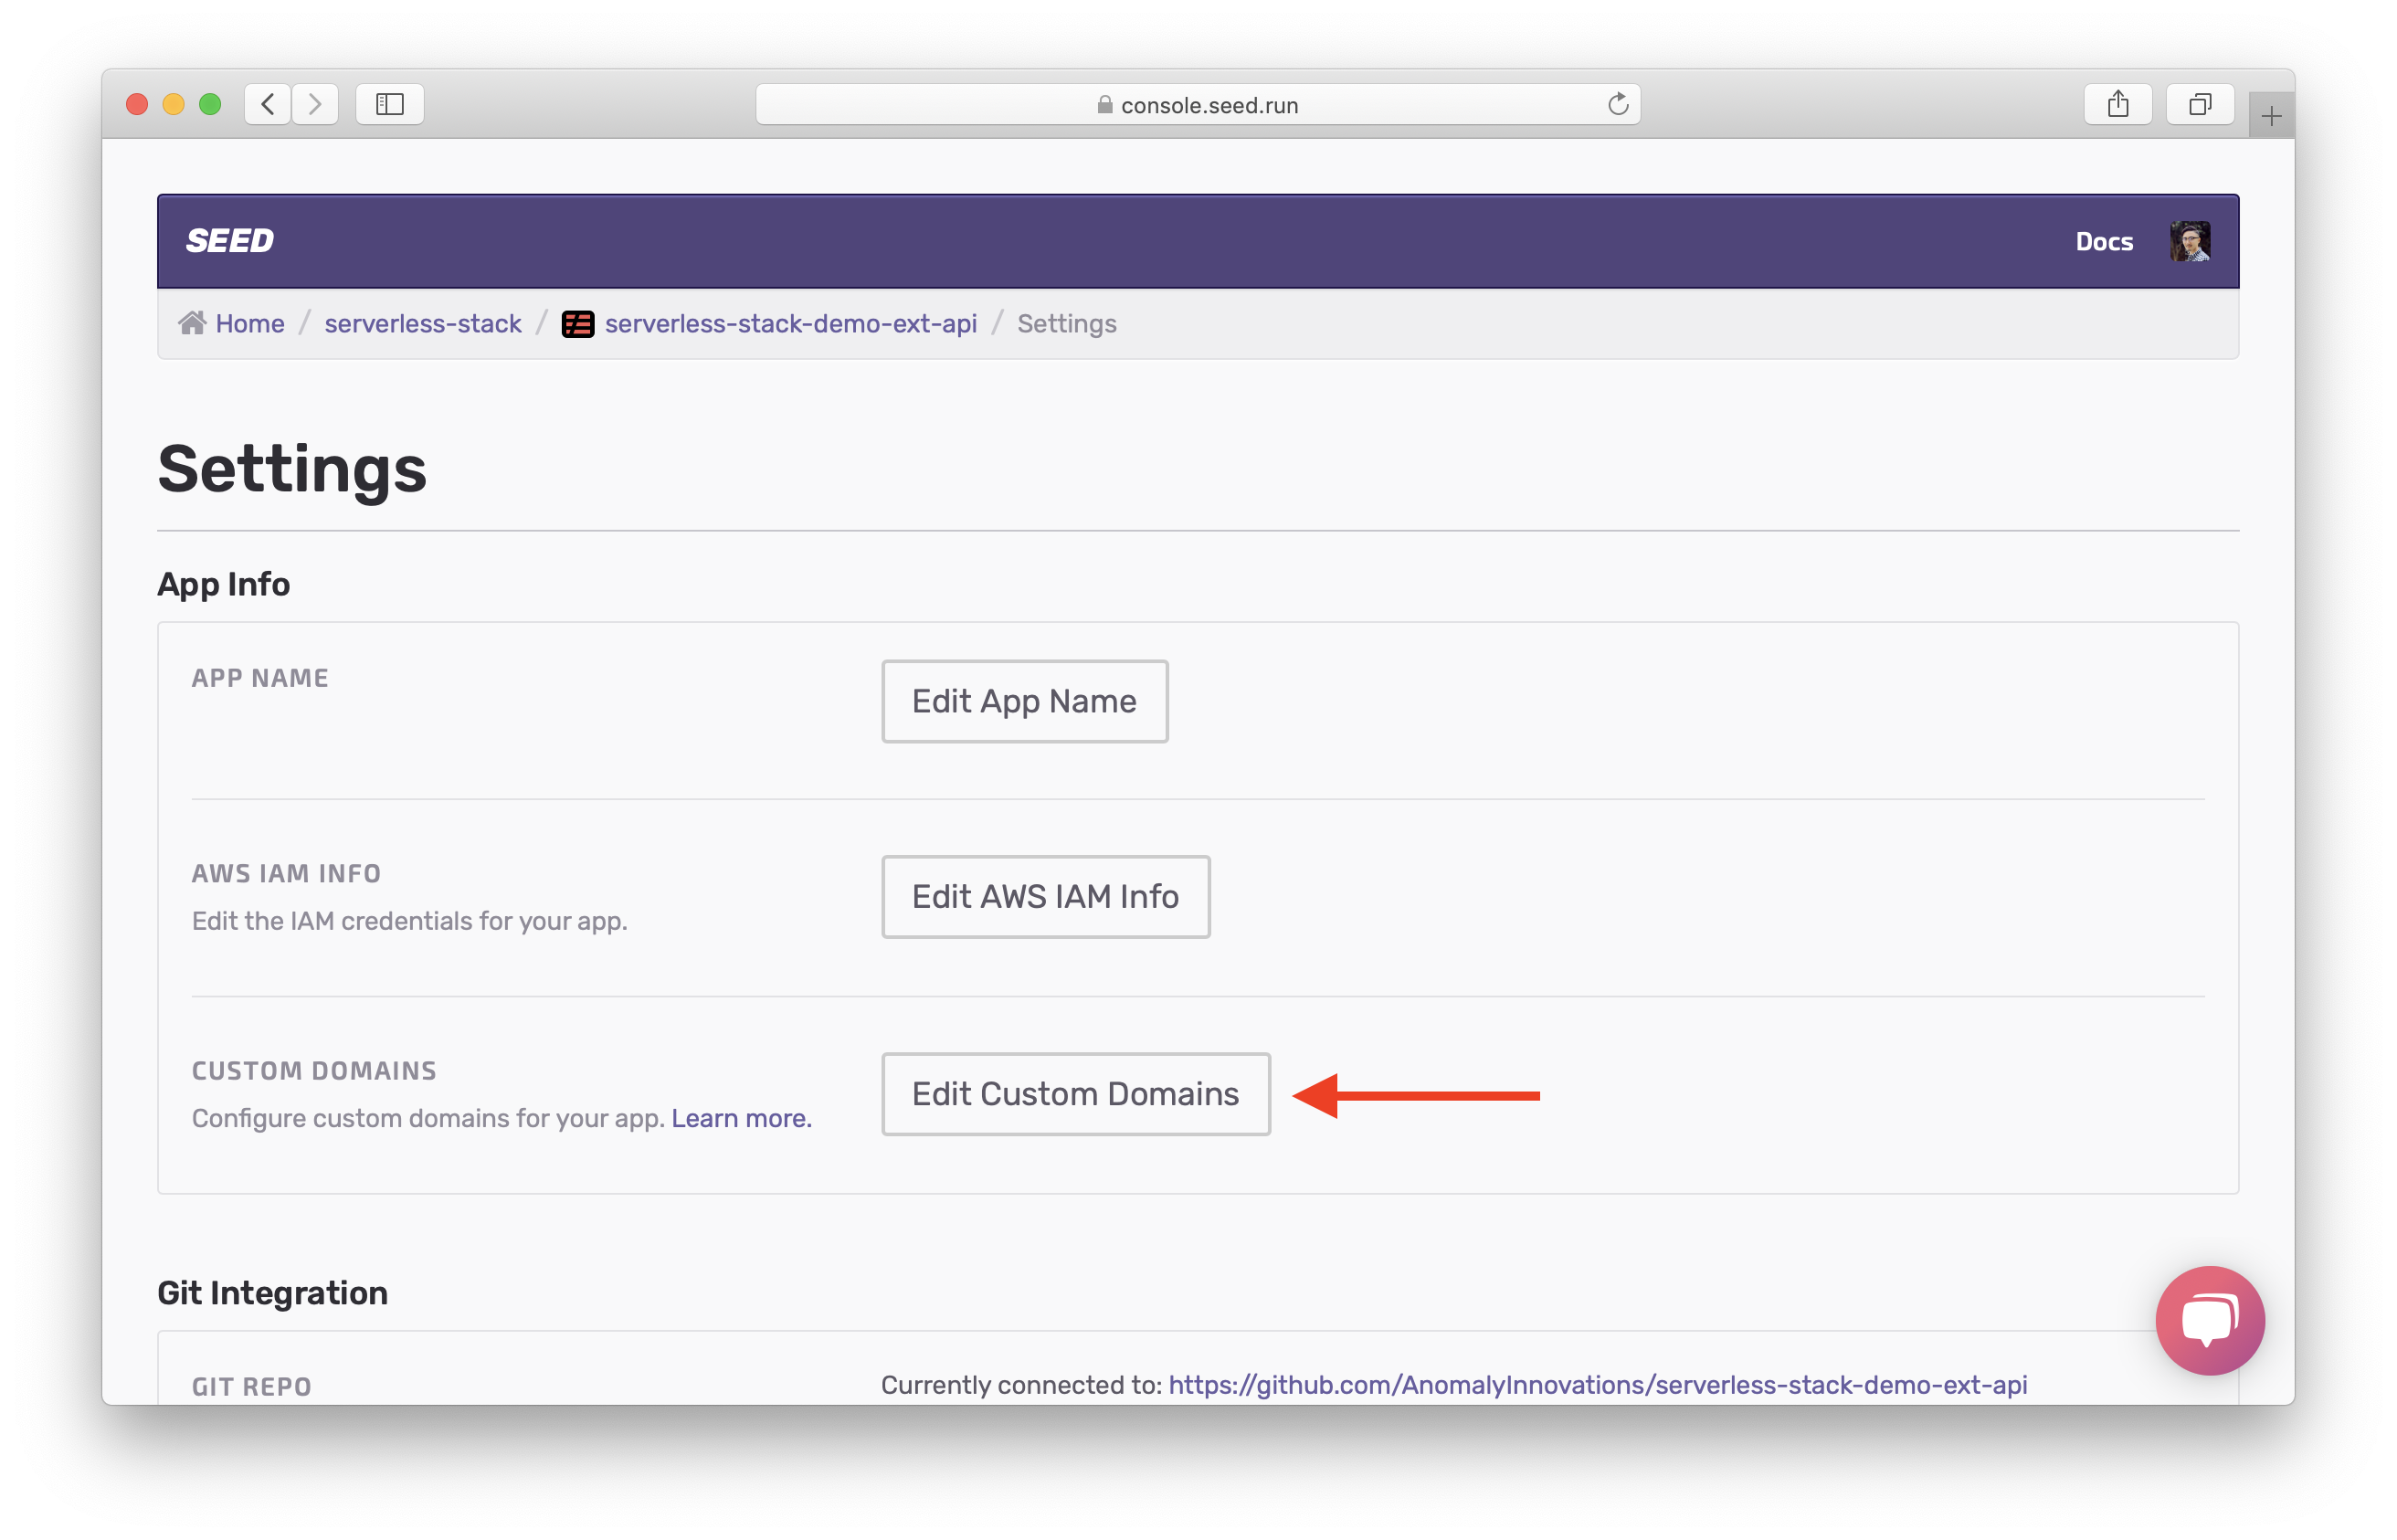
Select Edit Custom Domains.
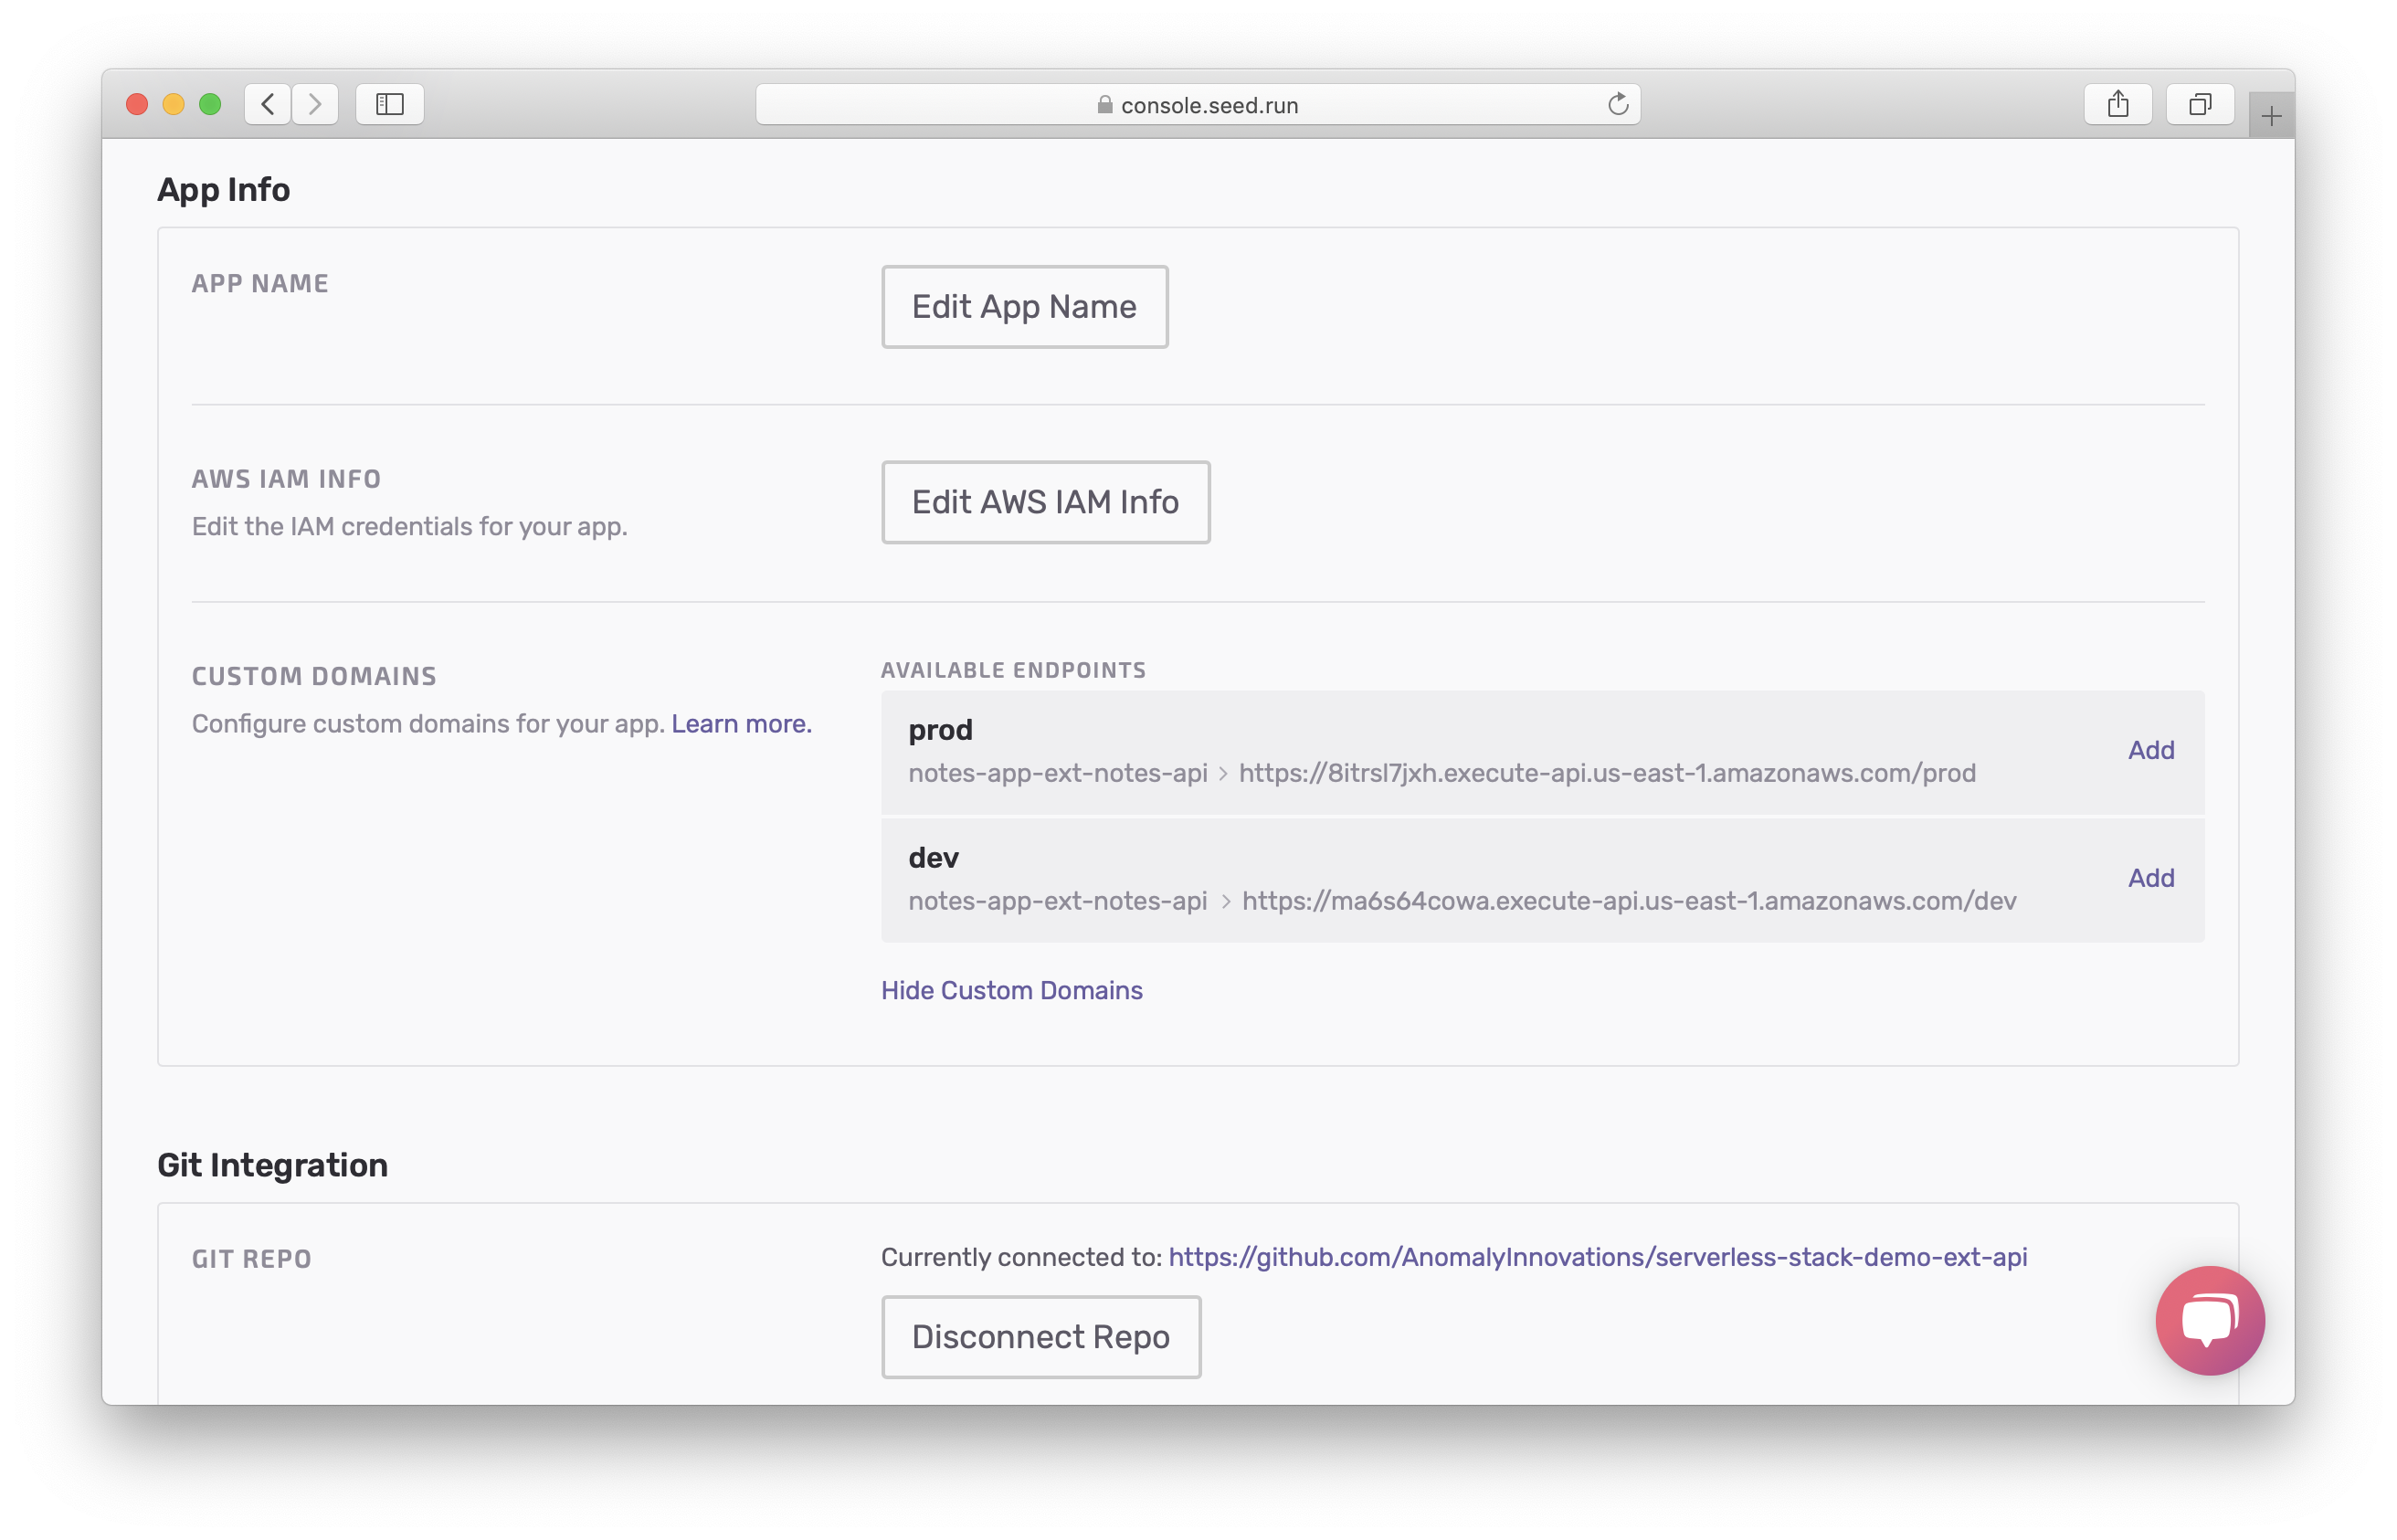
Both dev and prod endpoints are listed. Select Add on the prod endpoint.
Select the domain serverless-stack.com and enter the subdomain ext-api. Then select Add Custom Domain.
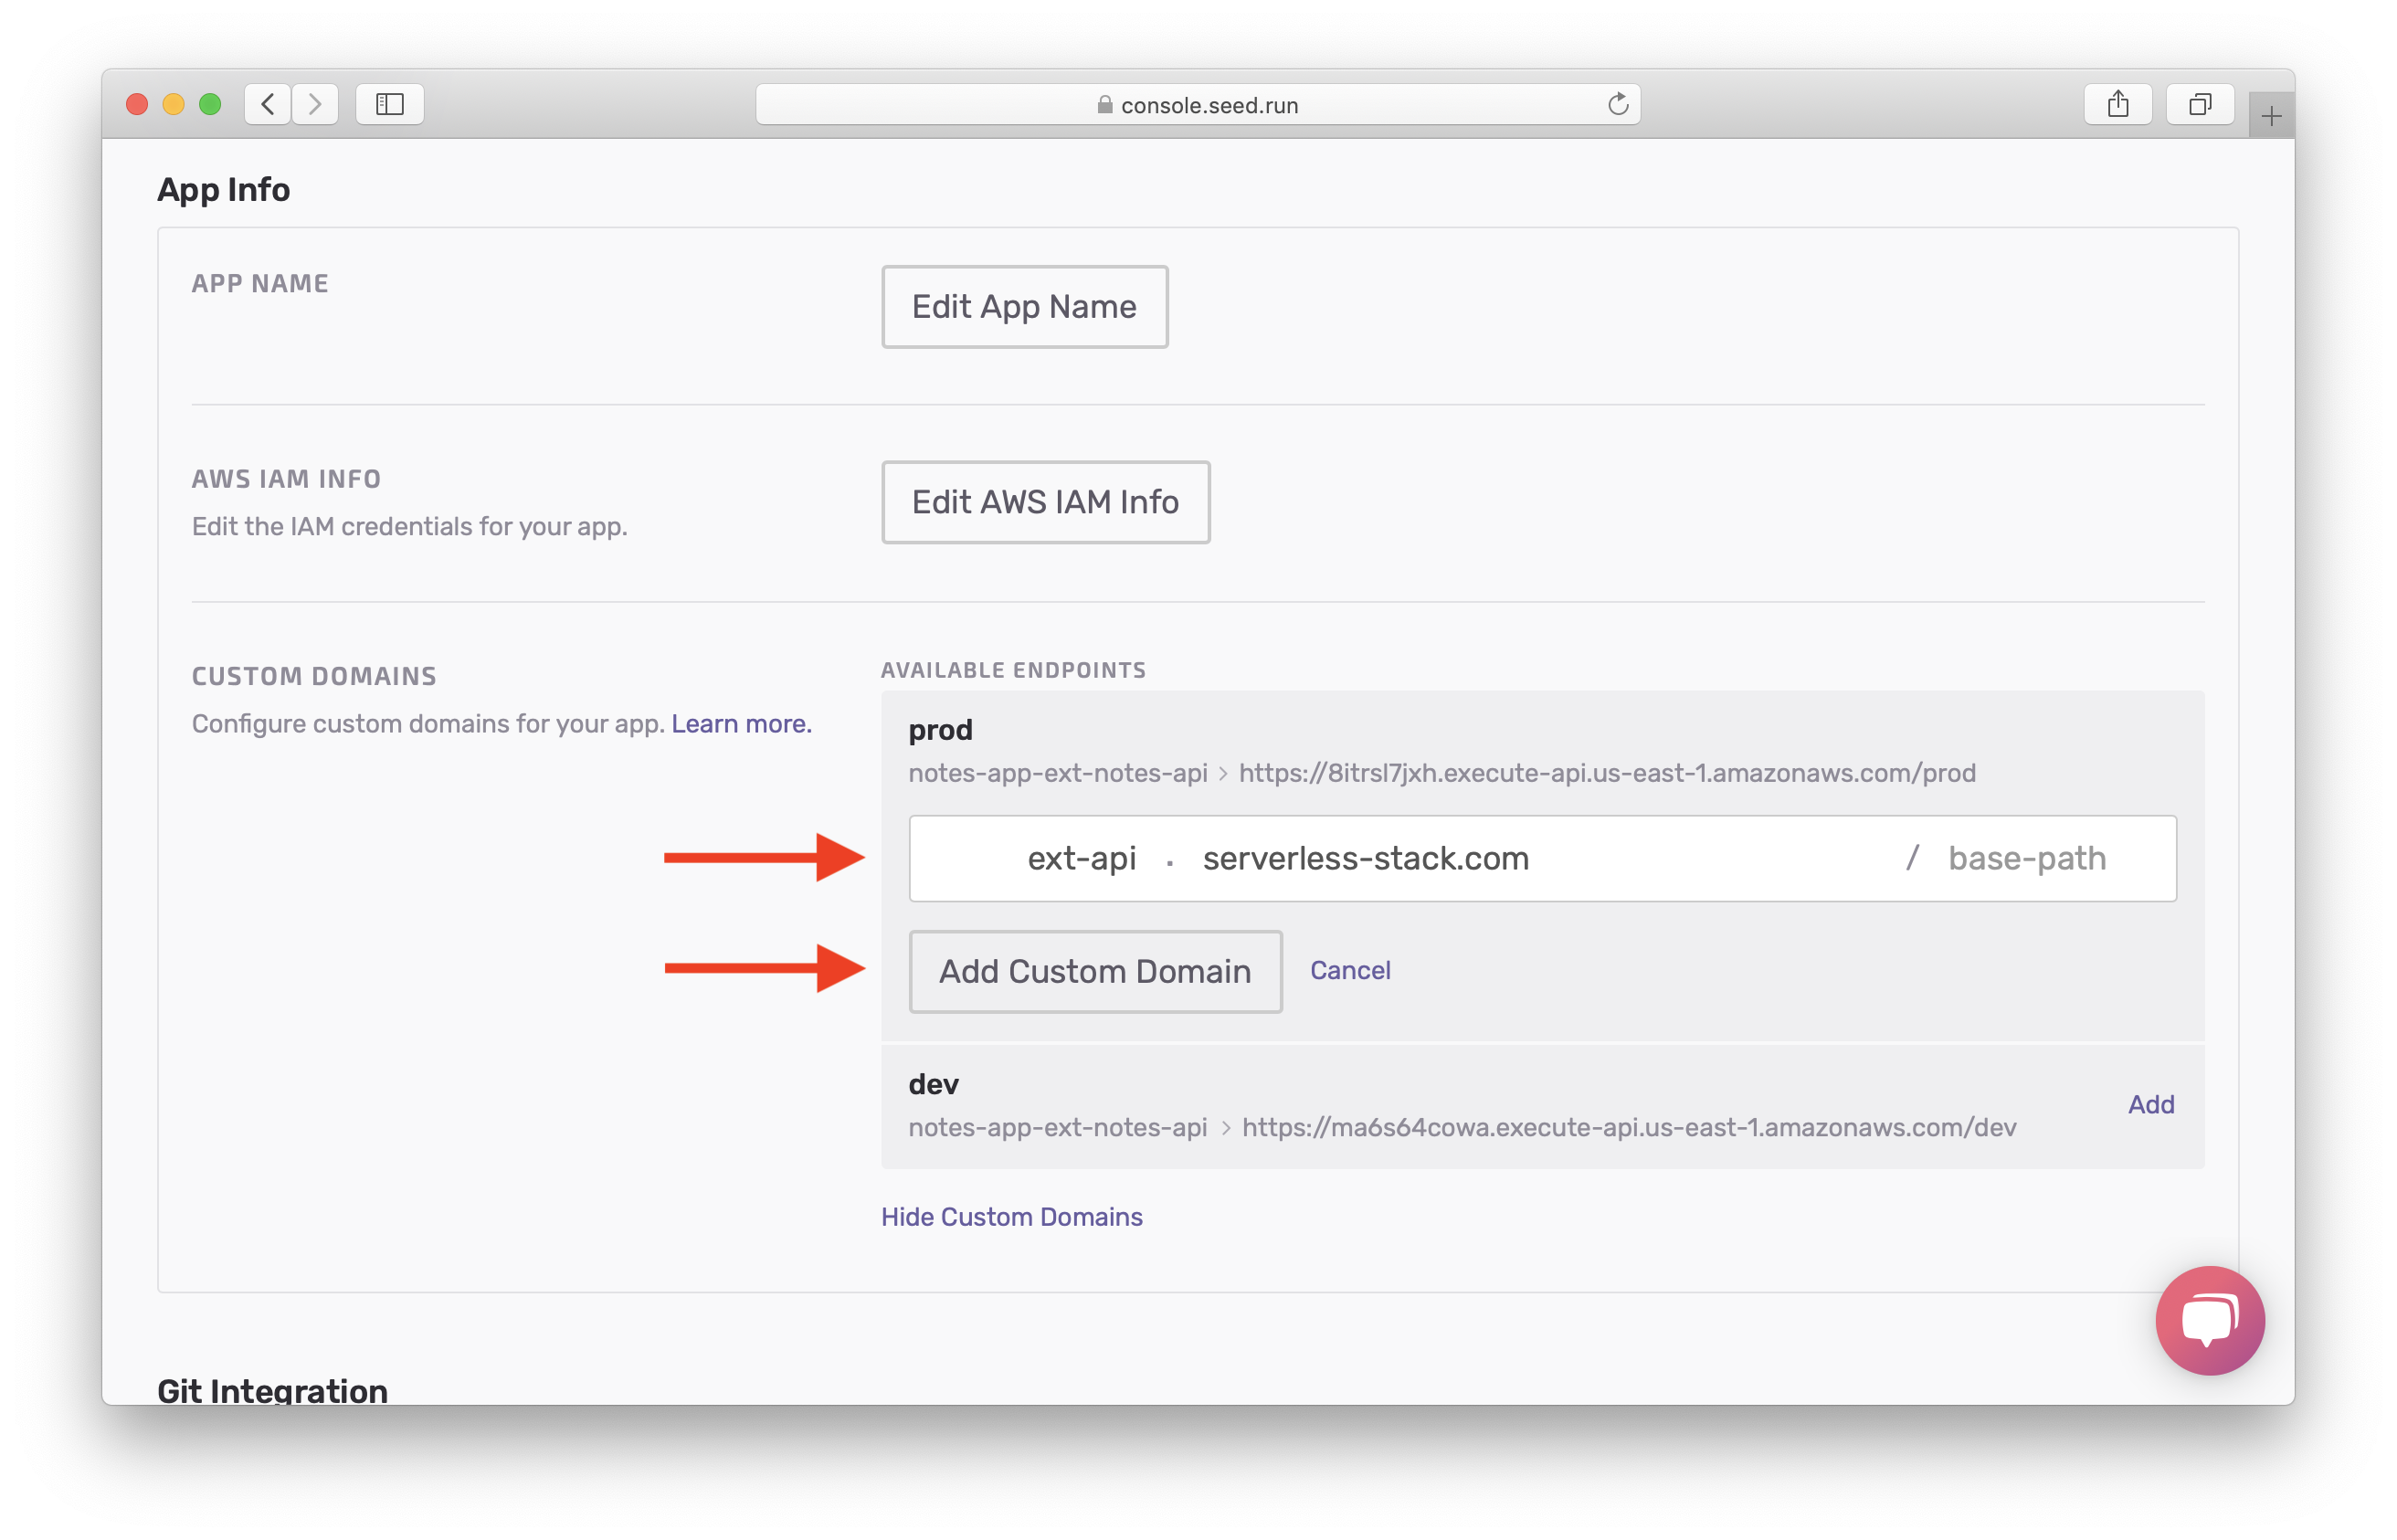
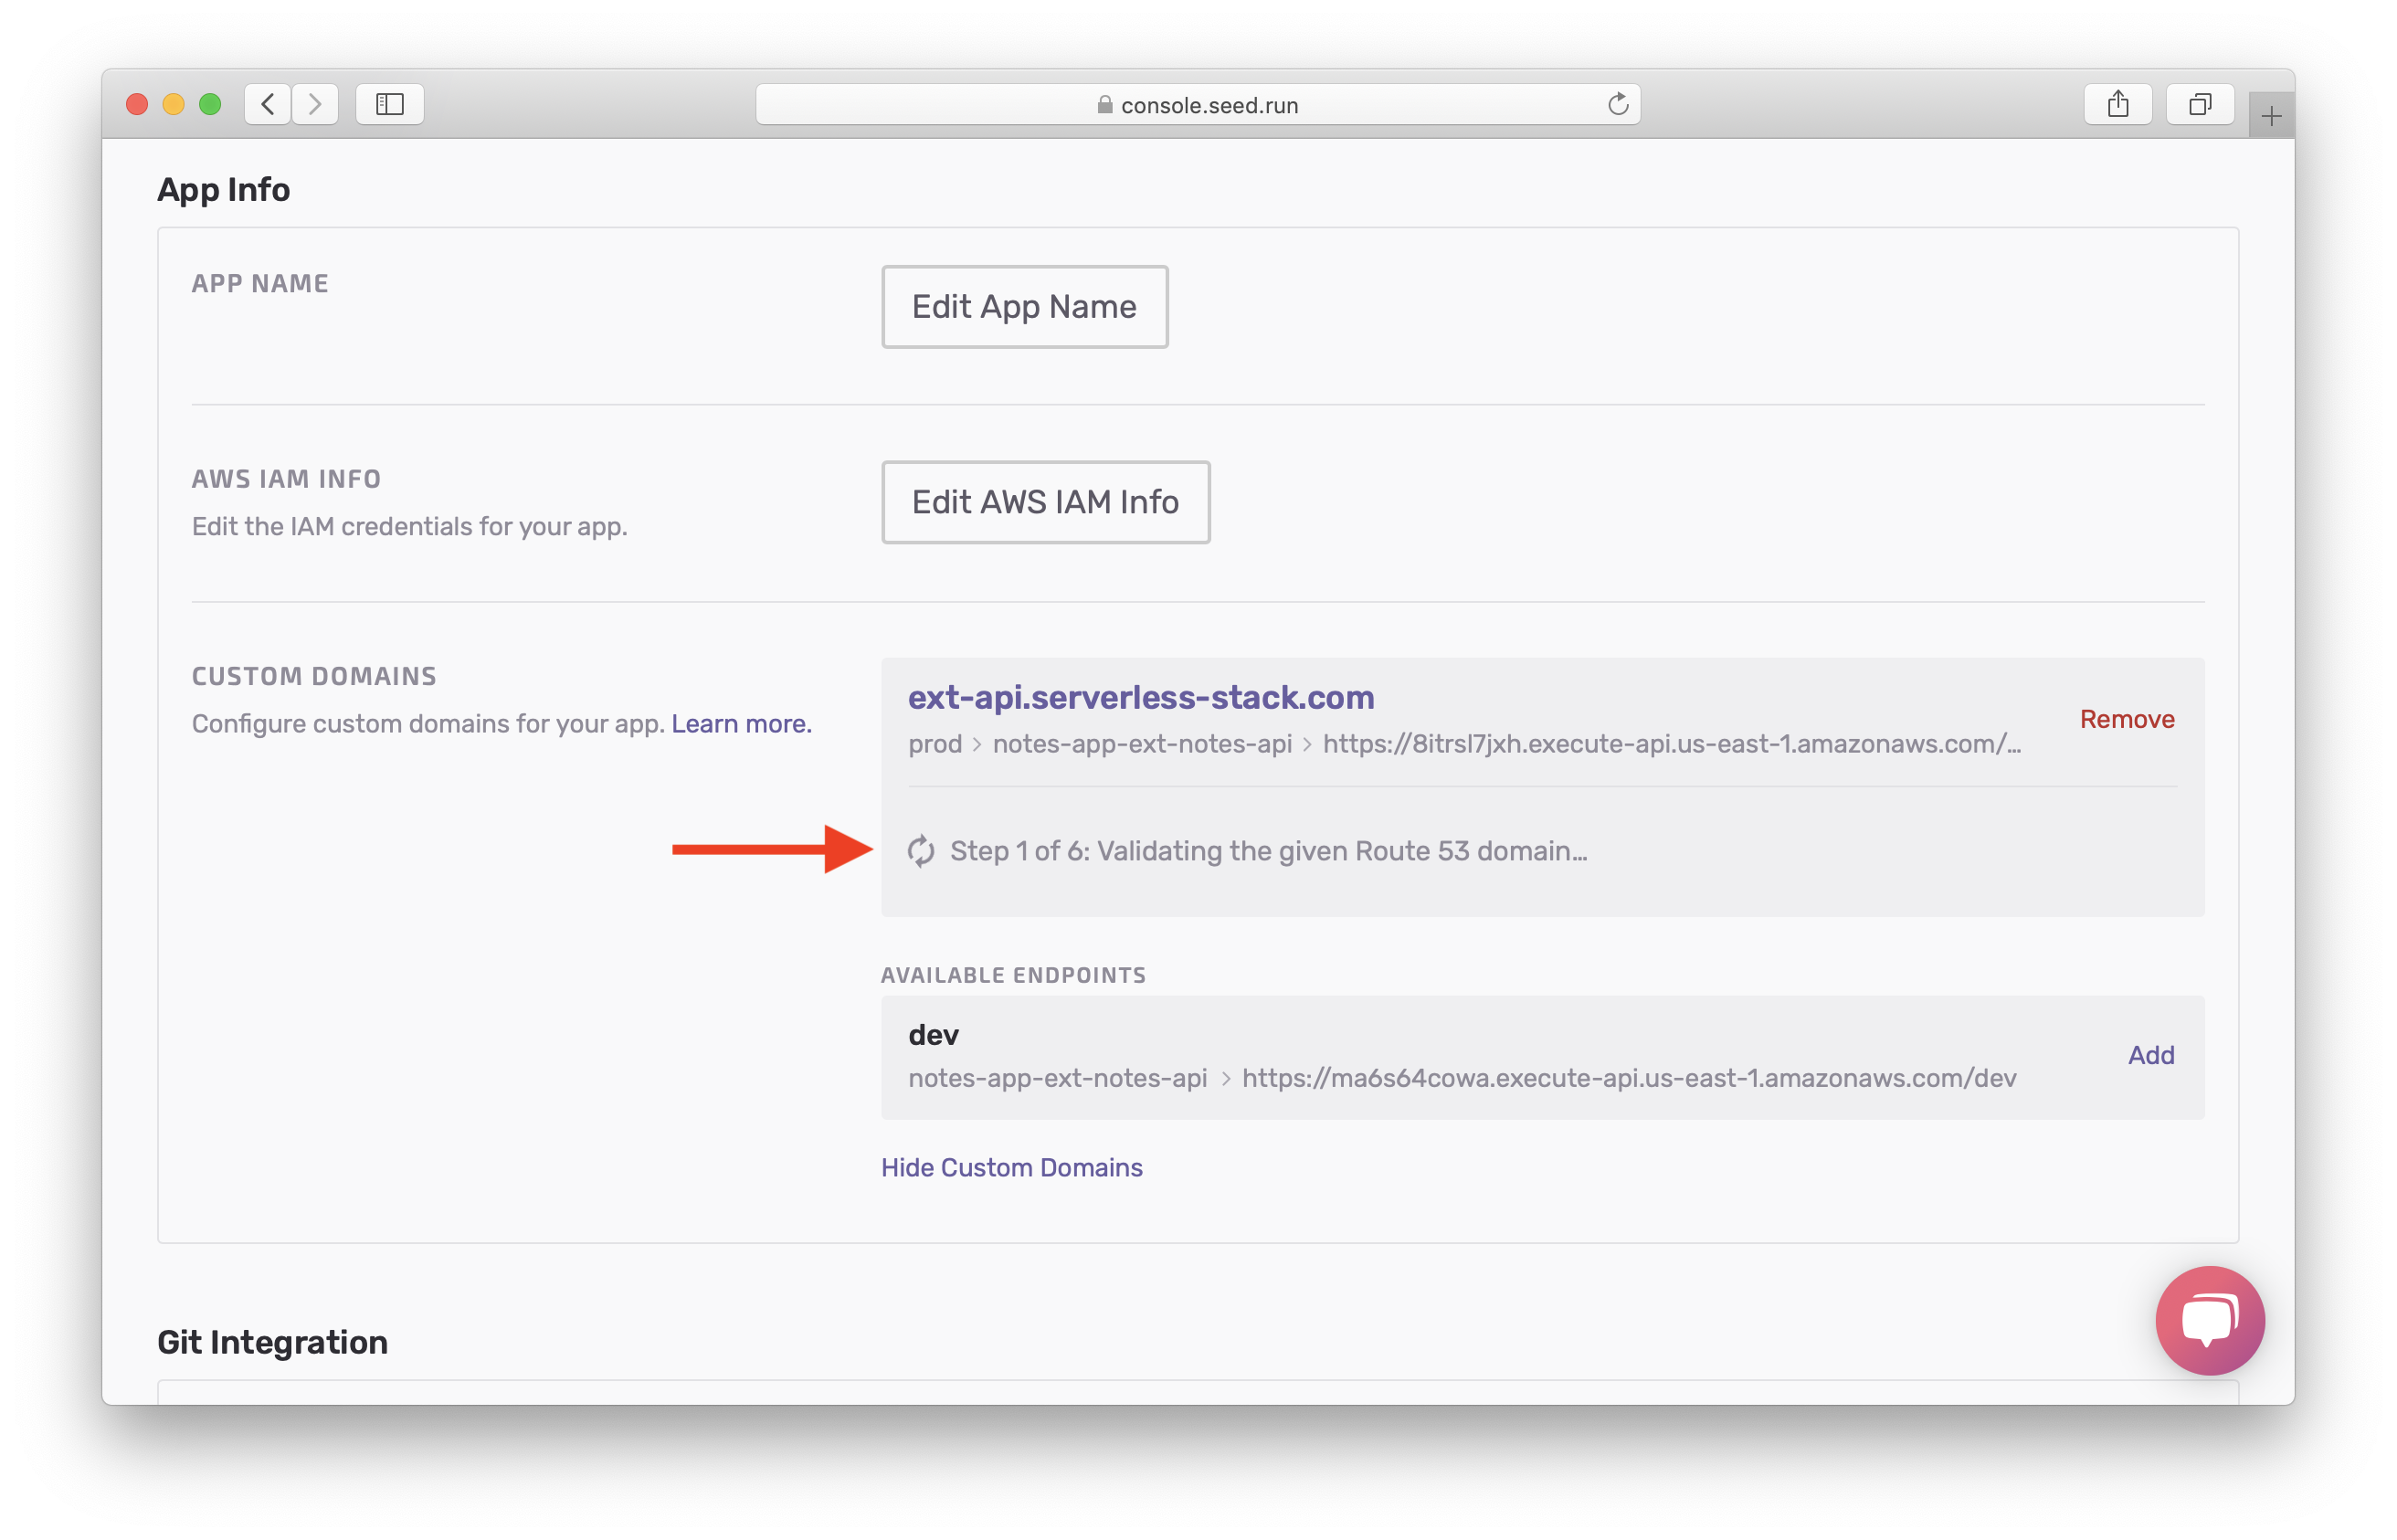
The creation process will go through a couple of phases of
- validating the domain is hosted on Route 53;
- creating the SSL certificate; and
- creating the API Gateway custom domain. Some of the steps are short-lived so you might not see all of them.
The last step is update the CloudFront distribution, which can take up to 40 minutes. You will be waiting on this step.
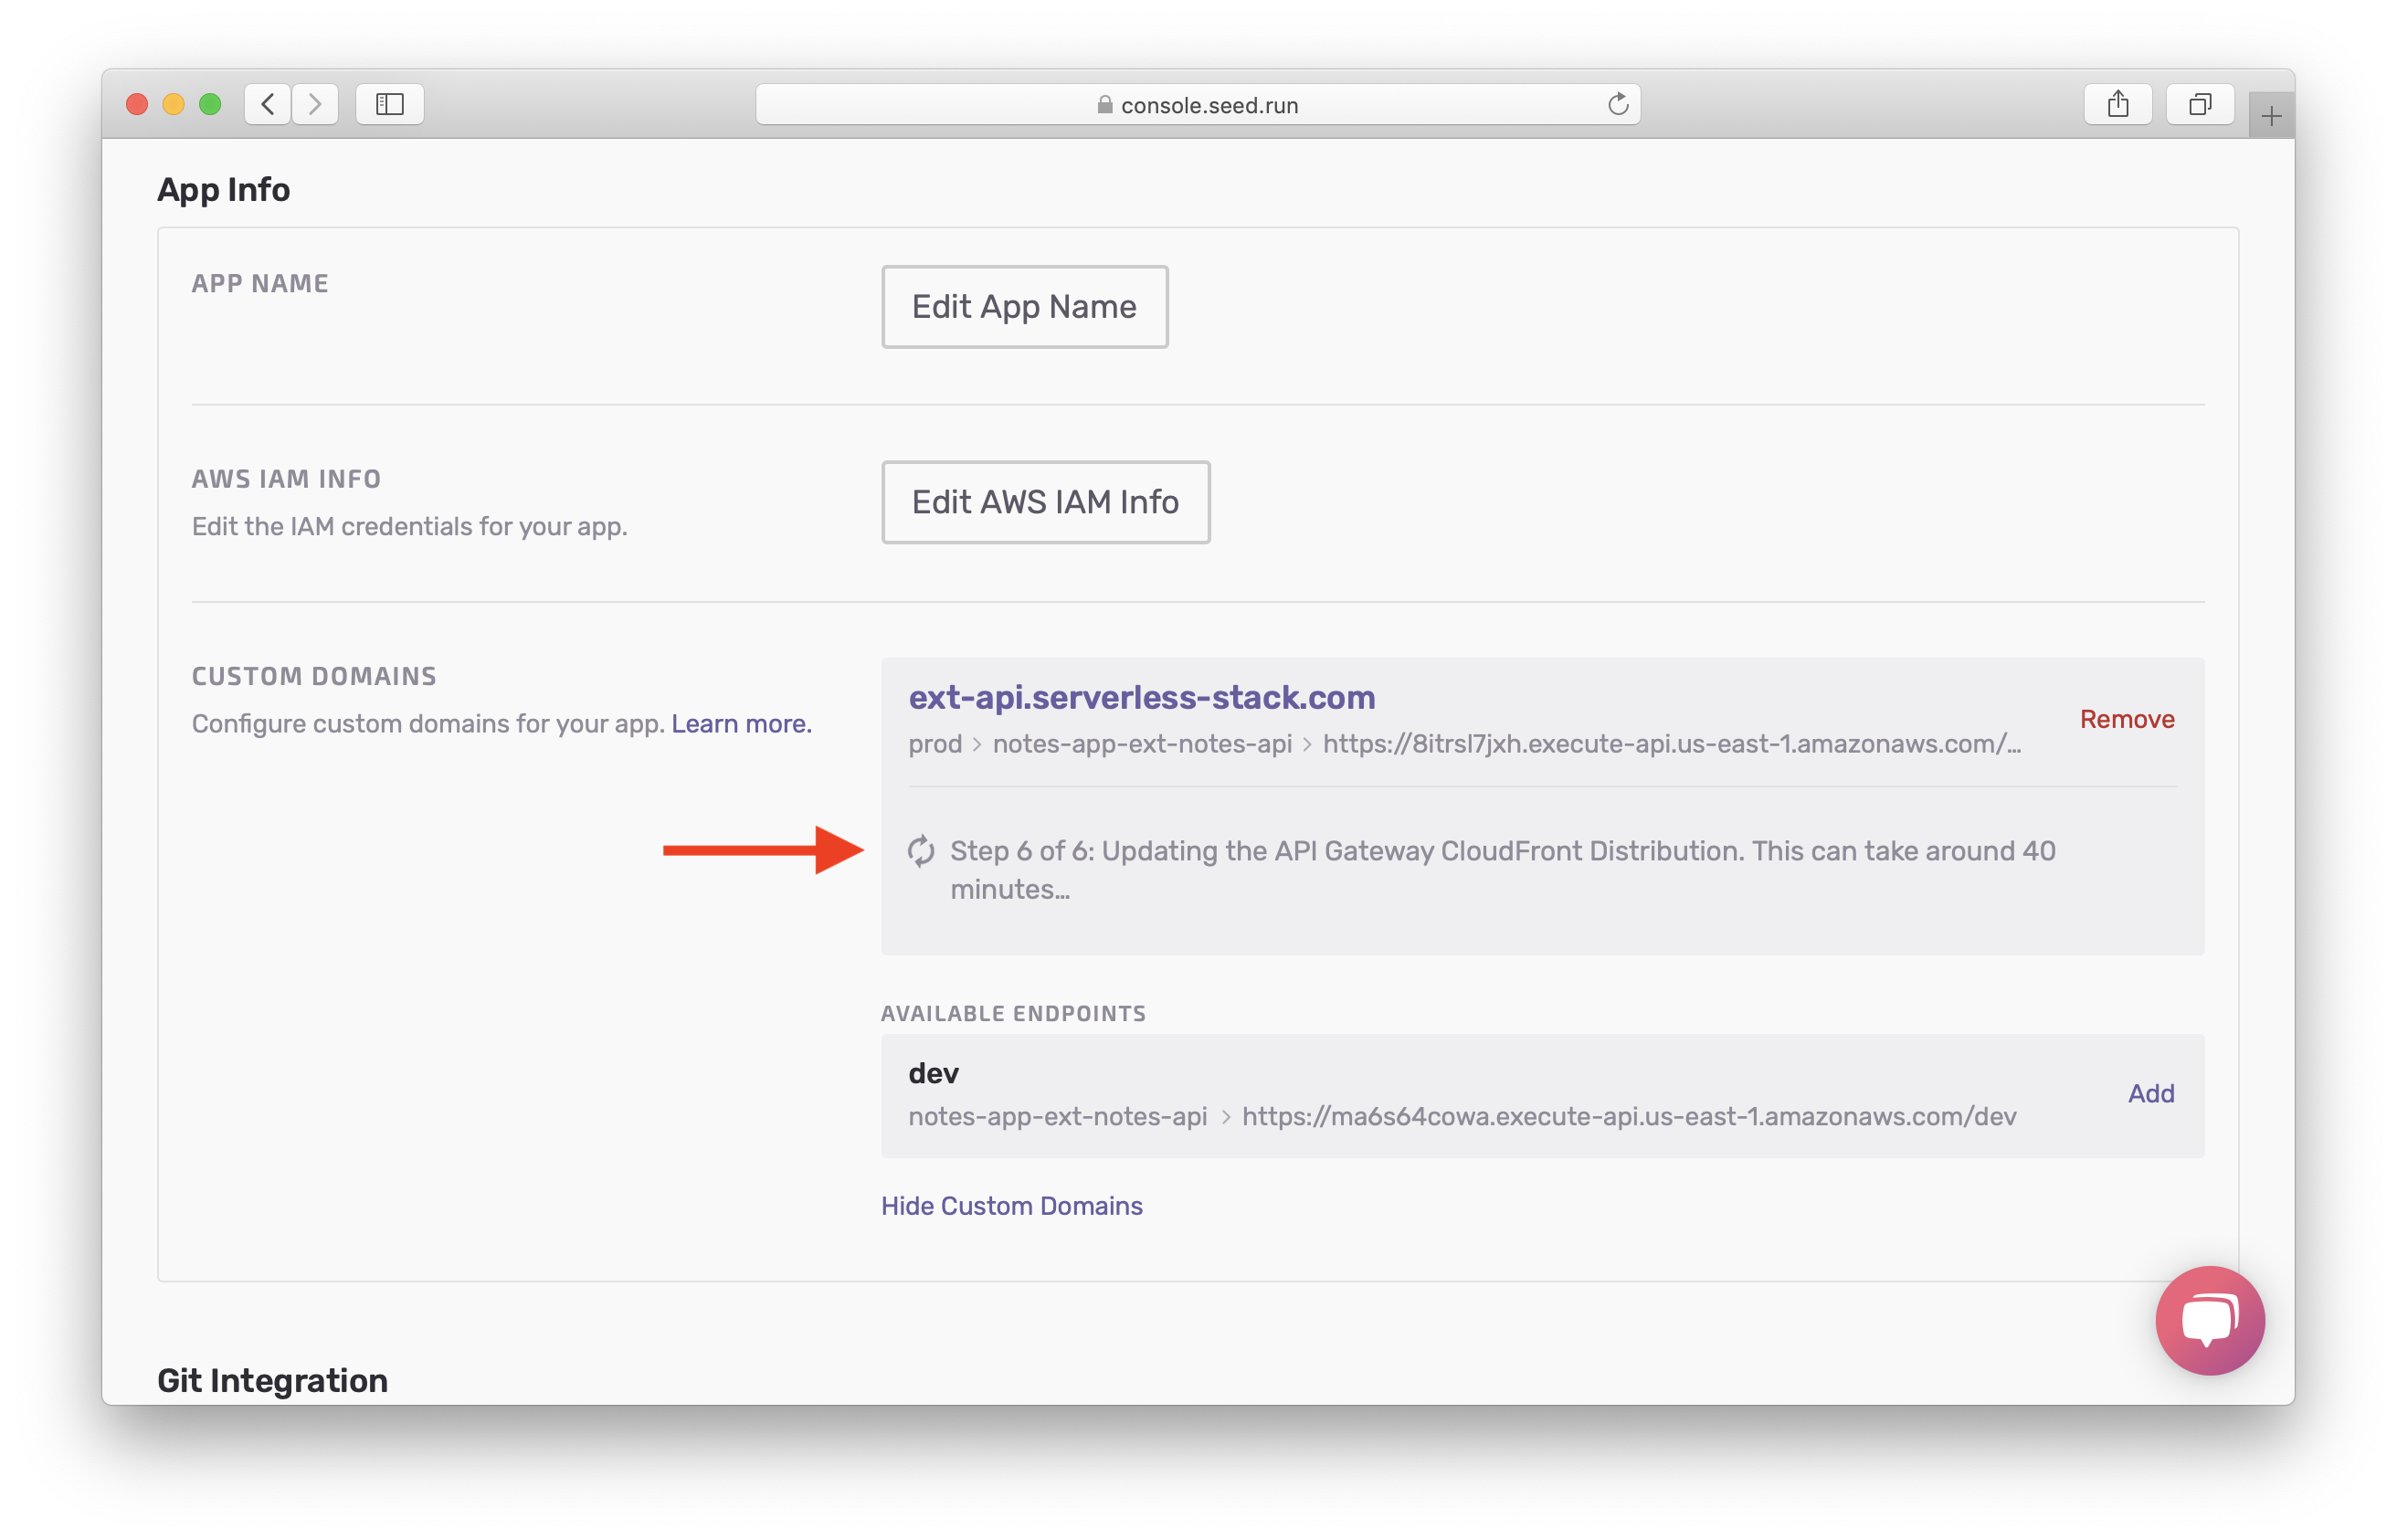
While we wait, let’s setup the domain for our dev api. Select Add.
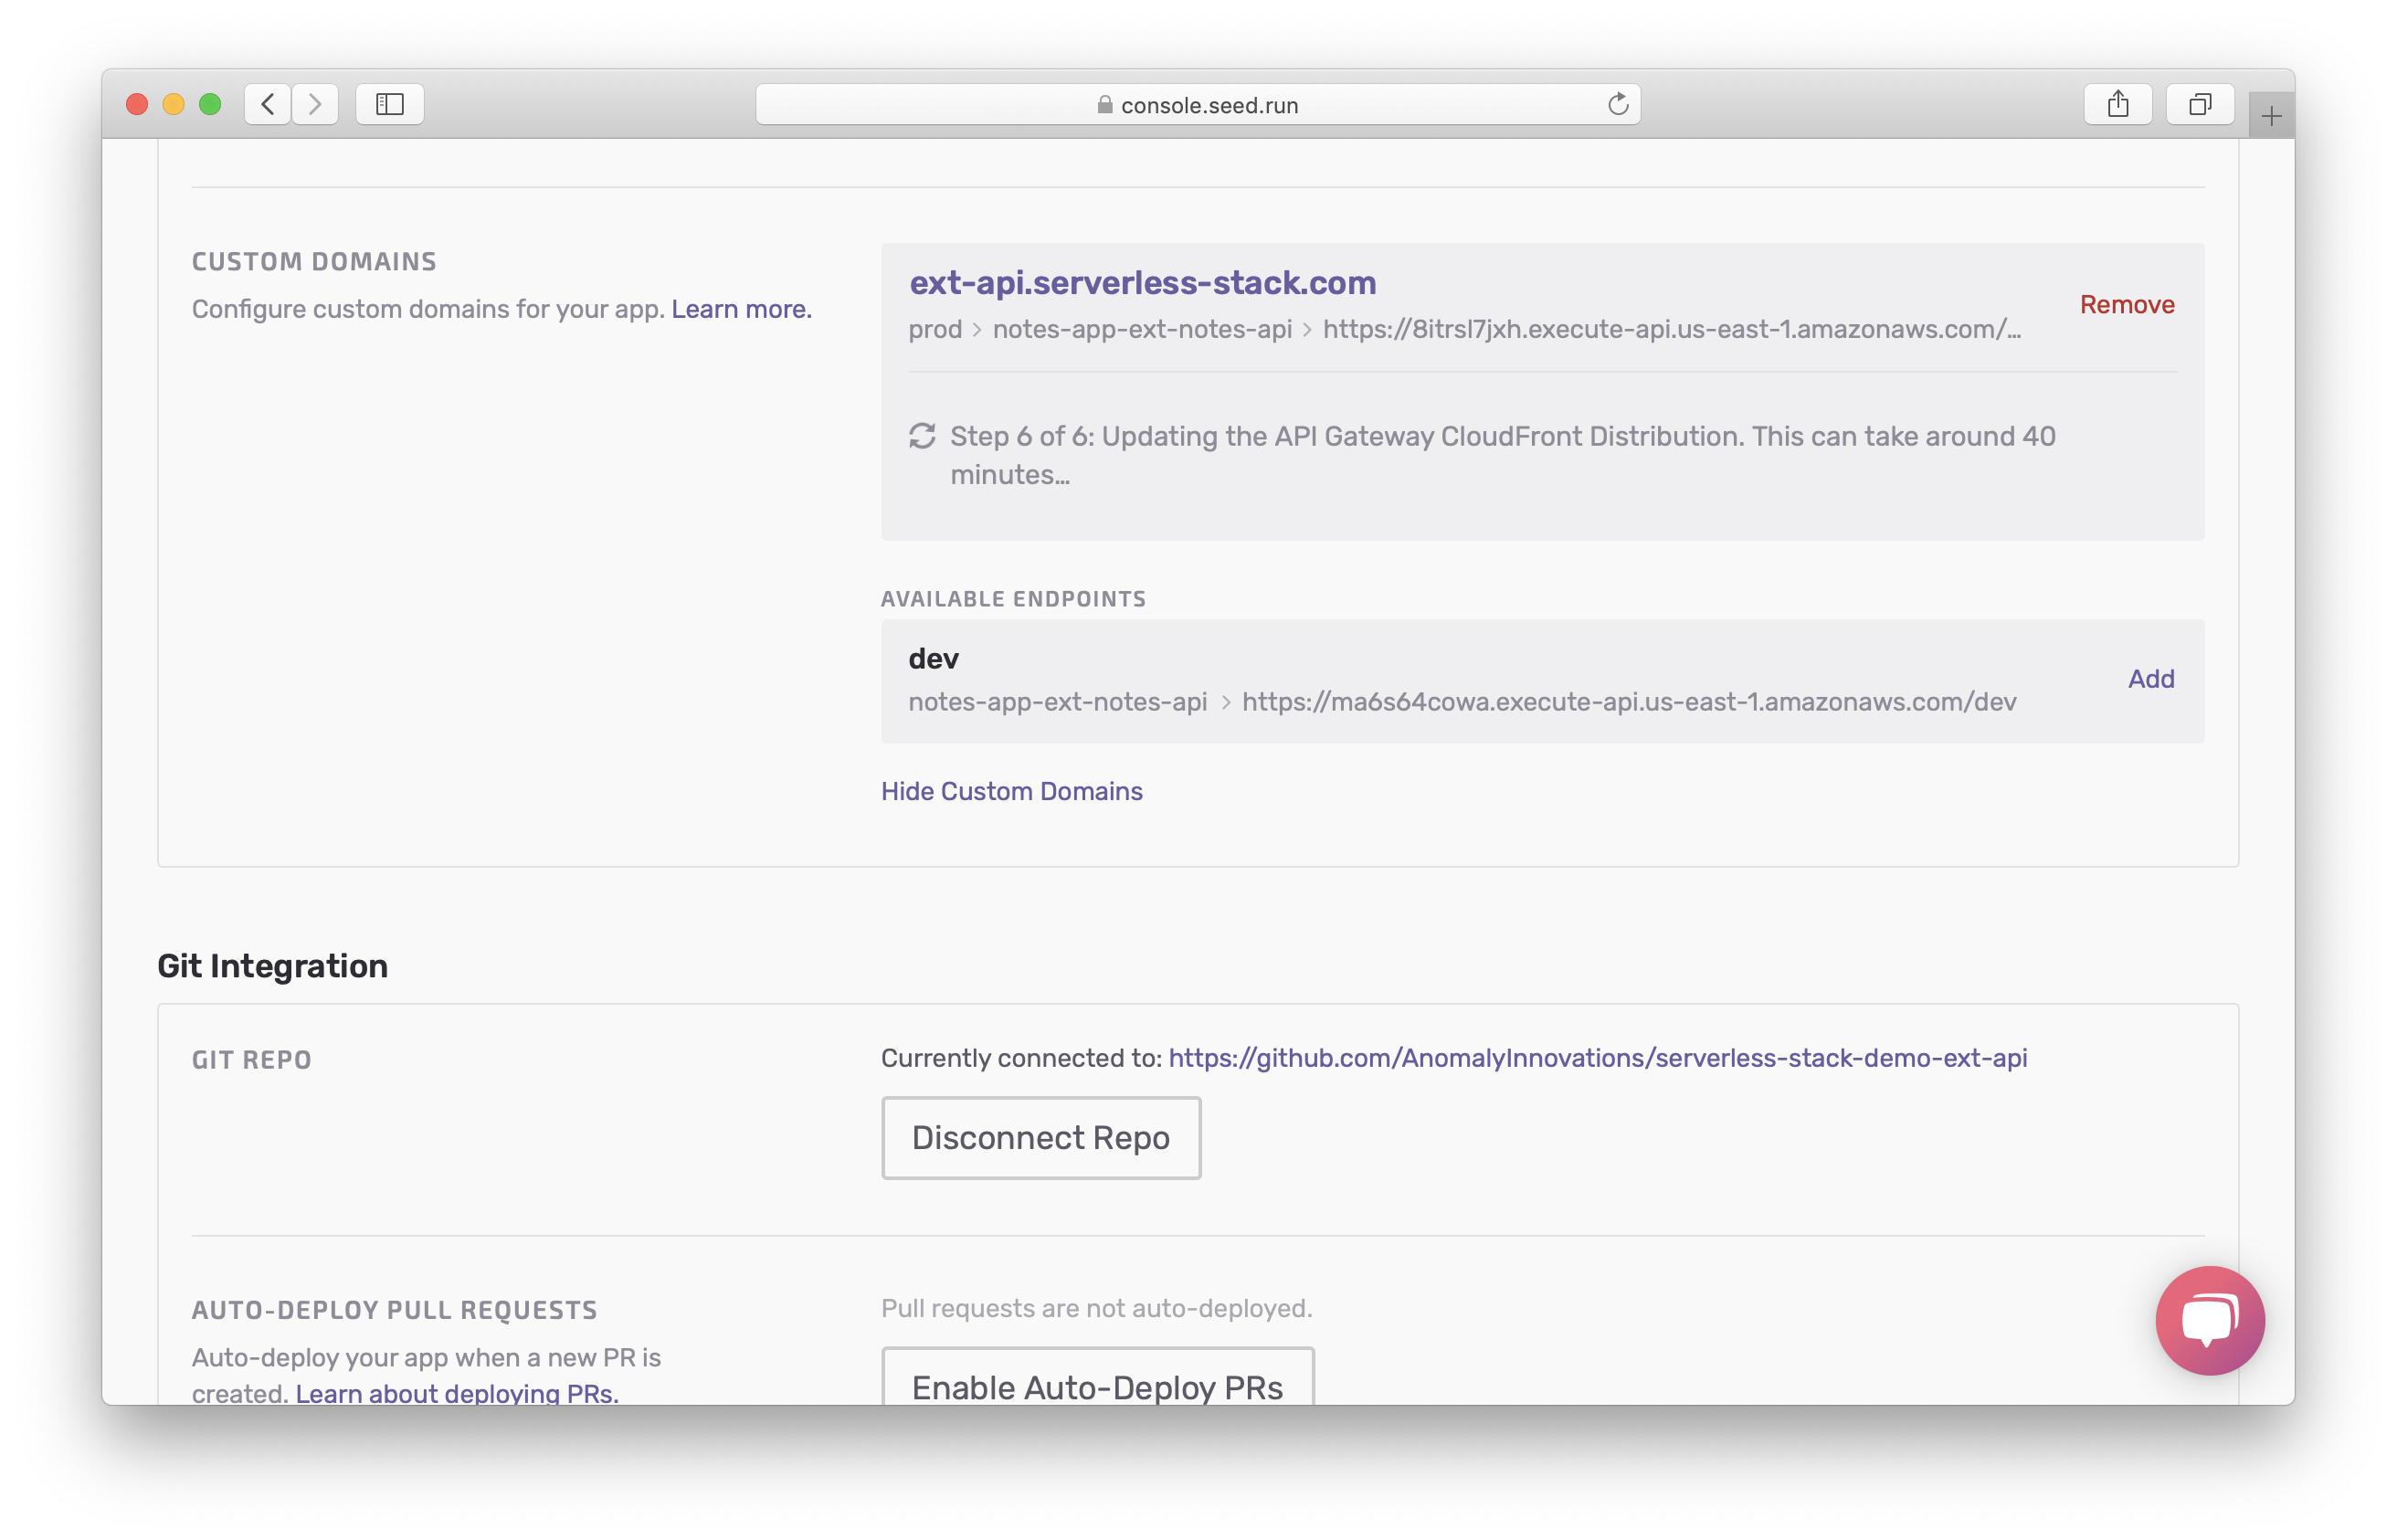
Select the domain dev.ext-api.serverless-stack.com and leave the subdomain empty. Then select Add Custom Domain.

Similarly, you will wait for up to 40 minutes.
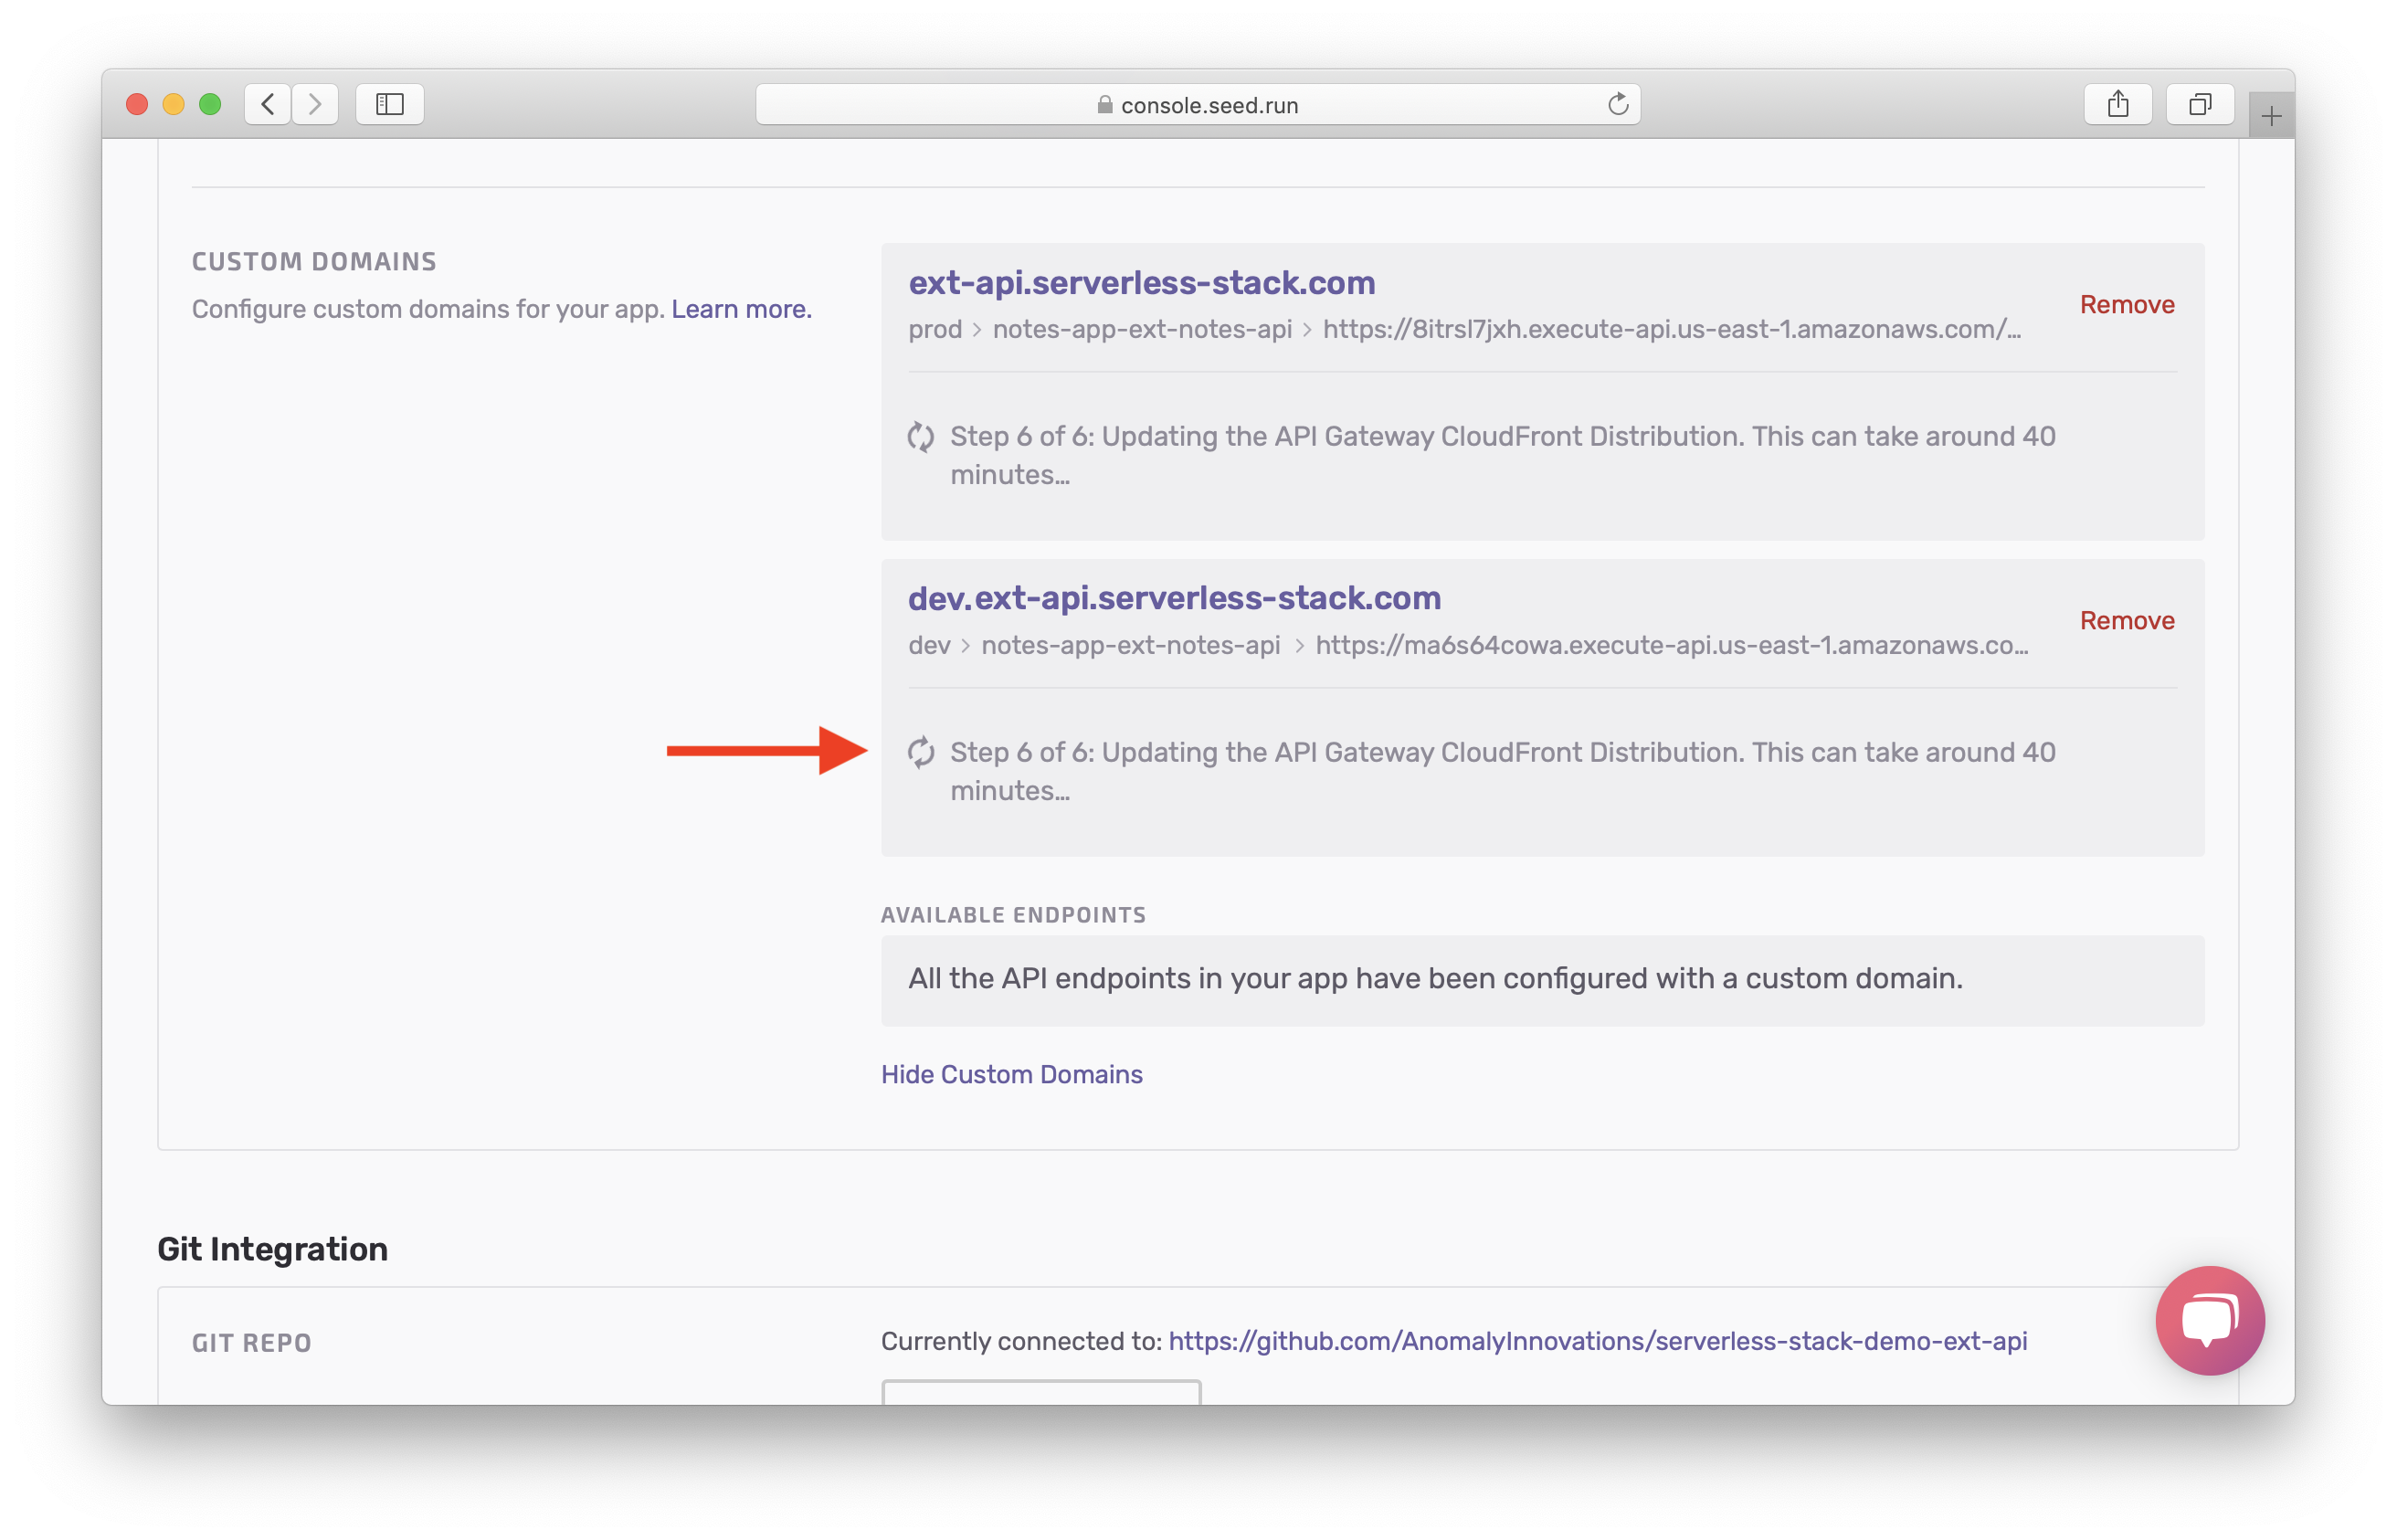
After 40 minutes, the domains will be ready.
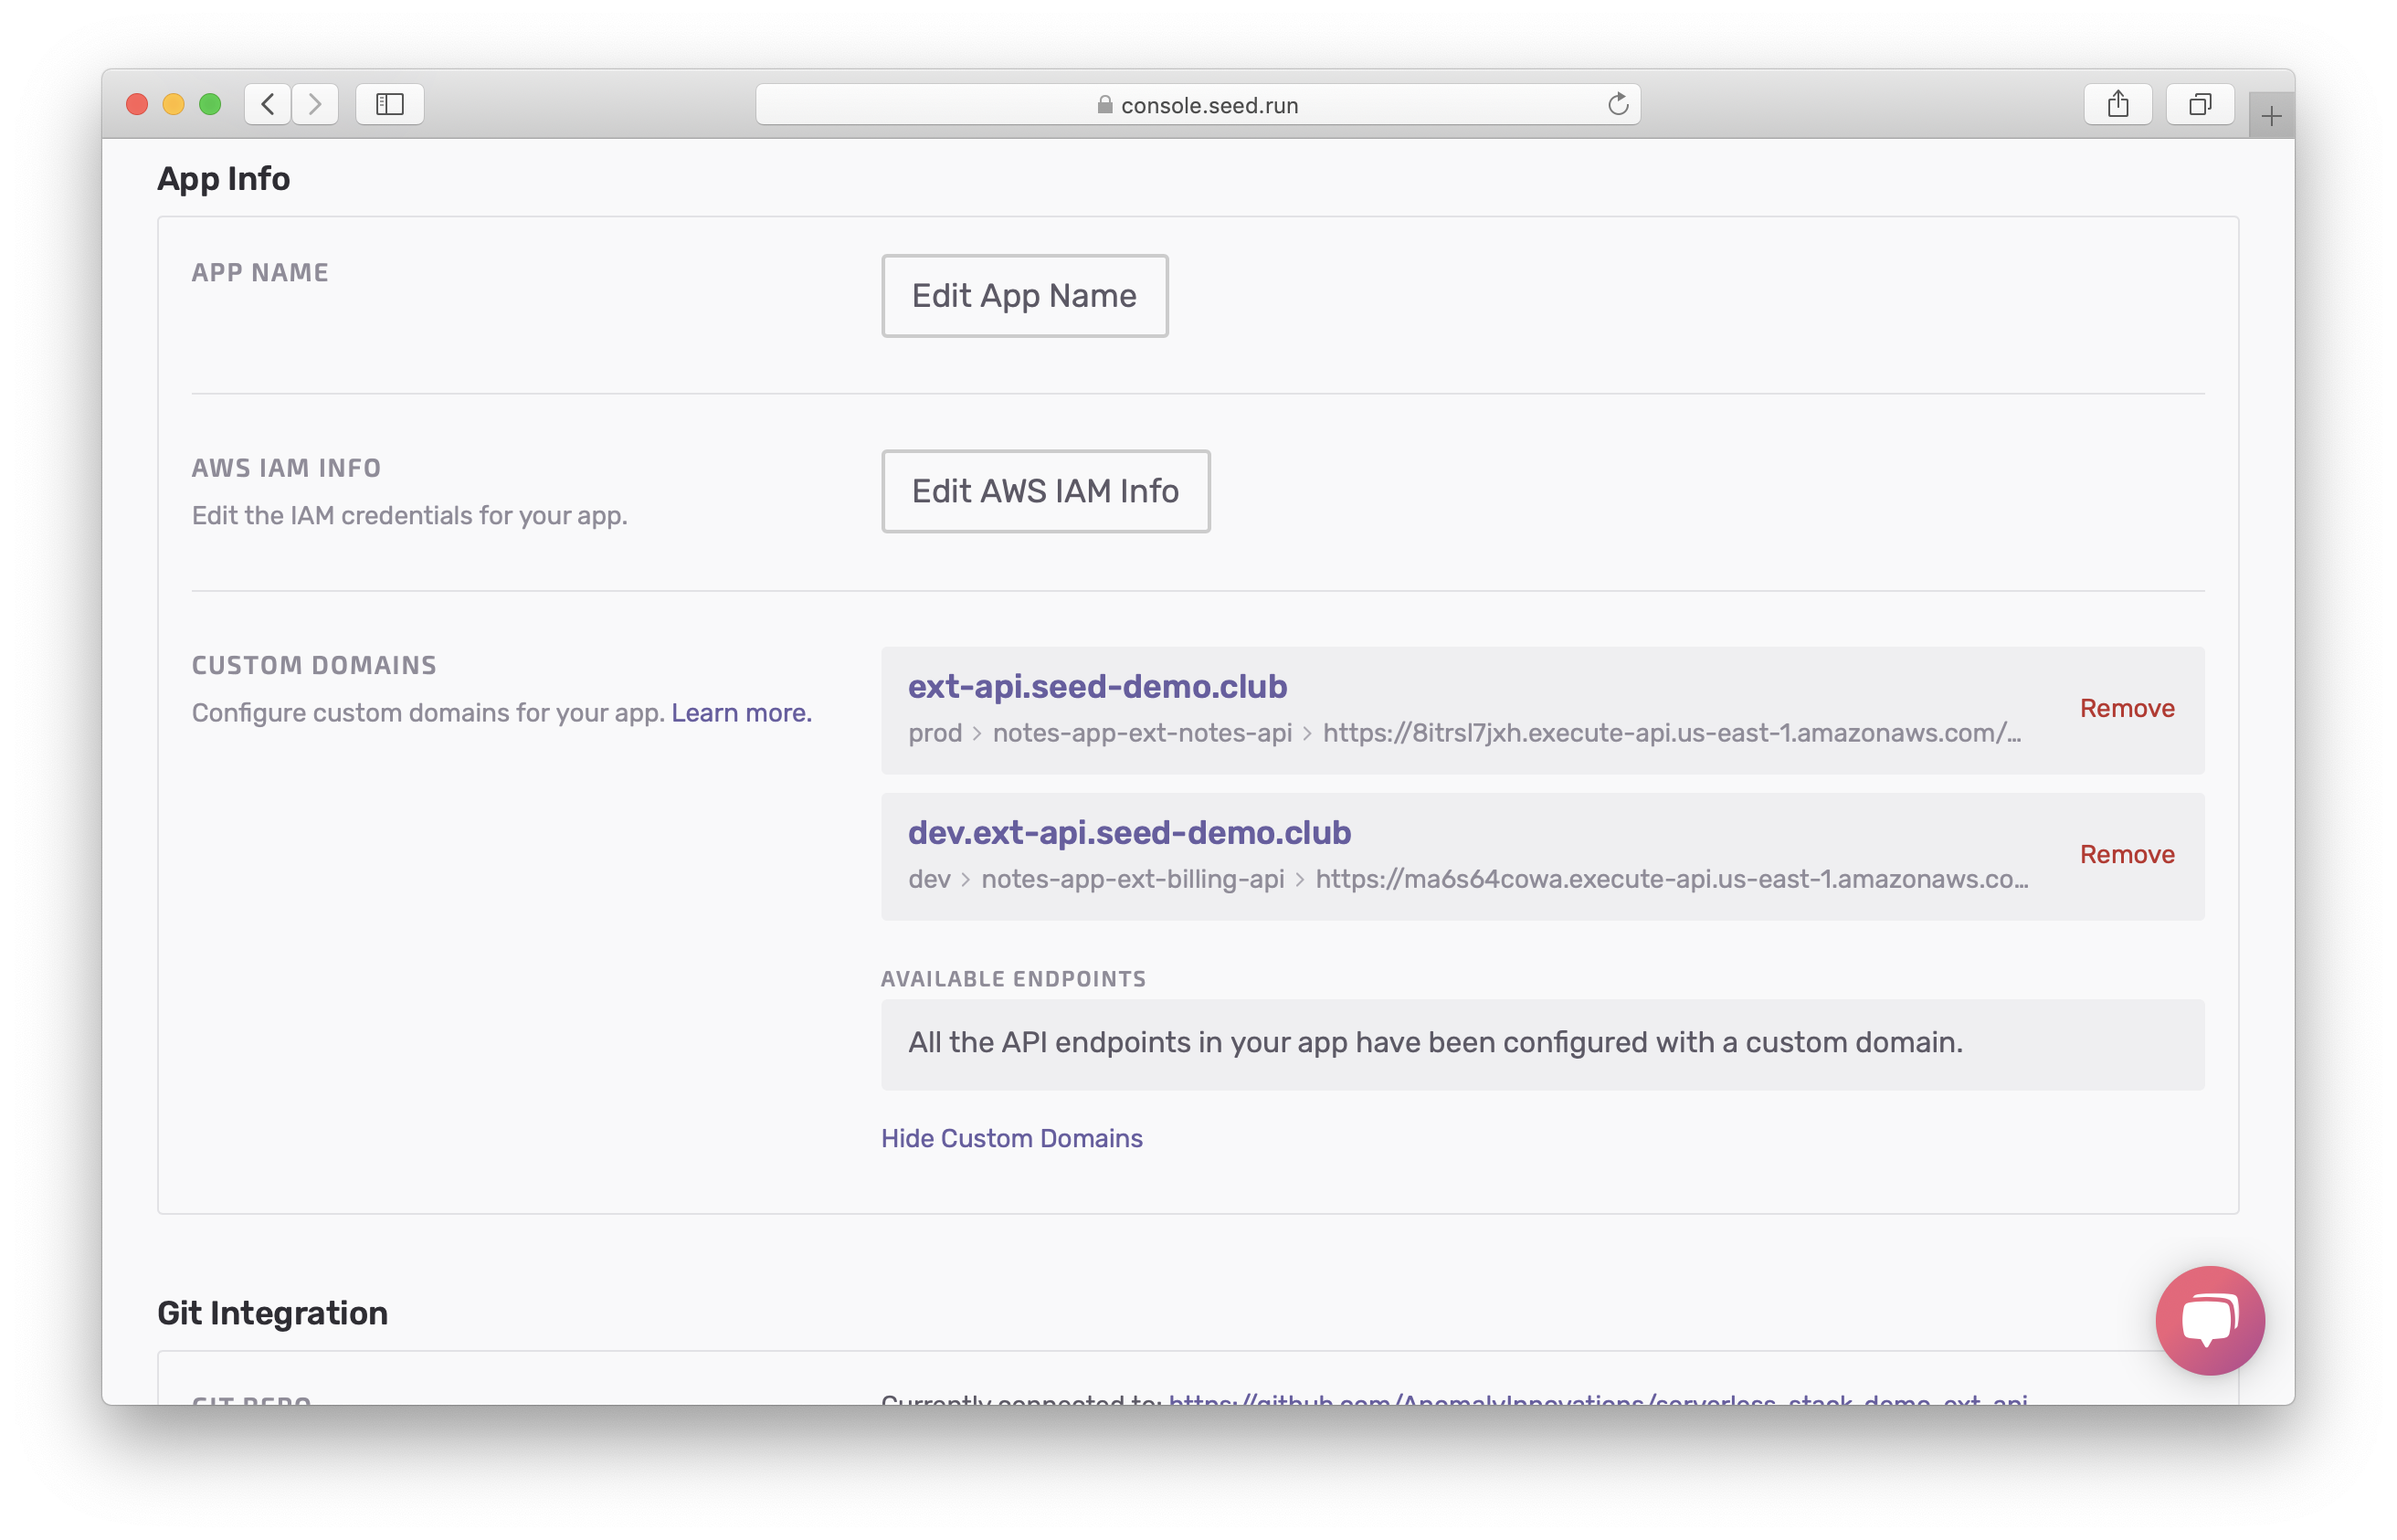
Now we’ve delegated the dev.api subdomain of notes-app.com to our Development AWS account. We’ll be configuring our app to use these domains in a later chapter.
Next, let’s quickly look at how you’ll be managing the cost and usage for your two AWS accounts.
For help and discussion
Comments on this chapterIf you liked this post, please subscribe to our newsletter, give us a star on GitHub, and follow us on Twitter.
