Creating Pull Request Environments
Now that we are done working on our new feature, we would like our team lead to review our work before promoting it to production. To do that we are going to create a pull request and Seed will automatically create an ephemeral environment for it.
Enable pull request workflow on Seed
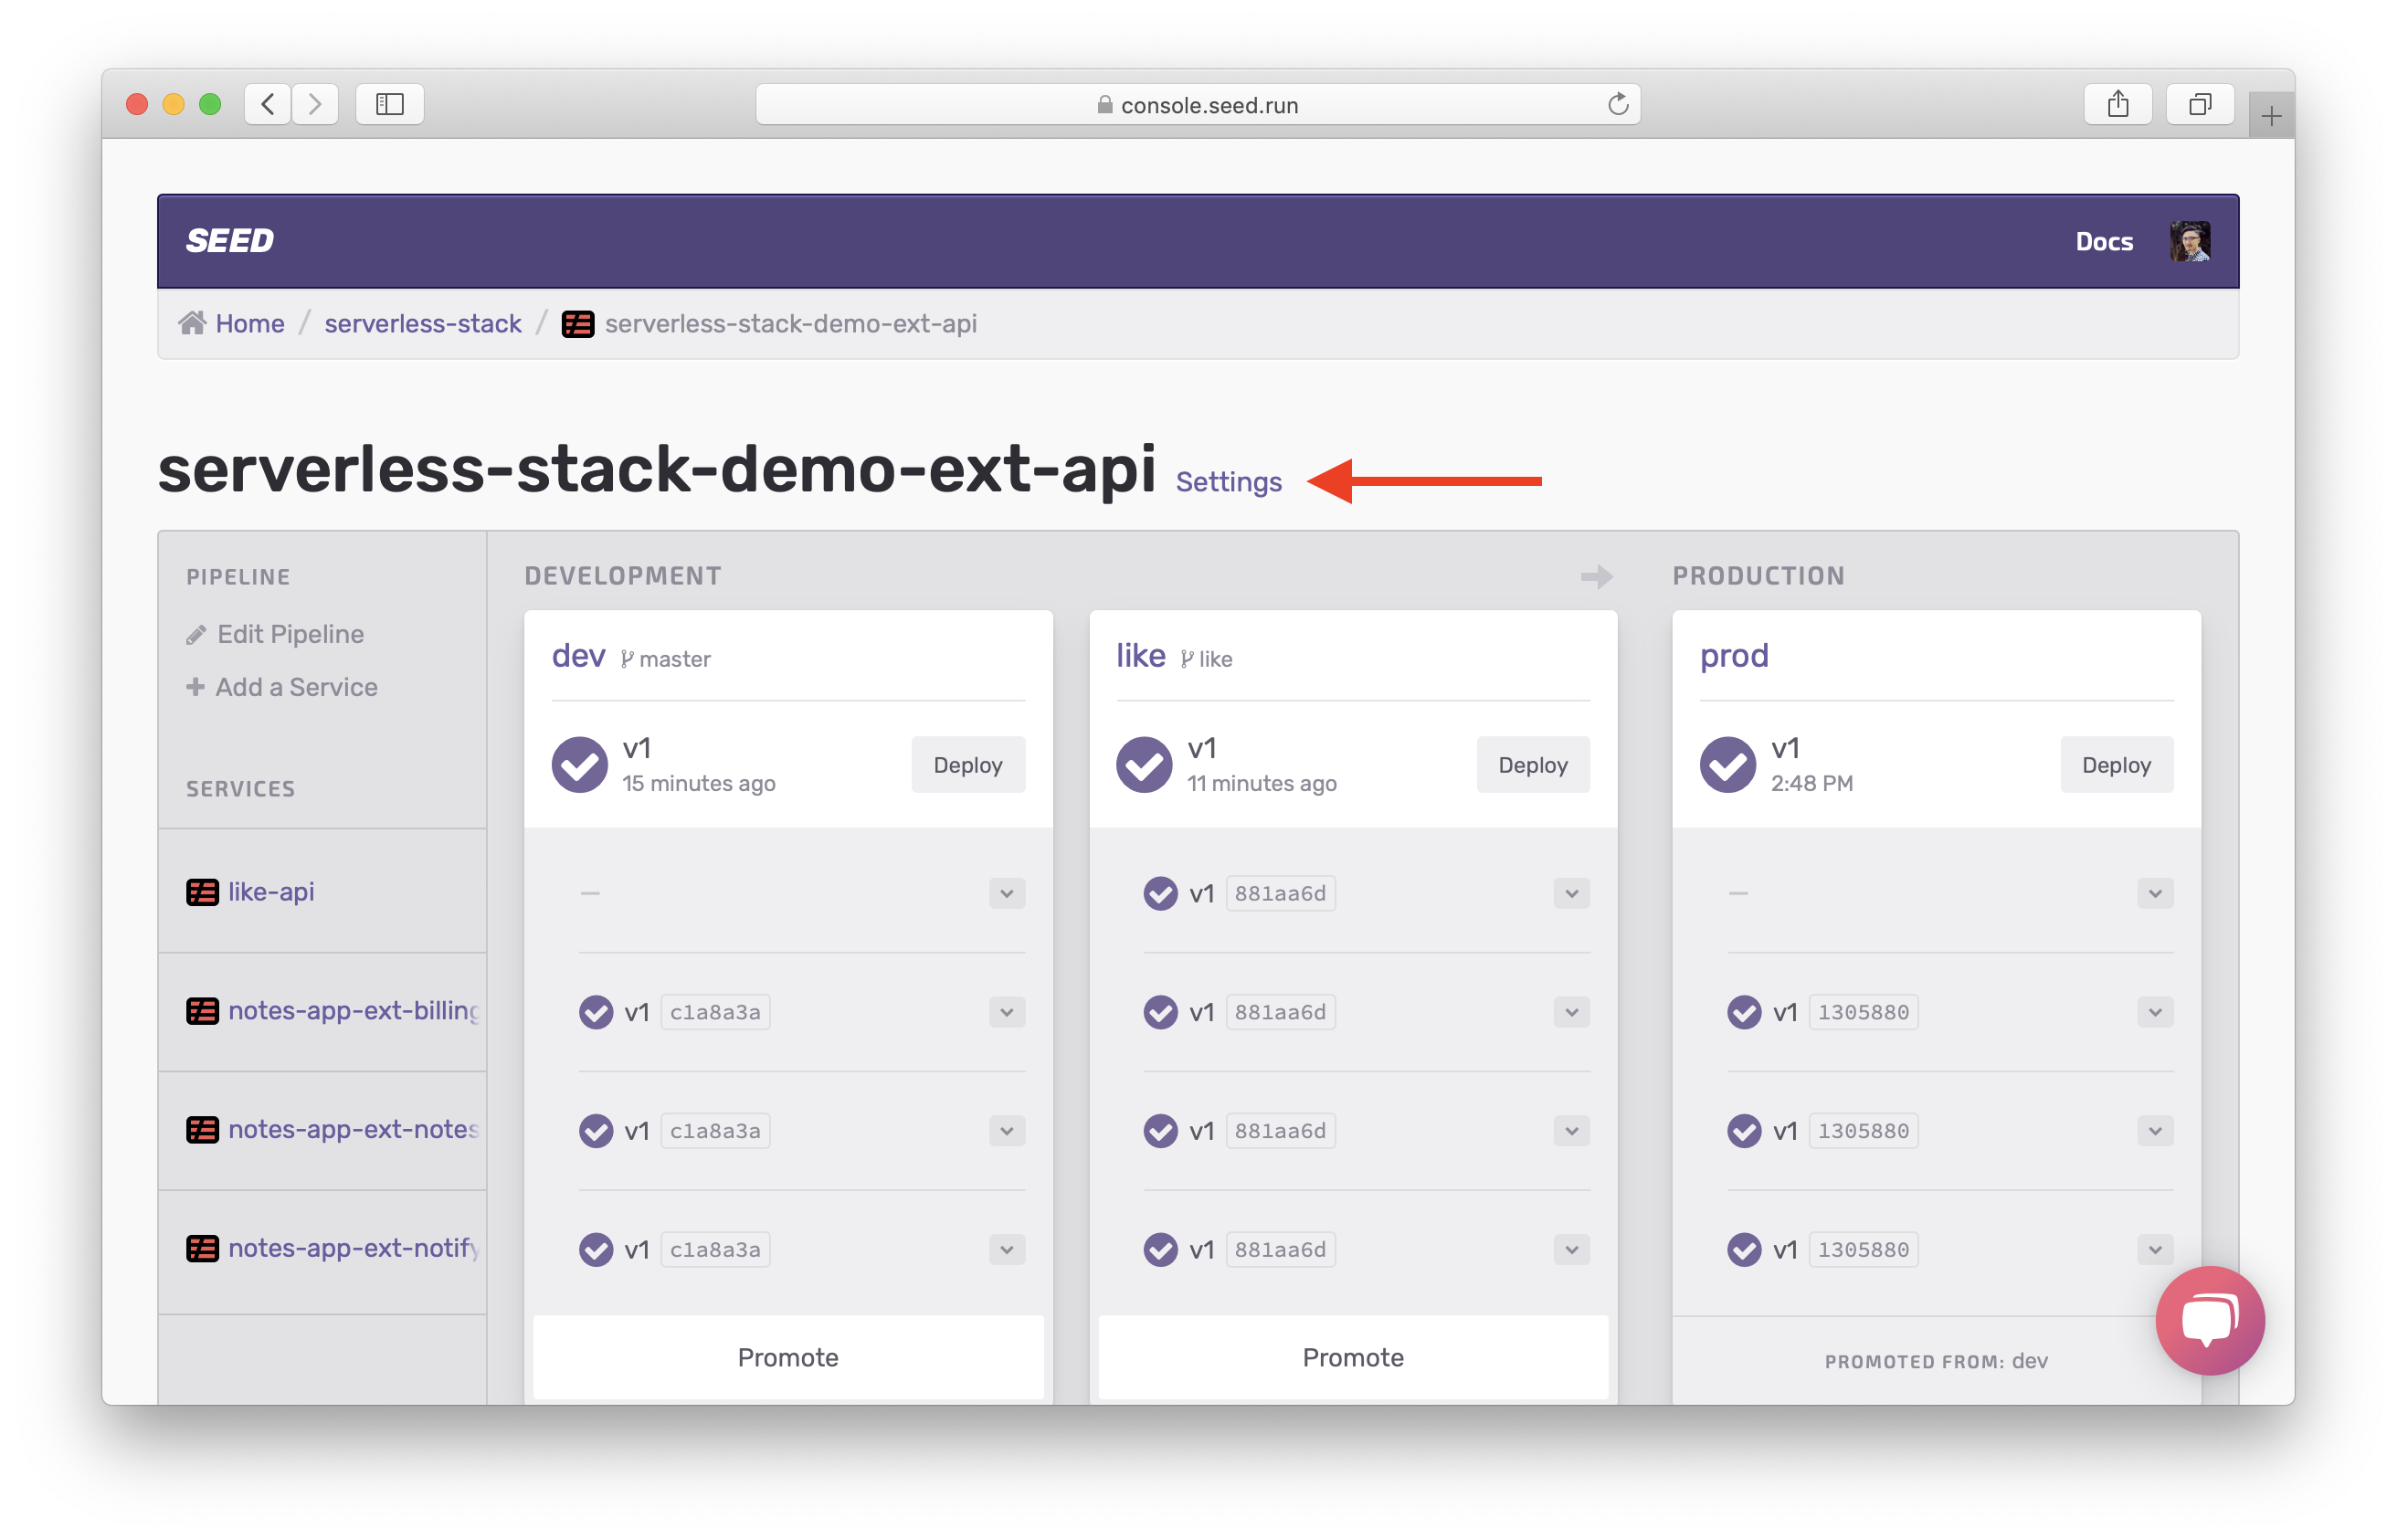
To enable auto-deploying pull requests, head over to your app on Seed. Click Settings.
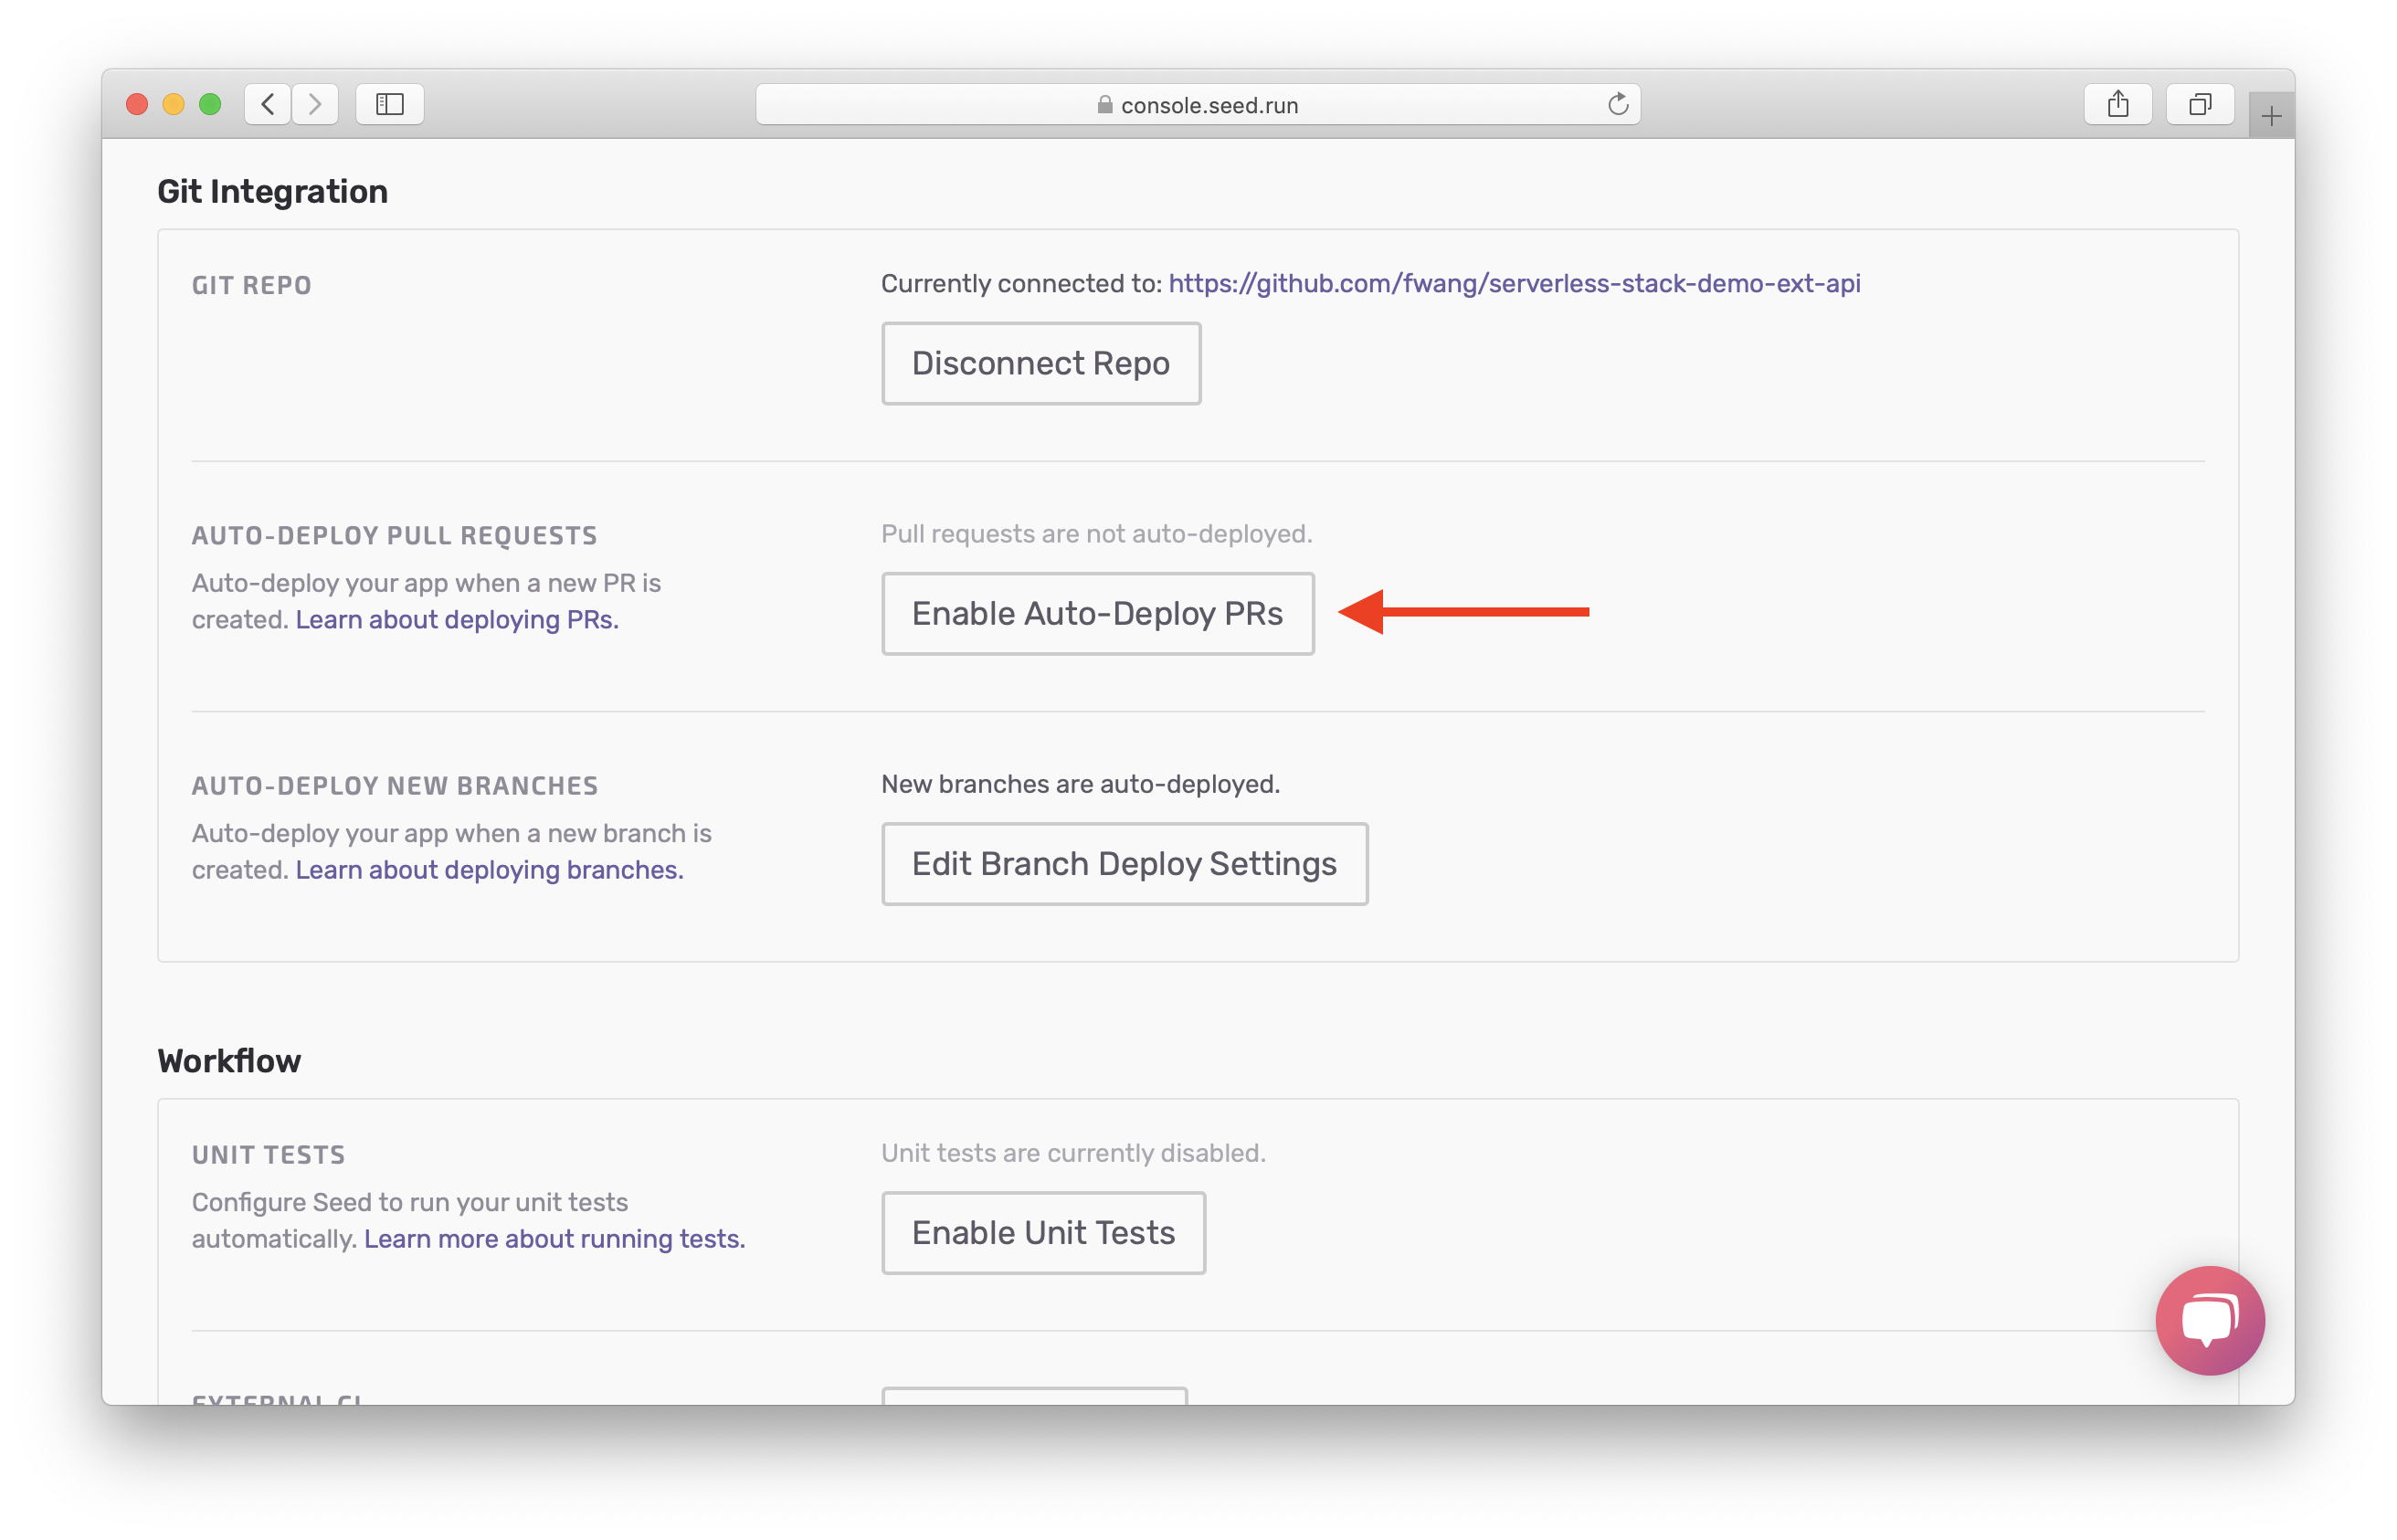
Scroll down to Git Integration. Then click Enable Auto-Deploy PRs.
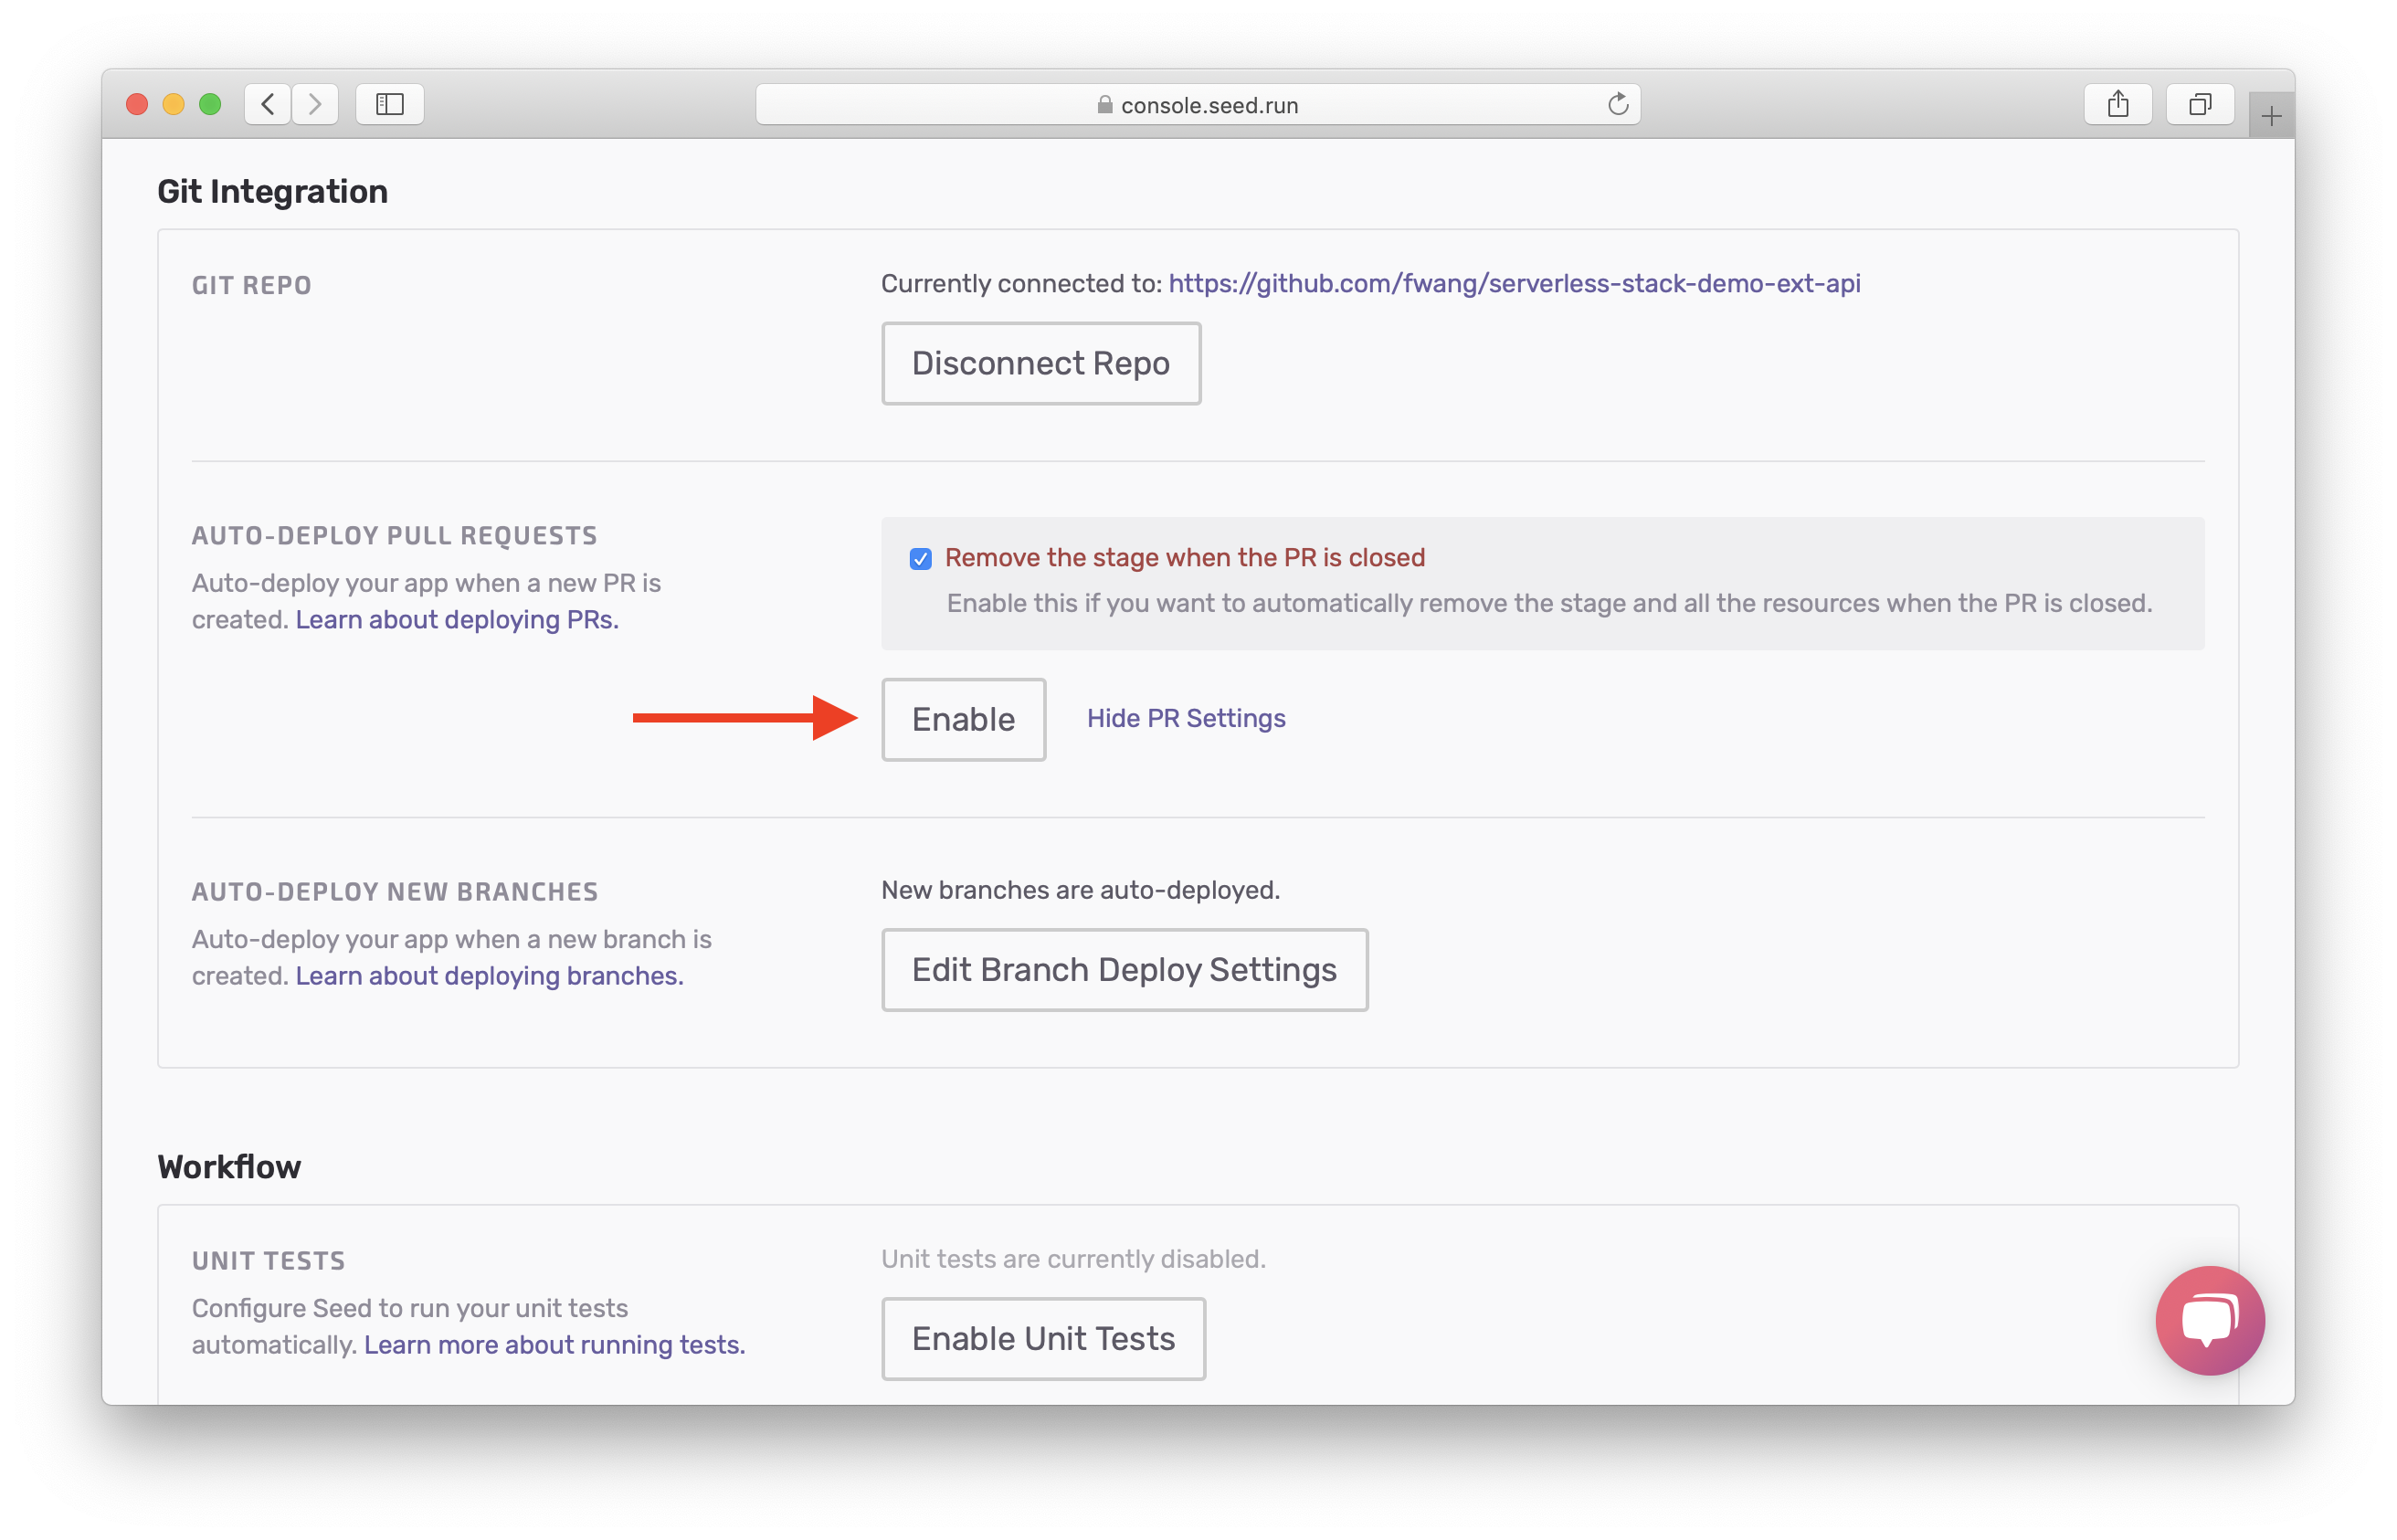
Hit Enable.
Create a pull request
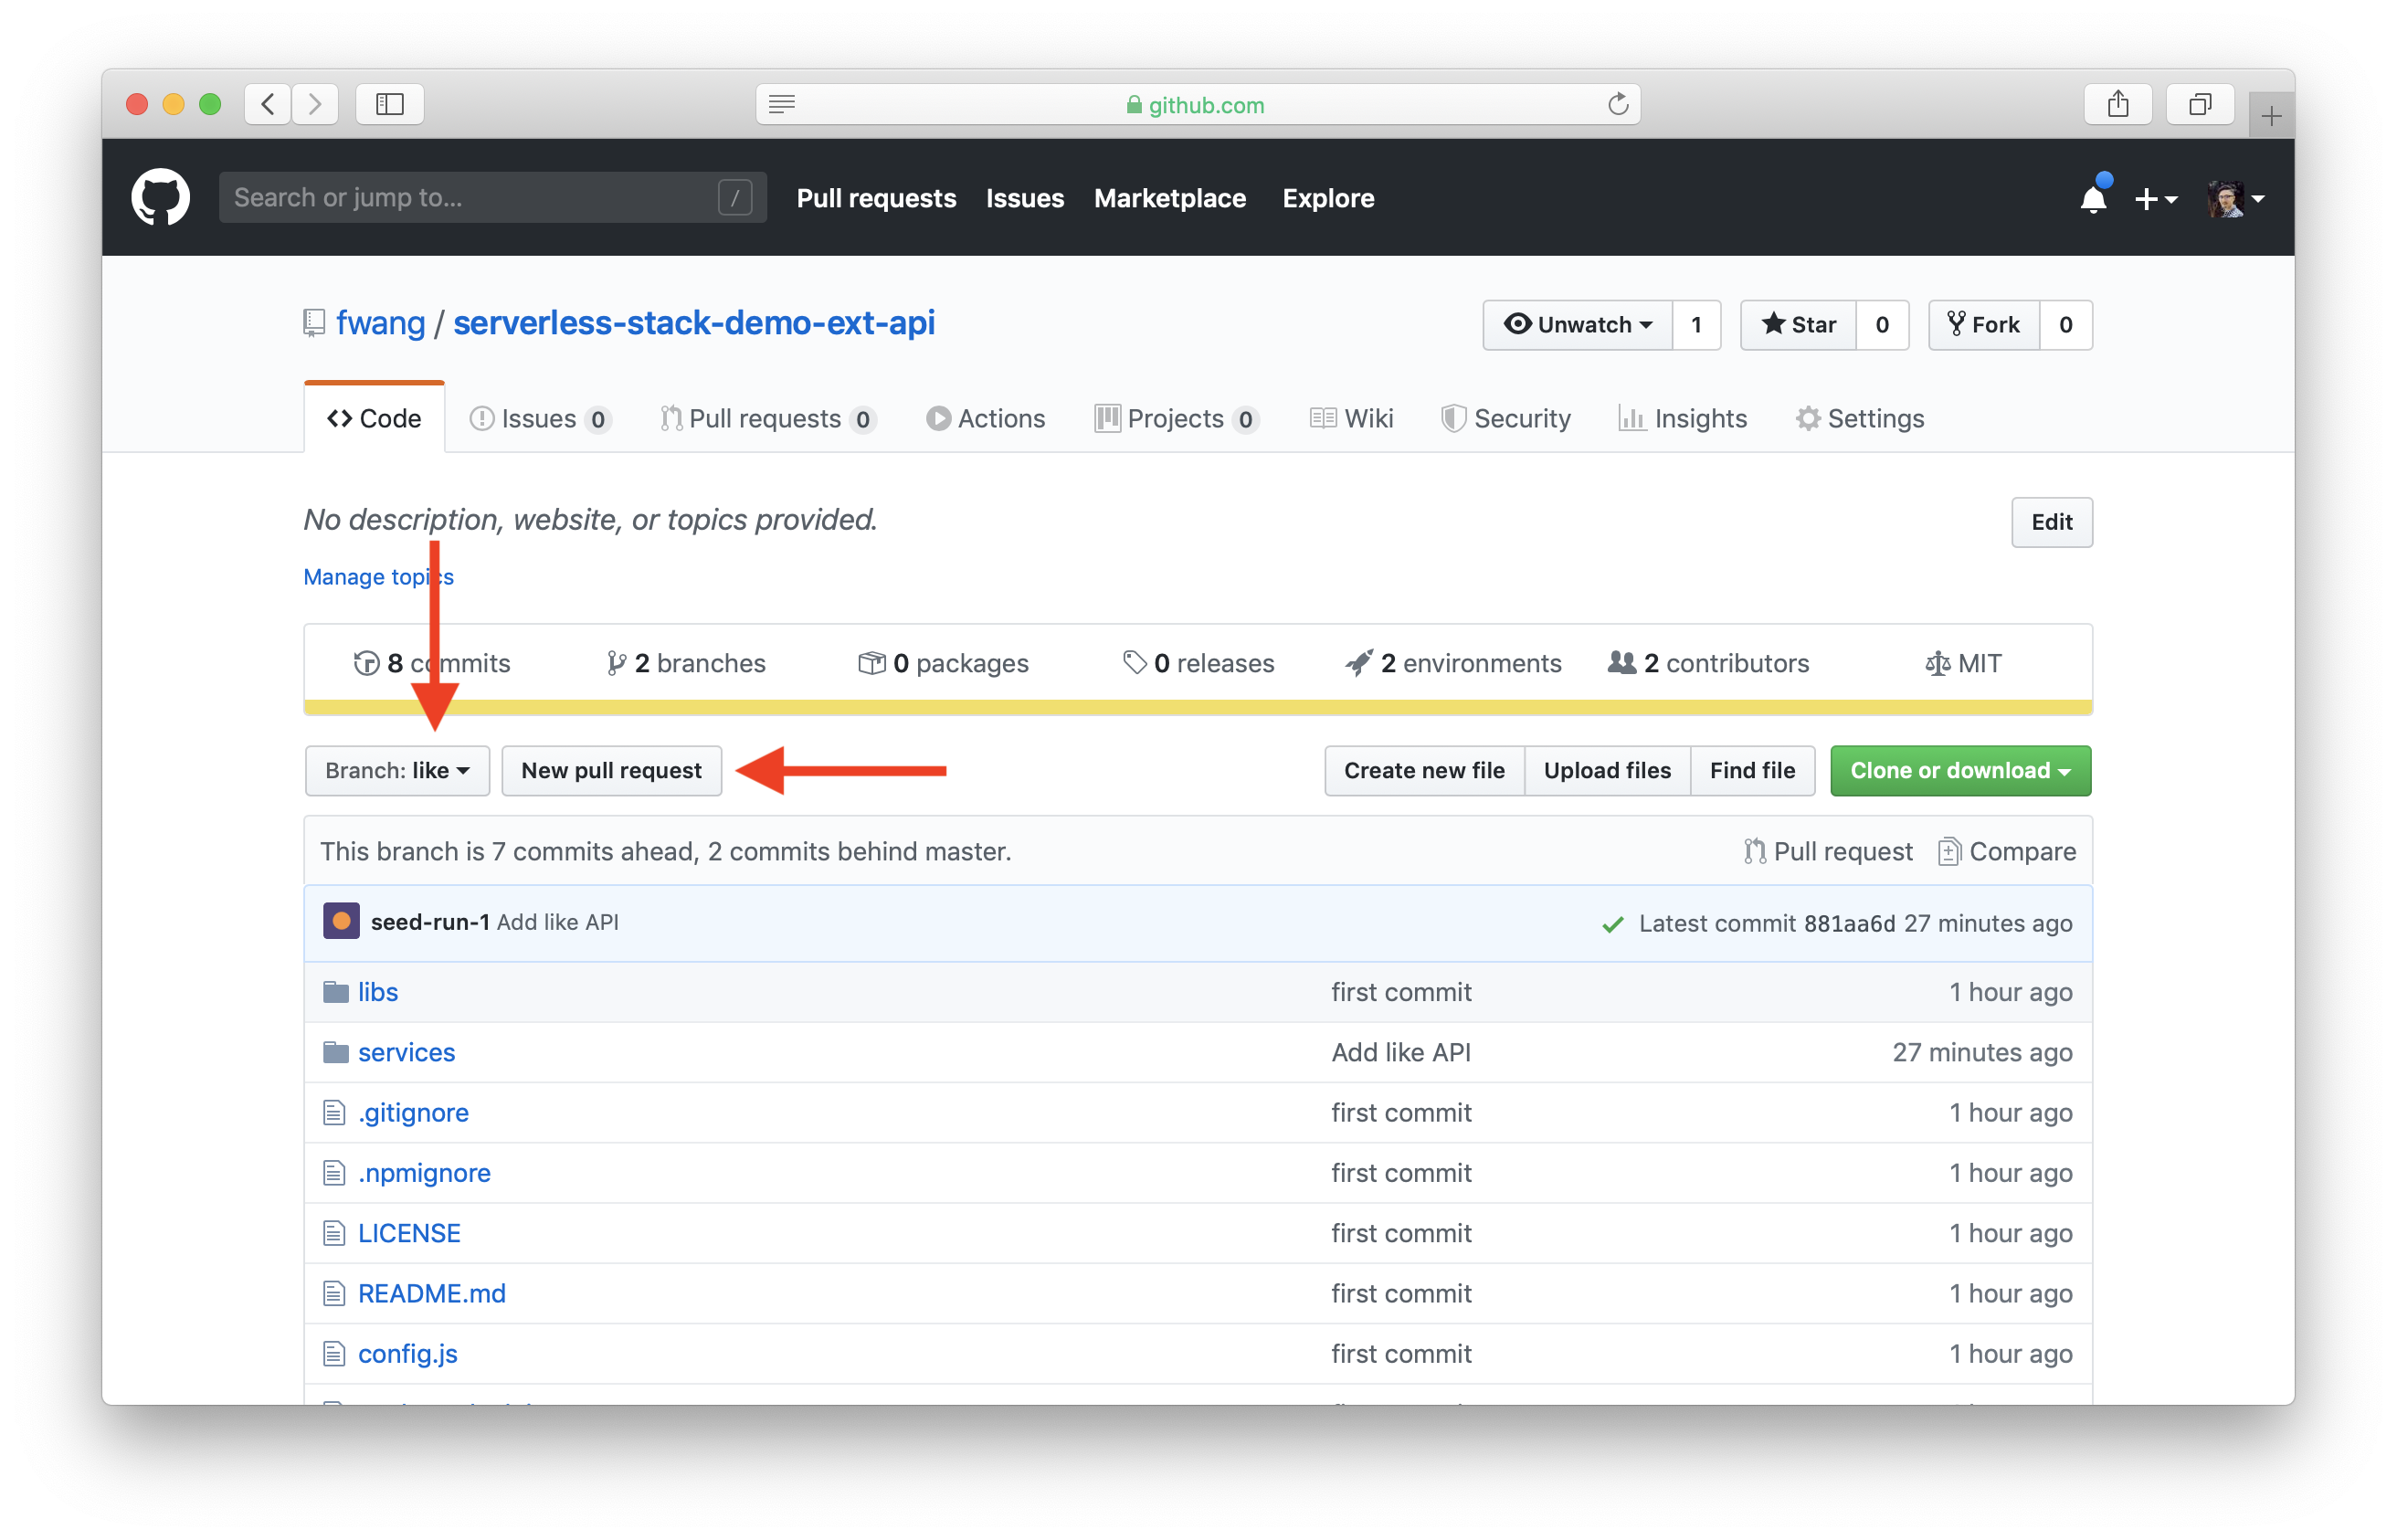
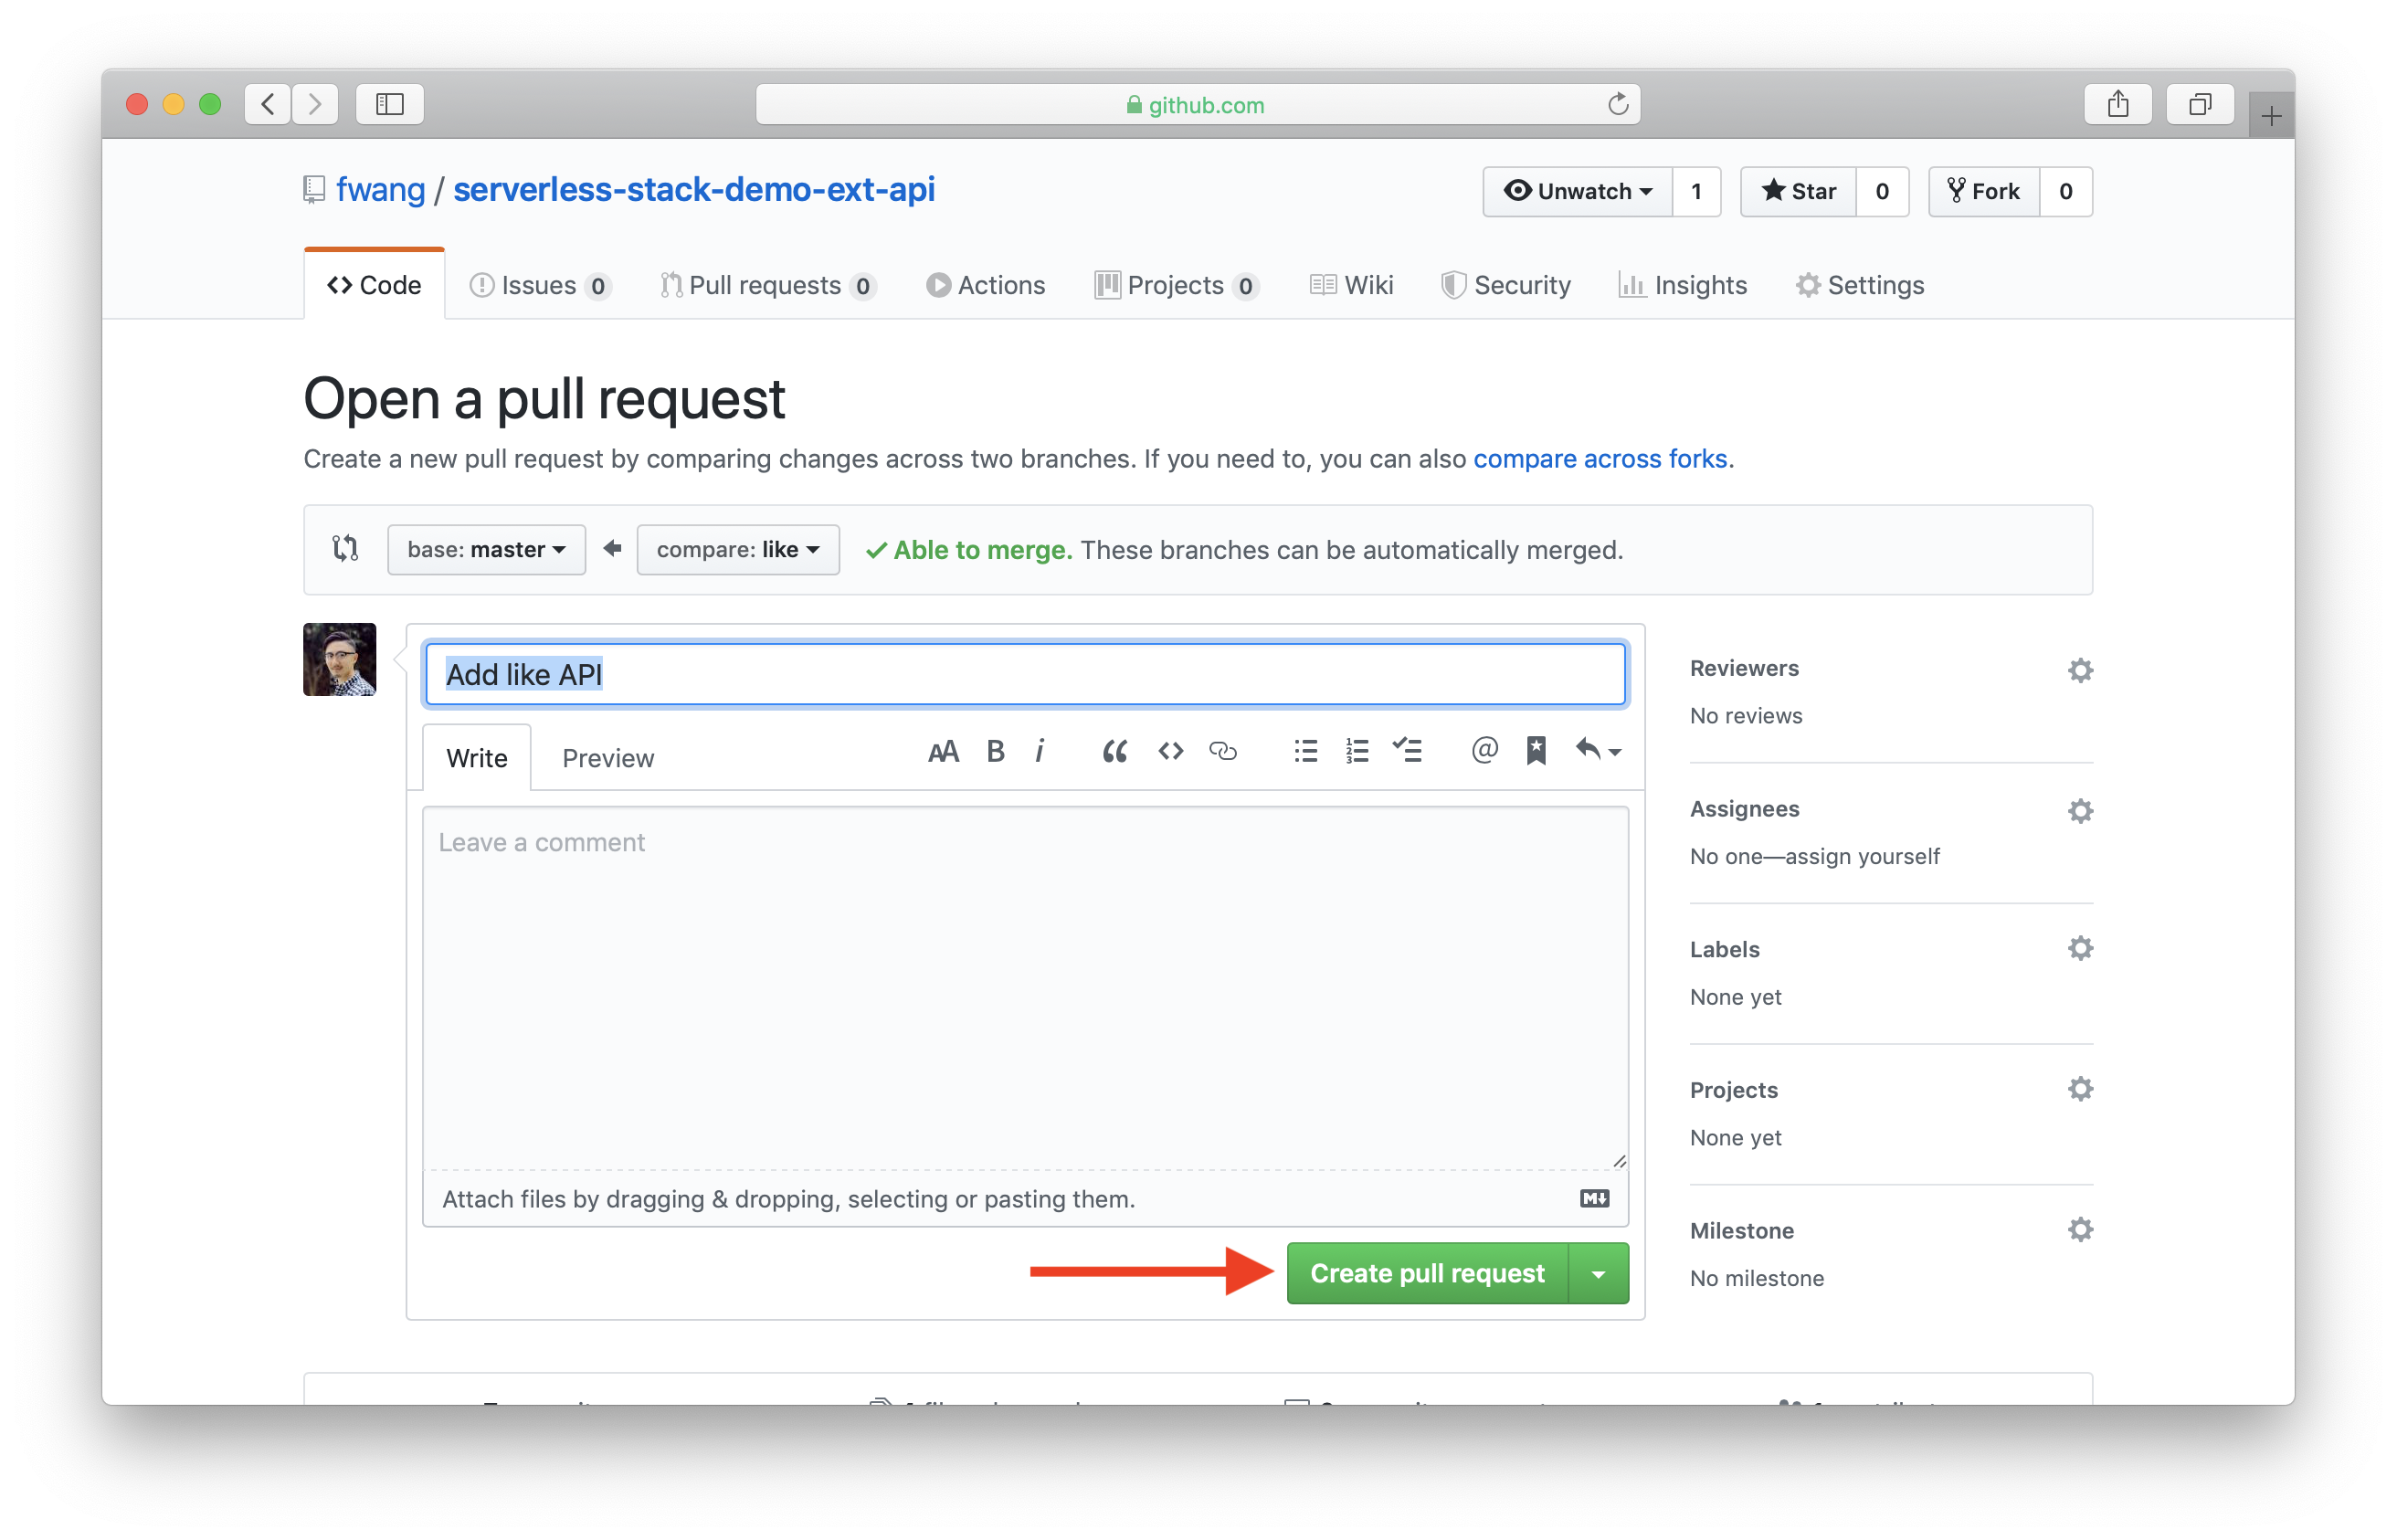
Go to GitHub, and select the like branch. Then hit New pull request.
Click Create pull request.
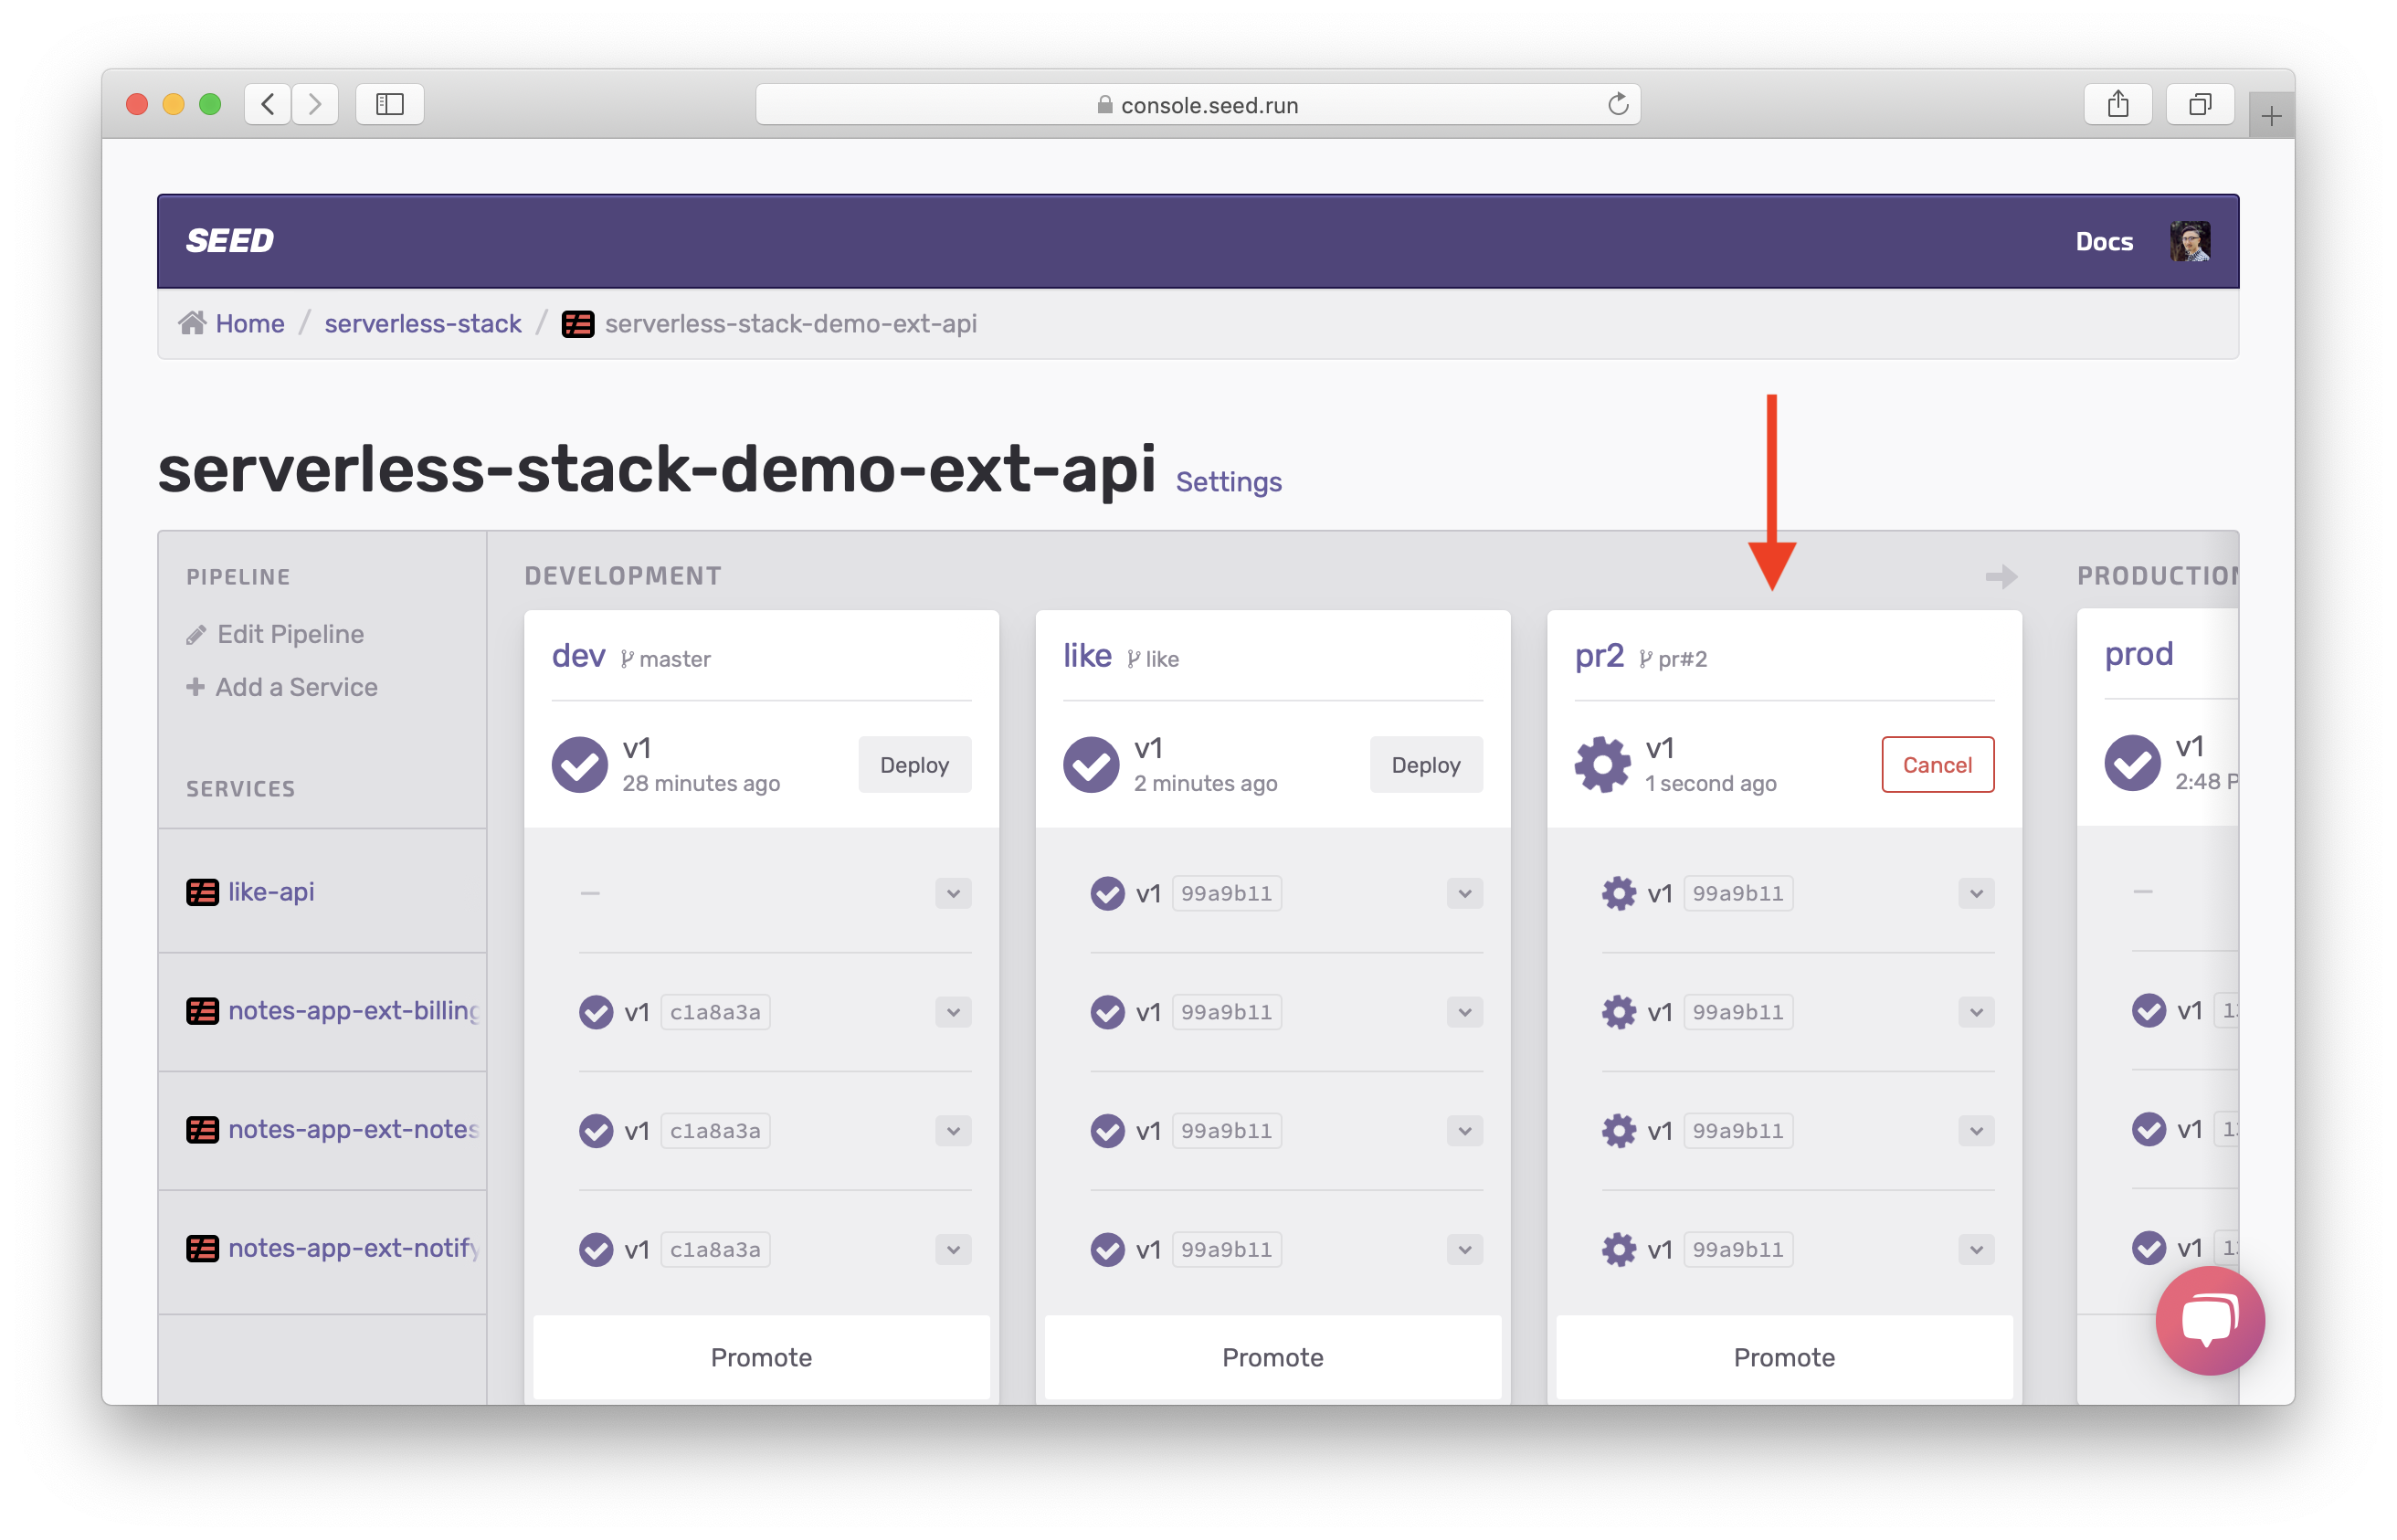
Now back in Seed, a new stage (in this case pr2) should be created and is being deployed automatically.
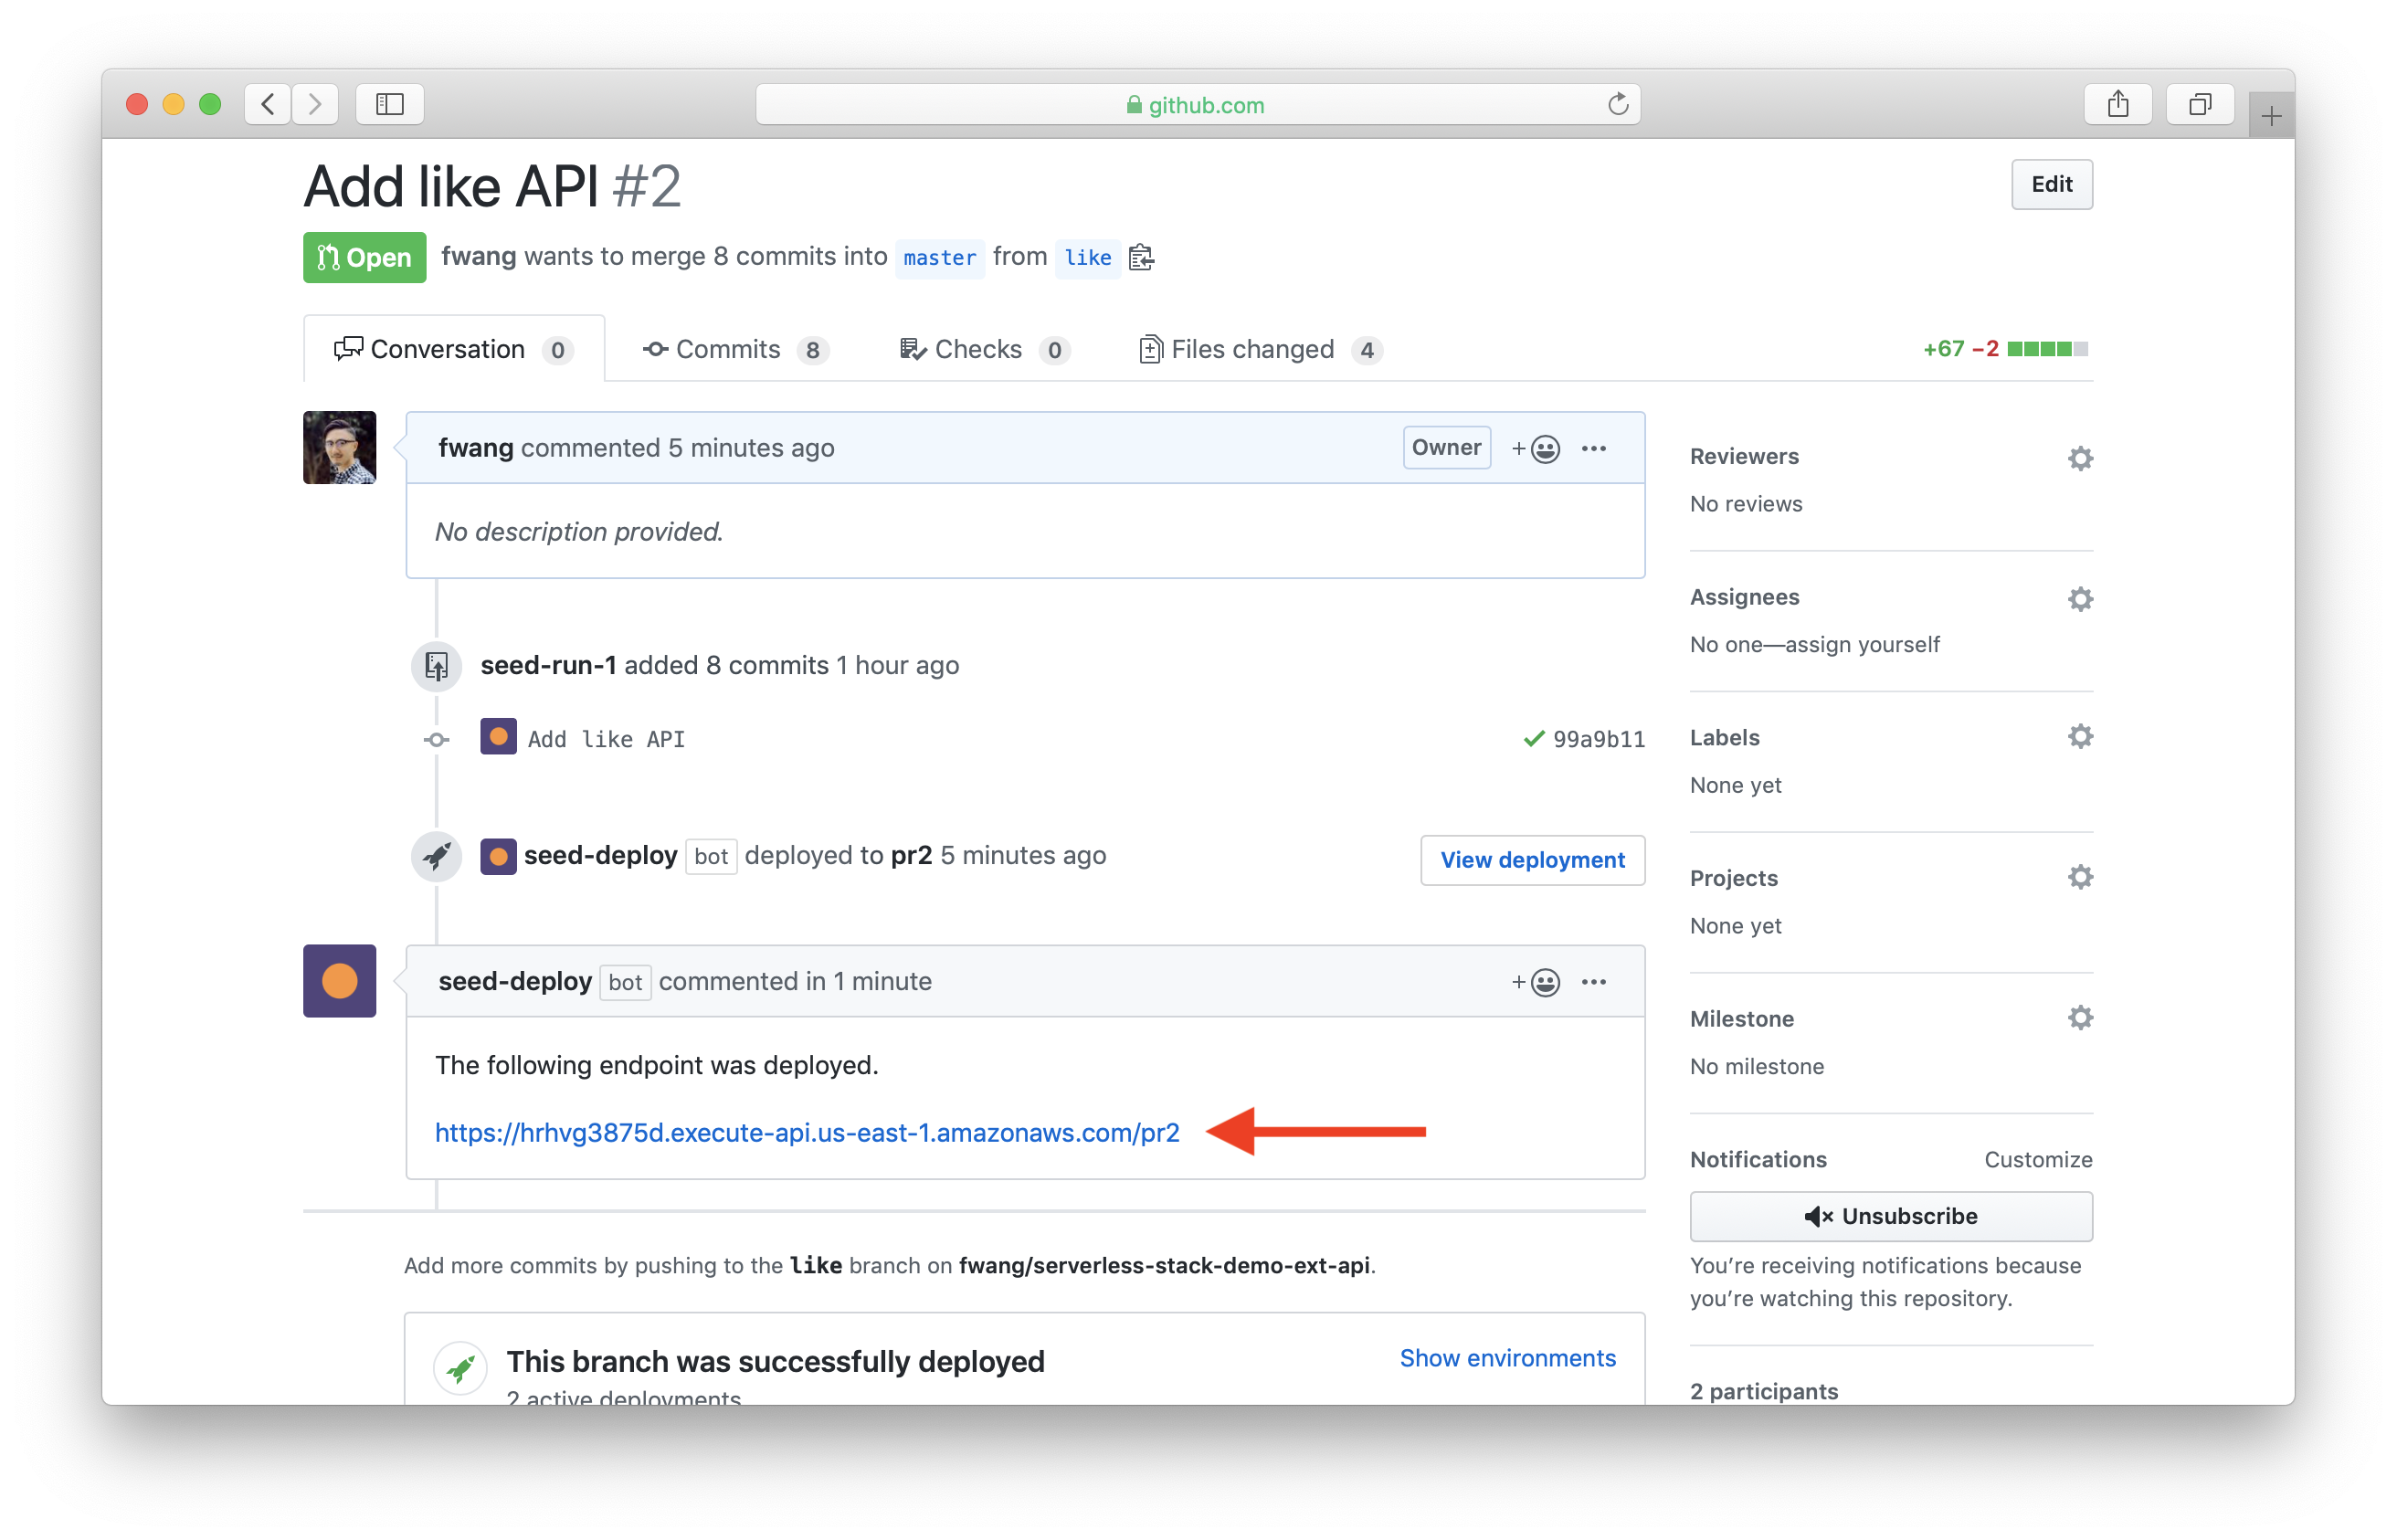
After the pr2 stage successfully deploys, you can see the deployed API endpoint on the PR page. You can give the endpoint to your frontend team for testing.
You can also access the pr2 stage and the upstream like stage on Seed via the View deployment button. And you can see the deployment status for each service under the checks section.
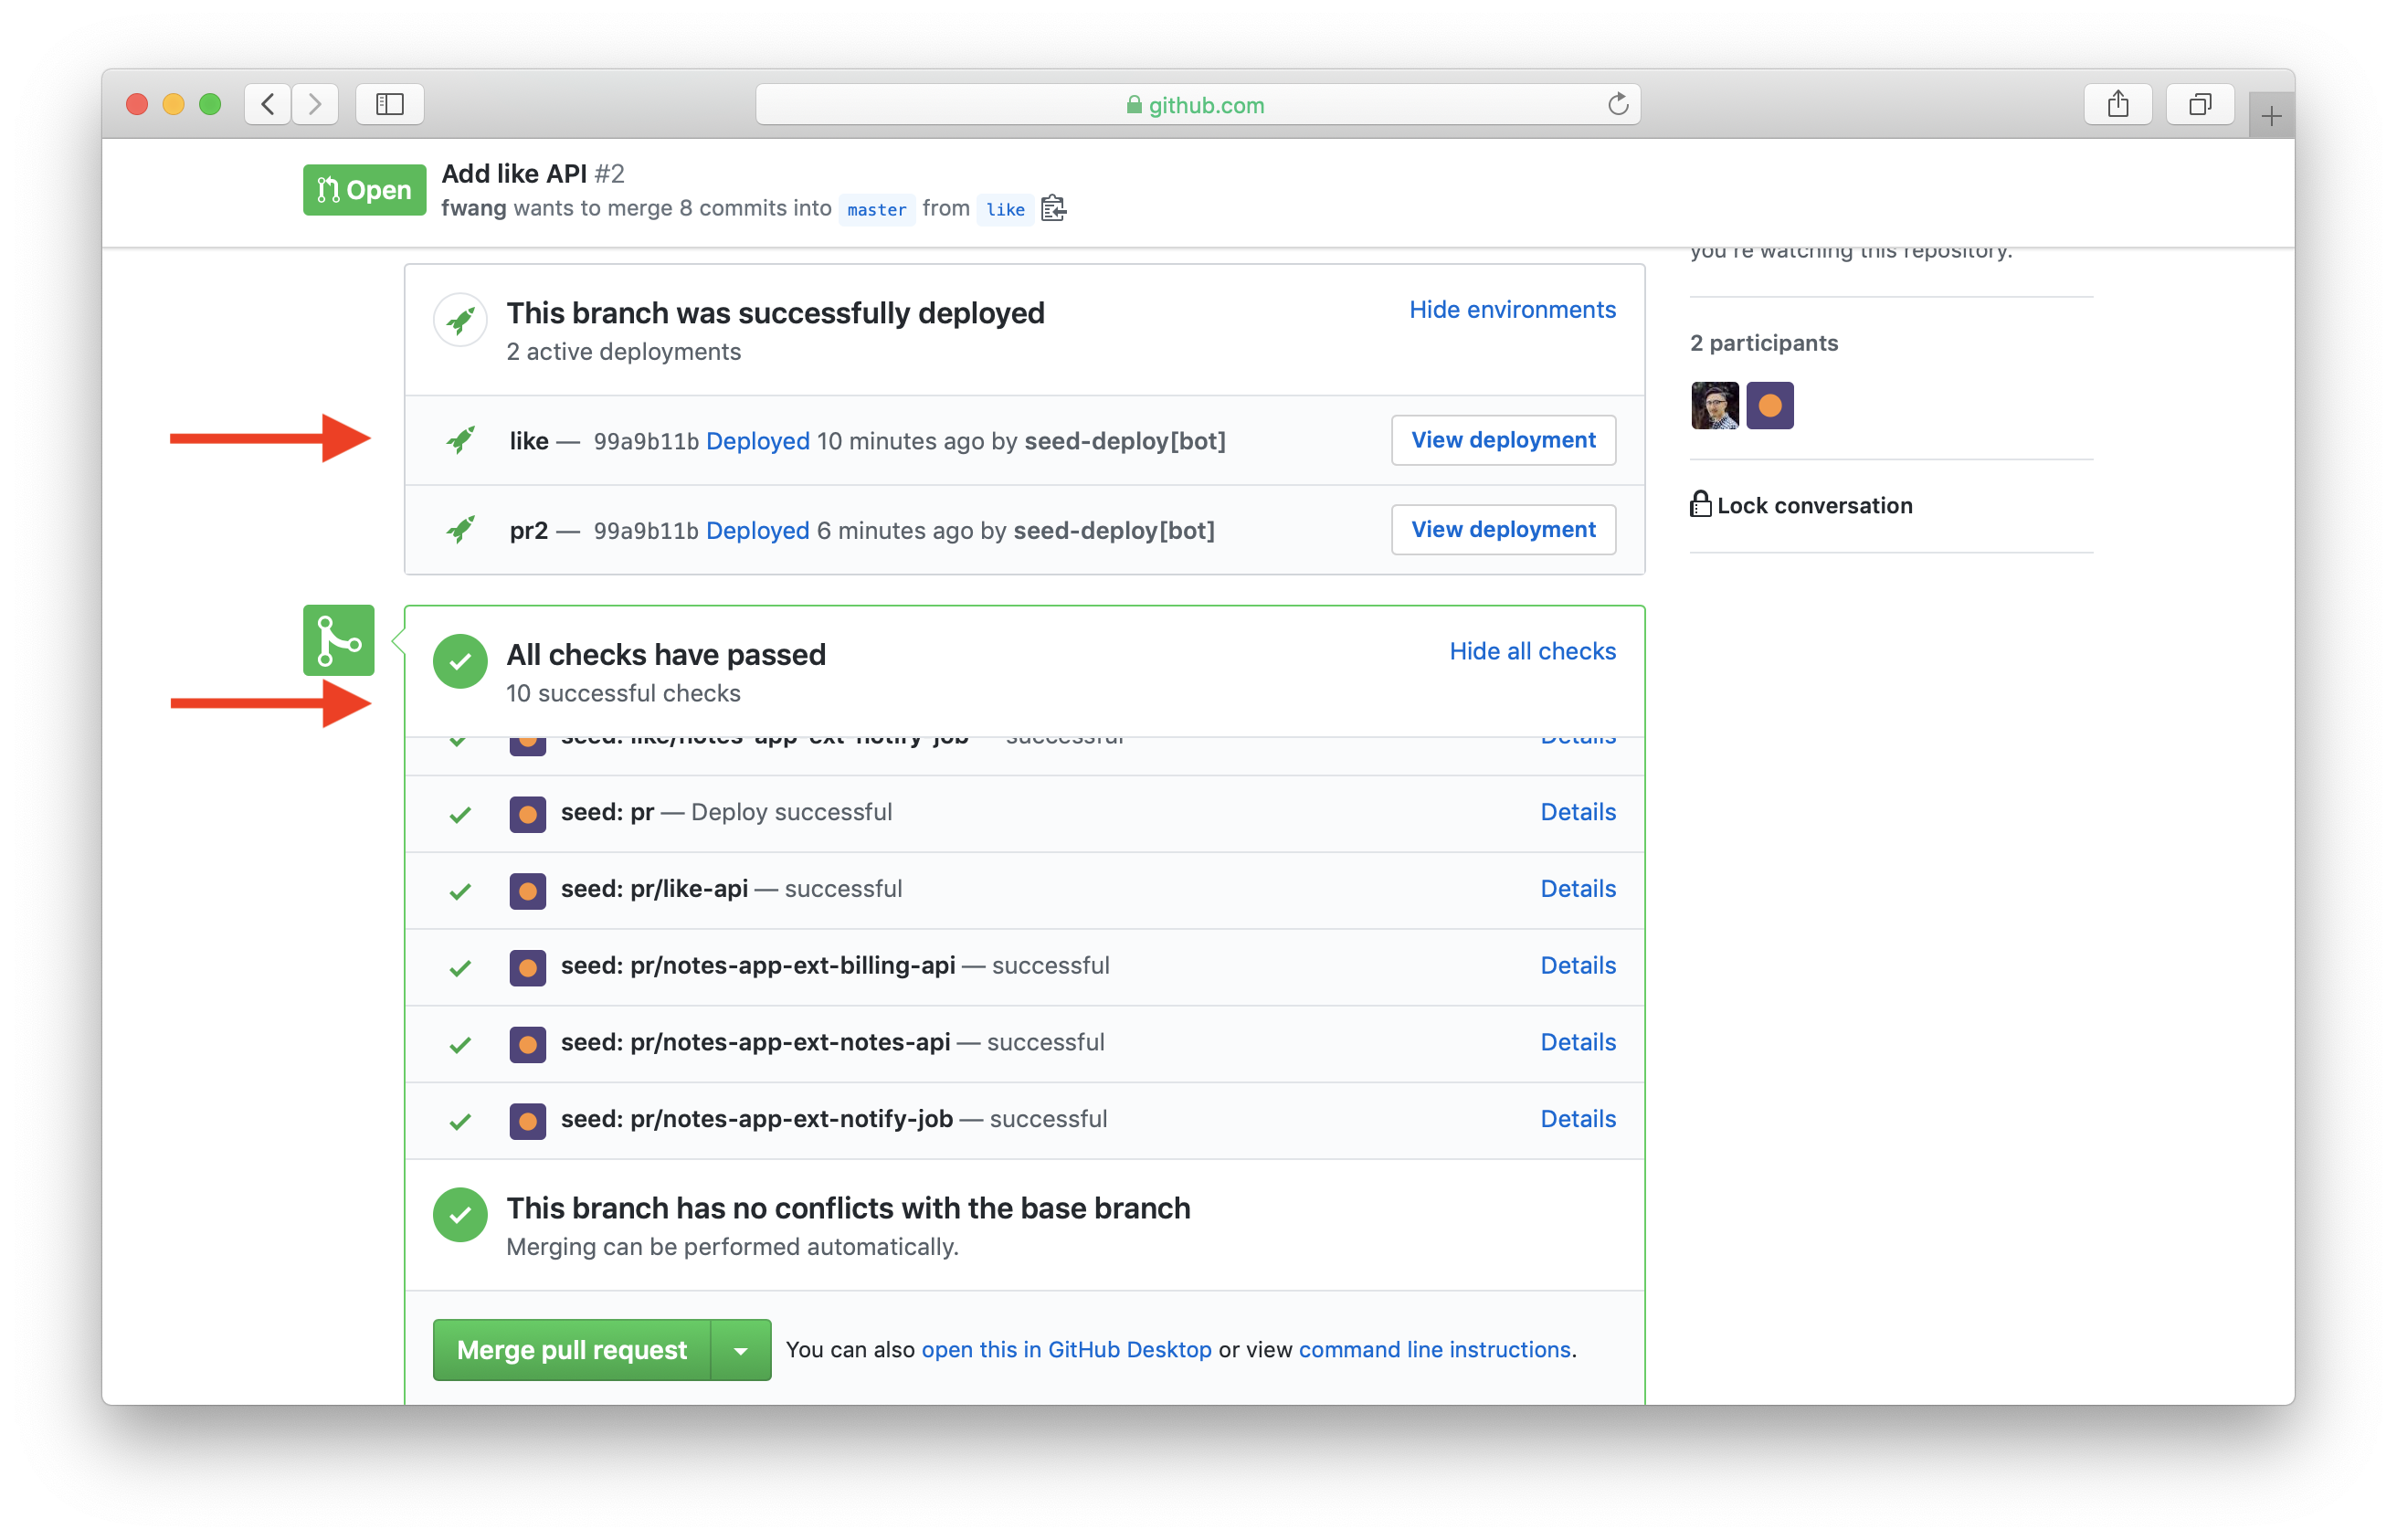
Now that our new feature has been reviewed, we are ready to merge it to master.
Merge to master
Once your final test looks good, you are ready to merge the pull request. Go to GitHub’s pr page and click Merge pull request.
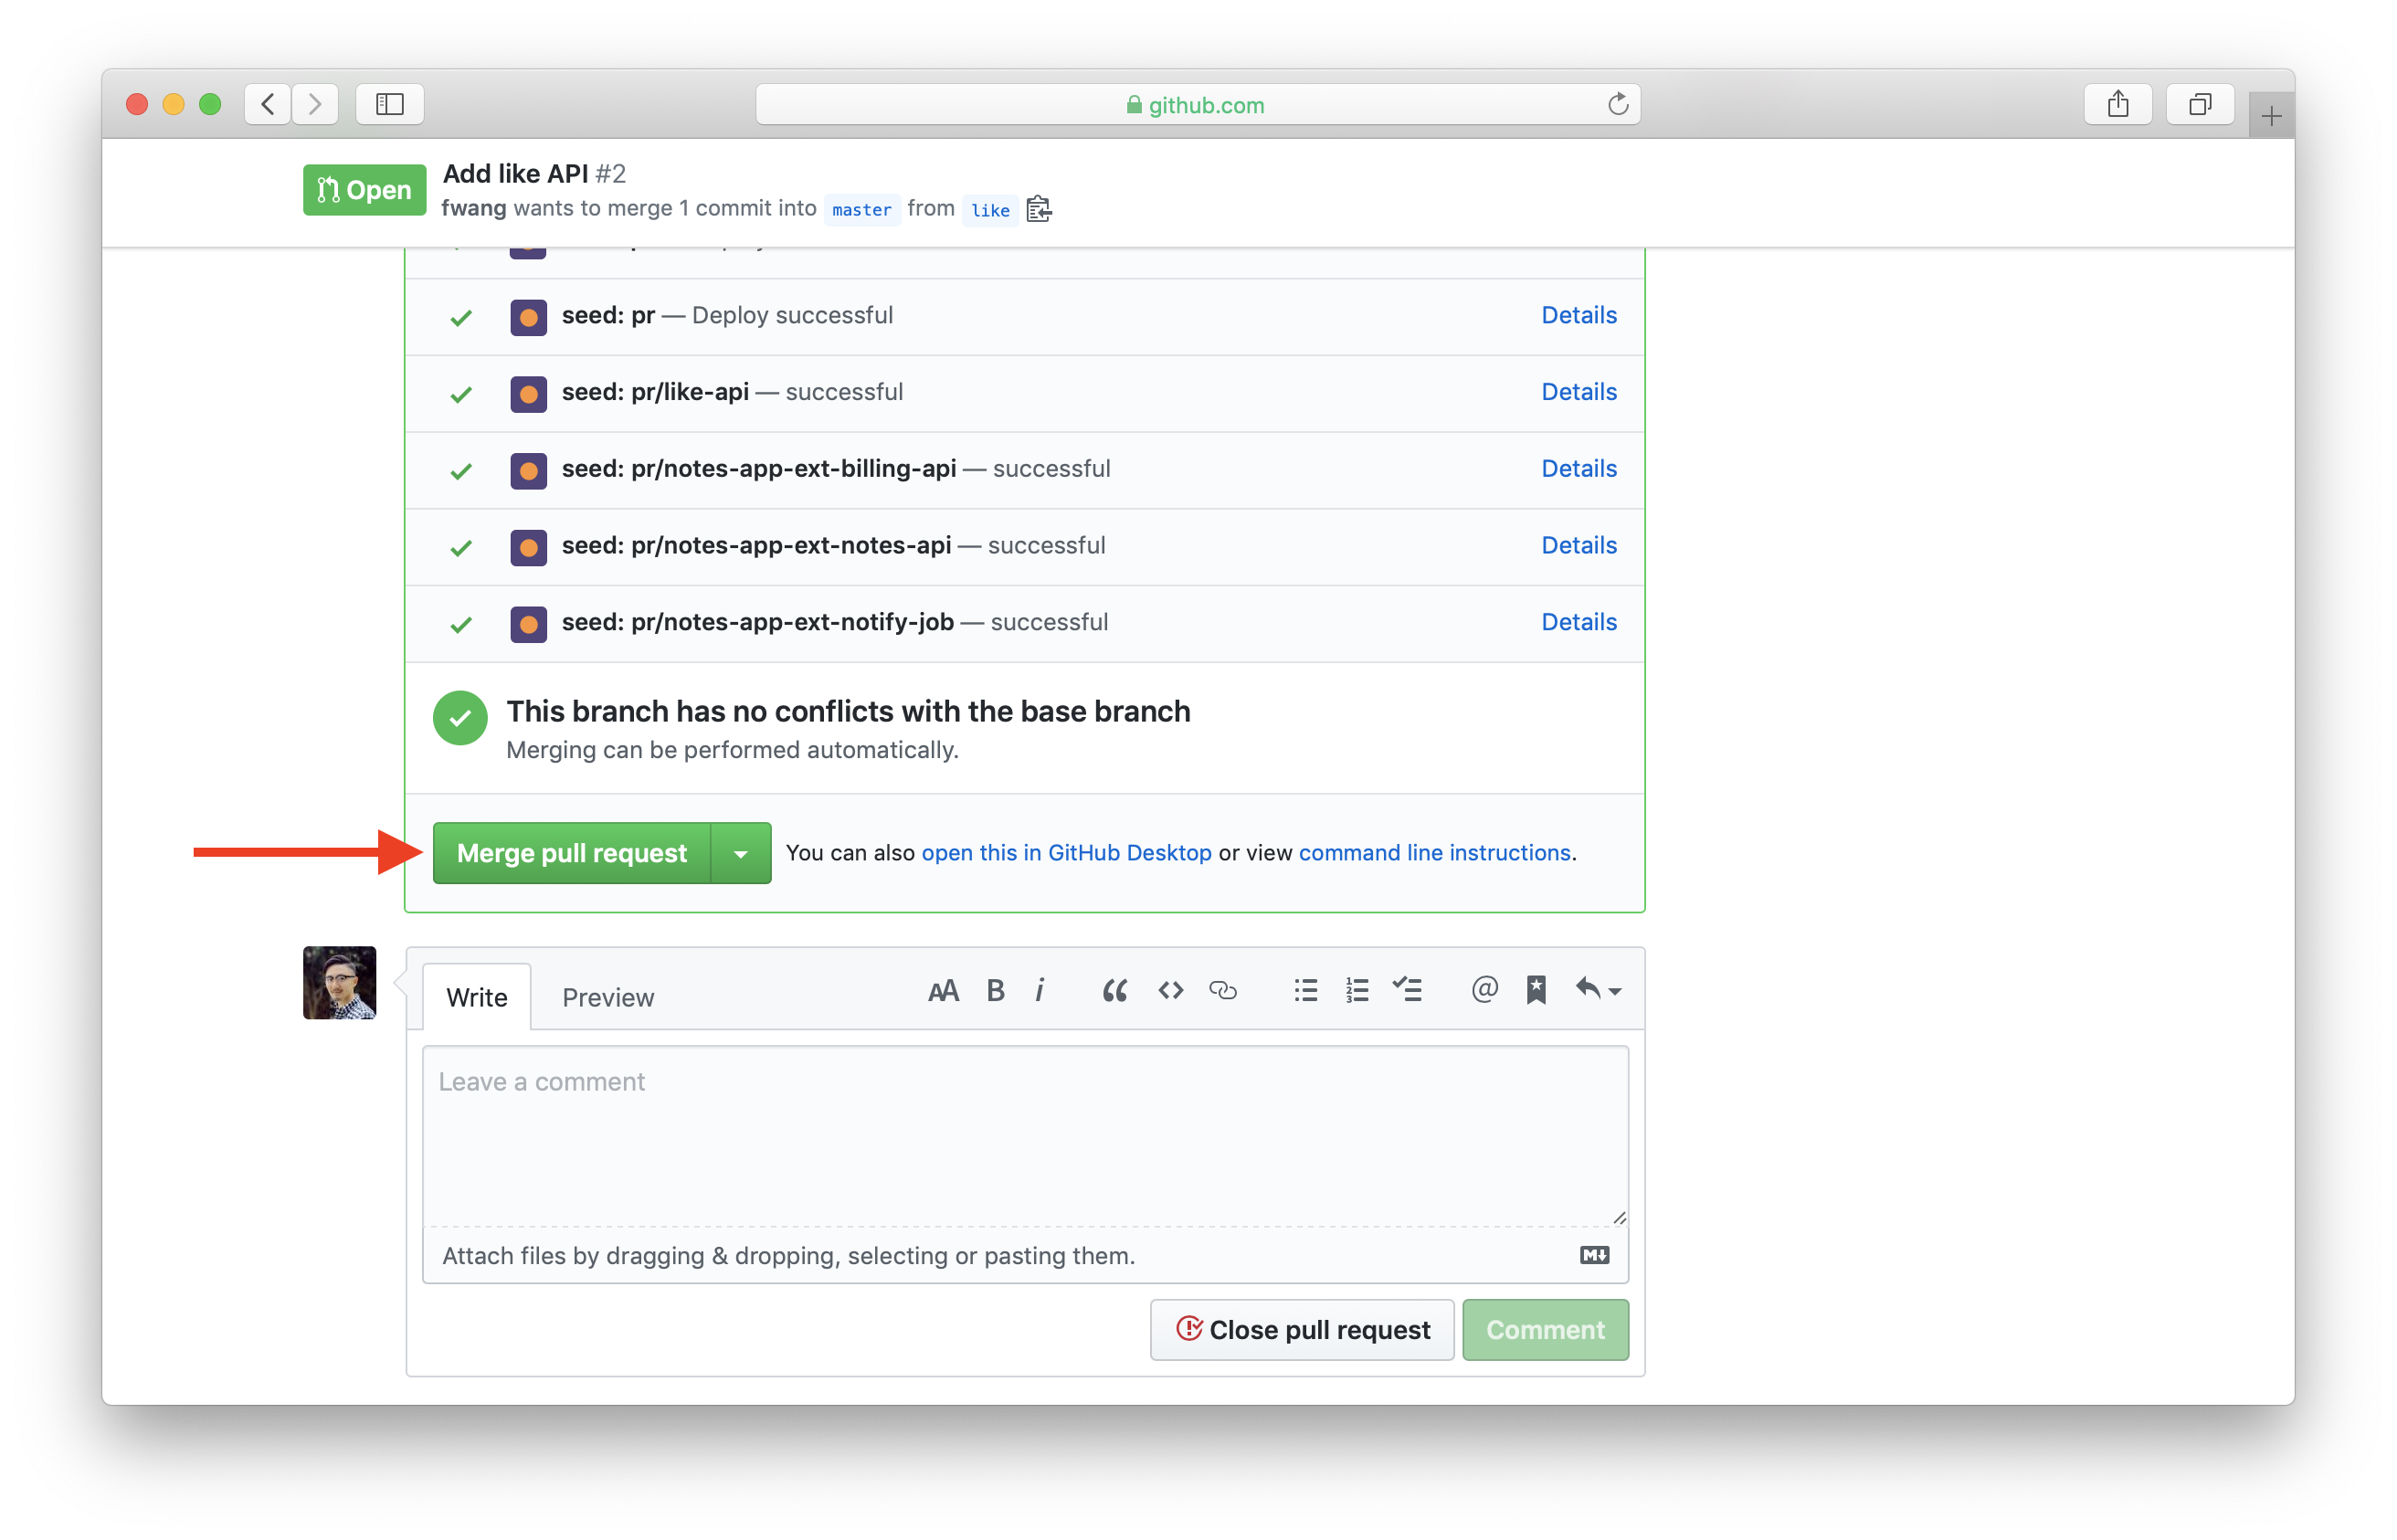
Back in Seed, this will trigger a deployment in the dev stage automatically, since the stage auto-deploys changes in the master branch. Also, since merging the pull request closes it, this will automatically remove the pr2 stage.
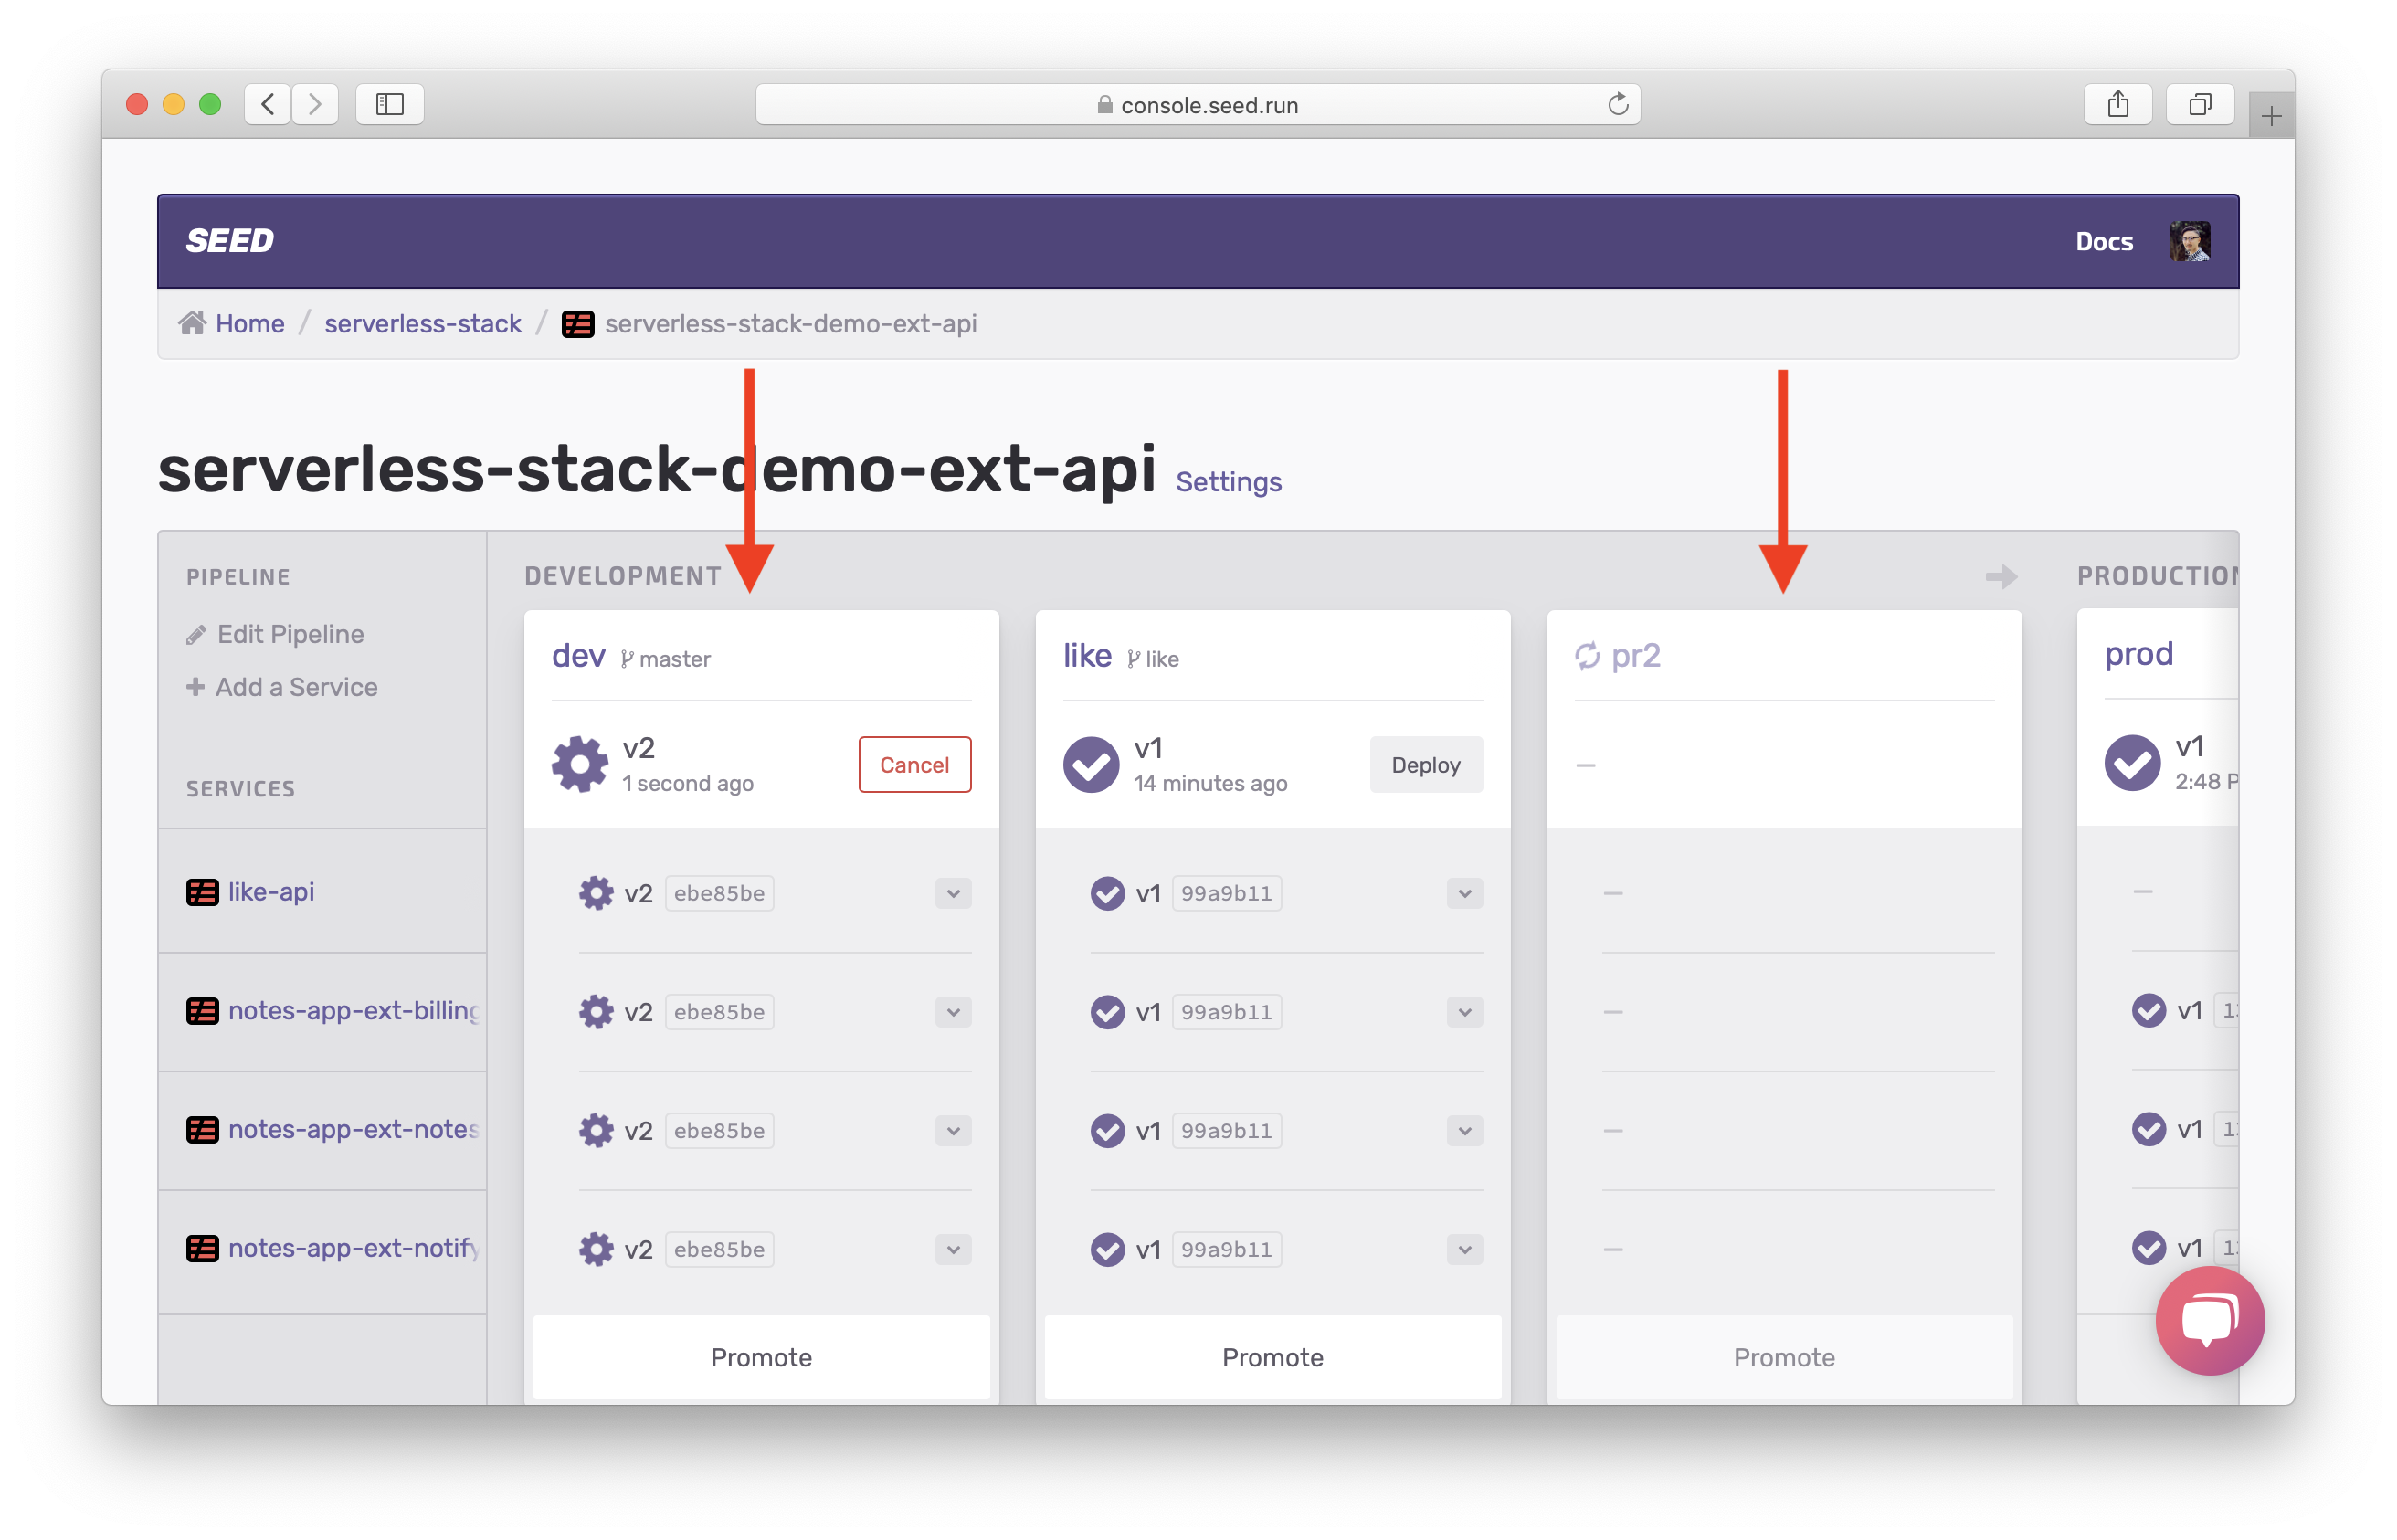
After the deployment completes and the pr2 stage is removed, this is what your pipeline should look like:
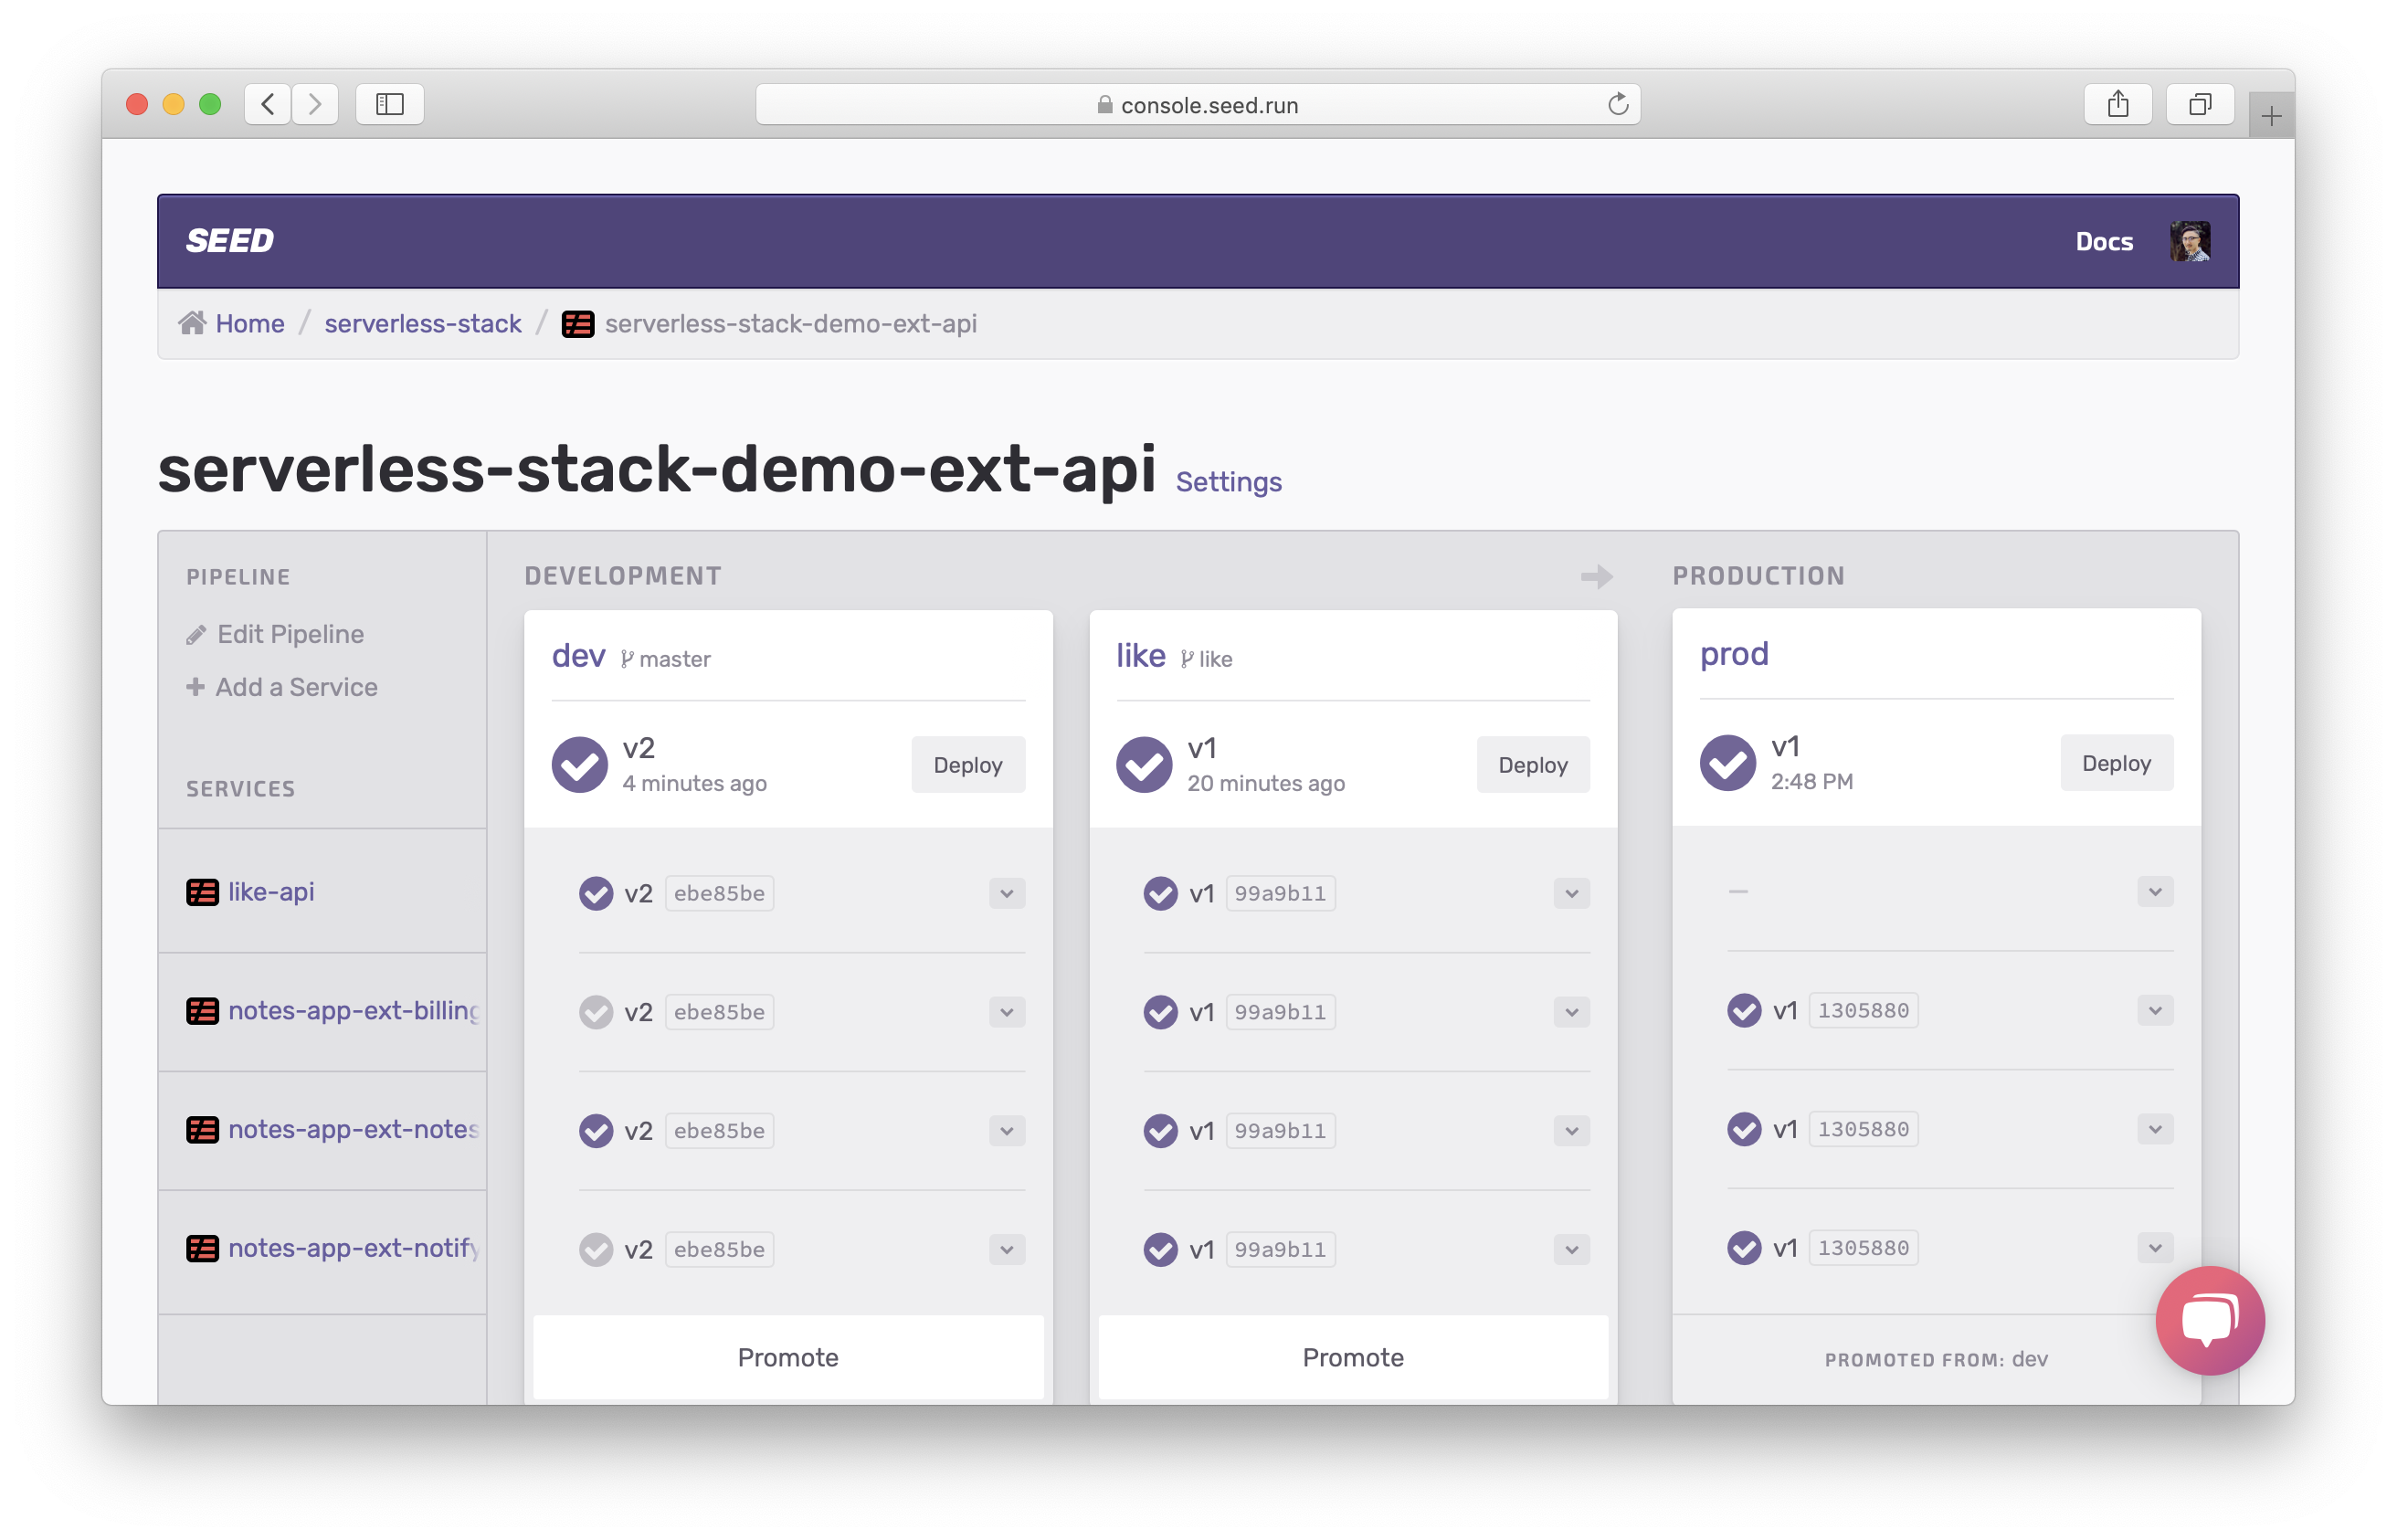
From GitHub’s pull request screen, we can remove the like branch.
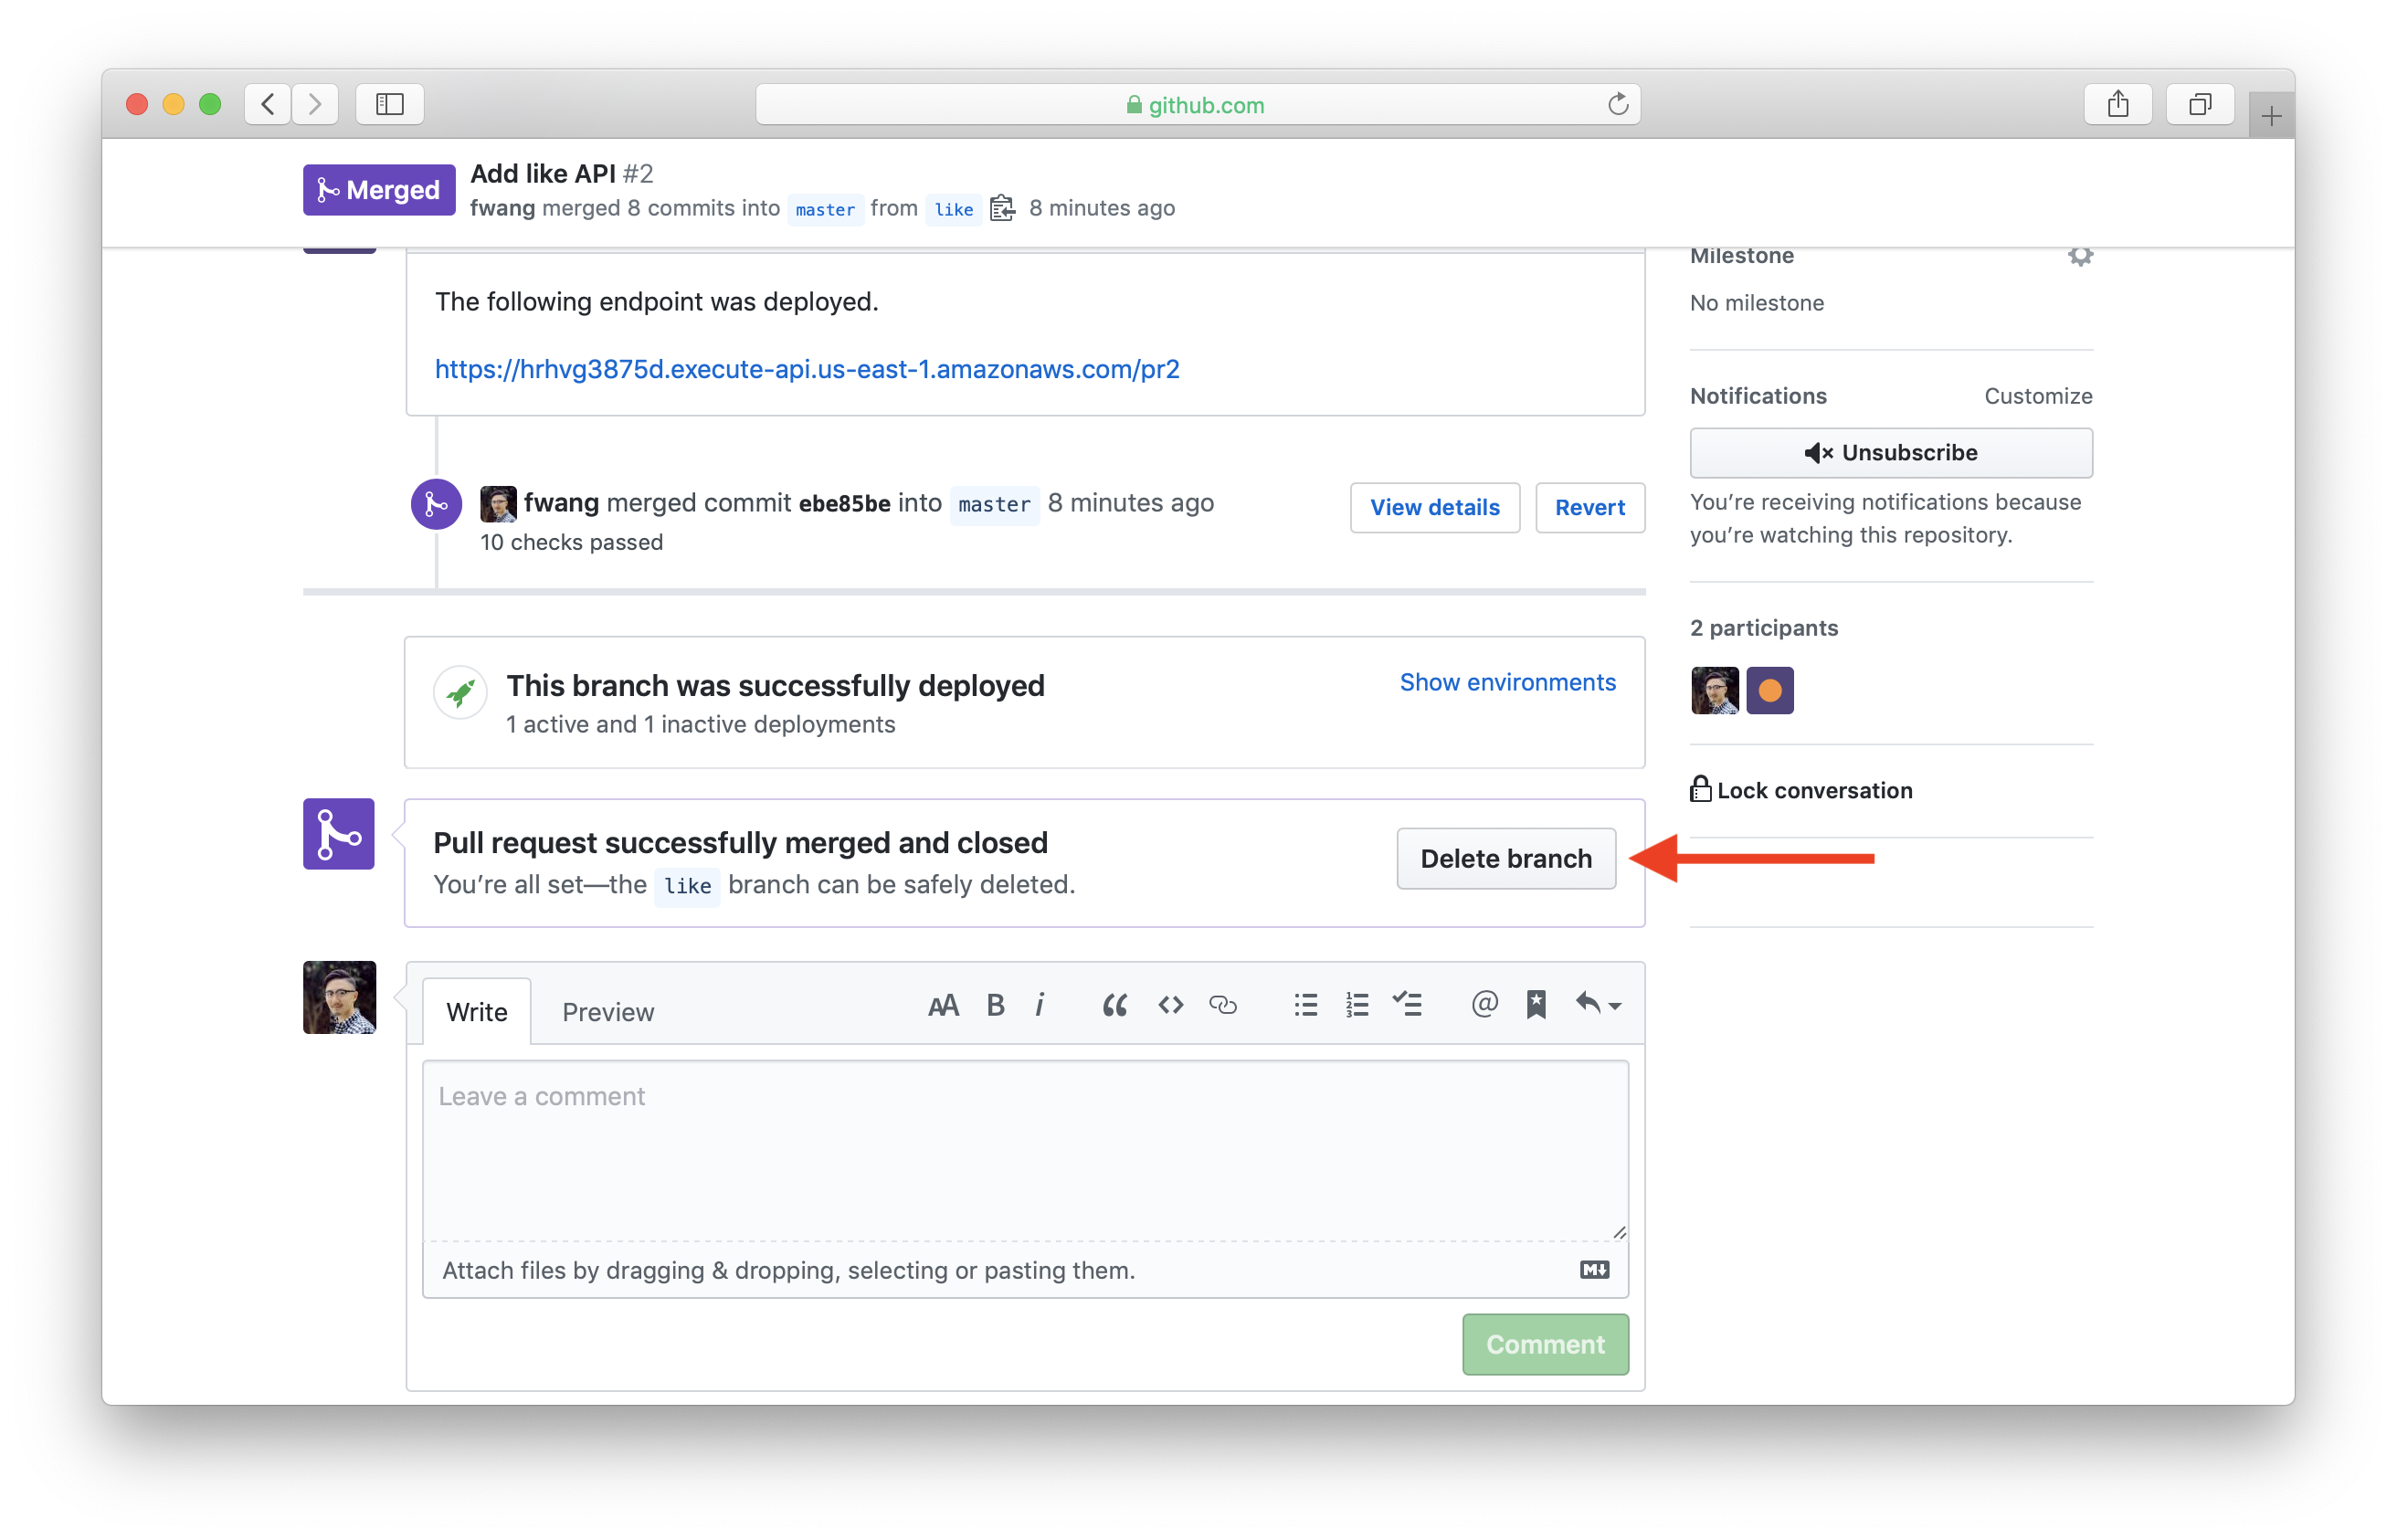
Back in Seed, this will trigger the like stage to be automatically removed.
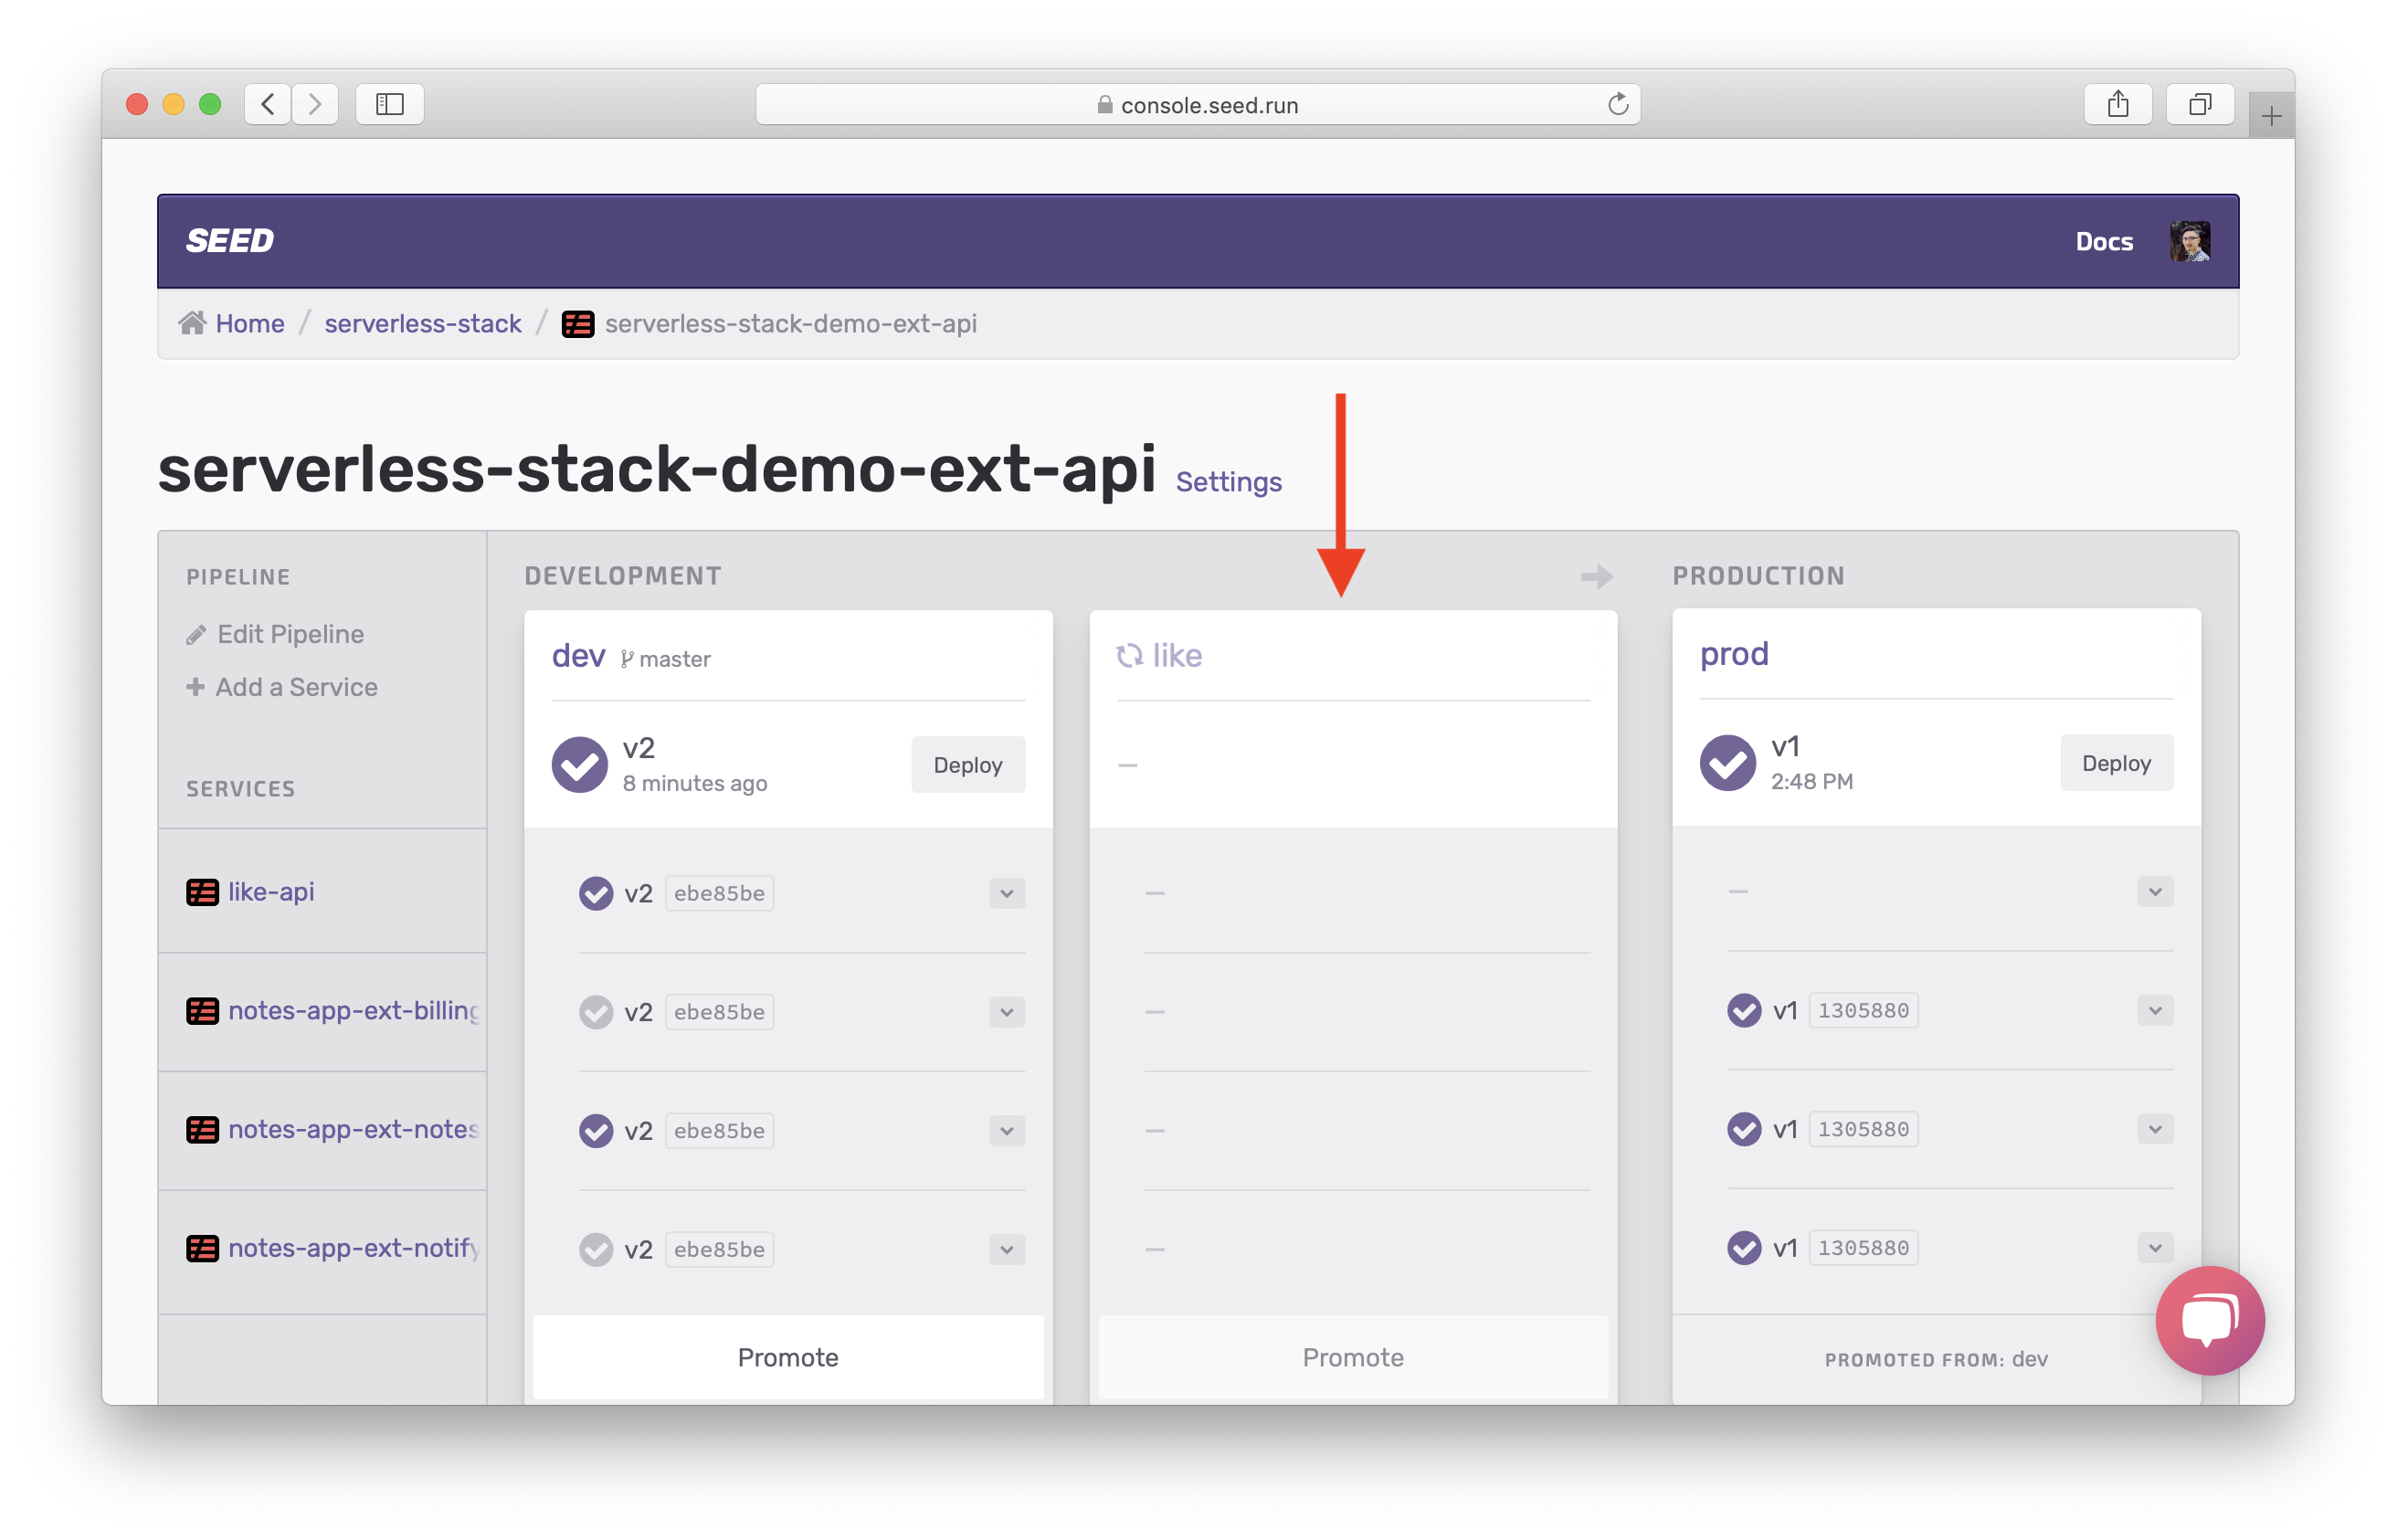
After the removal is completed, your pipeline should now look like this.
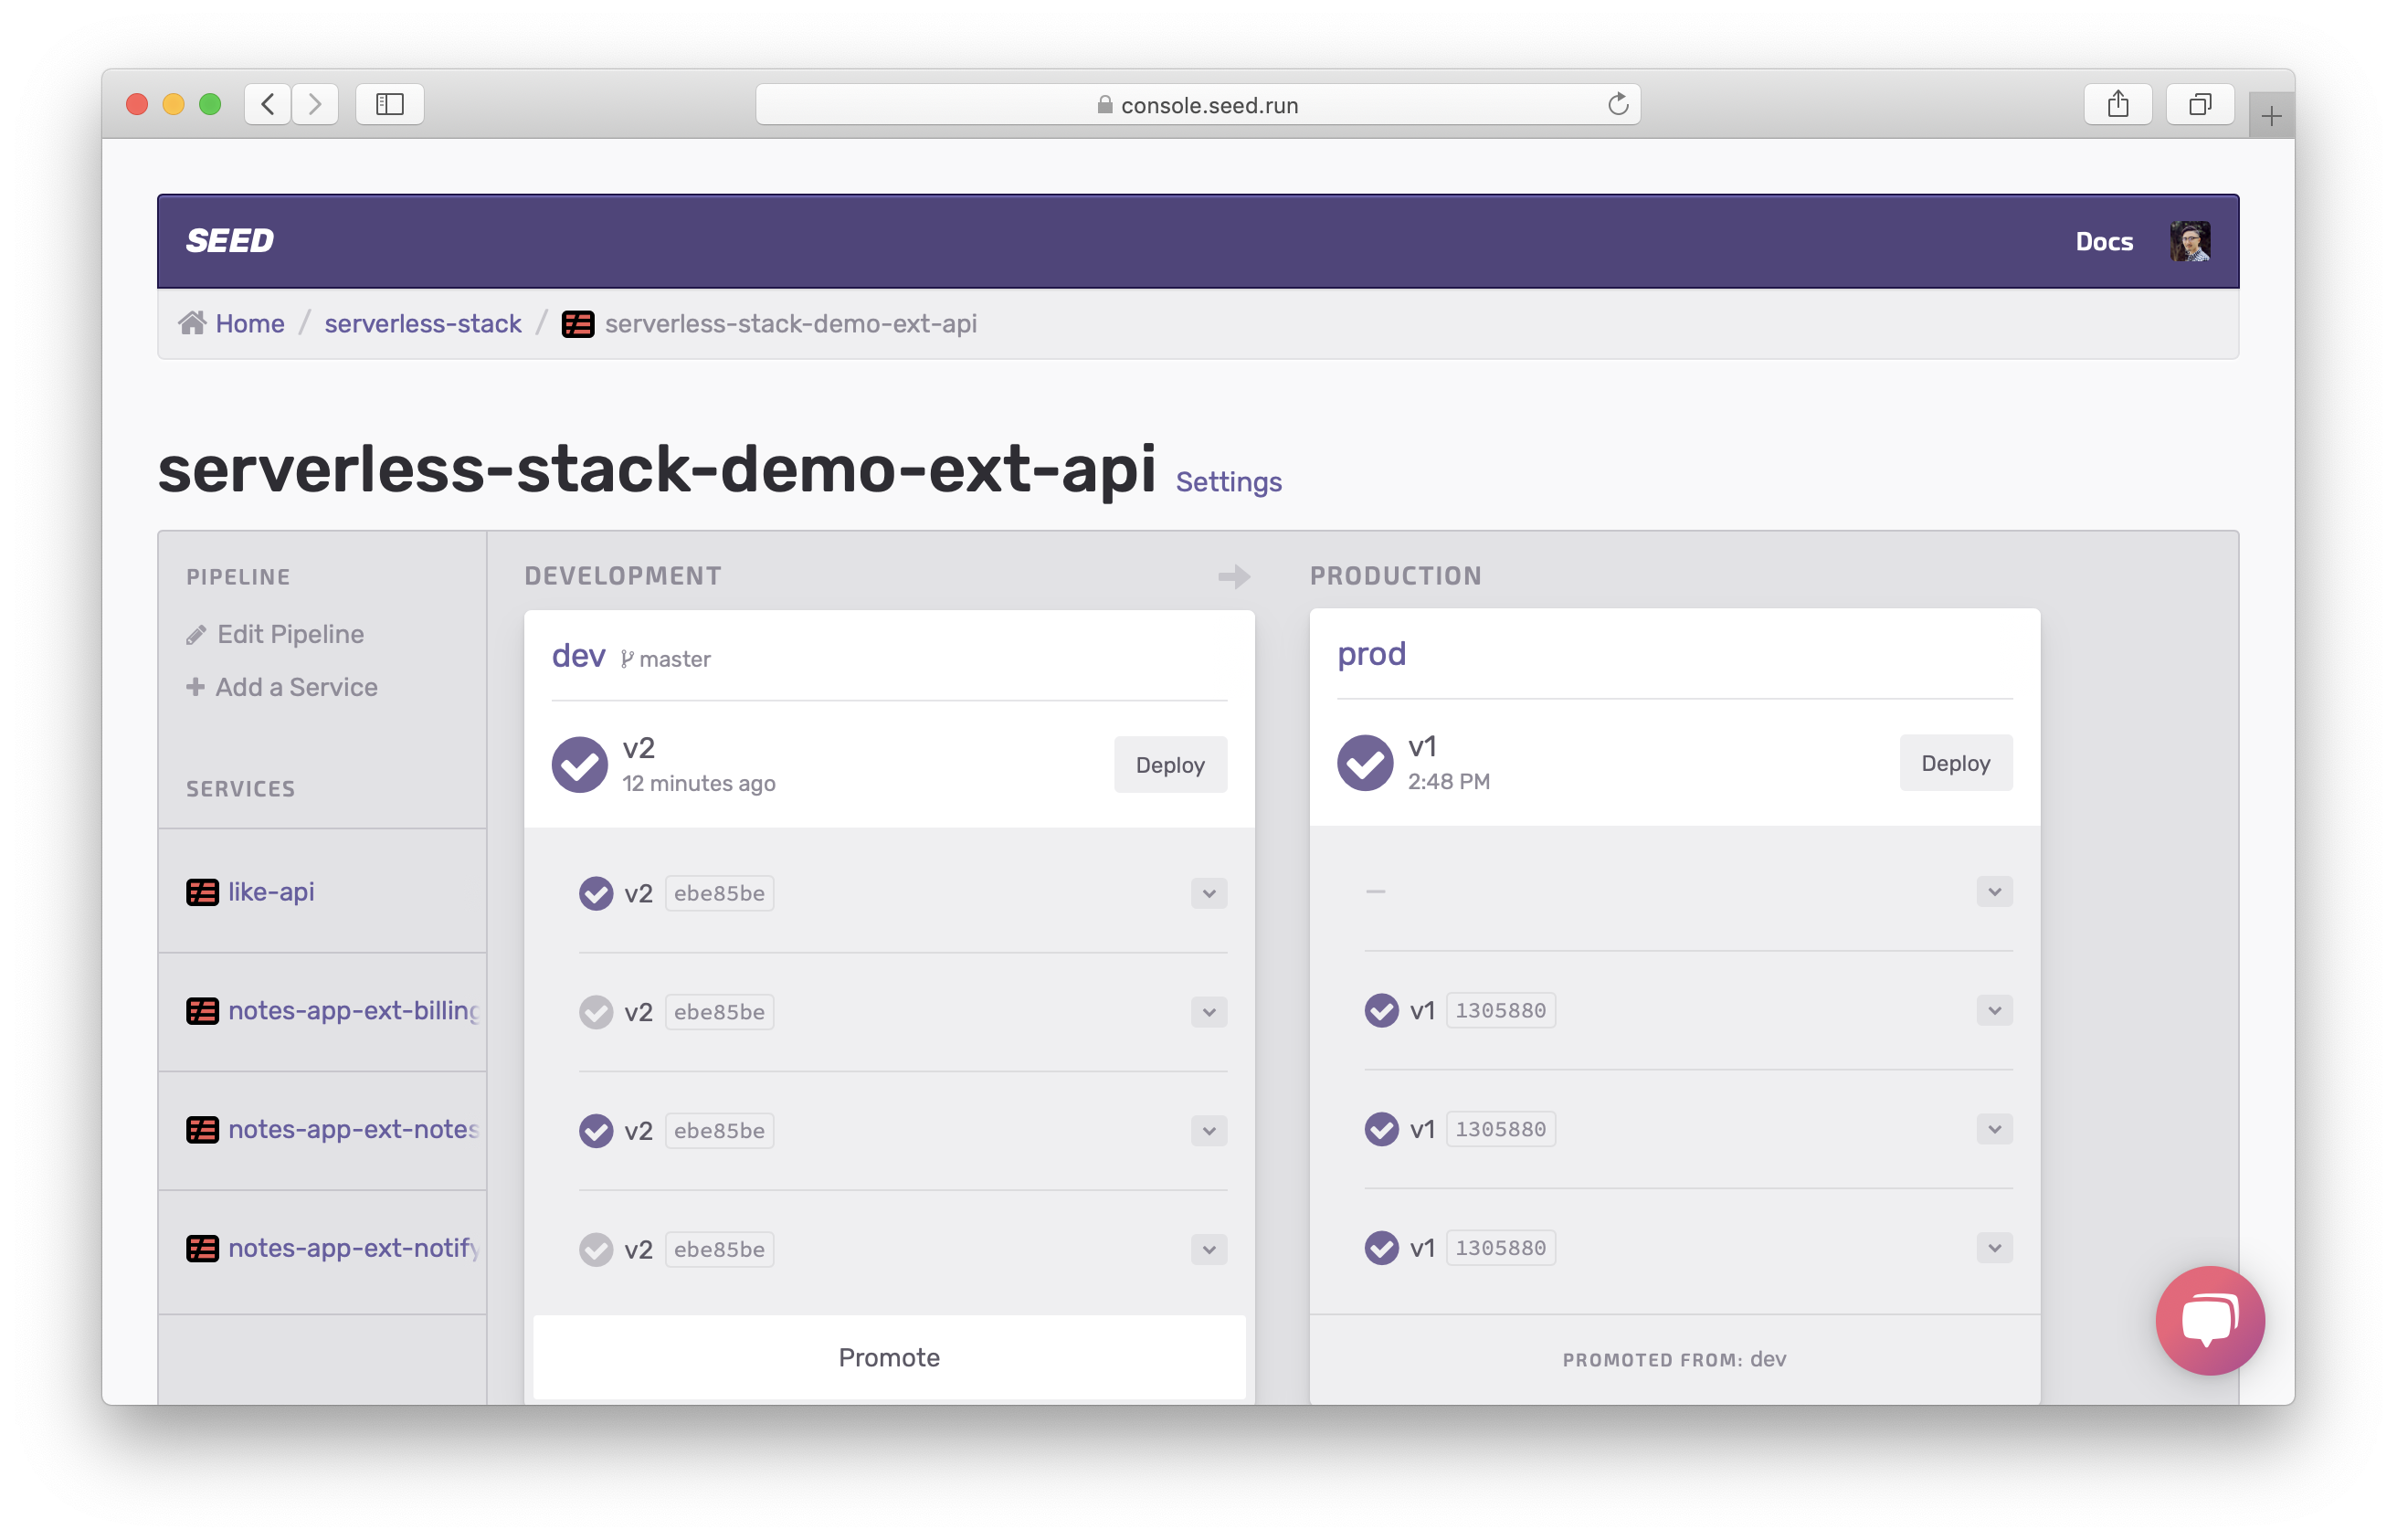
Next, we are ready to promote our new feature to production.
For help and discussion
Comments on this chapterIf you liked this post, please subscribe to our newsletter, give us a star on GitHub, and follow us on Twitter.
