List All the Notes
This article is a part of a guide to building full-stack apps with Serverless and React.
이제 새로운 노트를 만들 수 있게 되었으니 사용자가 작성한 모든 노트 목록을 볼 수있는 페이지를 만들어 보겠습니다. 이 페이지가 홈페이지가 될 것입니다.(/ 경로를 사용한 페이지에) 따라서 사용자 세션에 따라 방문자 페이지 또는 홈페이지를 조건부로 렌더링하면 됩니다.
현재 Home 컨테이너는 매우 간단합니다. 여기에 조건부로 렌더링을 추가합니다.

src/containers/Home.js 파일을 다음 내용으로 변경합니다.
import React, { Component } from "react";
import { PageHeader, ListGroup } from "react-bootstrap";
import "./Home.css";

export default class Home extends Component {
  constructor(props) {
    super(props);

    this.state = {
      isLoading: true,
      notes: []
    };
  }

  renderNotesList(notes) {
    return null;
  }

  renderLander() {
    return (
      <div className="lander">
        <h1>Scratch</h1>
        <p>A simple note taking app</p>
      </div>
    );
  }

  renderNotes() {
    return (
      <div className="notes">
        <PageHeader>Your Notes</PageHeader>
        <ListGroup>
          {!this.state.isLoading && this.renderNotesList(this.state.notes)}
        </ListGroup>
      </div>
    );
  }

  render() {
    return (
      <div className="Home">
        {this.props.isAuthenticated ? this.renderNotes() : this.renderLander()}
      </div>
    );
  }
}
여기서 수행한 내용을 정리해보겠습니다:
-
this.props.isAuthenticated를 기반으로 시작 페이지 또는 노트 목록을 렌더링합니다. -
노트를 state에 보관합니다. 현재는 비어 있지만 이를 위해 API를 호출할 예정입니다.
-
일단 목록을 가져 오면 해당 목록의 항목들을 렌더링하기 위해
renderNotesList메소드를 사용합니다.
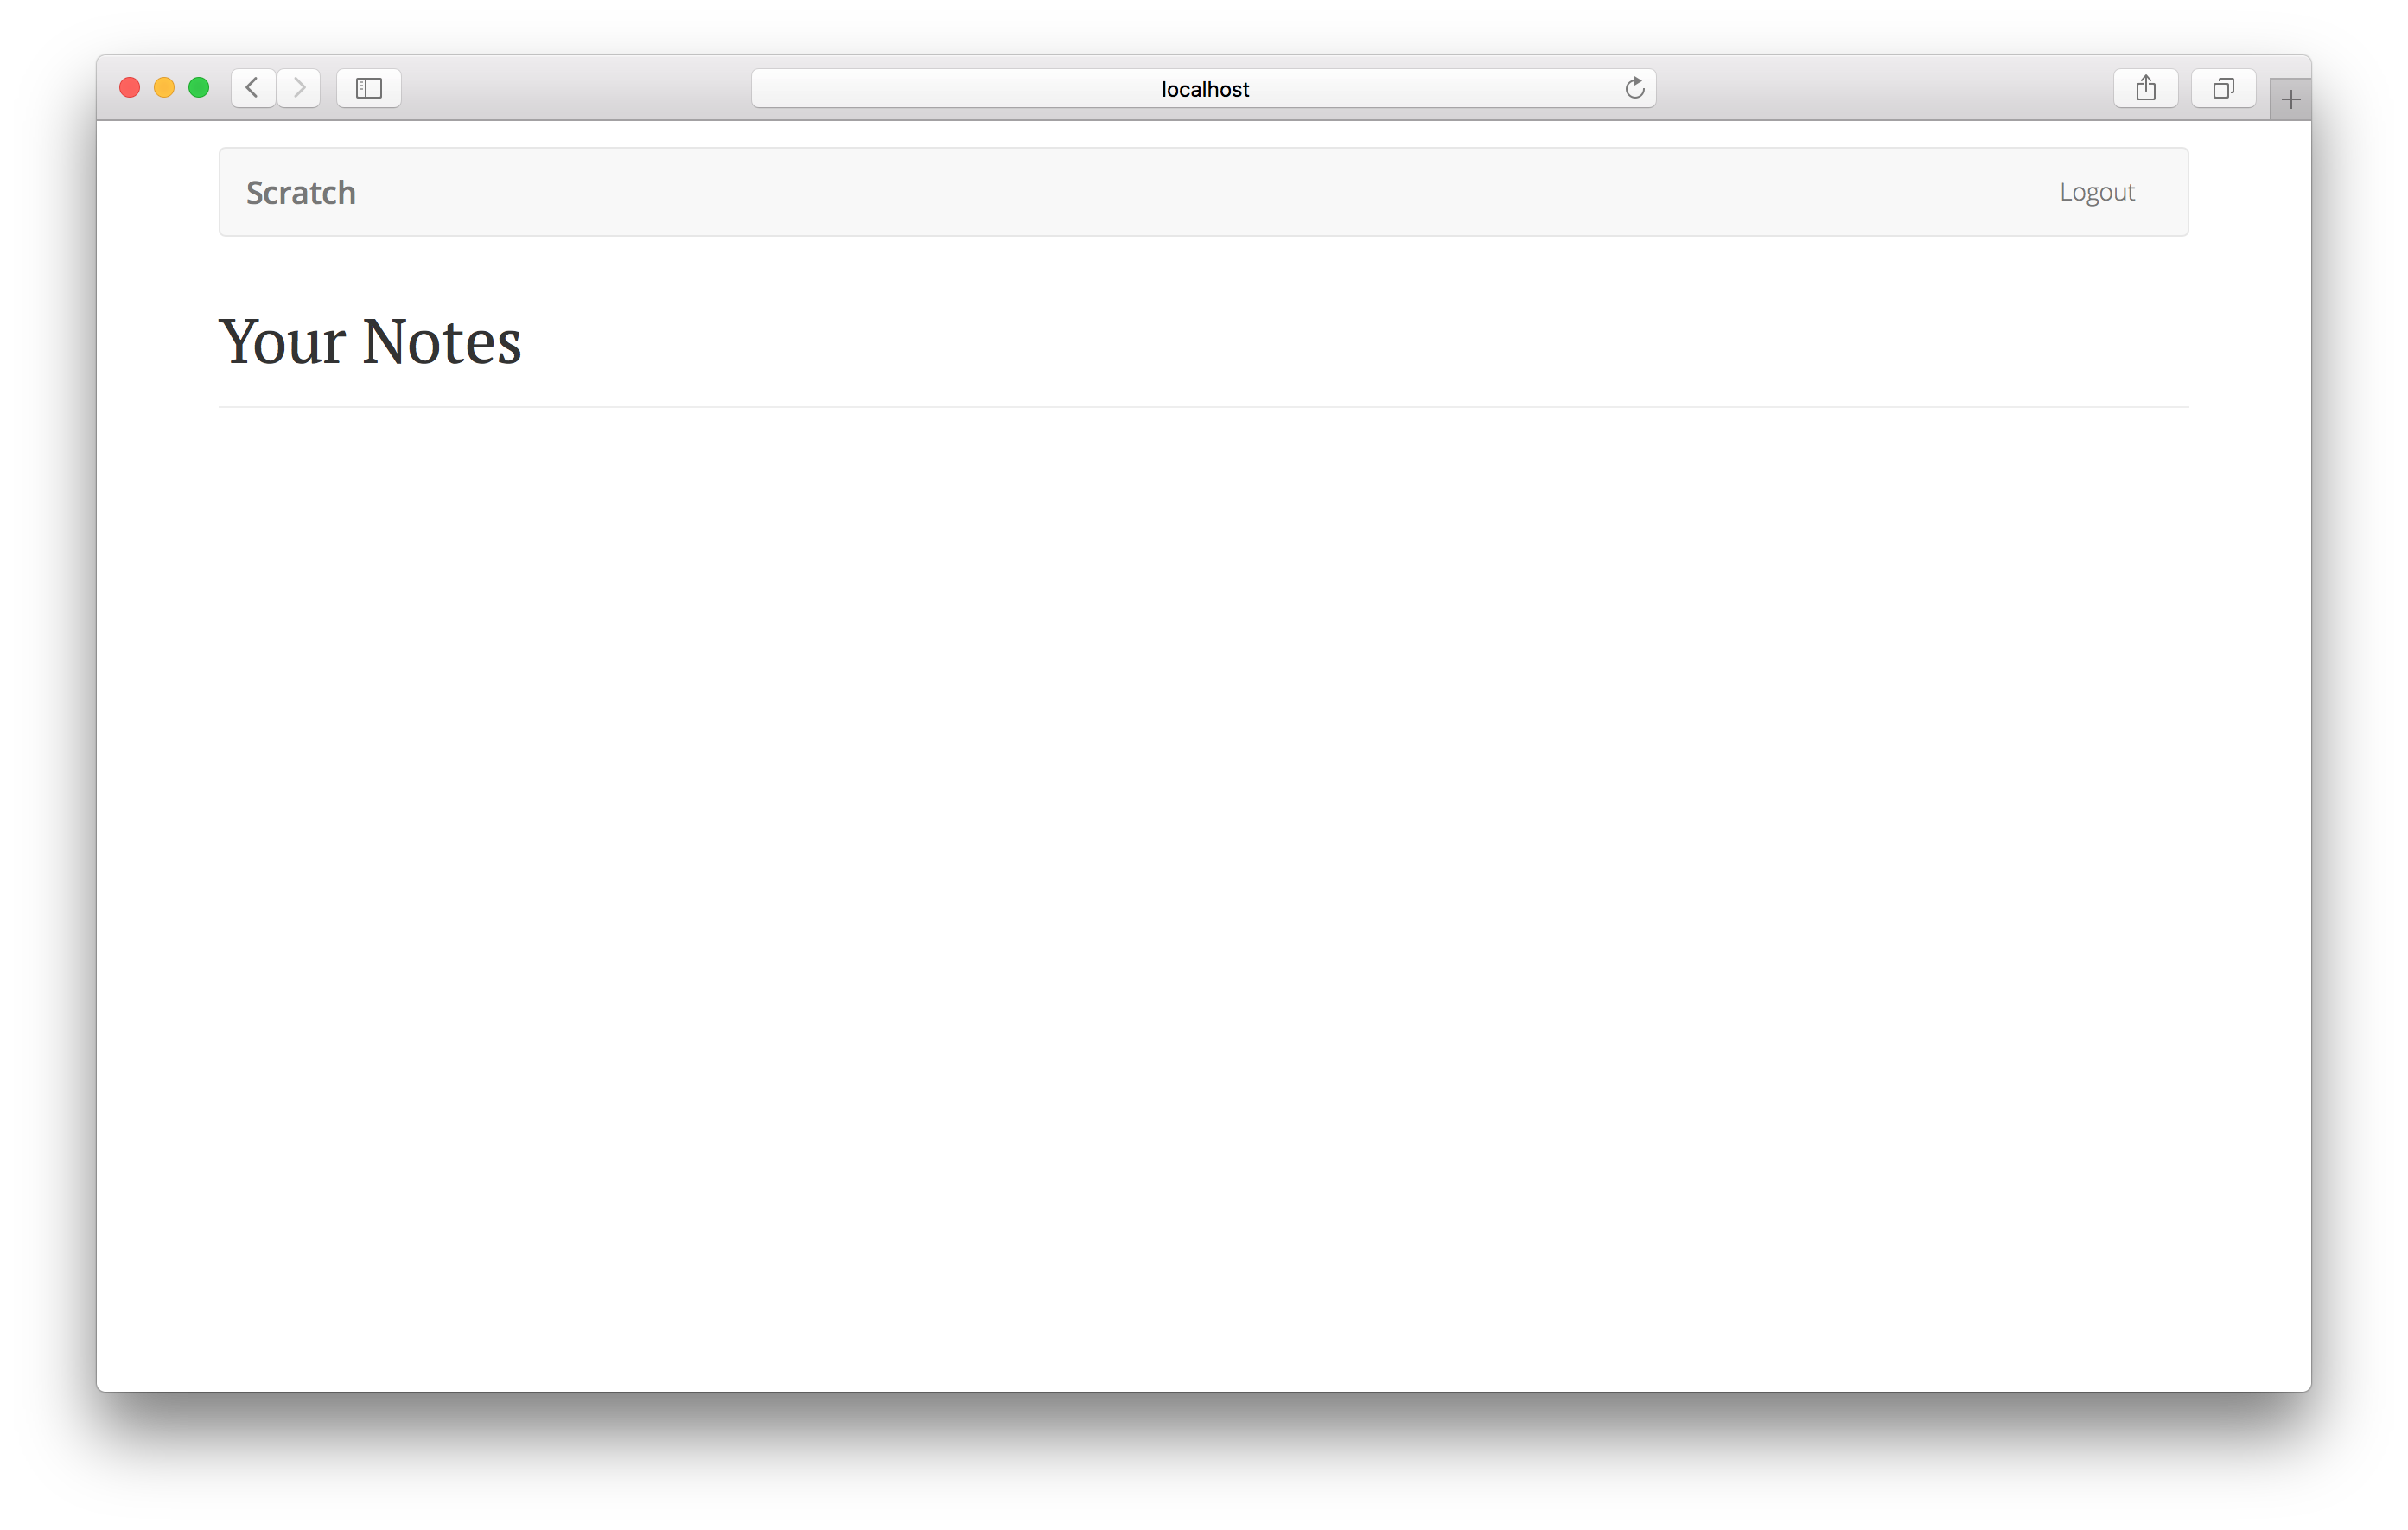
여기까지가 기본 설정입니다. 브라우저로 가서 앱의 홈페이지를 접속하면 빈 목록을 렌더링해야합니다.

다음 장에서 API를 이용해 이 목록을 채워보겠습니다.
For help and discussion
Comments on this chapterIf you liked this post, please subscribe to our newsletter, give us a star on GitHub, and follow us on Twitter.
